So let’s be real: there are over 500 different pastas, and probably hundreds of different sauces. Take any pasta dish and simply switch one of those two things, and you have an entirely new dish. It’s probably the most modular cuisine on the face of the planet. Hell, pasta is basically the food equivalent of IKEA!
That is why pasta is one of my favourite foods. Italian food is so honest in a lot of ways. It is one of the few cuisines that aren’t drastically different between classes. This is contrary to a lot of other western foods, like British food. For example, a swanky restaurant in England, you would be hard pressed to find fish and chips, even though it’s a staple in most restaurants. Meanwhile, If you order spaghetti from a high end Italian restaurant, or a casual family diner the recipe is going to be very similar. Obviously, if the respective restaurants are true to their price points, one will use higher quality ingredients, fresher non-prefab products, and put more time and love into the product but the dishes are similar in concept.
That being said, Spaghetti Aglio e Olio is something I love to make. Fresh made pasta tastes like nothing else, and is simple to do. You can use store bought dried pasta, but I really recommend trying it fresh. The less ingredients a recipe has, the more important the quality of the ingredients are. What amazes me is watching the starch from the noodles bind with the oil and the water to make a mind-blowing, amazing sauce!
So before I get into the recipe, here are some facts you should know about pasta dough.
There are very few problems you can have with pasta dough that ‘resting’ the dough won’t fix. To do that, cover with plastic wrap, or a moist tea towel, and let sit for 10 mins. If the problem persists, wait an hour. More than likely, it will be fine.
Pasta dough is very much like a muscle. If you’re rough with it, the dough will become stiff and hard to work with. if you’re too gentle nothing will happen at all. You want to be firm, but not aggressive so it will stay nice and soft. If you find that after rolling it, it quickly recoils back to the original shape, it means the dough is too ‘tense’, and need a ten minute rest.
Kneading the dough is the exception to the above. You want to be aggressive when kneading.
The dough becoming too dry is one of the few things that is very difficult to fix, and it’s easier to start over. A sign of this is crumbles apart.
This recipe is for one portion. So multiply it by the number of people you want to serve!
Pasta Dough Ingredients:
- 1/4 cup Semolina Flour
- 1/4 cup All Purpose Flour
- 1 egg
- 1/2 T of olive Oil
- 1 pinch of salt
‘Sauce’ ingredients
- 3-5 Cloves of Garlic
- 1/4 Cup of Olive Oil
- 1/4 Cup of reserved pasta water
- 1.5 t red chilli flakes
First let’s make the Noodles:
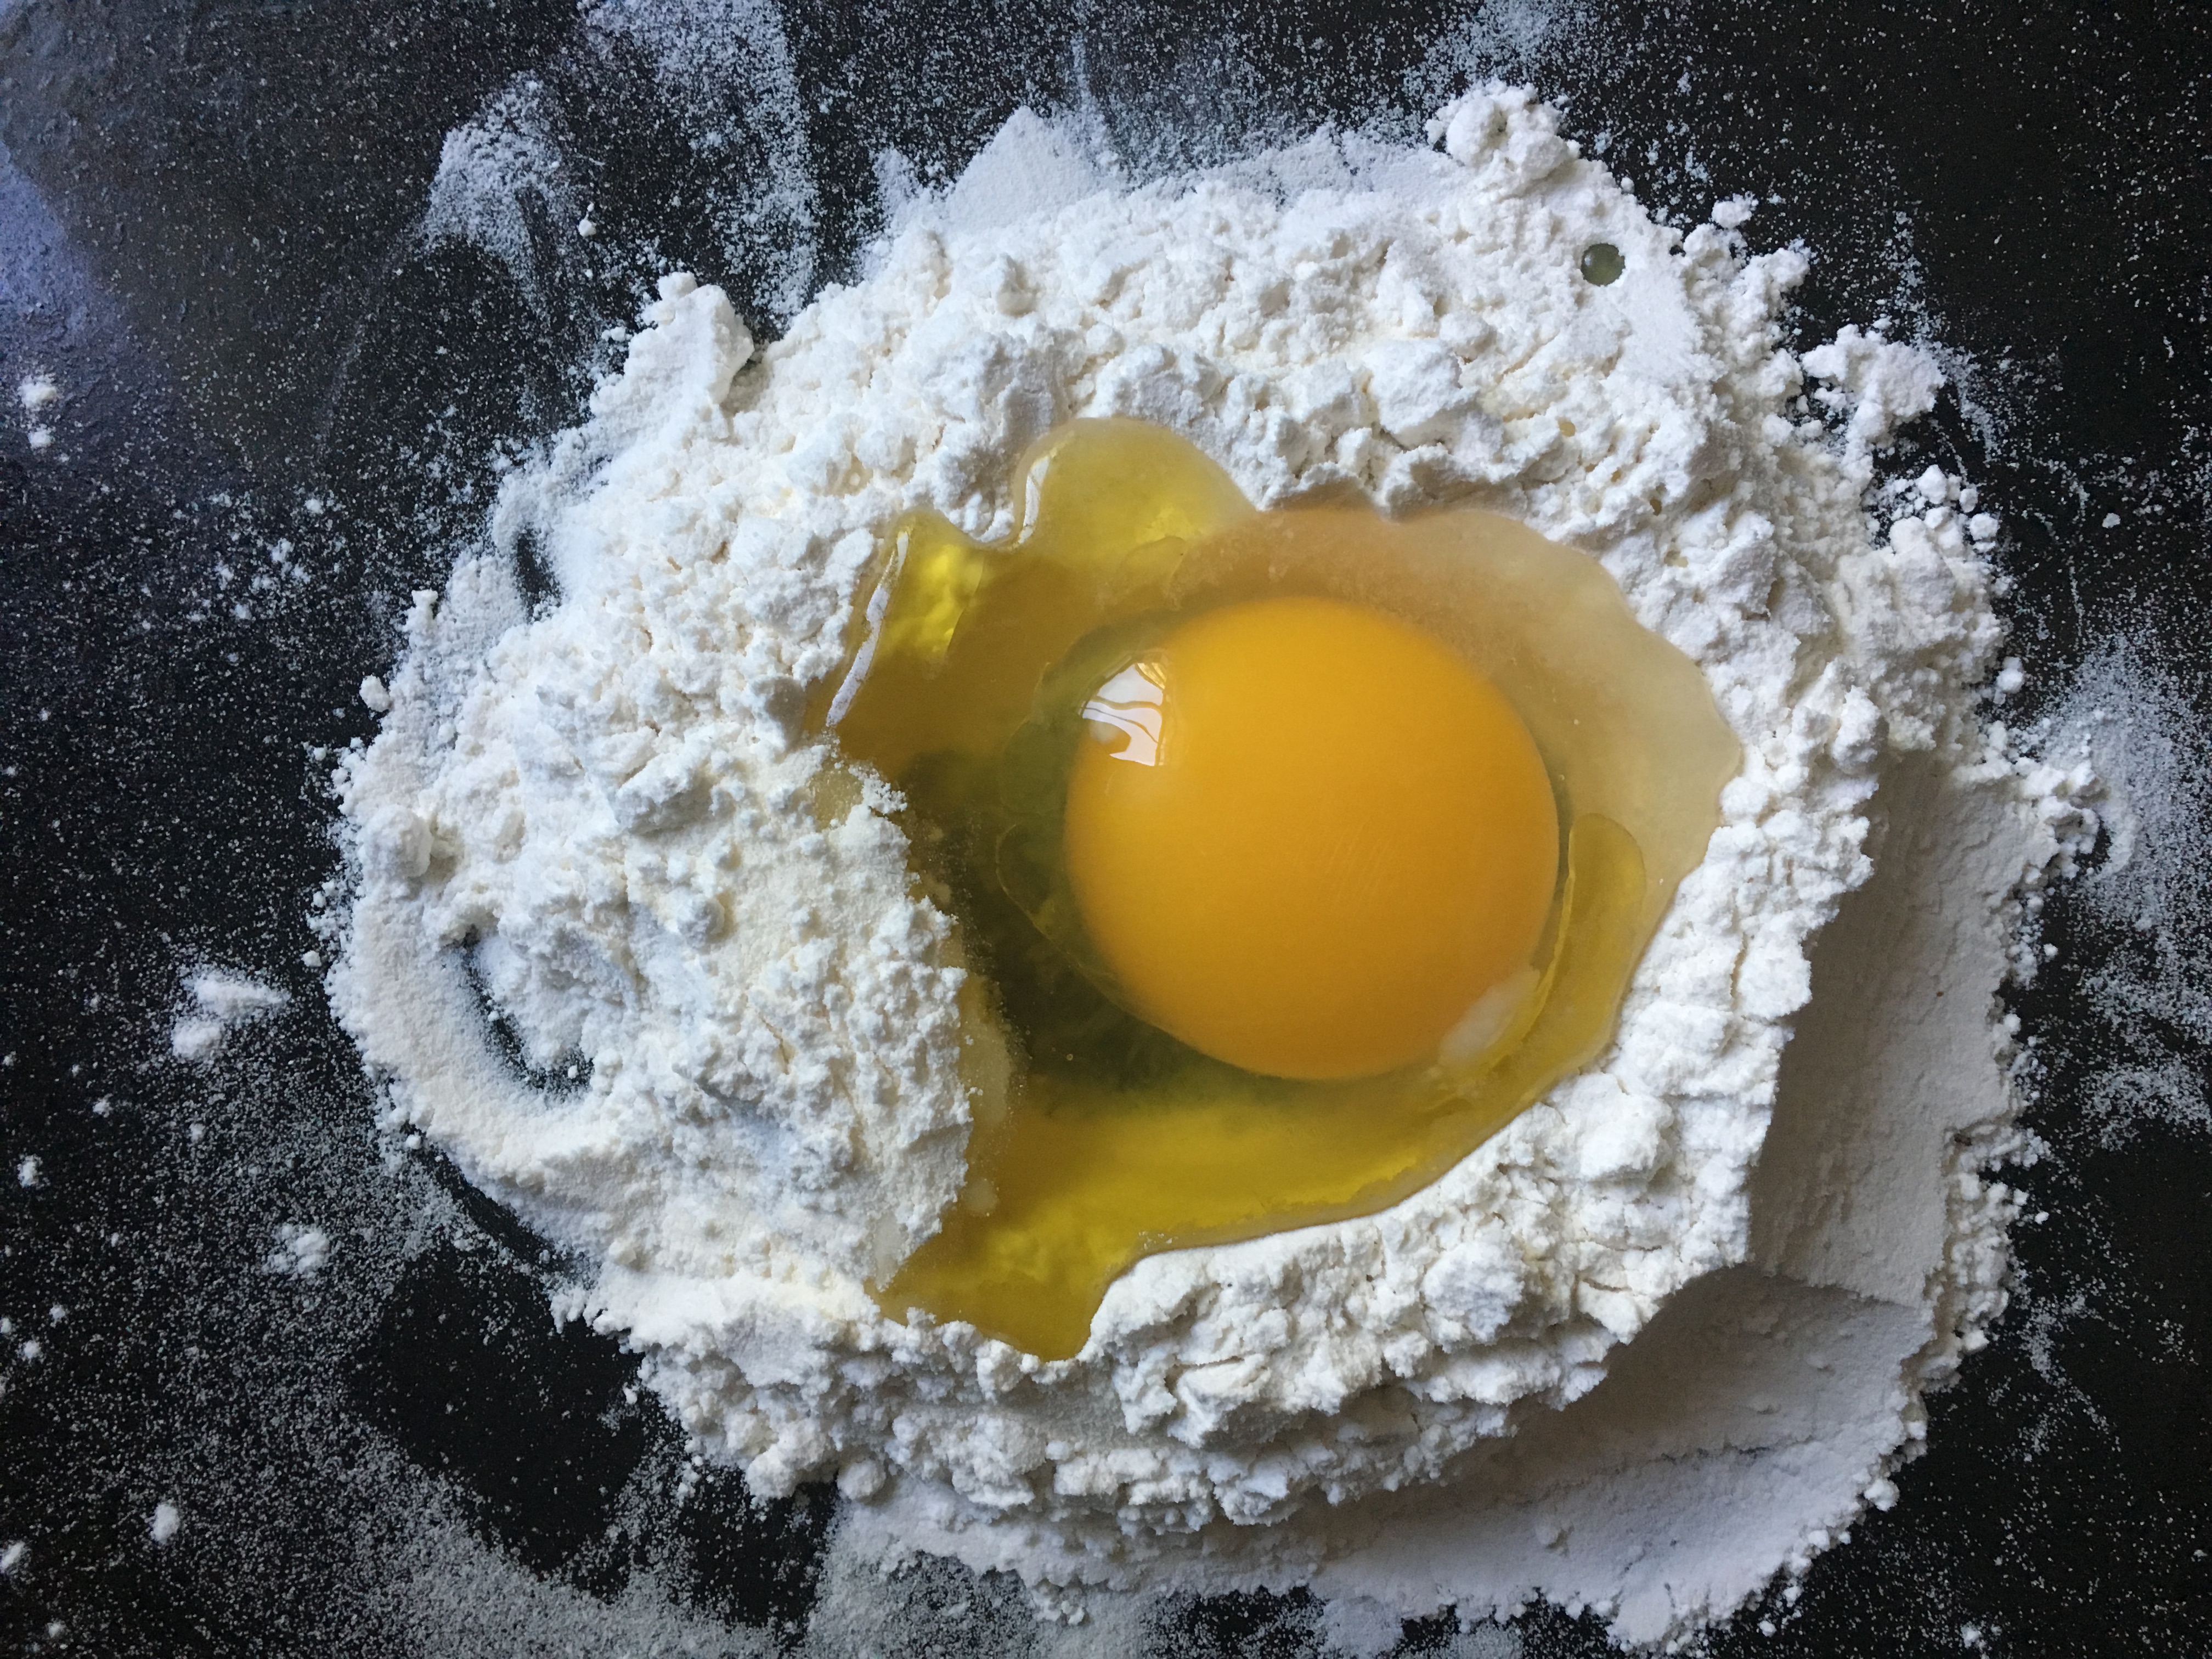 Mix both flours together, then pour into a mound on a baking sheet. Push the centre of the mound down, so it resembles a volcano.
- Pour the egg(s), oil and salt into the centre of the mound of flour.
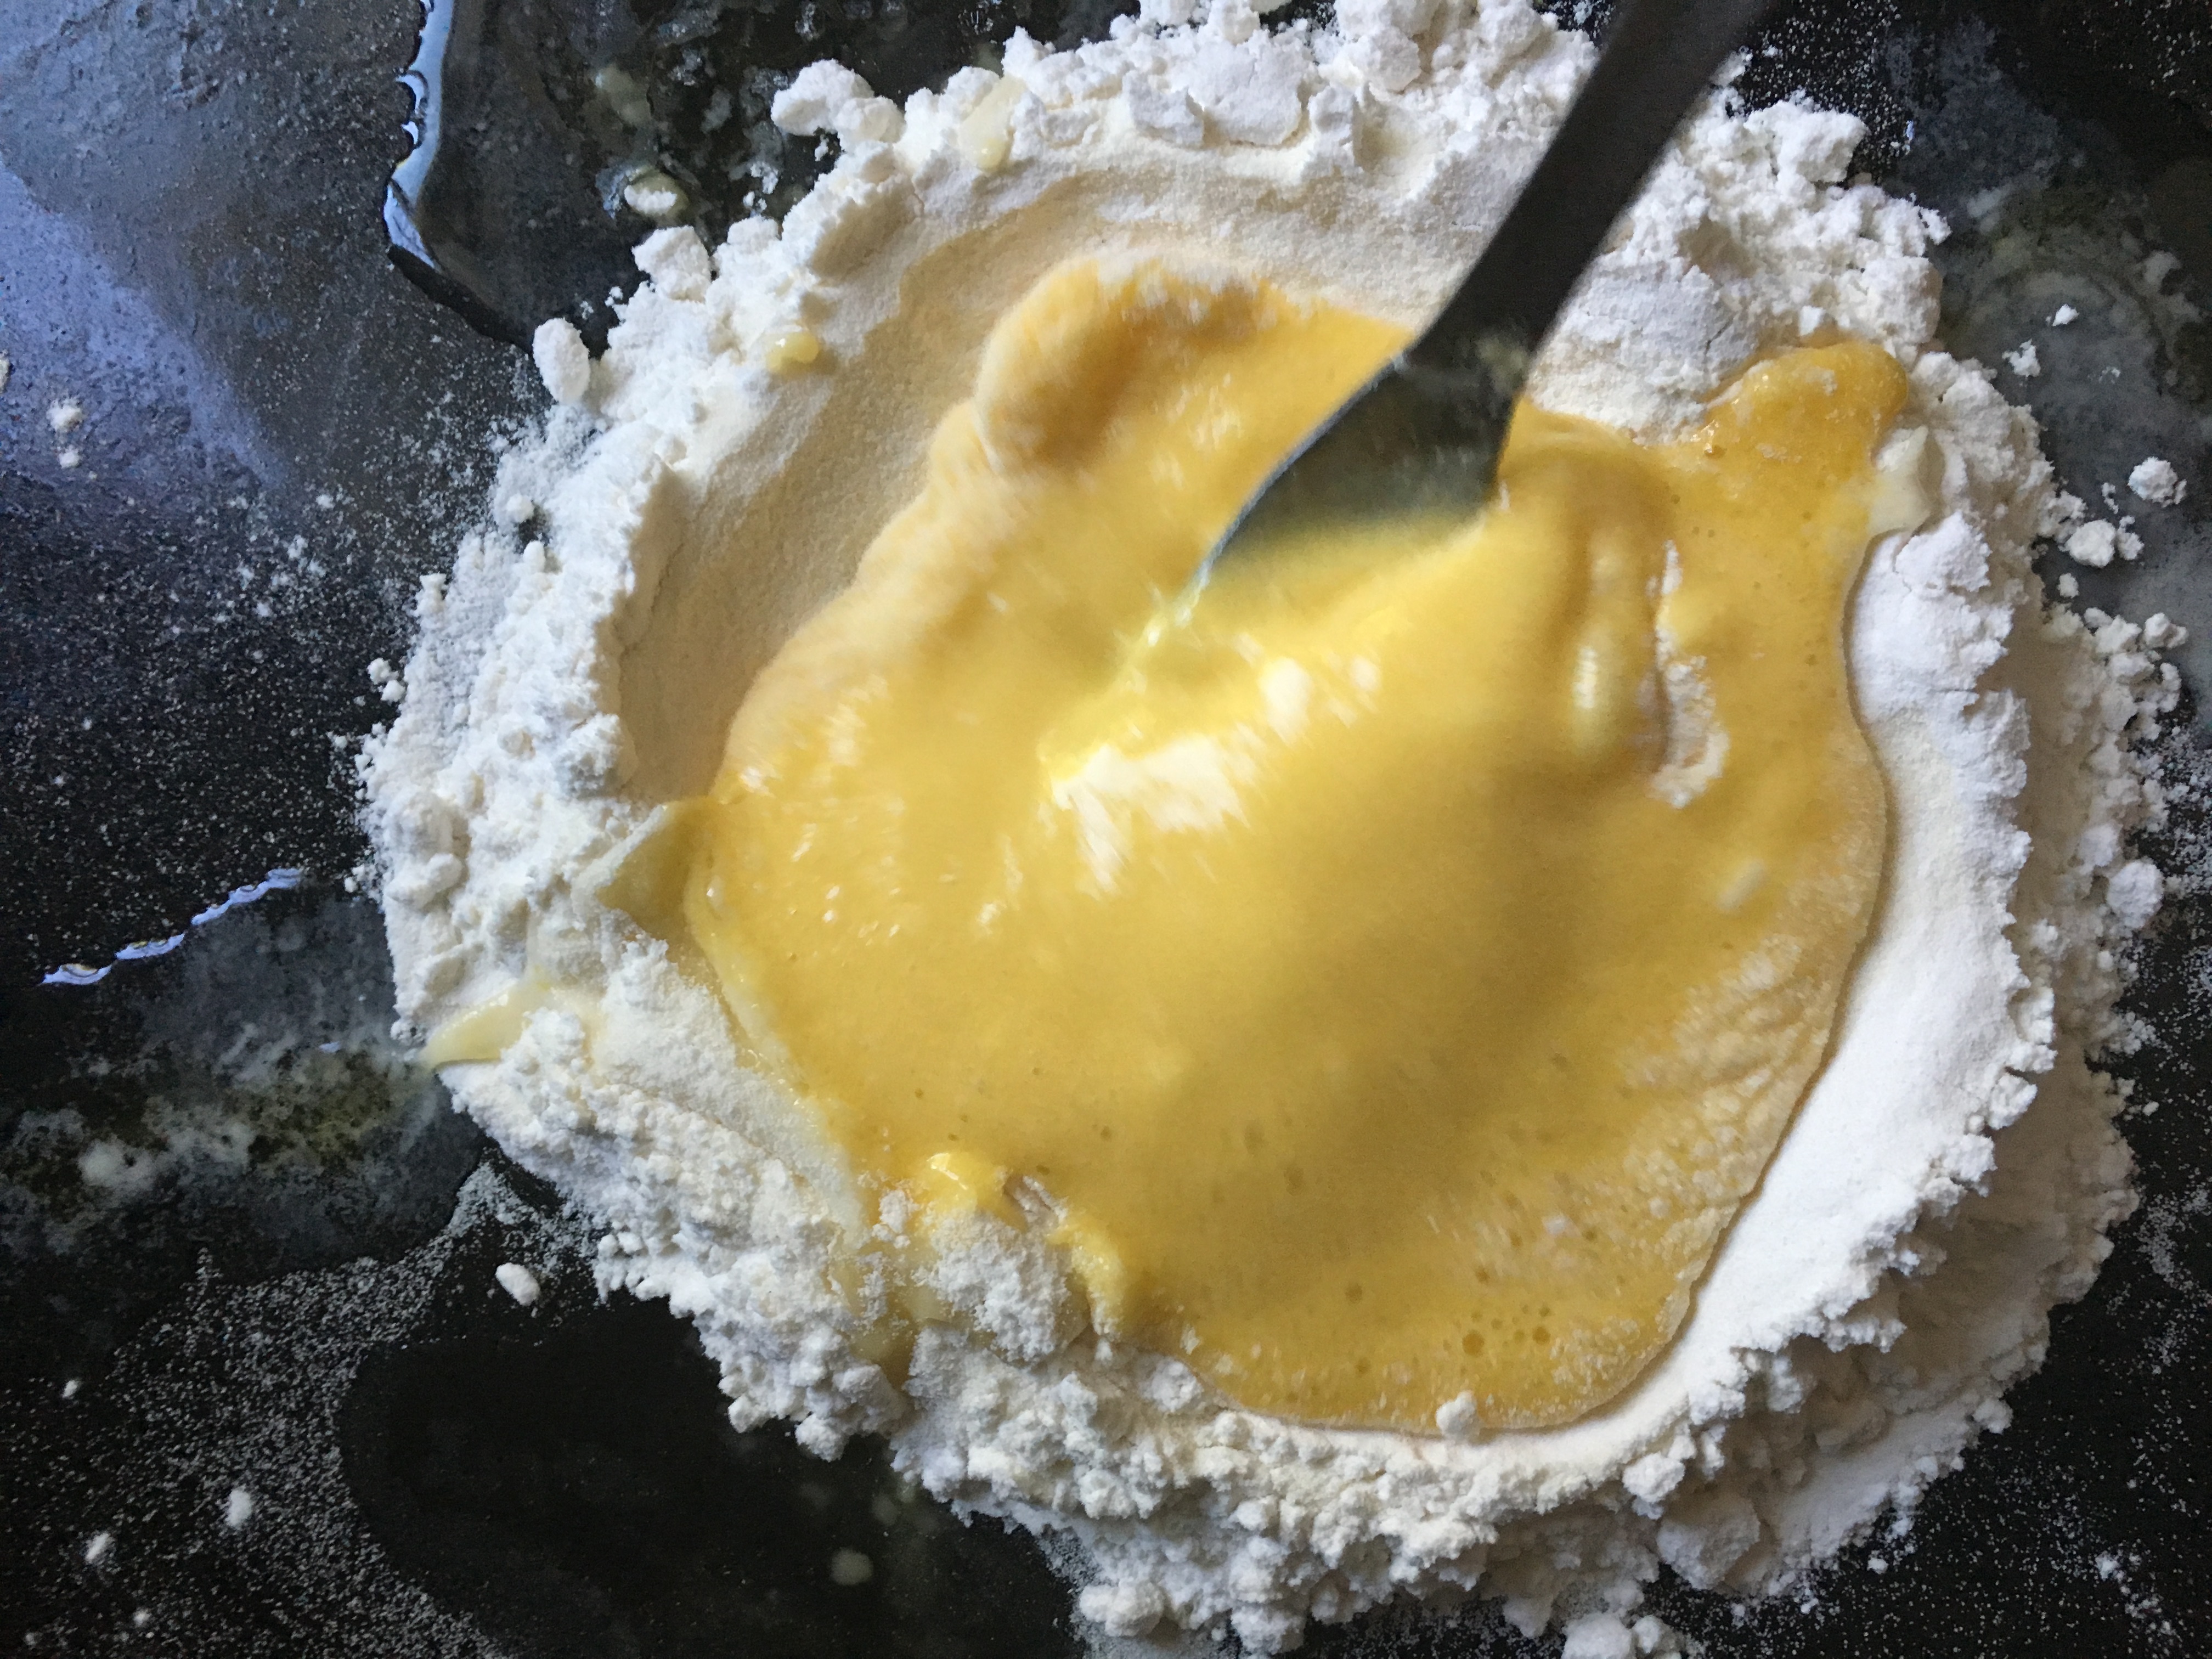 Using a fork, beat the liquid together, as you do it, you should see the flour become incorporated into the egg mixture. If the flour ‘springs a leak’, just block it with some of the flour from around the mound.
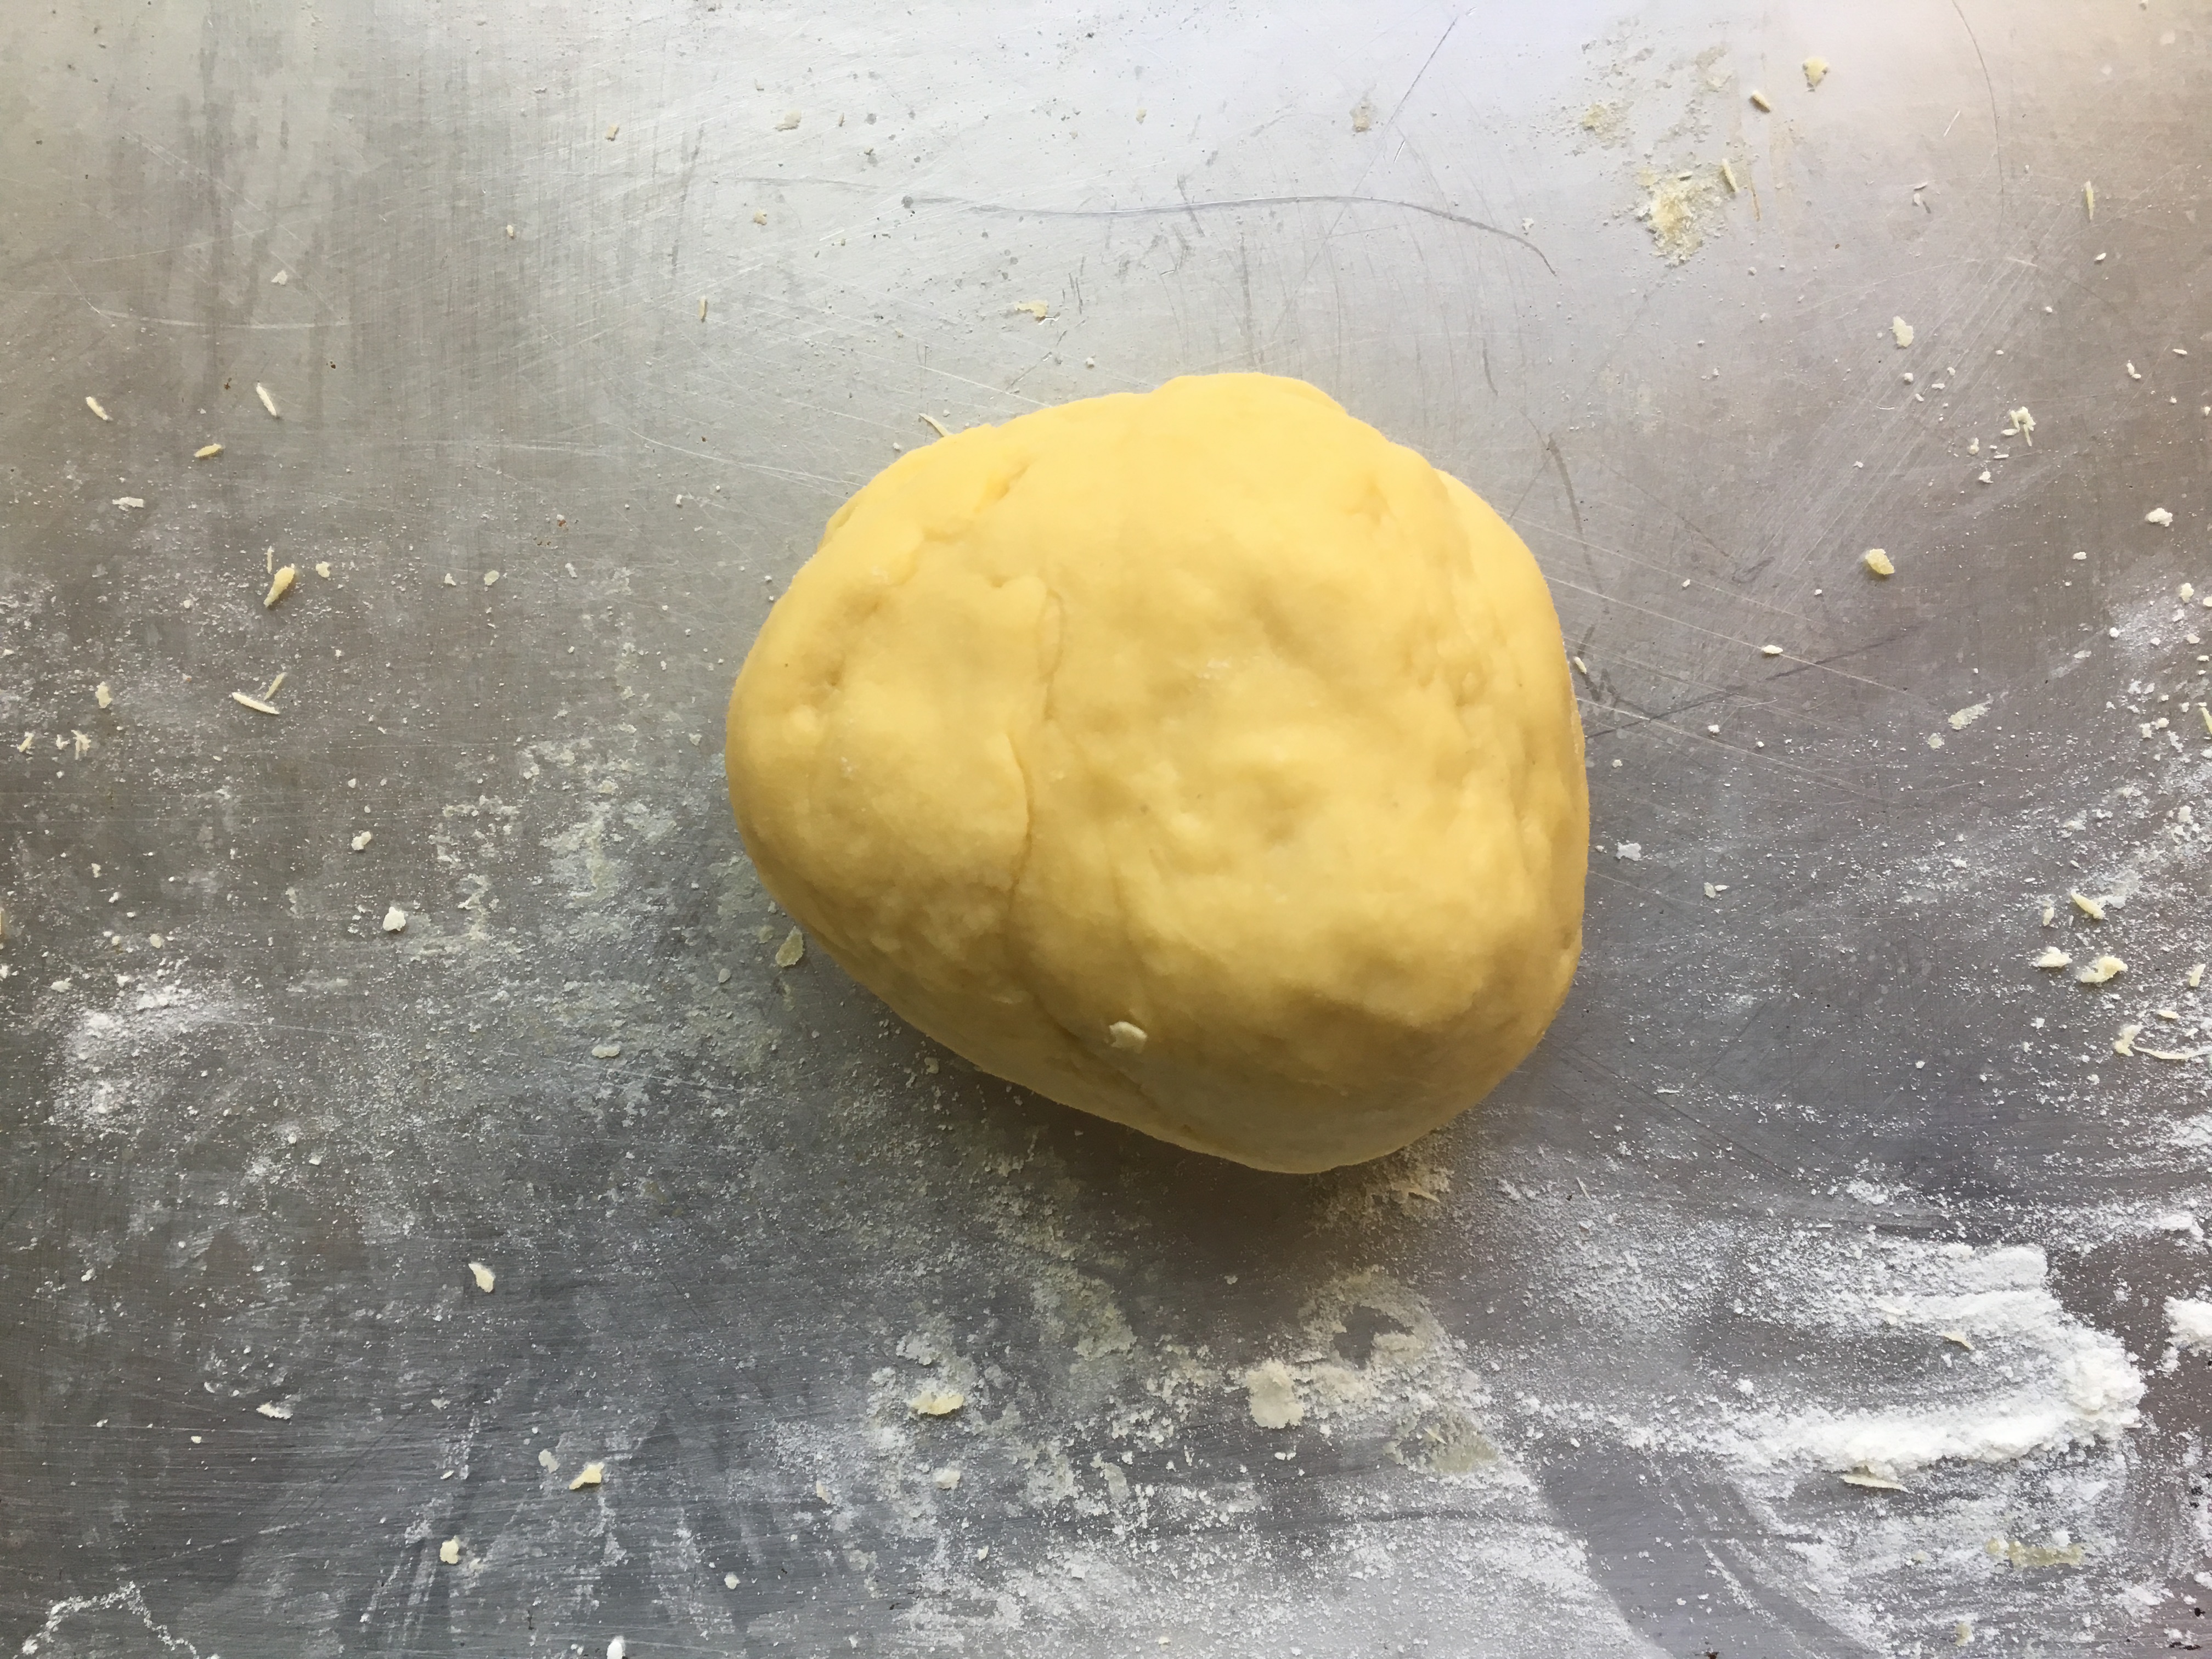 Once the mixture has become solid ball of dough, start kneading it. The best way to do this, is to fold be dough in half, sticky side on the inside of the fold. Then put both palms on top of the dough, and push down and forward on it. Repeat the motion again until you notice that the dough has become elastic, and tense. A good sign it’s done is when it ‘recoils’ after you knead it. You can’t ‘over knead’ pasta dough, so if your not sure, do it a few more times. I should also note, that when I am pushing down on the dough, I lift my body up so I’m on my tip toes, this uses my body weight to my advantage. If it’s too sticky, lightly and evenly sprinkle the excess flour on the dough. If there is none left, you can take some fresh flour, but do so sparingly.
 Wrap the dough in plastic wrap tightly. I find the best way to do this is to wrap the wrap around the dough and twisting the ends of the plastic wrap. It should look like a giant wrapped candy.
- Let rest for twenty minutes. If you’re making this in advance, you can leave it in the fridge for a week.
- If you don’t have a pasta machine, I strongly suggest you get one. They run about $40 CAD. They tend to be one trick ponies, but what they do, they do very well. If you don’t have one, then you can use a rolling pin, or a cylindrical wine bottle; whichever is closer. You want to create gluten (a protein that holds the noodles together) and so it is the correct size. to do this:
- If you’re using a Pasta Machine:
- Remove your Dough from the plastic and set your Pasta machine to the widest setting where the rollers are farthest apart
- Fold the dough to go through the machine perpendicular to the rollers, or so the fold goes through the rollers first. This will allow any trapped air
to escape. Run the Dough through the machine 4 to 5 times until the dough feels elastic. Every time you run it though the machine, you’re creating more gluten. You’ll notice the outside of the dough starts to feel more ‘dry’ after a couple of runs though the machine.
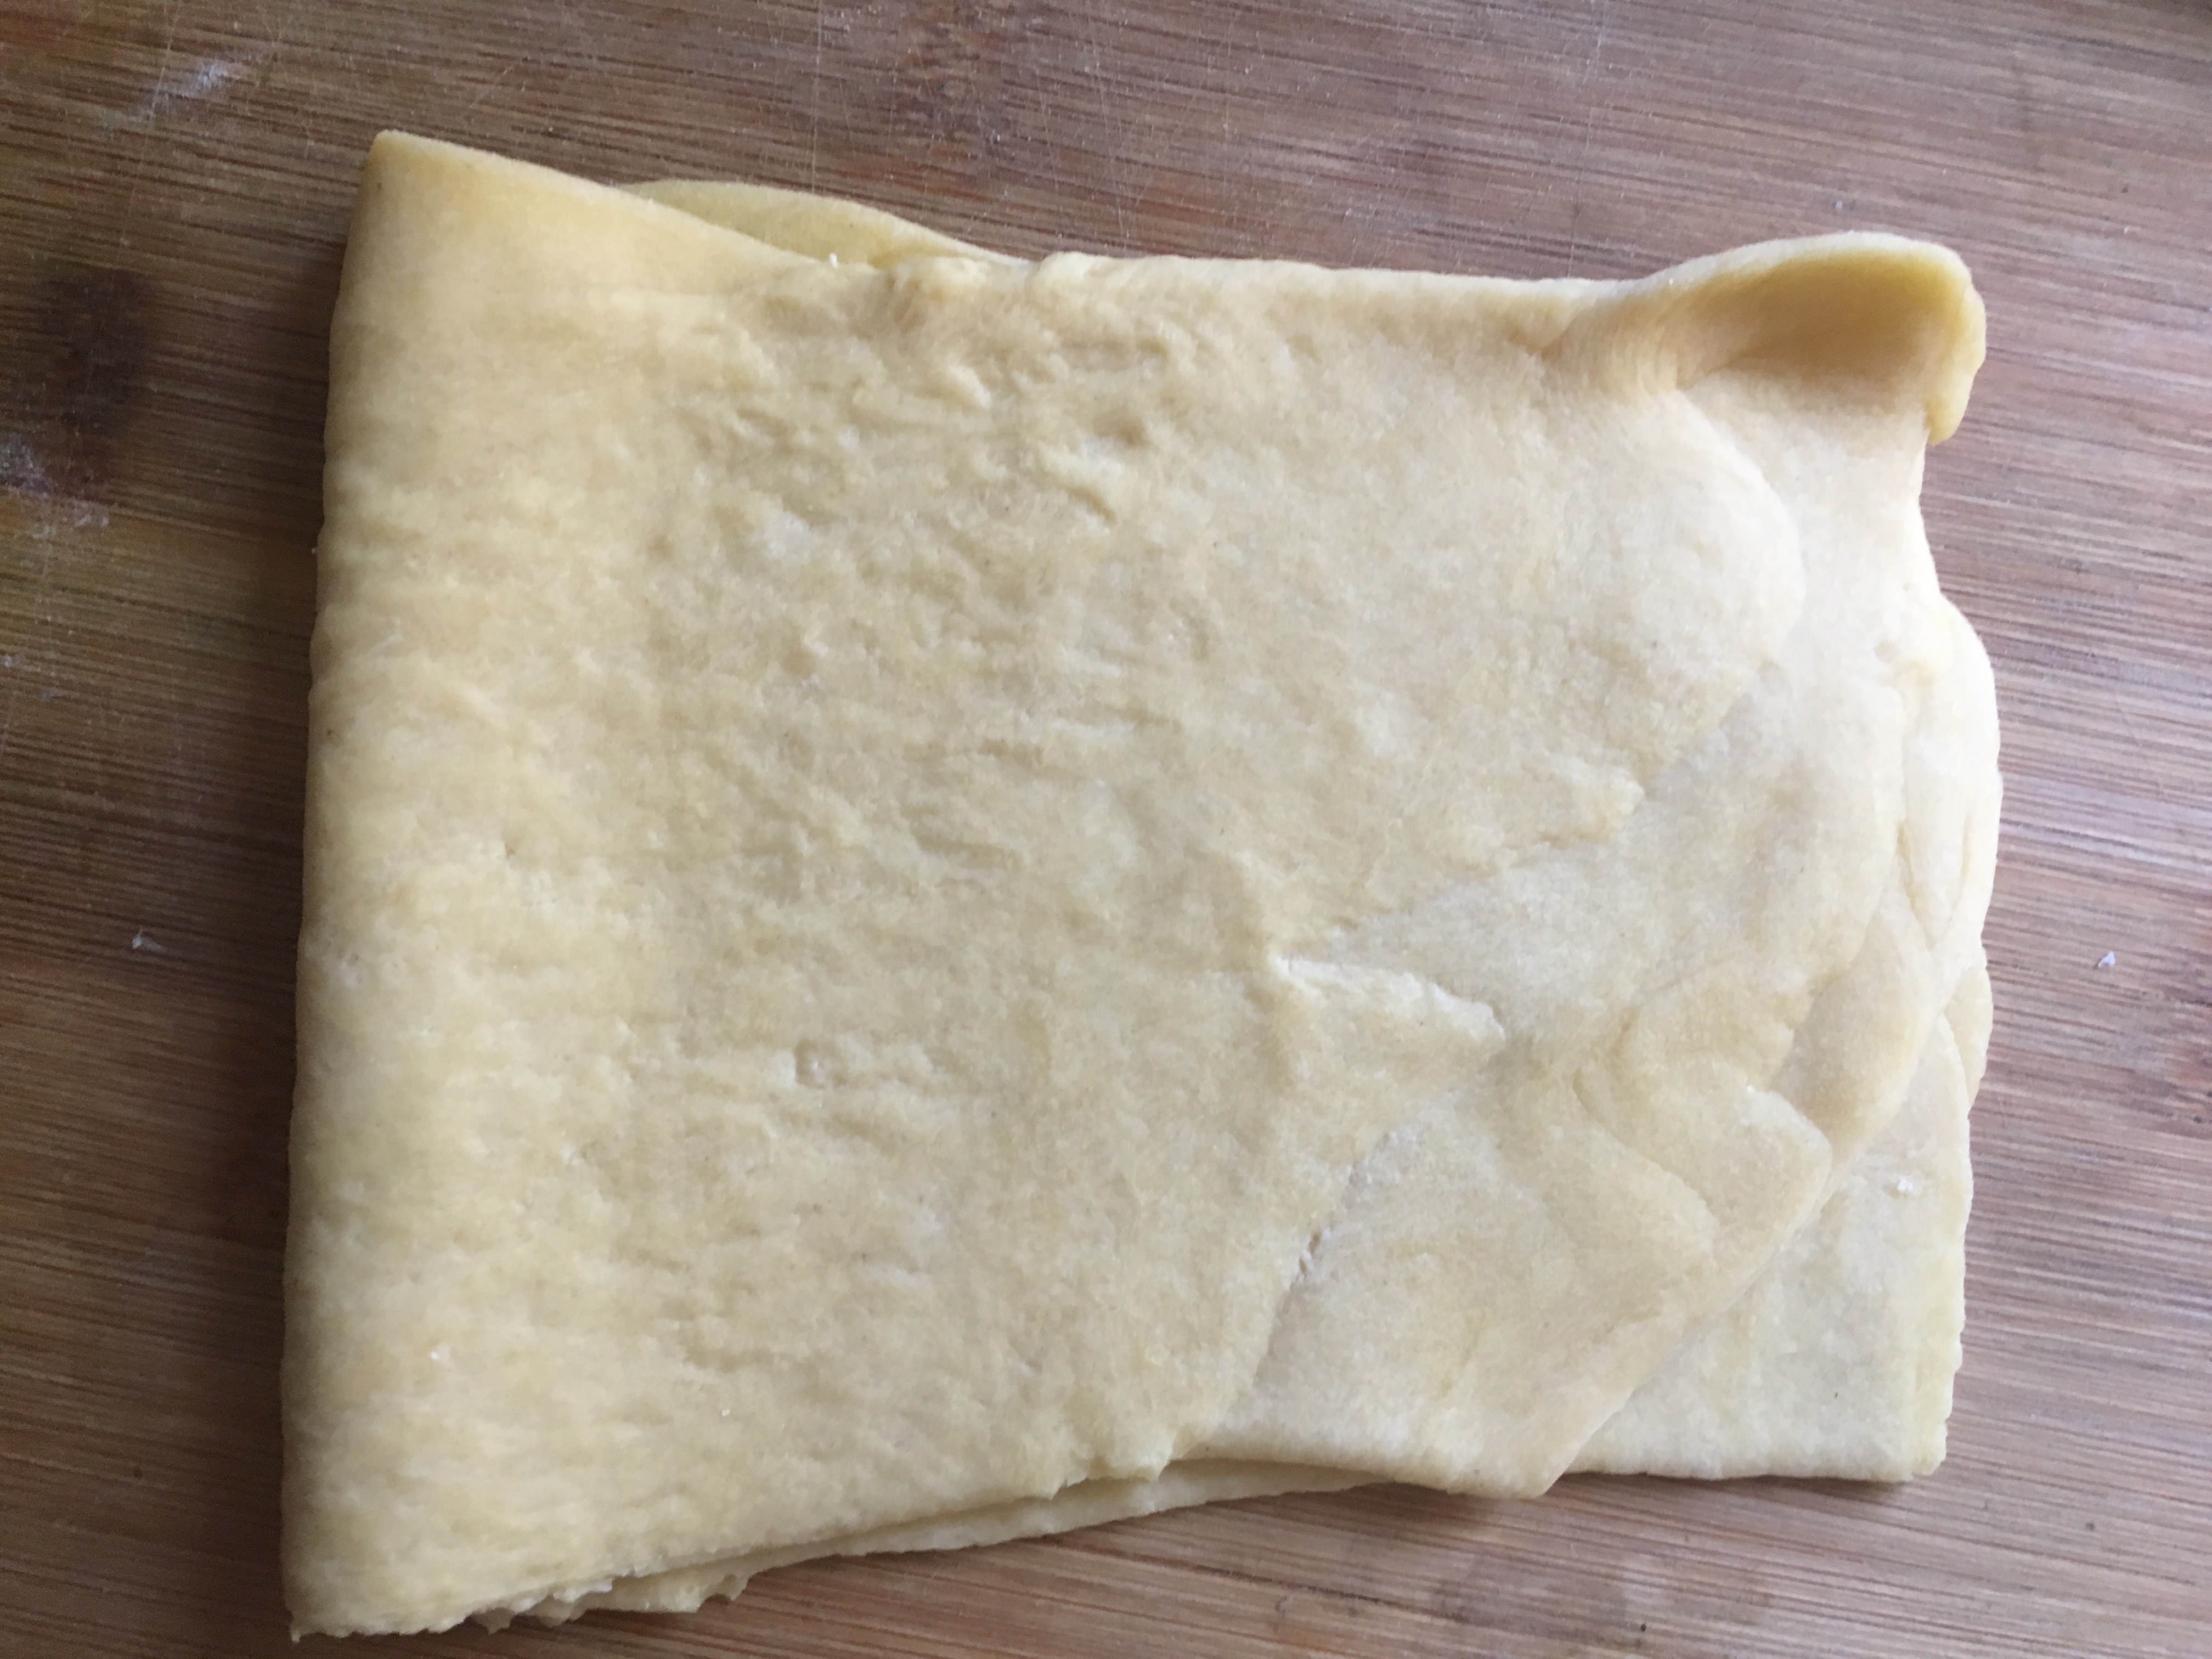 If the dough is 1/8″ thick, move on to the next step, or else lower the setting on the machine by one, and repeat the above step
- If you’re using a rolling pin:
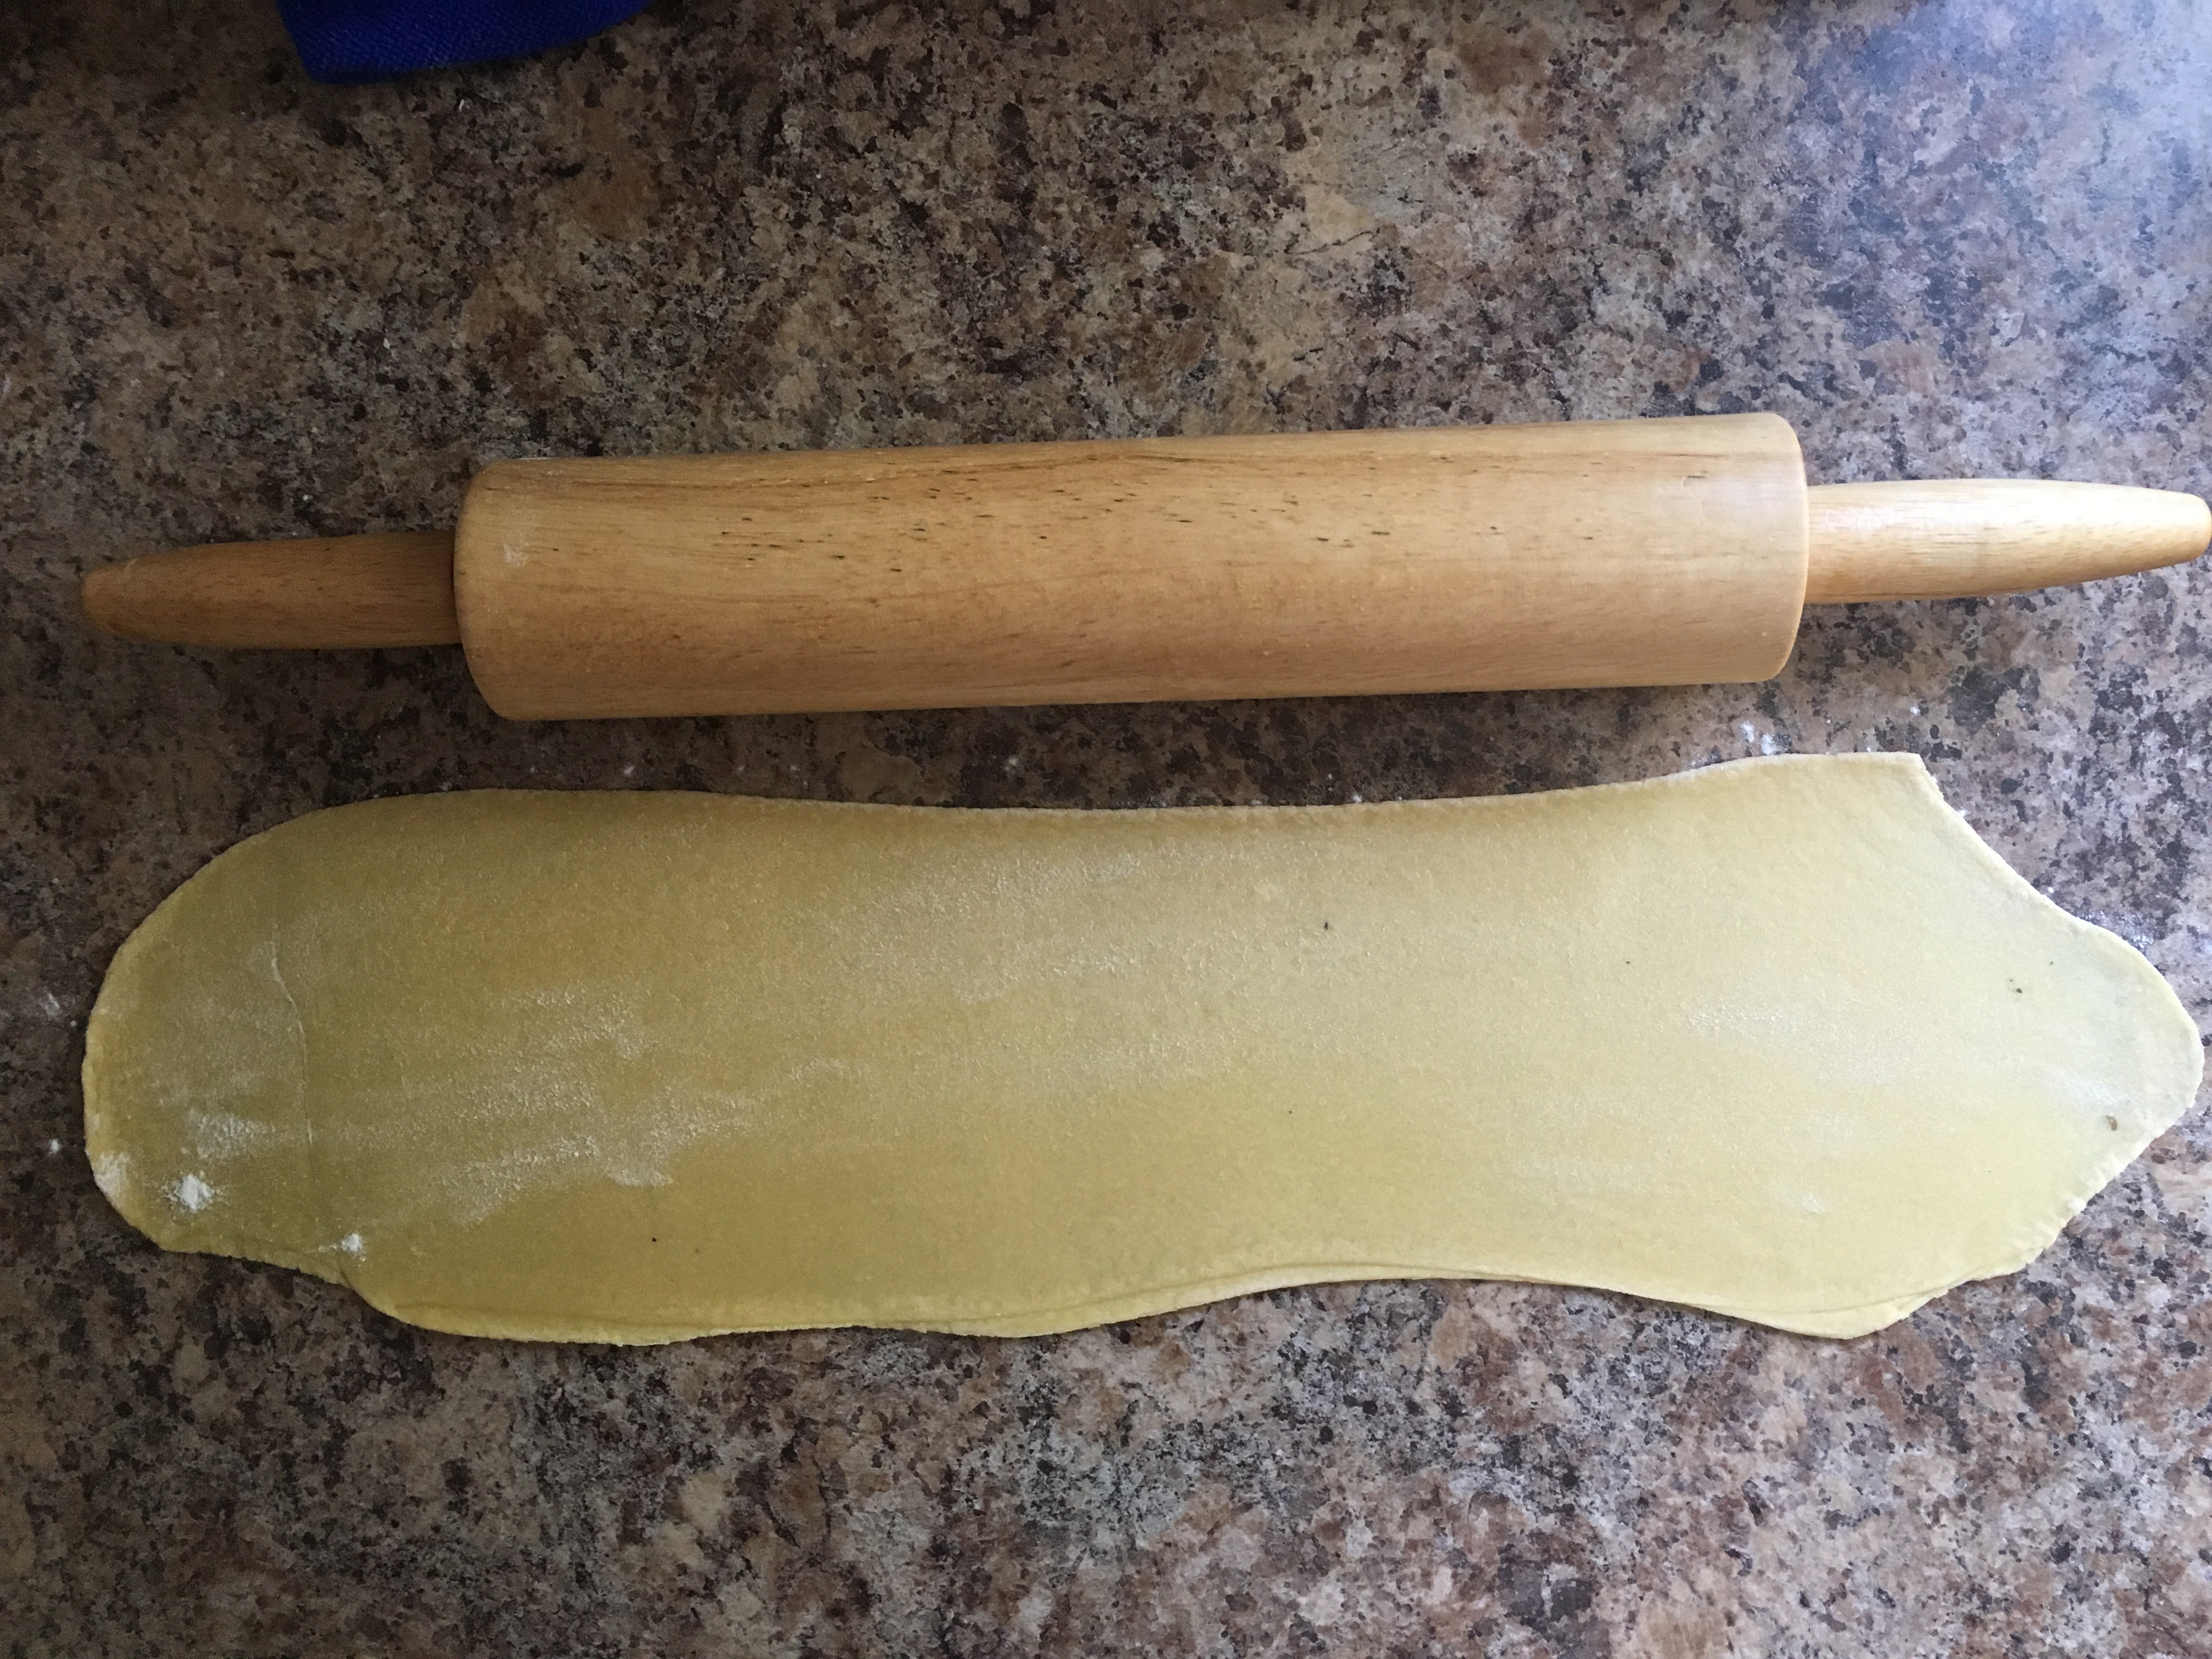 Remove the dough from the plastic and roll it up into a log. Cut the log into 1.5-2″ rounds.
- Roll each round out one at a time, keep the unrolled dough on a plate under a damp tea towel, and the rolled dough lightly dusted in flour stacked gently on top of each other.
- To roll out each round, place it on a lightly floured surface. you want to be very gentle with your dough, at least at first. Start at the centre of the disk, roll outwards, then repeat in the opposite direction turn the dough 90 degrees.
- If the dough is 1/8″, flour the dough, place under tea-towel, and move on to the next step, or repeat processes with the next round.
Once your dough is rolled out, let it sit out for about ten minutes, then put it either In a zip lock, or cover with plastic wrap.
- If you’re using a Pasta Machine:
- simply cut the pasta dough to the length you want the noodles
- Run the pasta through the spaghetti cutter attachment
- If you’re not using a Pasta Machine:
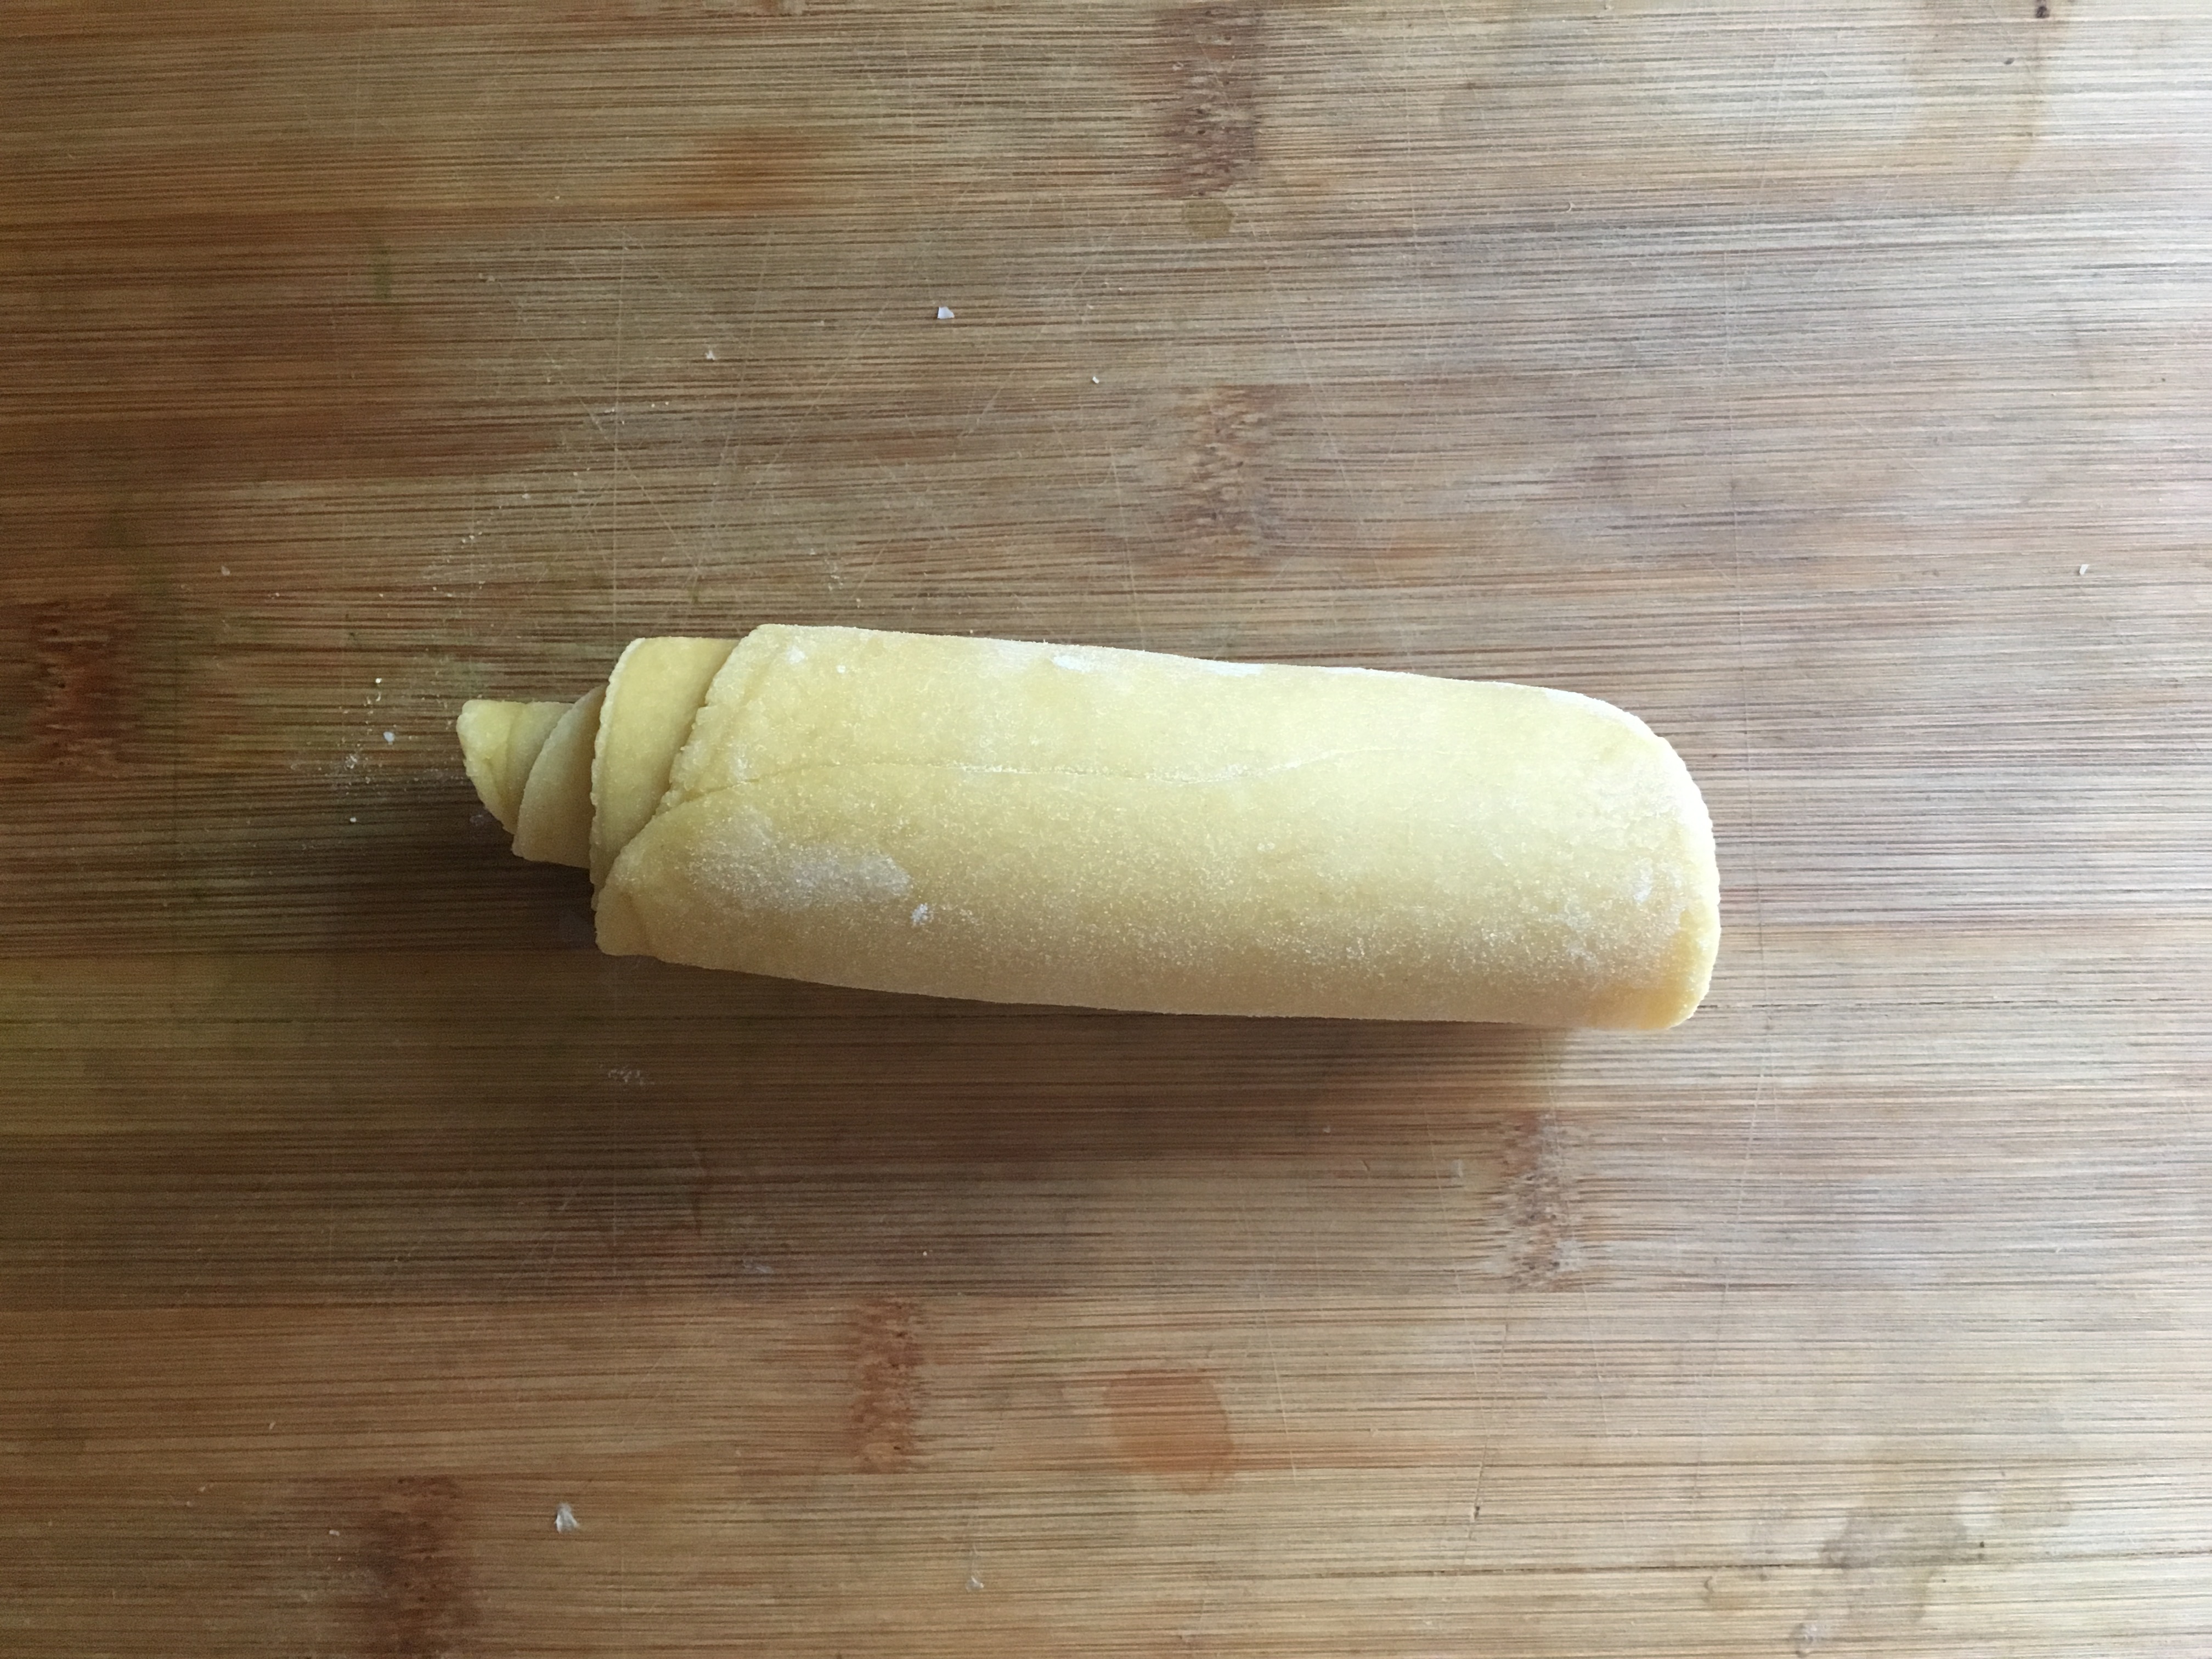 Gently roll the floured dough into a log
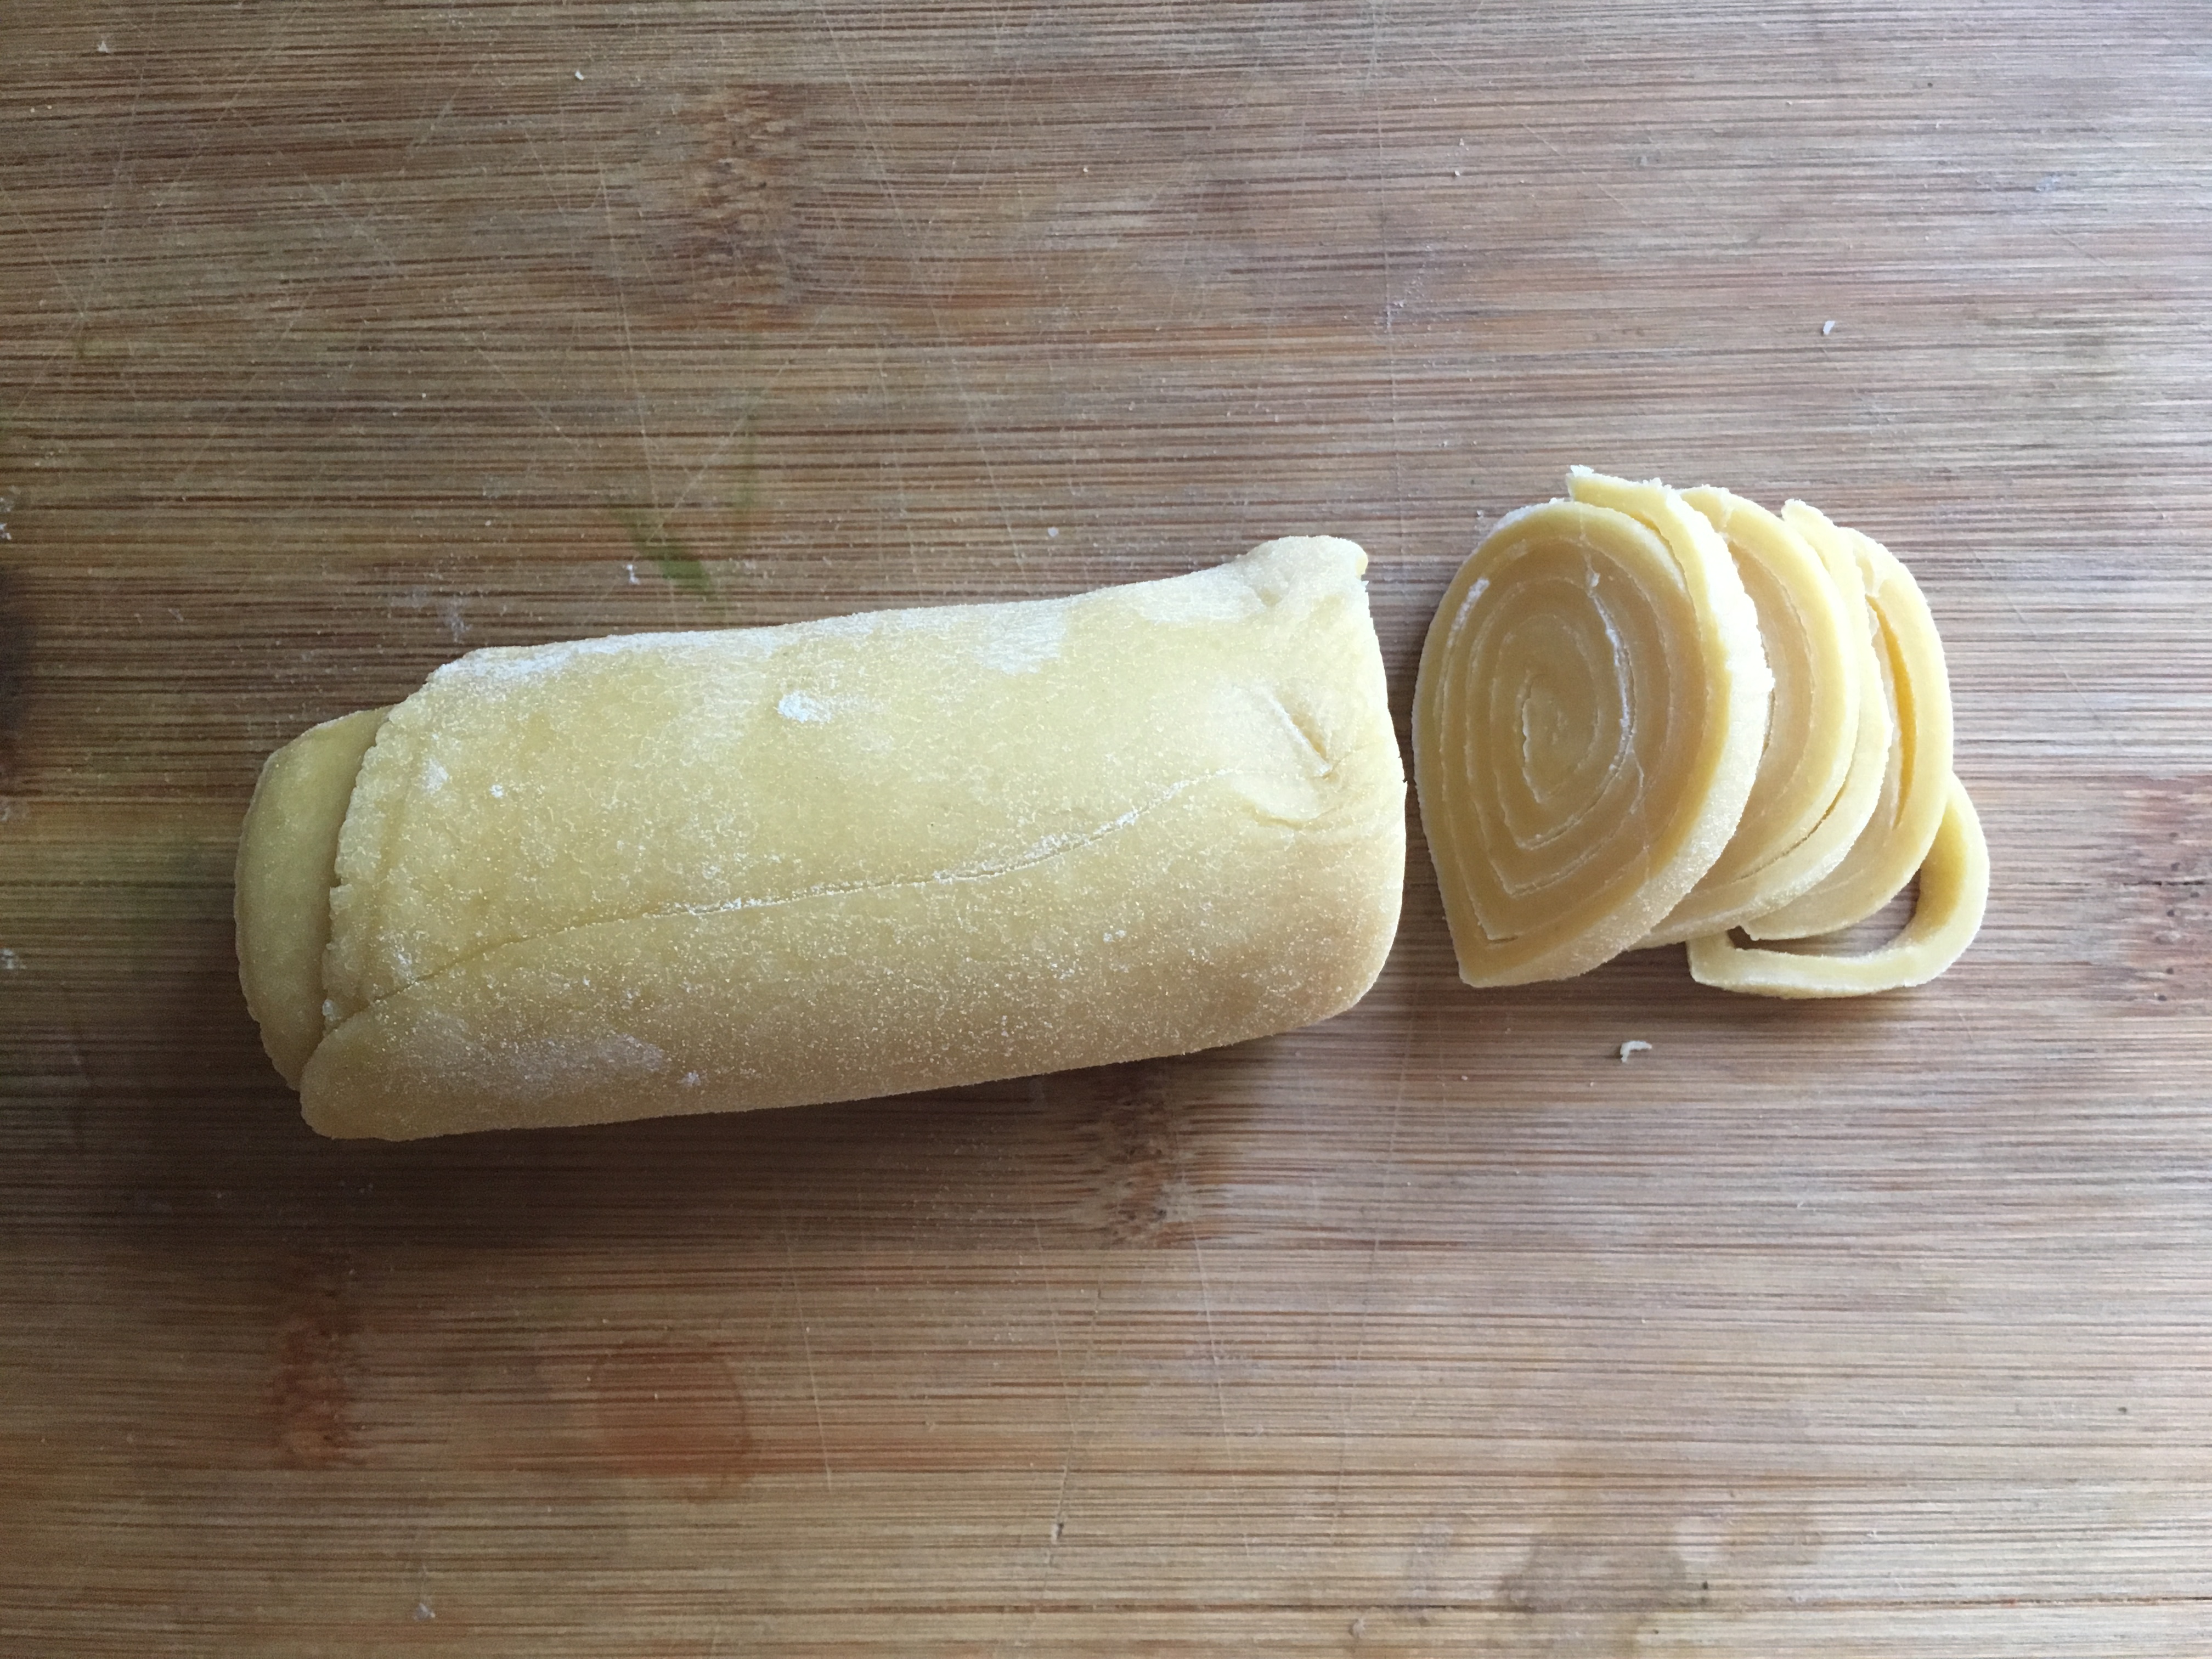 cut the log width wise, each cut should be the same width you want the noodles. Unroll each cut piece of dough into your noodles.
Portion your noodles in servings.
 Then wrap each portion into a circle and leave out for 20 minutes.
Place each portion in a plastic bag to store until you’re ready to cook. It will keep in the freezer for a year, the fridge for a month, or on the shelf for a week.
Then wrap each portion into a circle and leave out for 20 minutes.
Place each portion in a plastic bag to store until you’re ready to cook. It will keep in the freezer for a year, the fridge for a month, or on the shelf for a week.
Let’s make the final dish:
- Fill a pot on high heat with salted water. How much salt you need depends on how much water there is. The rule of thumb is the water should ‘taste of the sea’. Personally, if I’m using fresh pasta dough, I use less water; about an inch higher then the noodles should be fine. I say this because fresh noodles cook so fast that ultimately less starch is released into the water. In this recipe, you want the pasta water to be as starchy as possible, so by using less water, you get a higher concentration of starch.
- While the water is boiling, bias cut your garlic into rounds.
- Once the water has boiled, put the olive oil in a pan on medium heat and add the garlic right away. If you’re using store bought dried pasta, place it into the boiling water now, if you’re going fresh, wait for the garlic to get soft and slightly turn brown, This is the perfect time to throw in your fresh noodles.
- Once your garlic is golden brown and delicious, add an the now starchy water from used to cook the noodles. The amount should be equal to the amount of olive oil you used. Pour it in carefully, because you don’t want the oil to splash you.
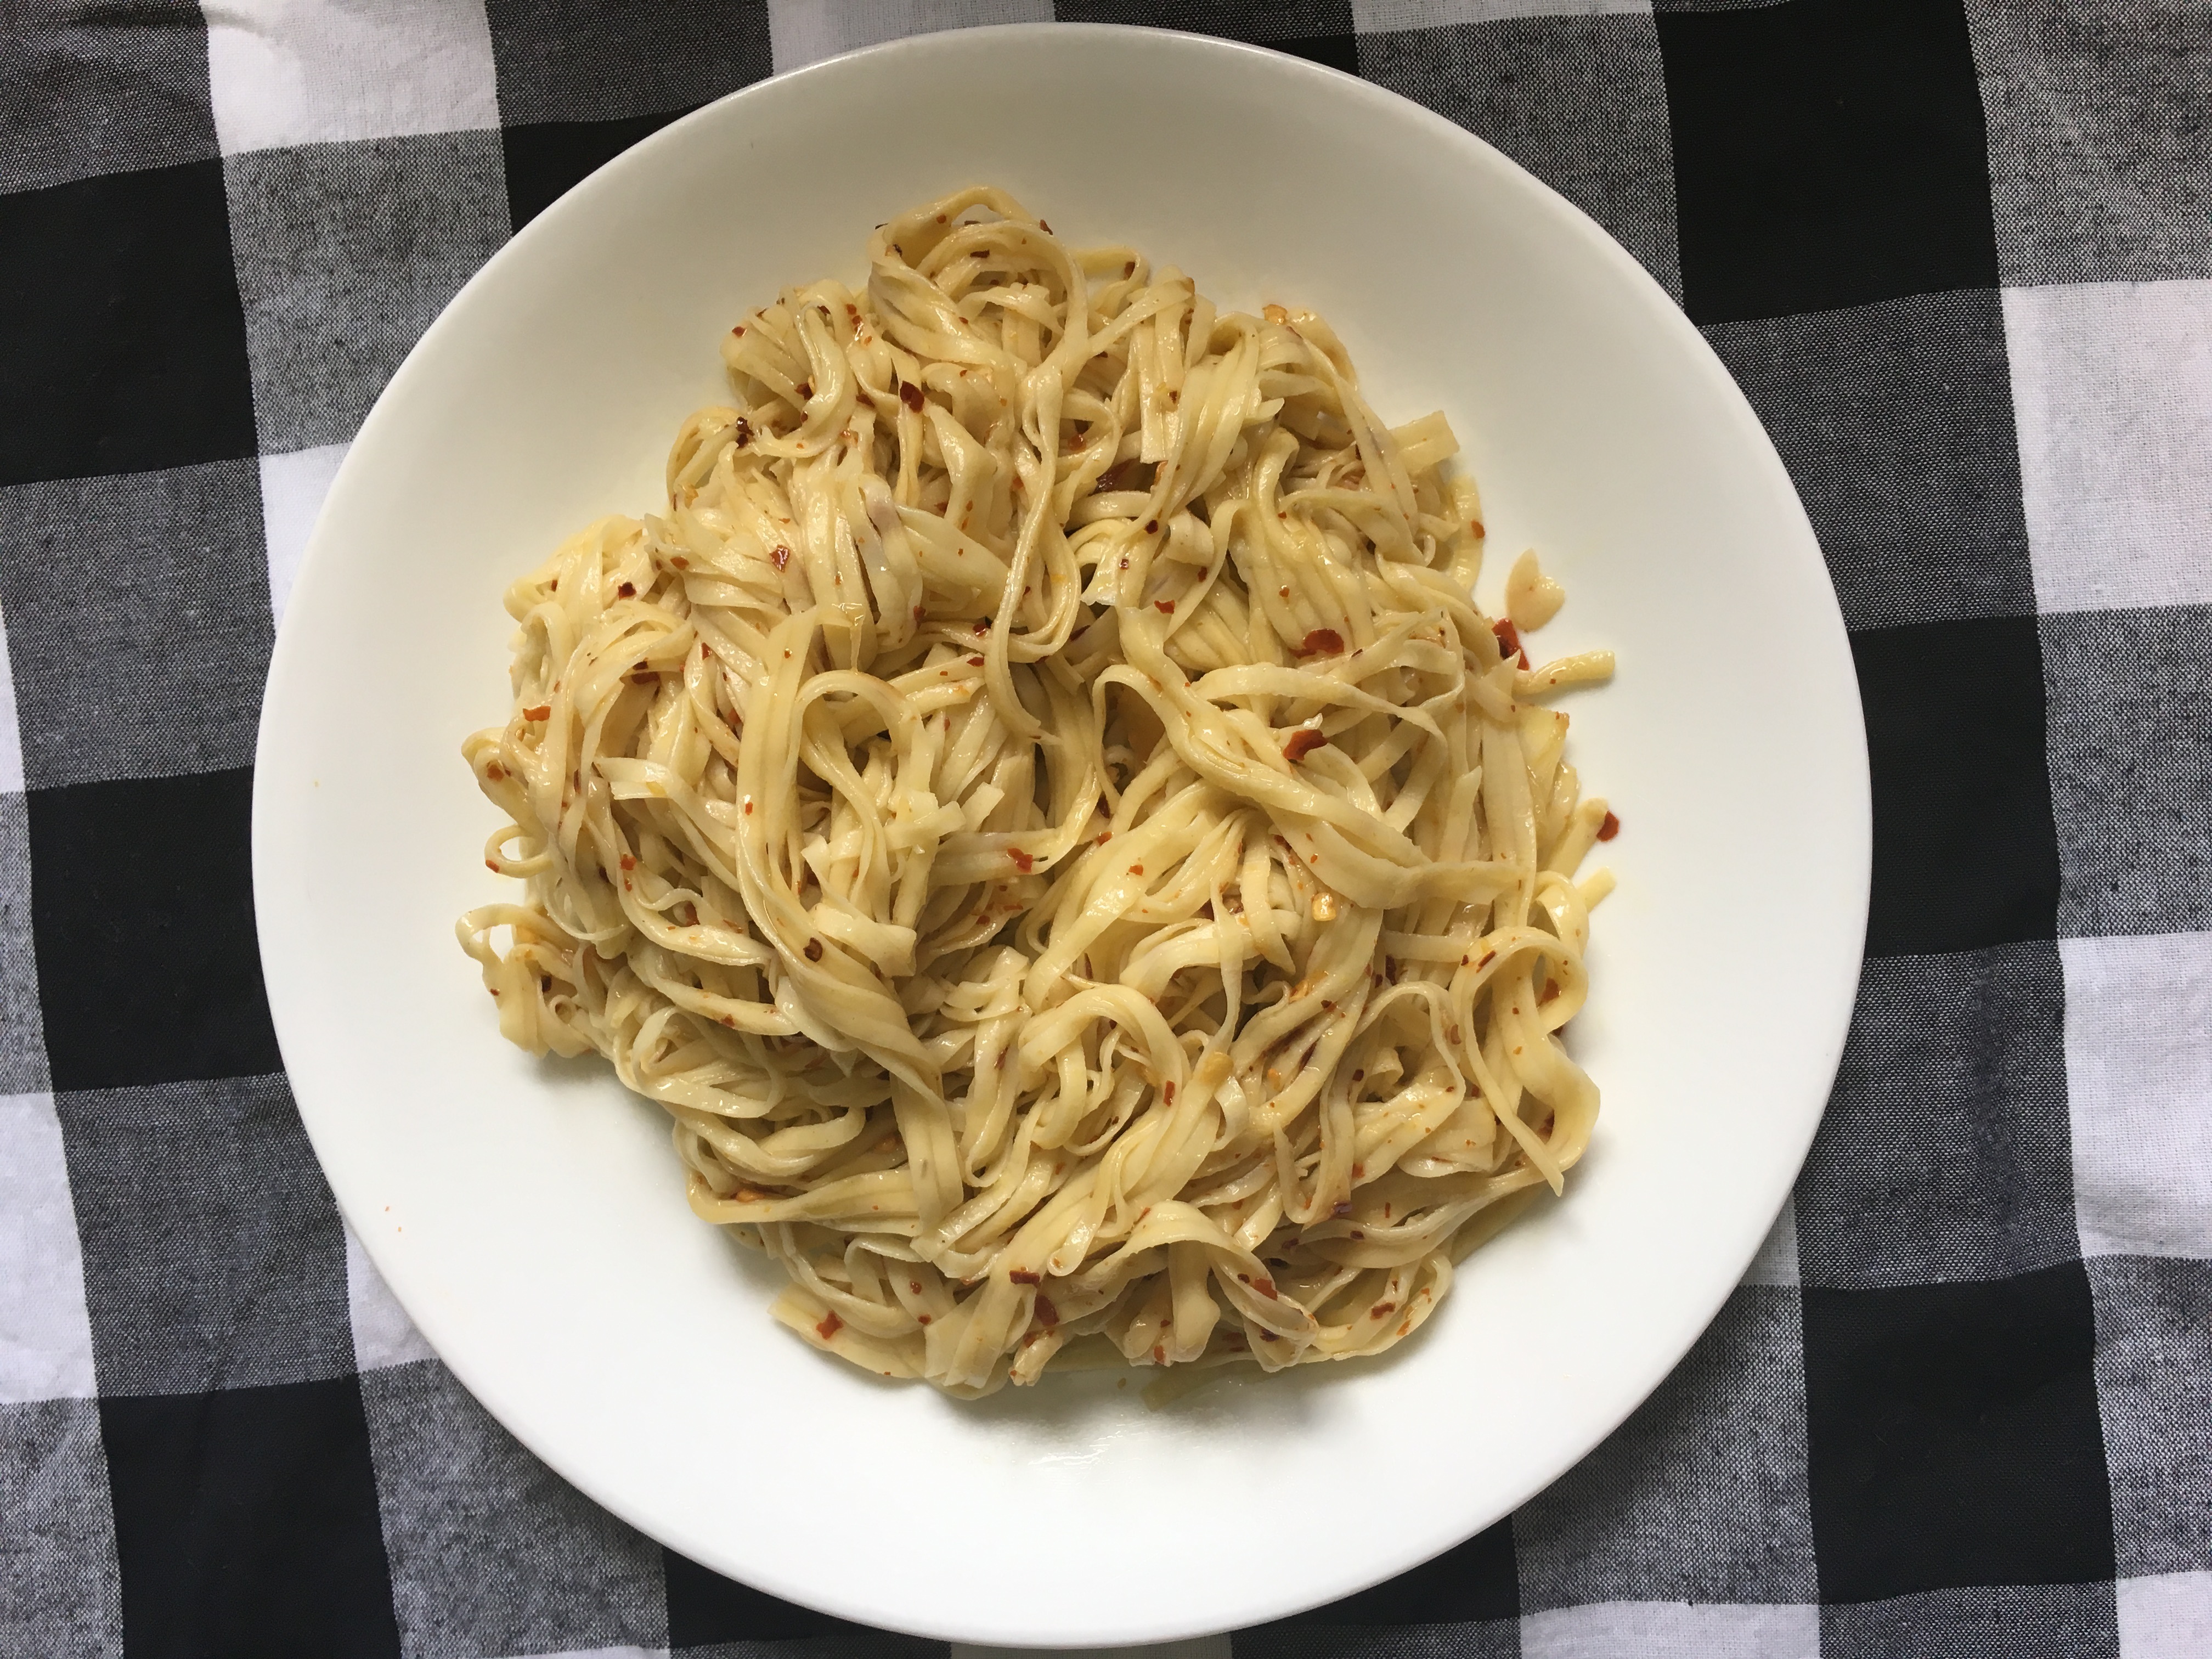
- Mix in your crushed chilli and cooked noodles, no need to dry them, and especially don’t rinse them.
- Take a fancy photo, and post it to Instagram with the hashtag #foryourfoulmouth

 Wash and dry your broccoli throughly. Broccoli grows in dirt, and who wants to eat dirt?
 Place 4 cups of water and a steamer basket into a pot. The water level should not be higher than the basket. My pot came with a basket that sits on top of the pot.
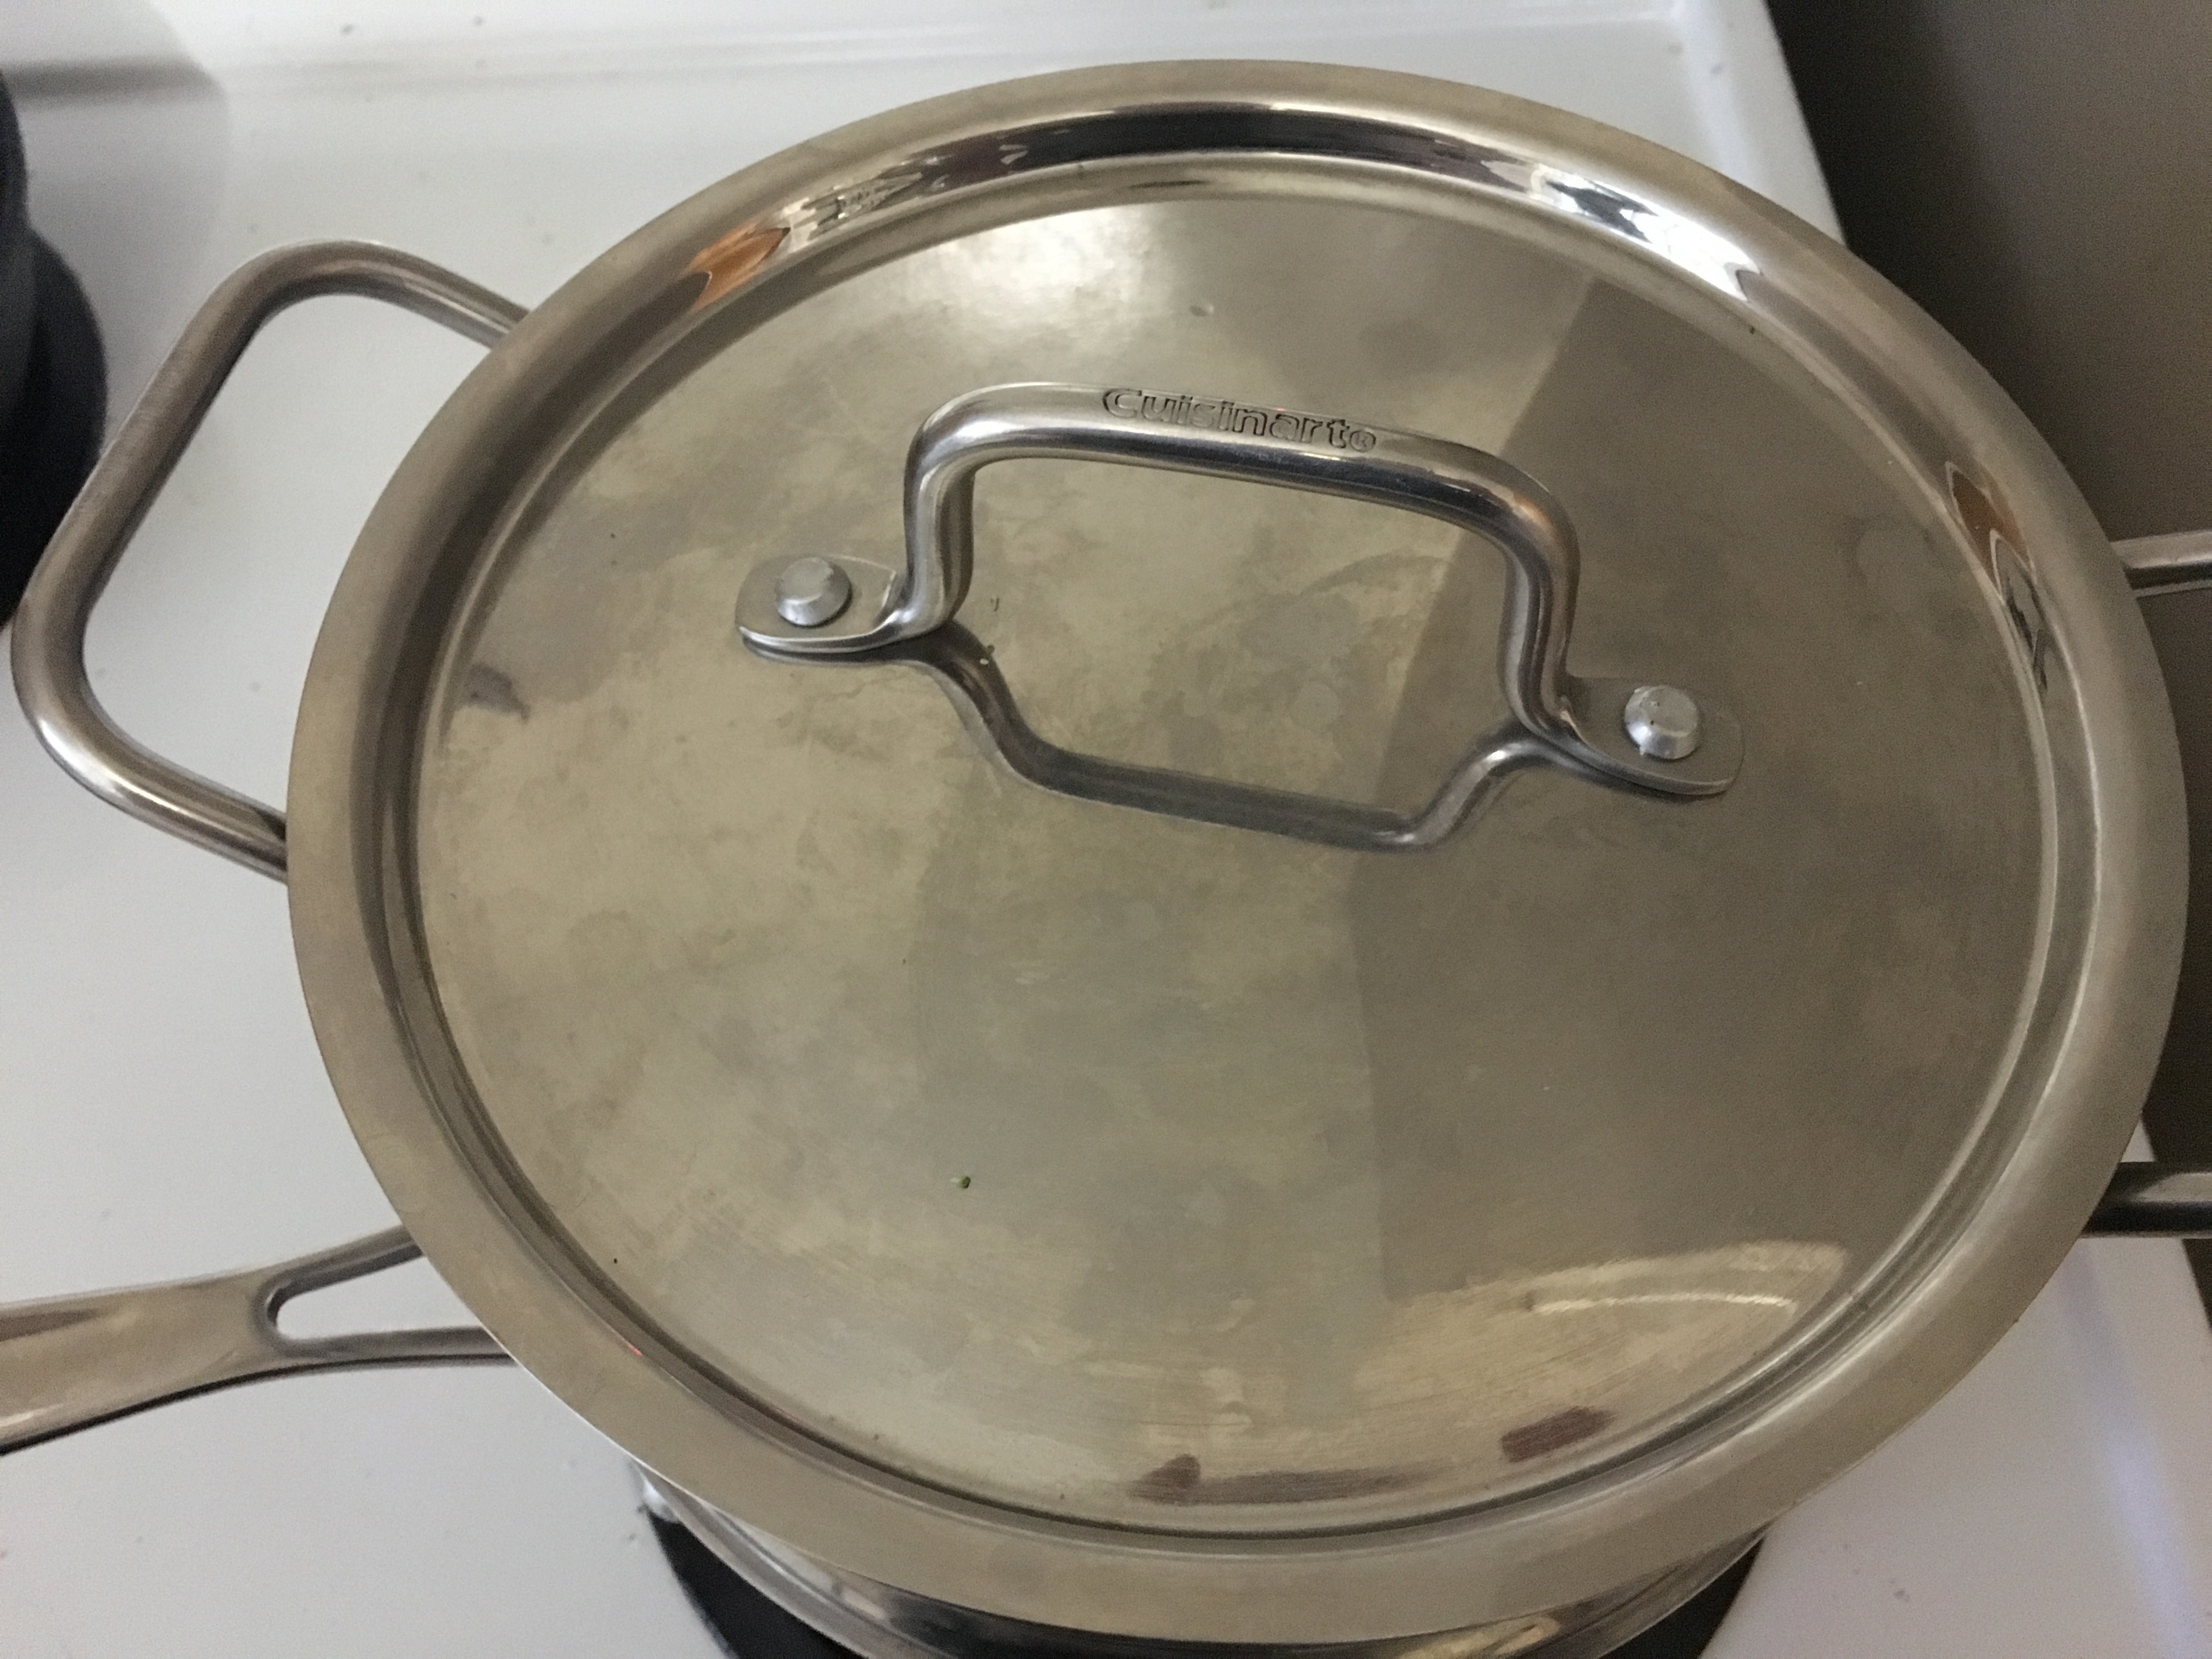 Put the pot on high heat, and wait for a good head of steam to form. Put your broccoli in the basket, and place the lid on.
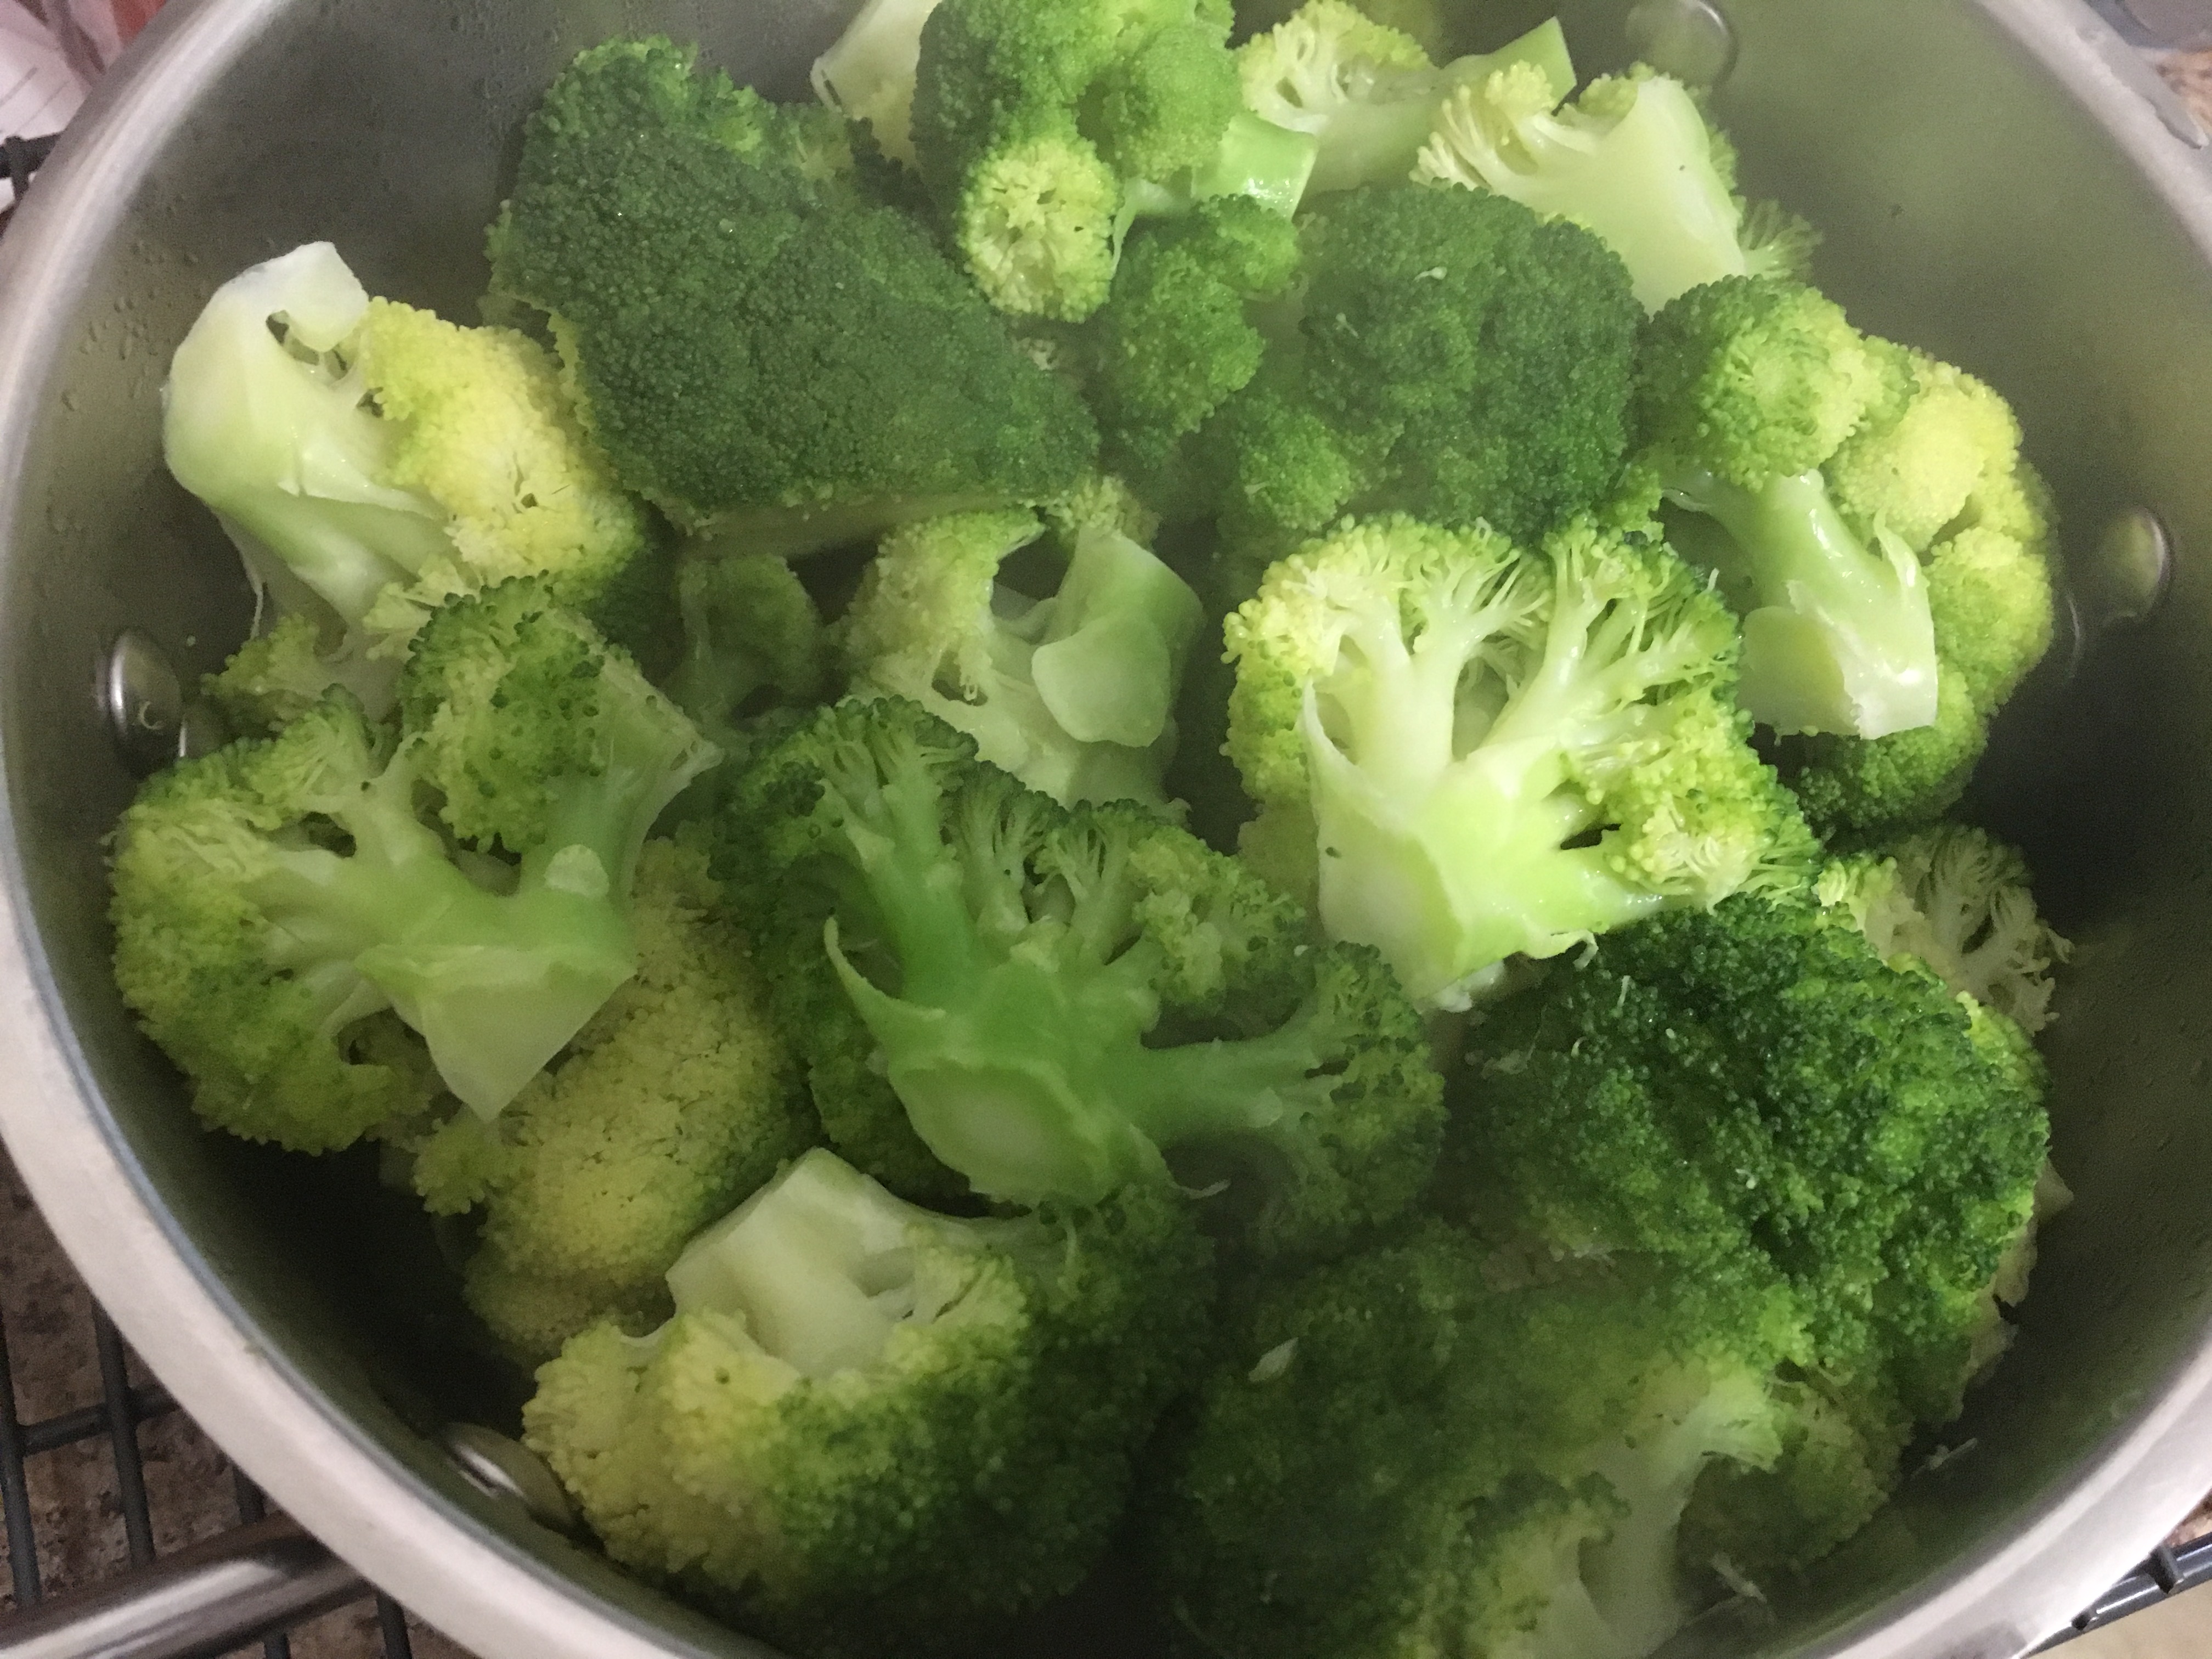 Wait 3 minutes, and check to see if your broccoli has turned bright green, and is fork tender. Reserve steaming water for later
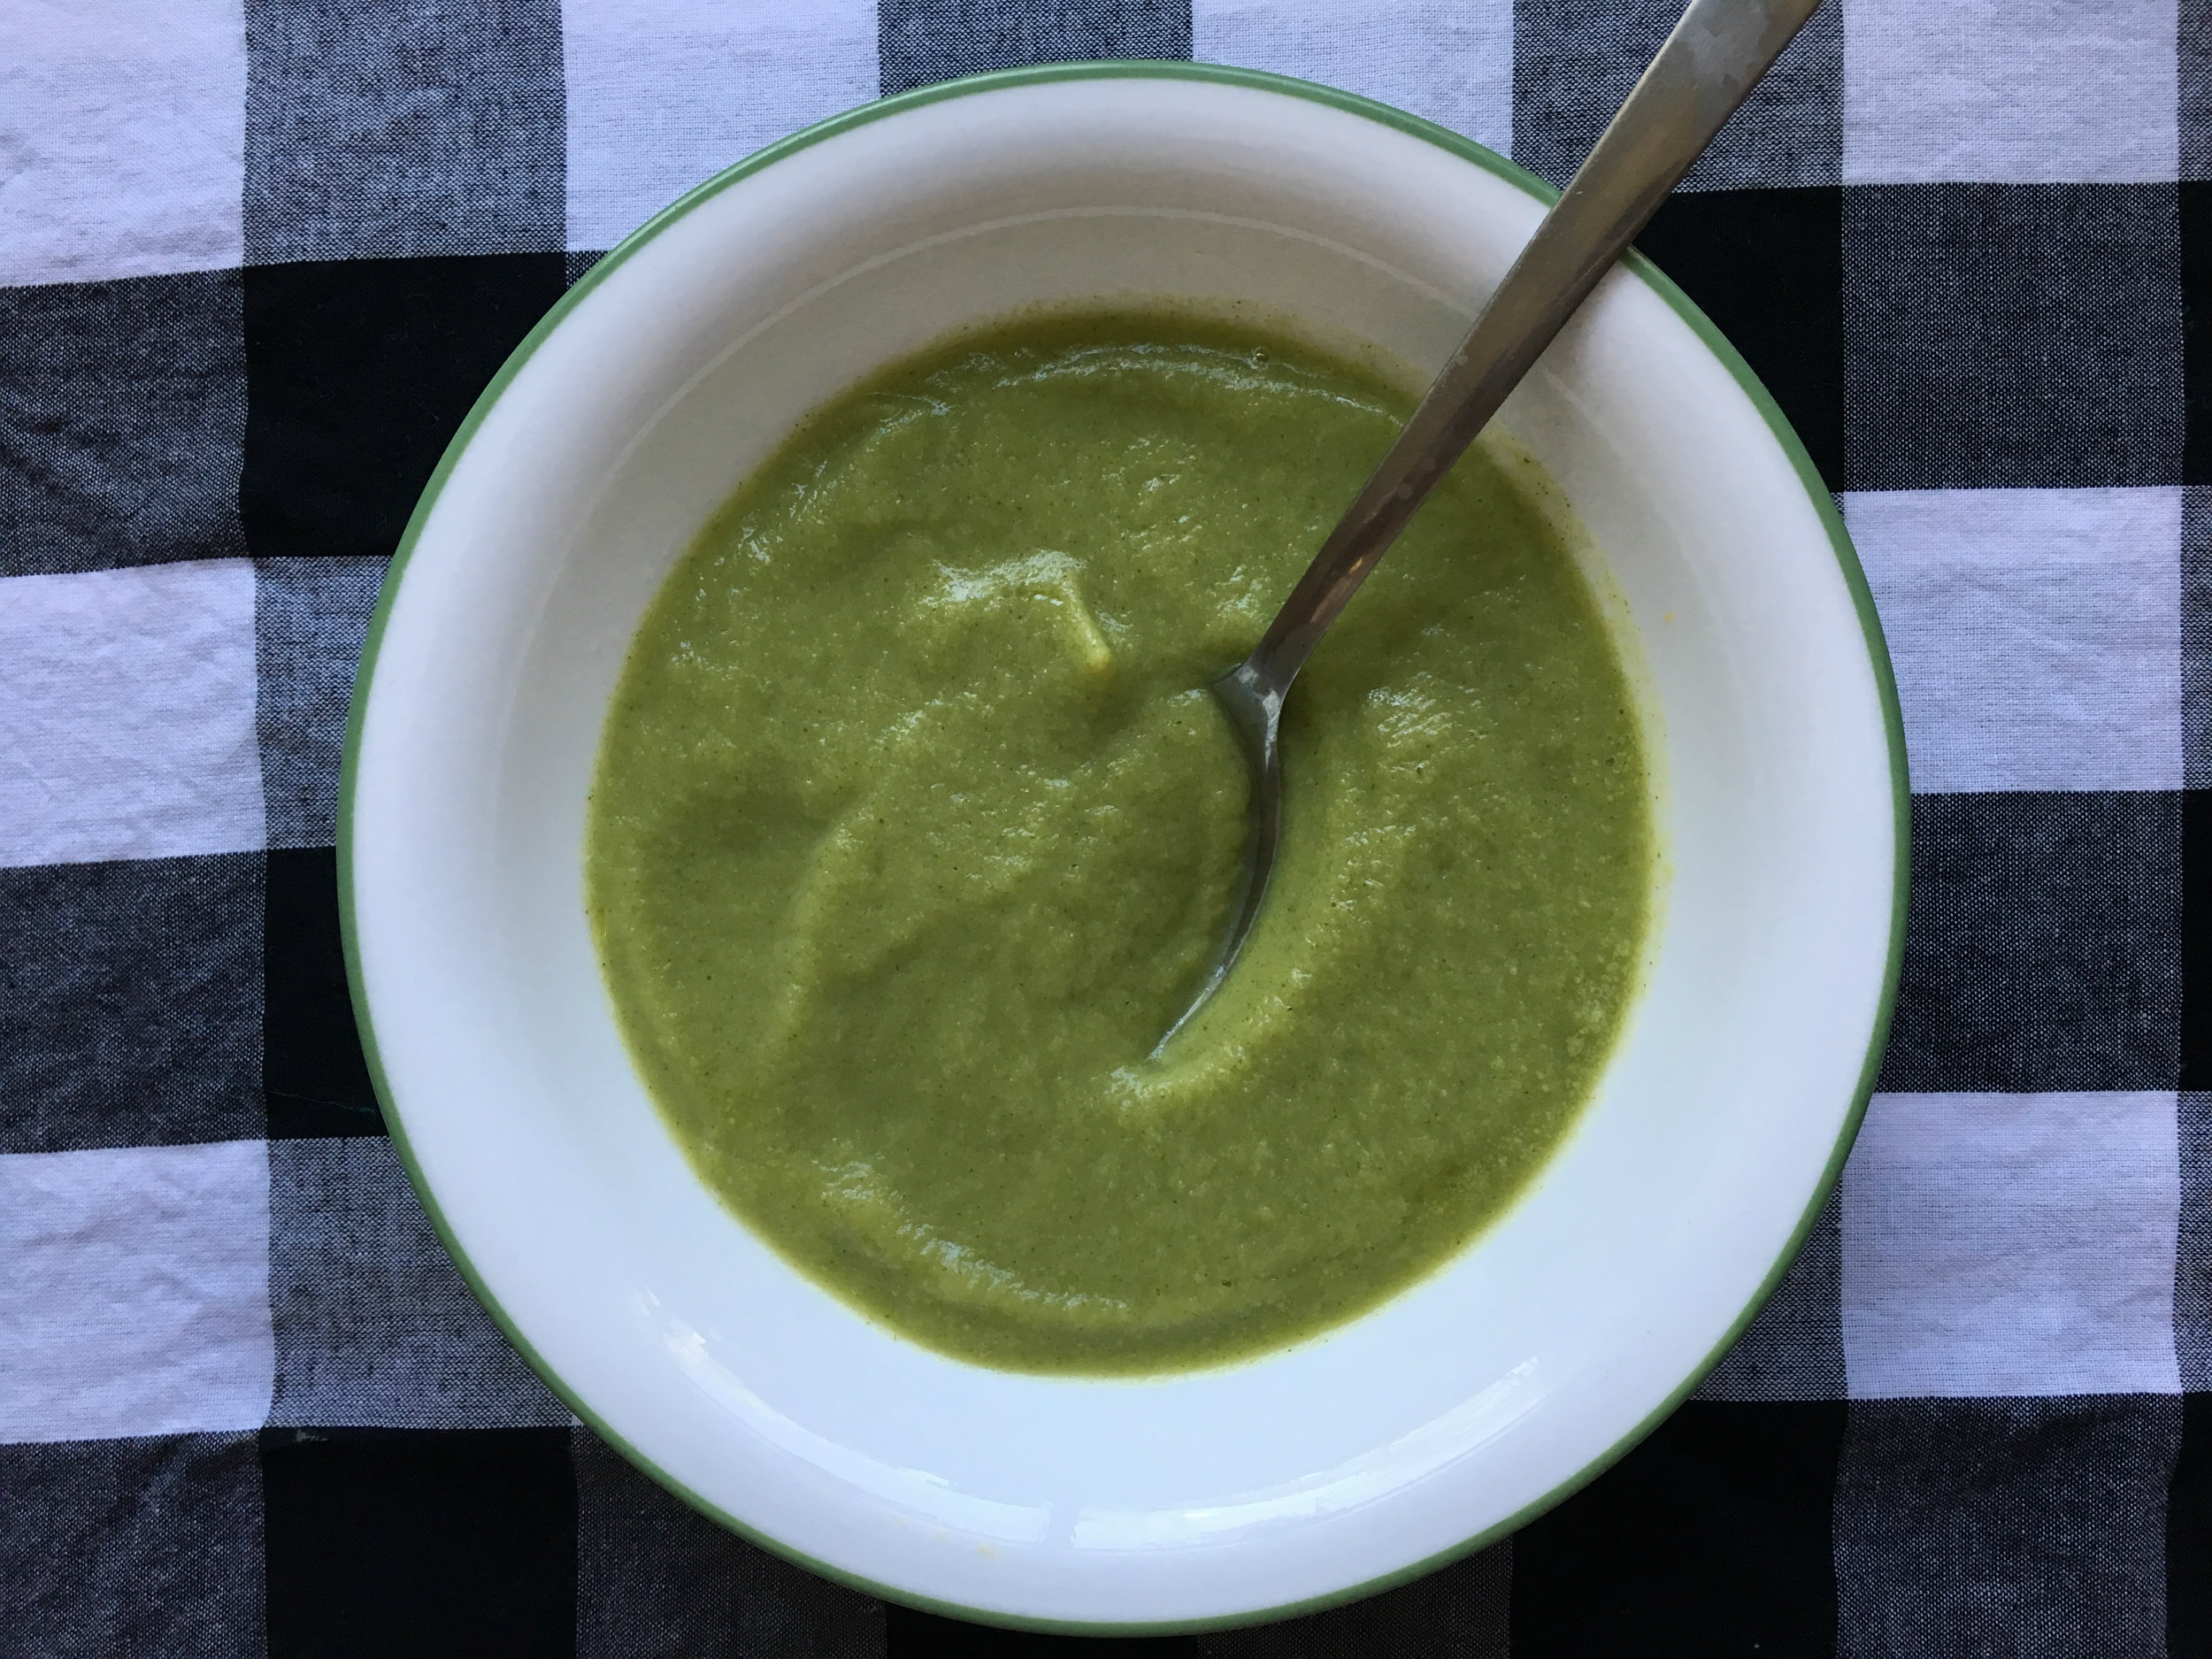
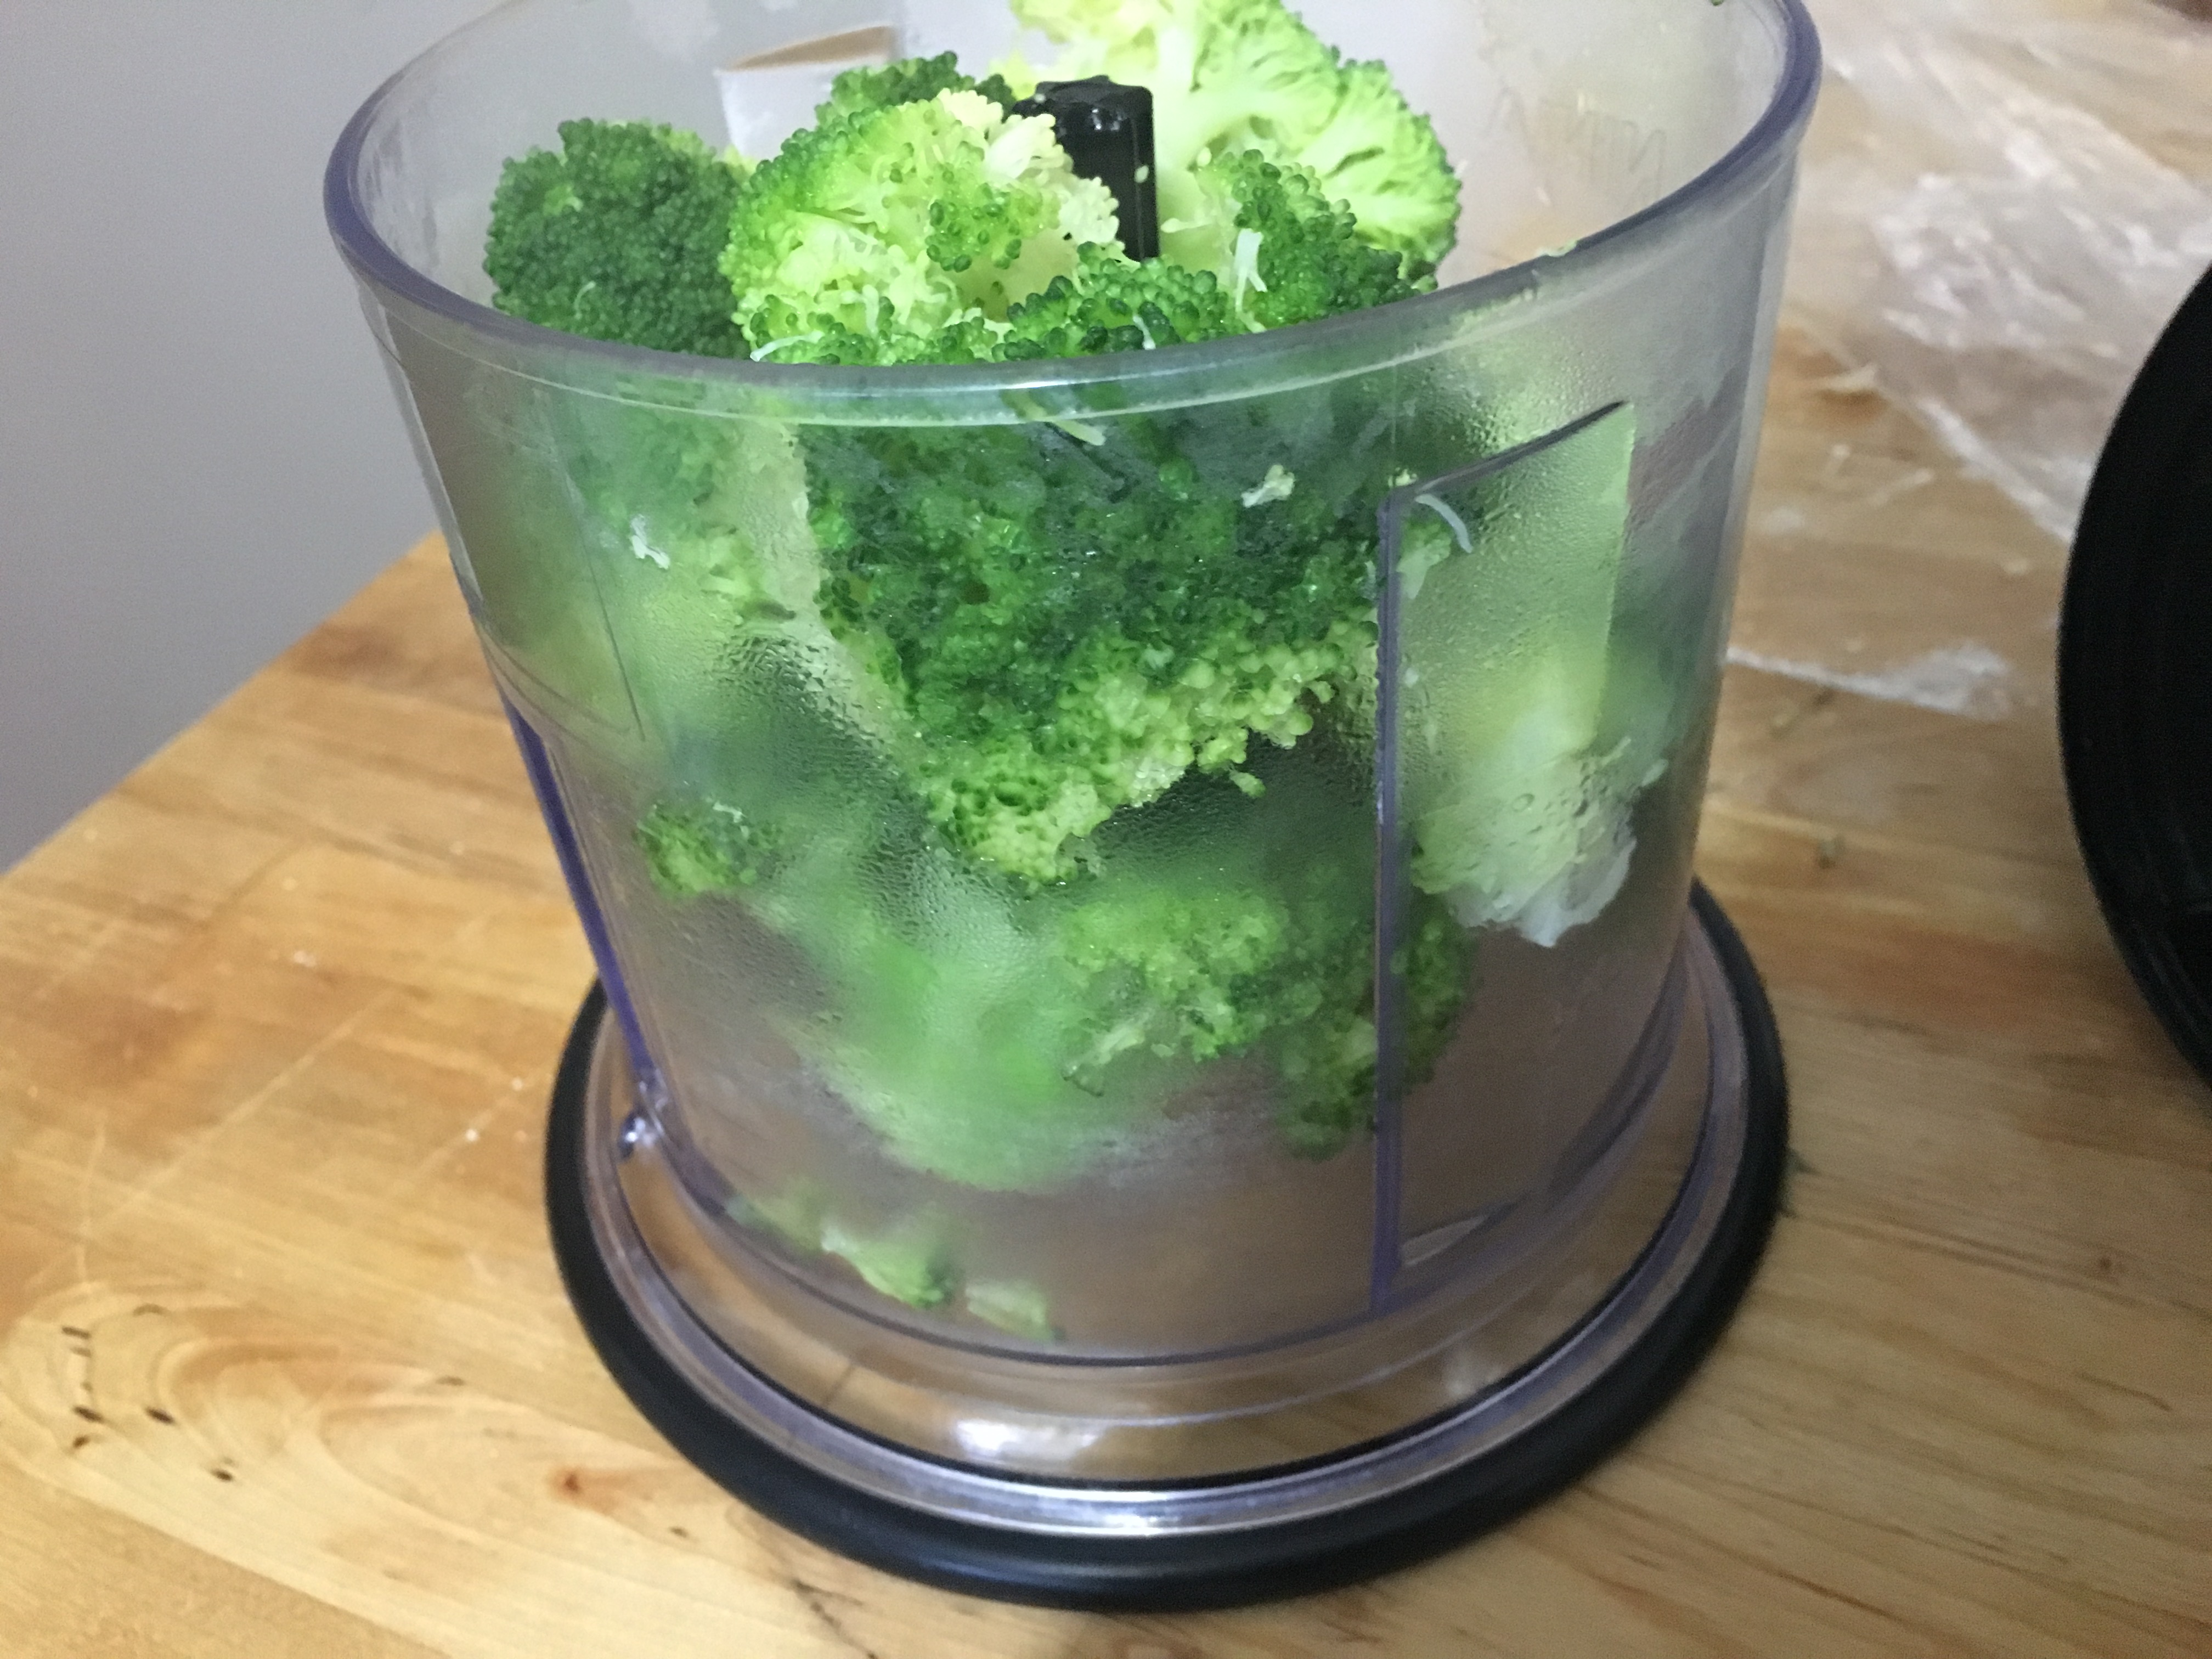 Place the cooked broccoli into a food processor, and pulse until the broccoli pieces are the size of small bread crumbs. I didn’t have a big enough food processor, so I did mine in batches. Put the broccoli in a pitcher, and switch to a immersion blender for the rest of the recipe.
 Blend whole peppercorn in a spice grinder, or small blender, place in bowl with the other spices then set aside
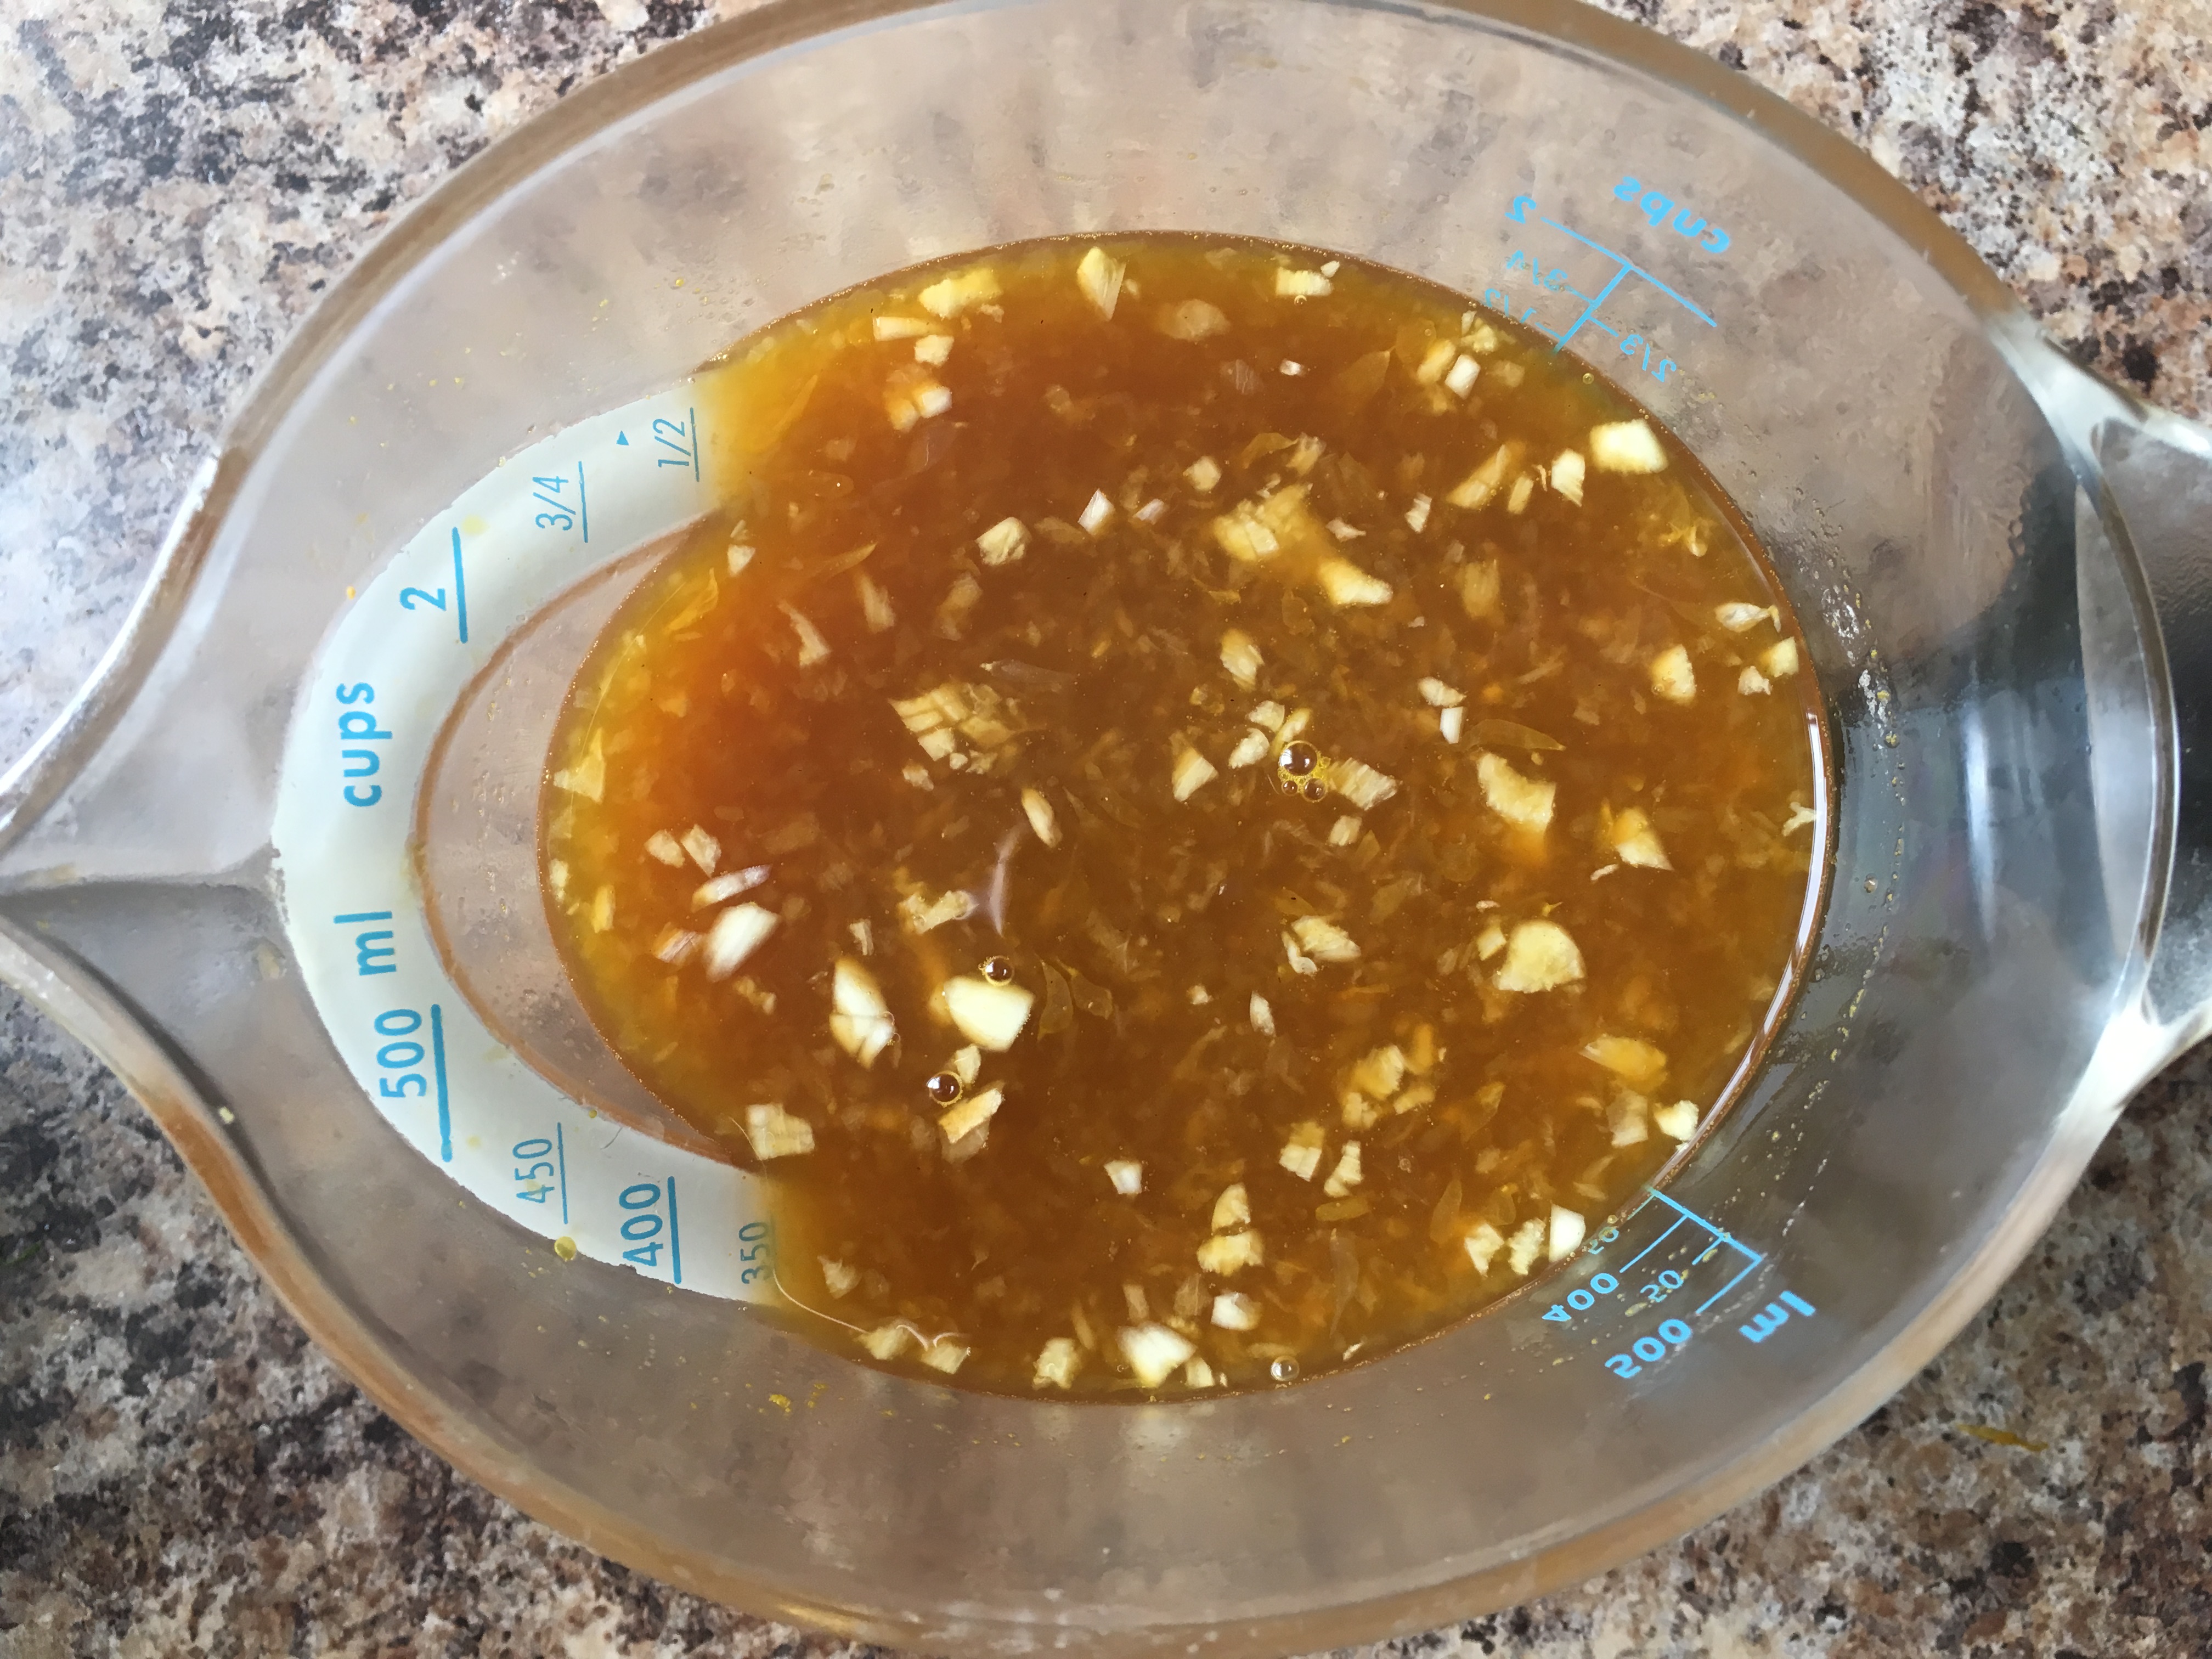 Place your orange juice in a pot and simmer on low until it has reduced to about 250ml (1cup), turn off heat and whisk all the other Braising Liquid ingredients together in the pot, let cool and set aside covered in the fridge.
 Let your ribs sit out for about 30 mins, it’s easier to work with at room temperature.
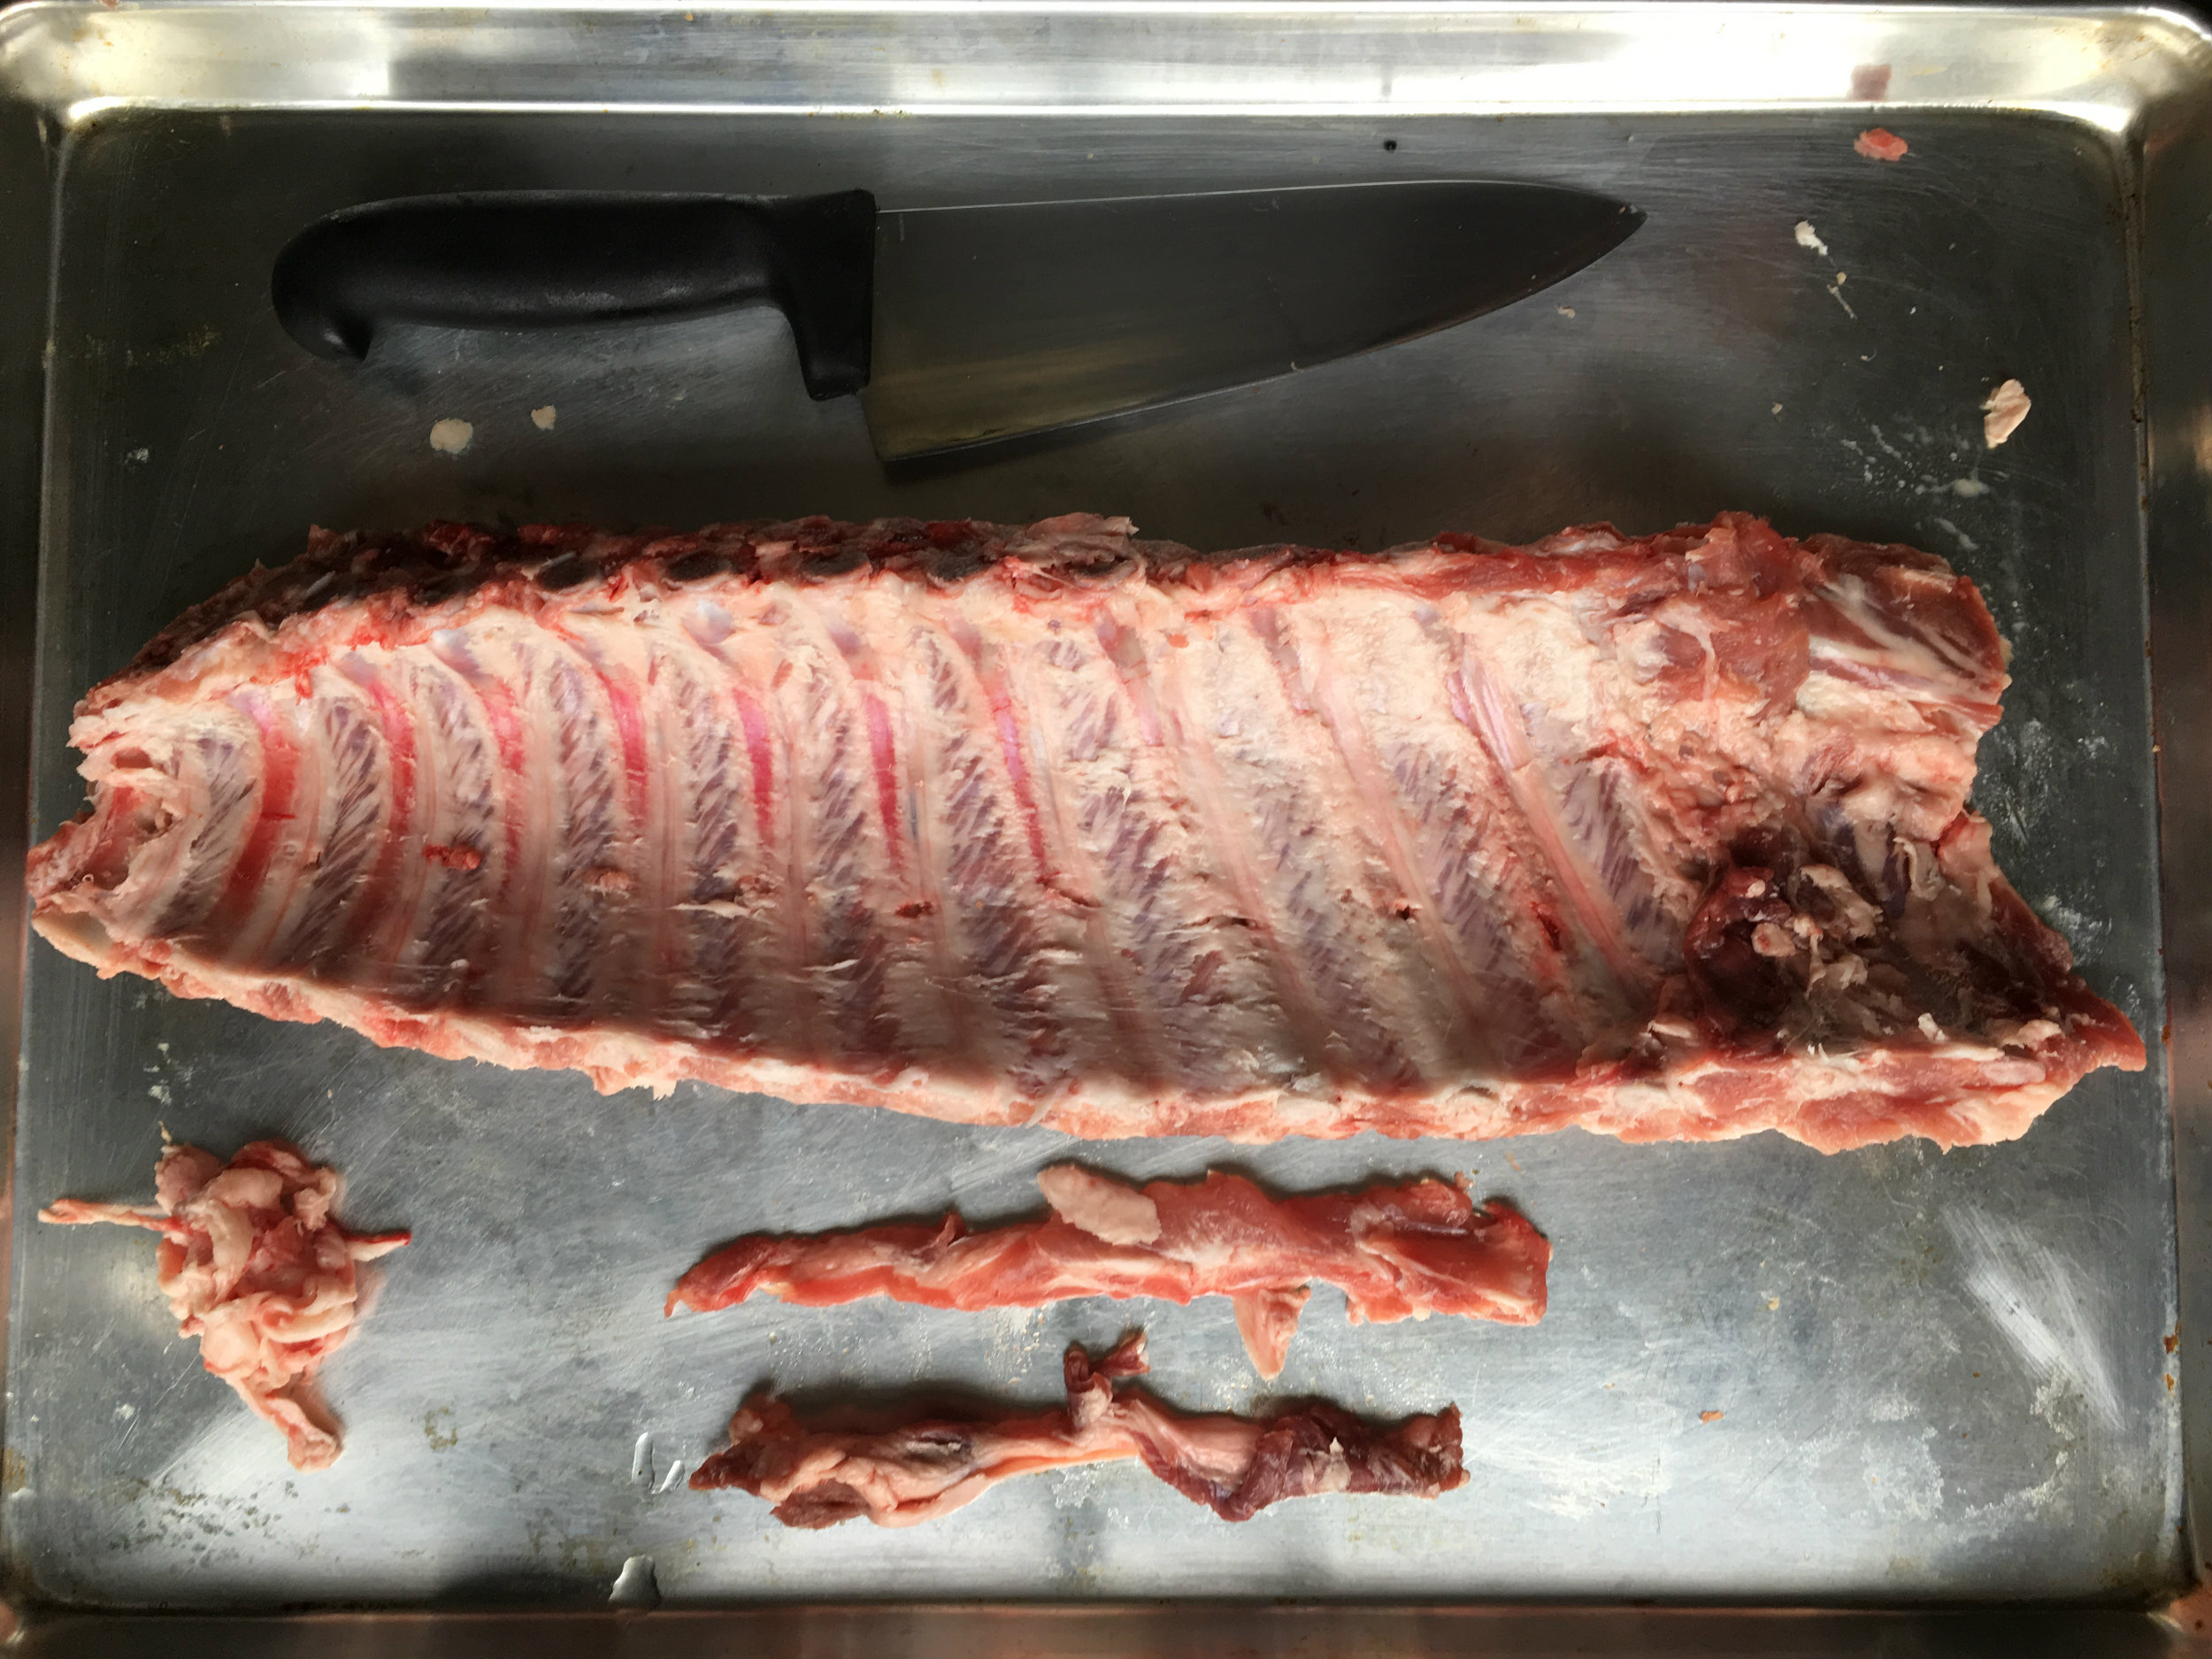 Trim your ribs of any extra “flabs” of meat. these will cook too fast, and generally be unappealing, also you want to remove the pulmonary pleura (Aka the thick membrane on the concave side of the ribs). There are some myths that this prevents flavour from penetrating into the meat, but that isn’t true. It does however create a chewy texture. You can remove it by using a knife to poke a hole in the membrane in the corner, and using your finger to pull it off. It should come off as one piece.
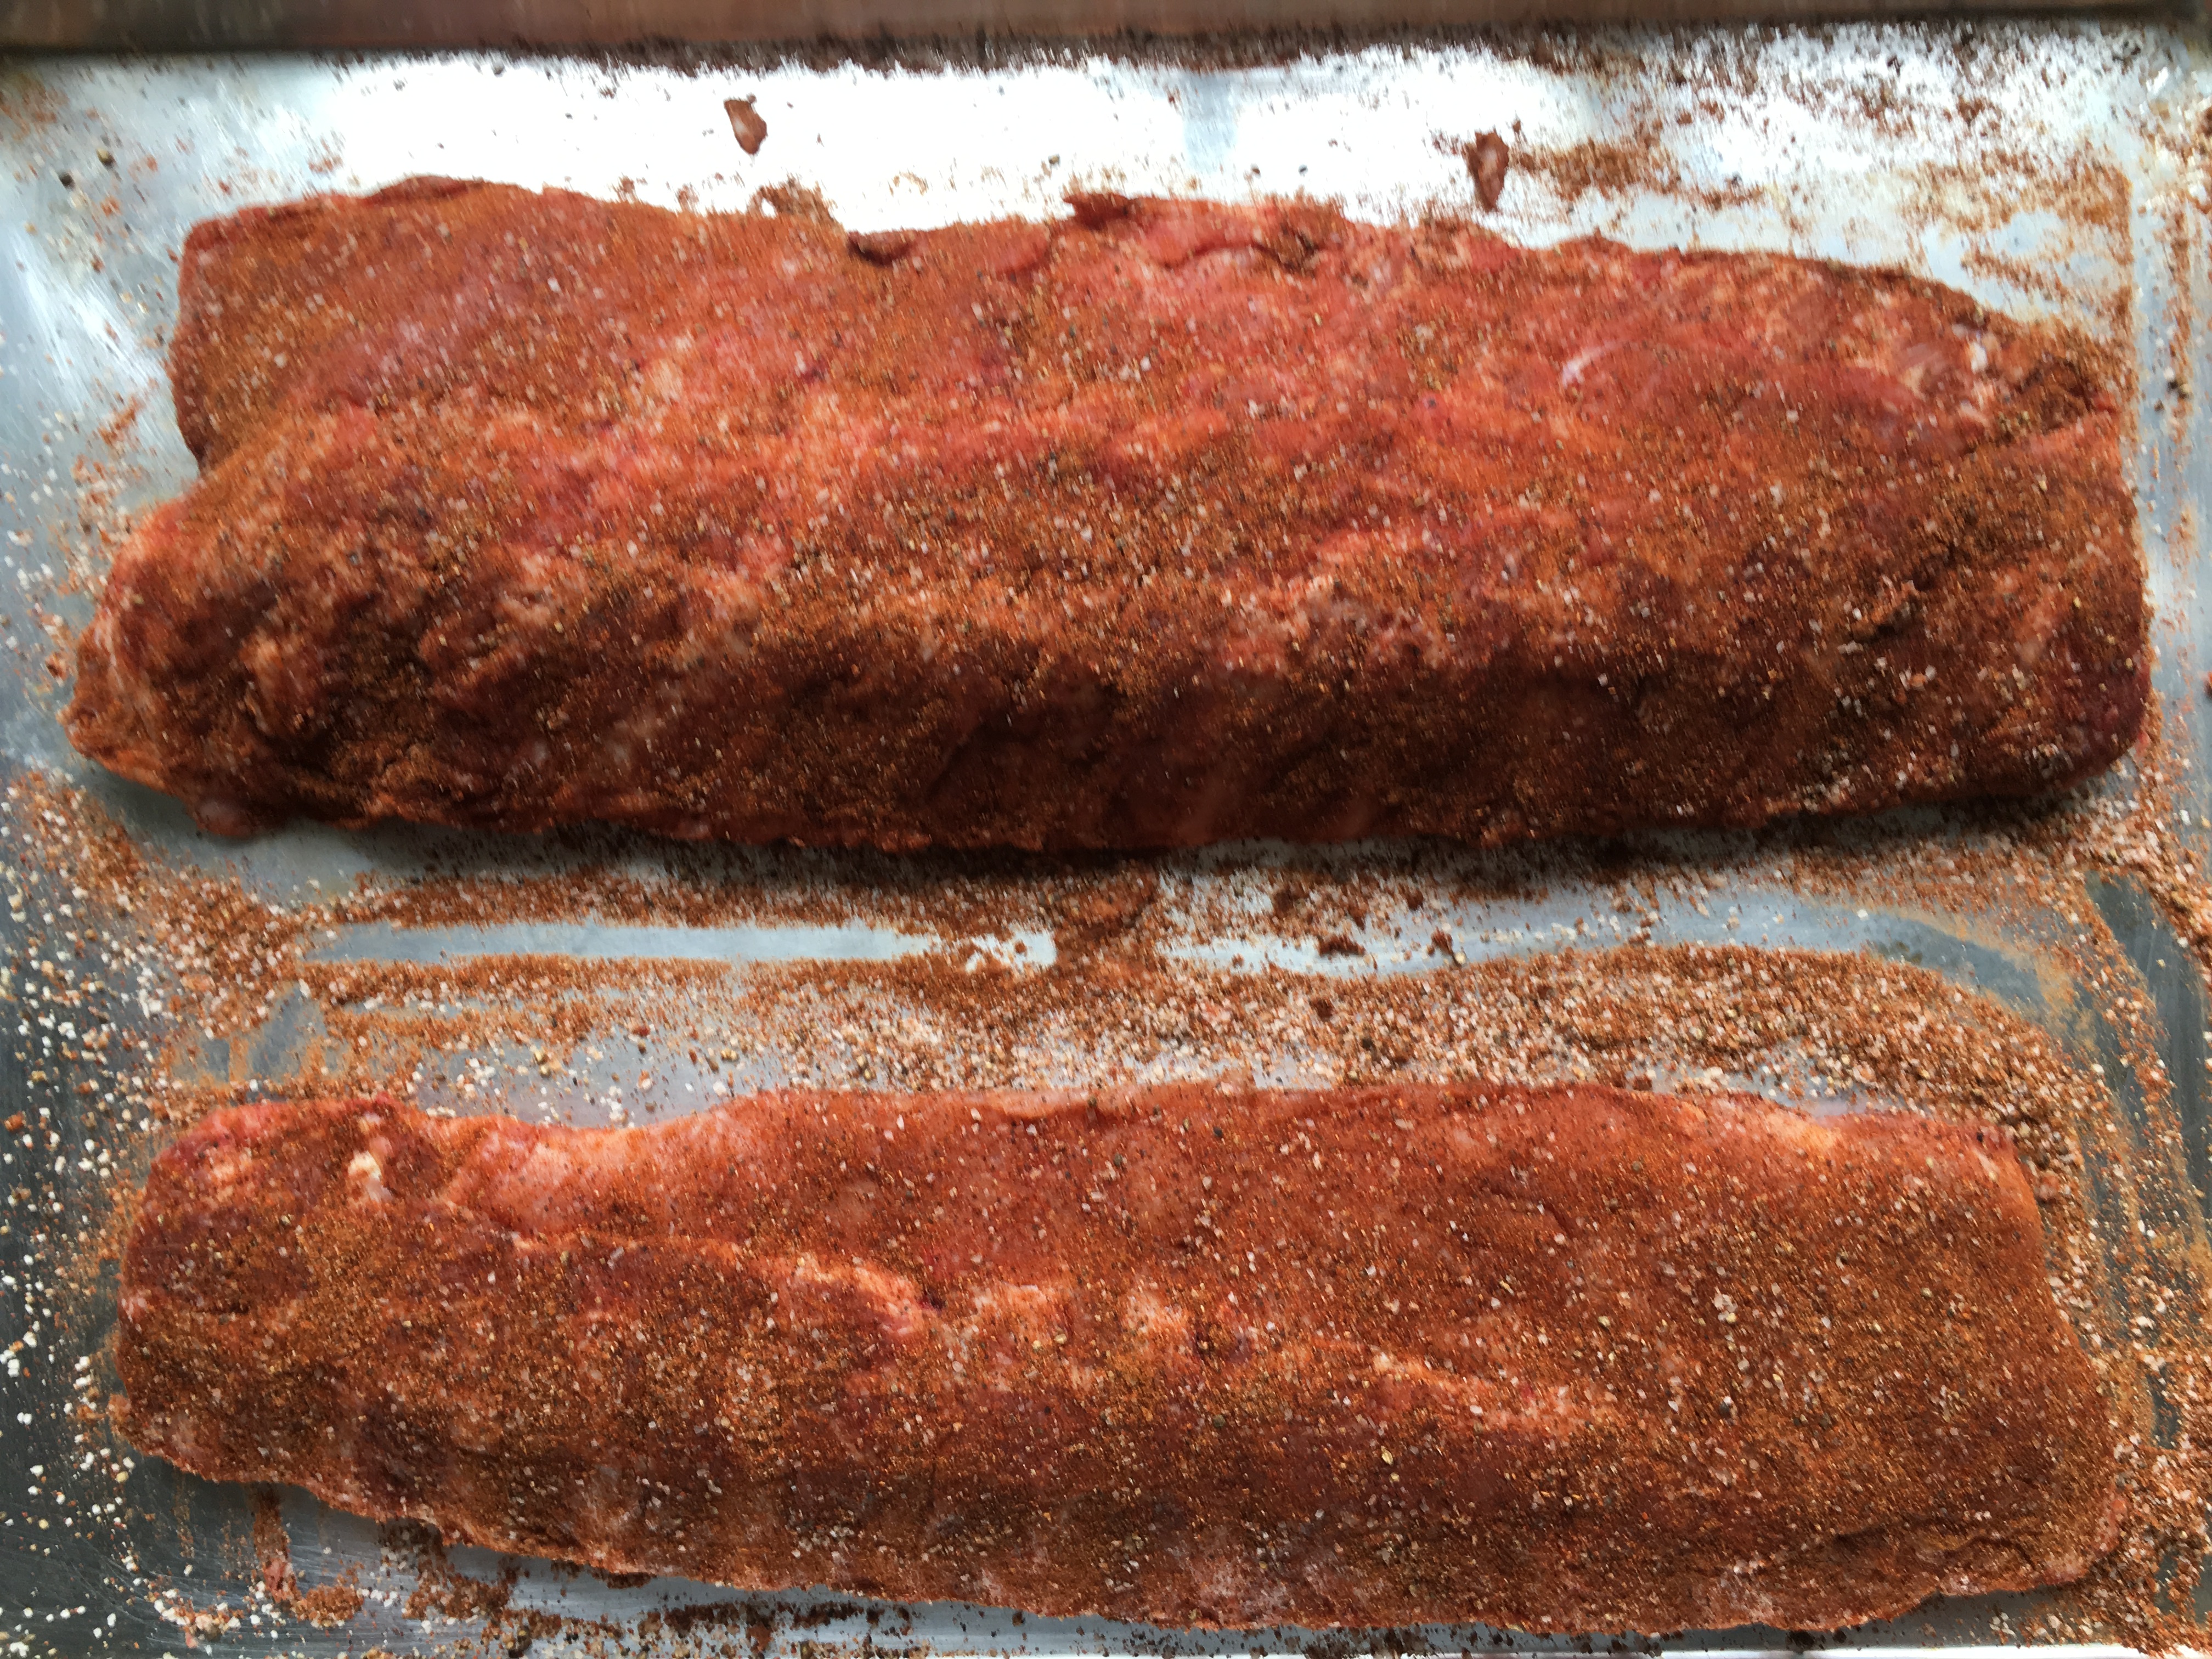 Cover both of your ribs in the Rub mixture. Don’t be shy here, this is what will form your “bark”. You want to cover the top, sides and bottom of the ribs.
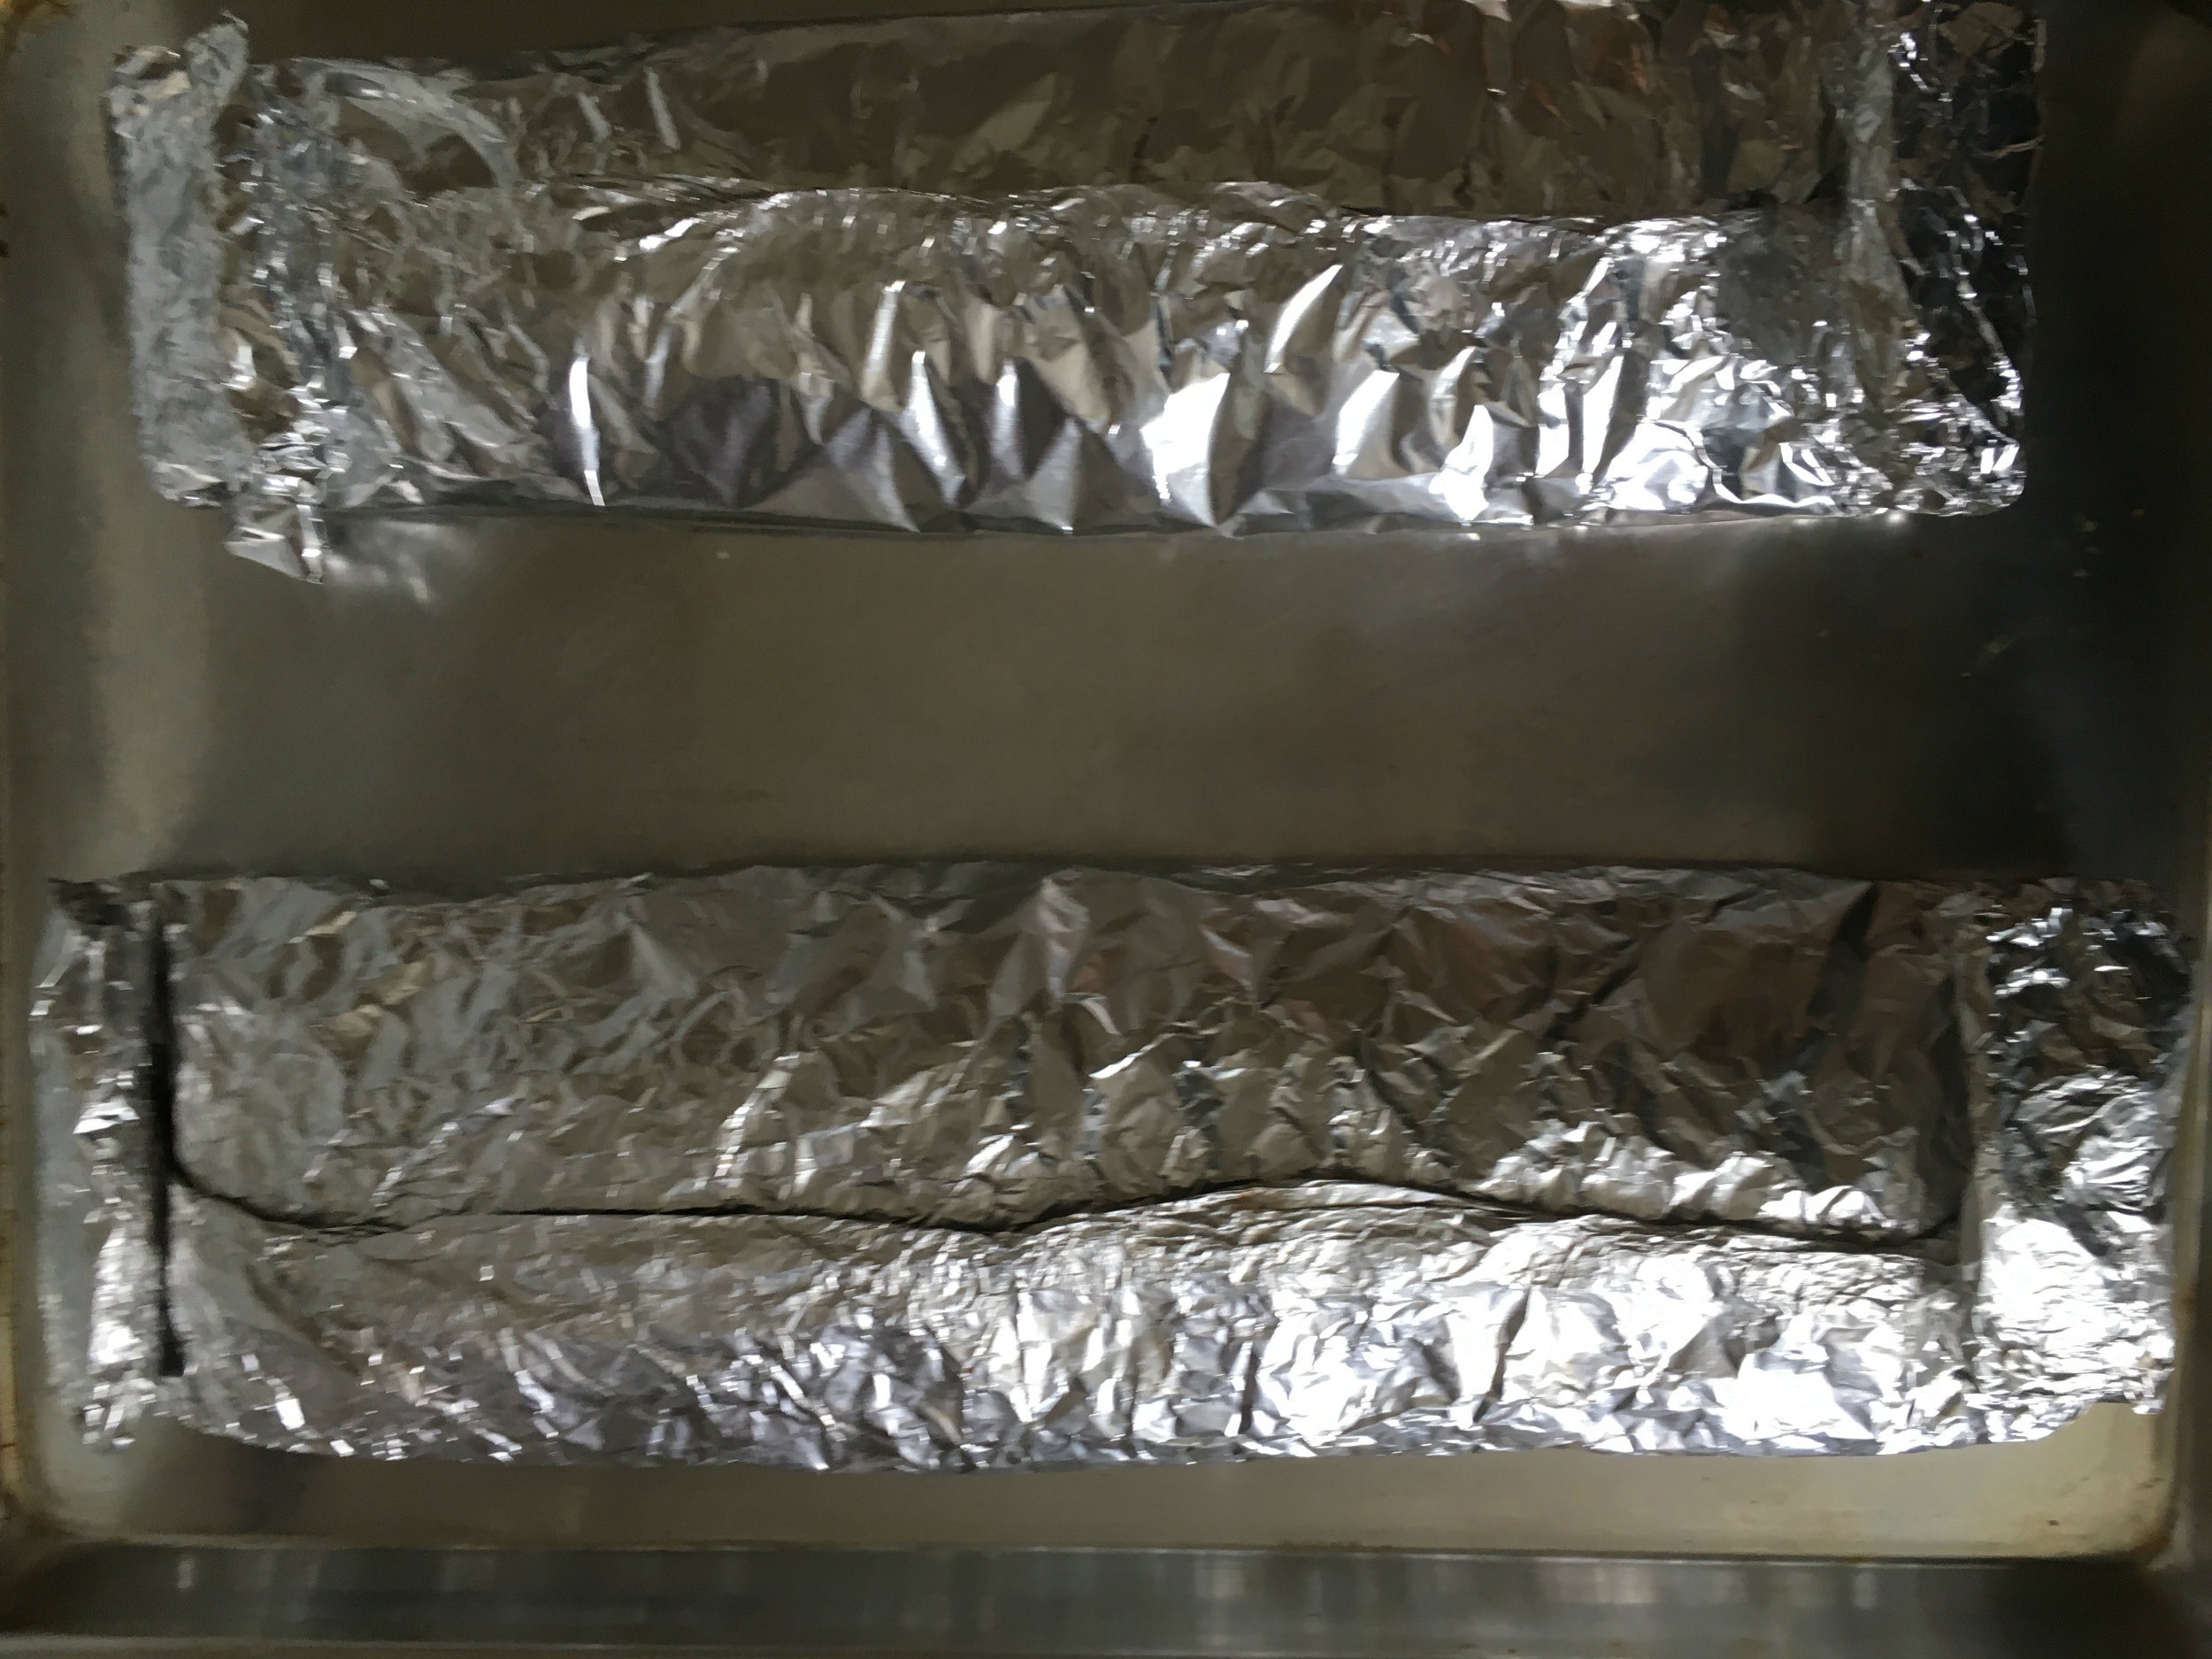 Place your ribs on top of wide heavy duty aluminum foil so the concave side is down. You want to wrap them so you have a tight seam on top of the ribs. Then tightly roll up one side of the foil, and loosely roll up the other.