We’ve all been there; we get the bill for our groceries and ask ourselves, where does it all go? The food looks so good and bountiful when we put it in the cart, but somehow it never seems like enough.
The fact is, we don’t use as much of it as we could.
Here are some stats that may baffle you
In the U.S.:
- 40% of food is wasted
- 90% of food is thrown away too soon
- 20% of the food we buy never gets eaten
And this isn’t just a problem in the U.S., in my home country of Canada:
- $31 billion of food annually wasted
- 47% of that is from consumers
So, while I’m hardly ready to pull out my guitar and starting singing kumbaya, preach extremes like backyard composting, or the 100 mile diet. I am going to start posting more recipes made from parts of the food you wouldn’t think to keep. Also, I’m going to start indicating ‘scraps’ that should be kept for future recipes.
The first of these recipes is an important one, vegetable stock. There have been a few recipes that called for it that I wanted to post, but decided not to. The reason for this is I knew I was going to write this post eventually, and it would be redundant if I already had another recipe up with the steps for veg stock in it.
So the way I make my veg stock, it cost me next to nothing. The reason for this is whenever I cut green onions, onions, celery, carrots, garlic, or chives, I always put the cut away into a plastic bag in my freezer. Likewise, when the stock is done, I pour it into ice cube trays, freeze it, then store the cubes in zip lock bags.
That being said, I use these cubes all the time. Just about any savoury recipe that calls for water, can often be replaced with stock for a much better result.
- Onions (Scraps or whole with skin and roots)
- Carrots (Scraps or whole with whole with leaves)
- Celery (Scraps or whole with leaves)
- Water
- As mentioned above, I keep a bag in my freezer, and whenever I cut Onions, Celery or Carrots I put the scraps in the bag. I’ll also put in Garlic, Green Onions and Chive scraps but it isn’t necessary. As a general rule, you want the veg mixture to be a Onion, Celery and Carrot mixture of 2:1:1. So if you don’t have enough scraps for one of the veg, simply roughly chop up a fresh veg to make up the difference.
- Put vegetables in a big stock pot, and fill pot with water until it covers the veg.
- Bring stock pot up to a boil, then reduce heat to a simmer.
- Let the water simmer until vegetables are fork tender.
- Strain out liquid into a bowl, and let cool. Discard Vegetable remains.
- Pour veg stock into ice cube trays and freeze.
- Transfer each cube of Vegetable stock into a plastic bag and store in the freezer.
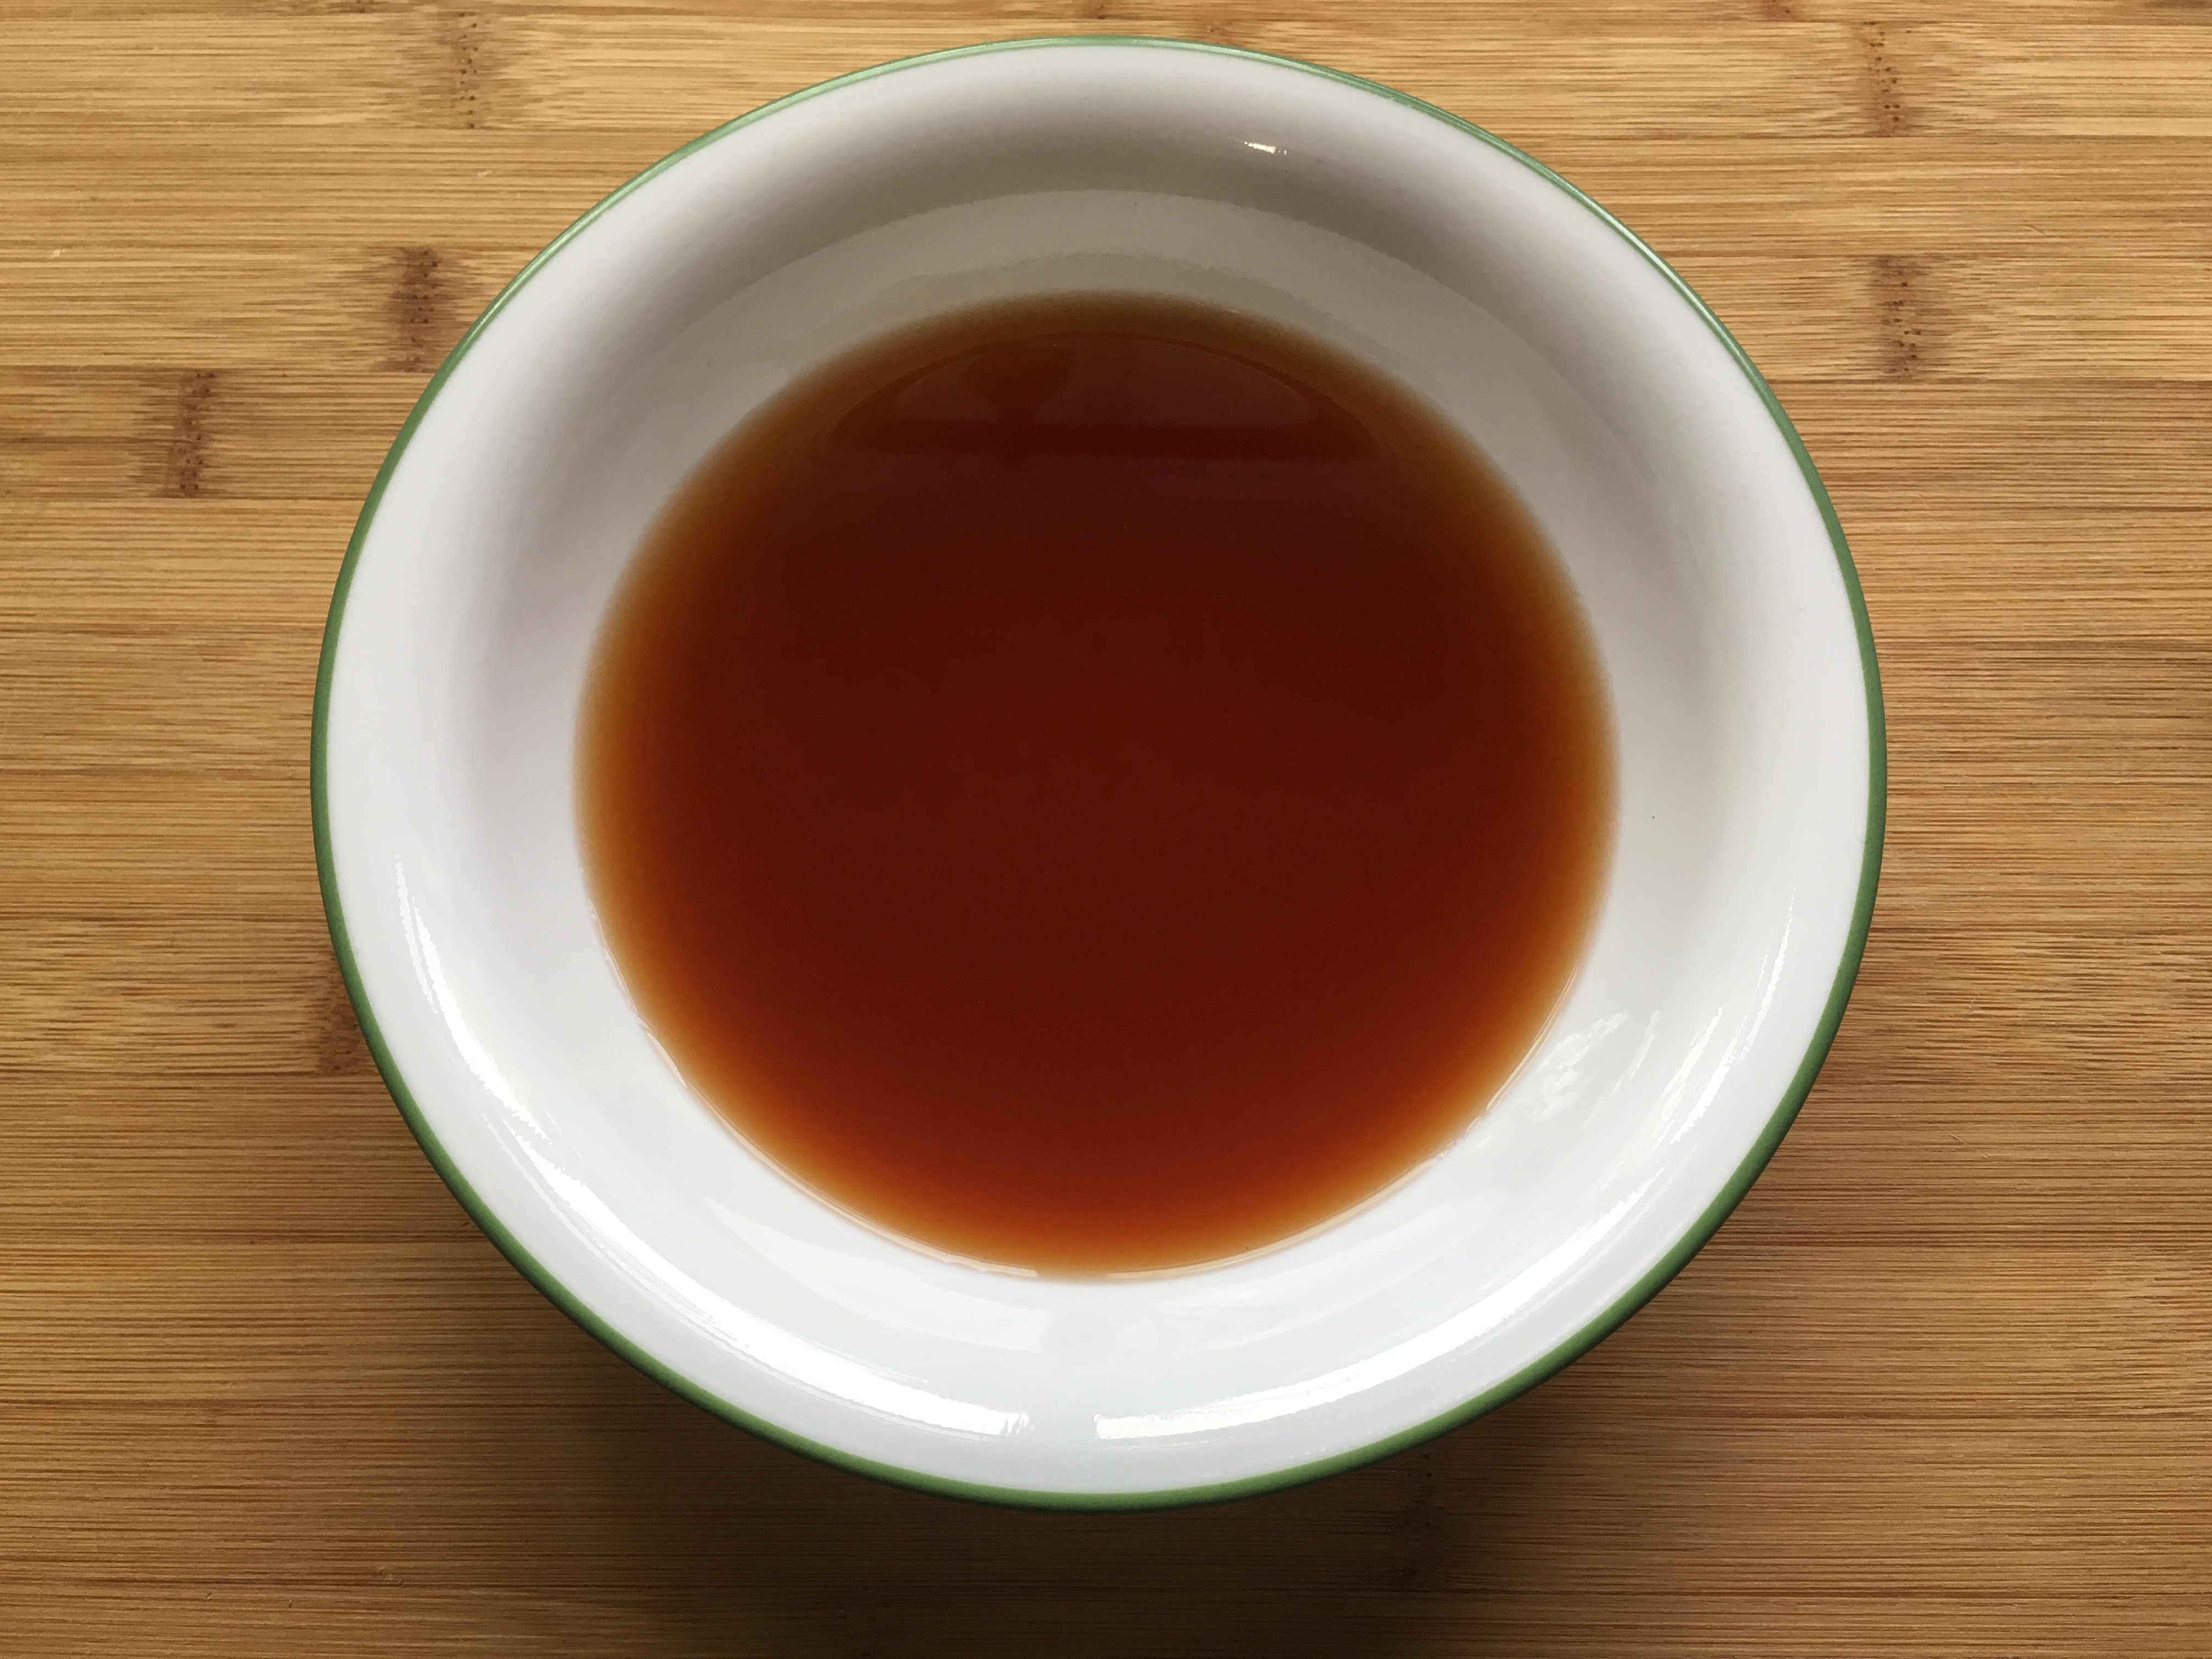
- Make something awesome with the Vegetable stock. Each cube is approximately 1 Fl oz (or two table spoons).
- Take a fancy photo, and post it to Instagram with the hashtag #foryourfoulmouth
http://www.secondharvest.ca/hunger-facts
https://www.savethefood.com/
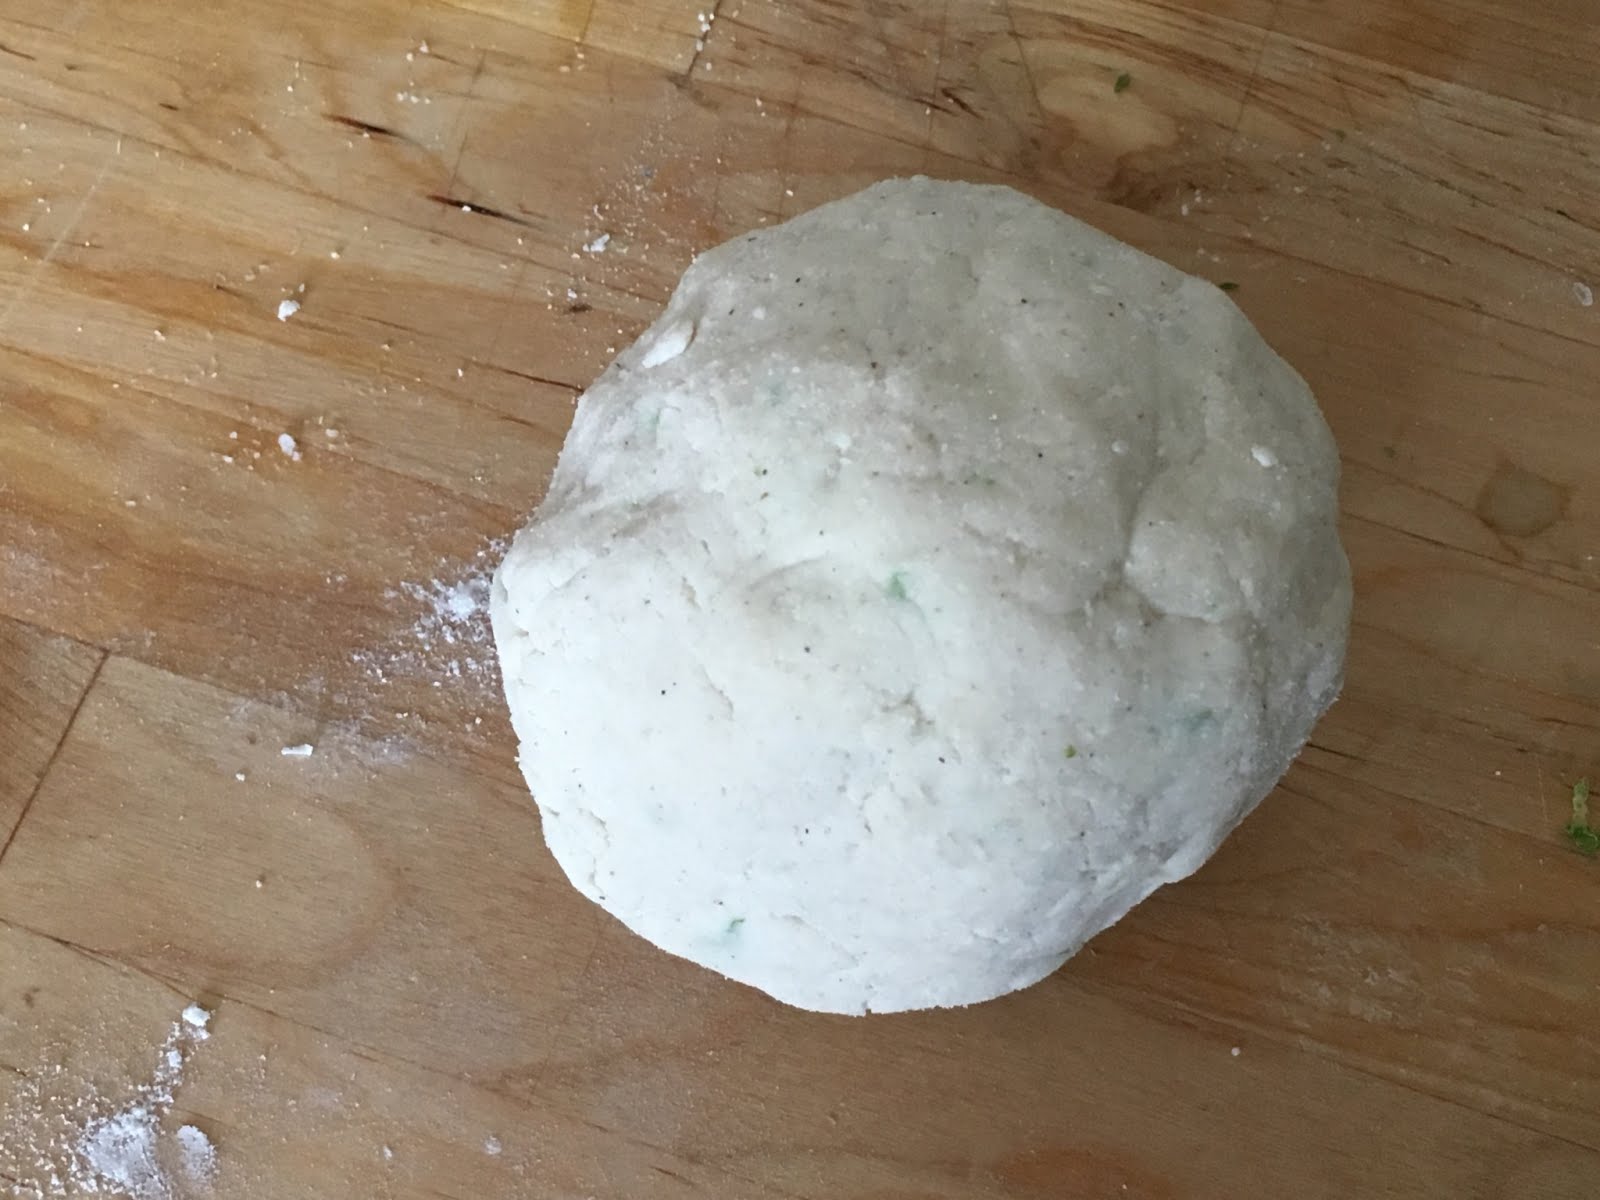 Divide the ball into 4, and roll each section into its own ball. Cover all of them with plastic wrap.
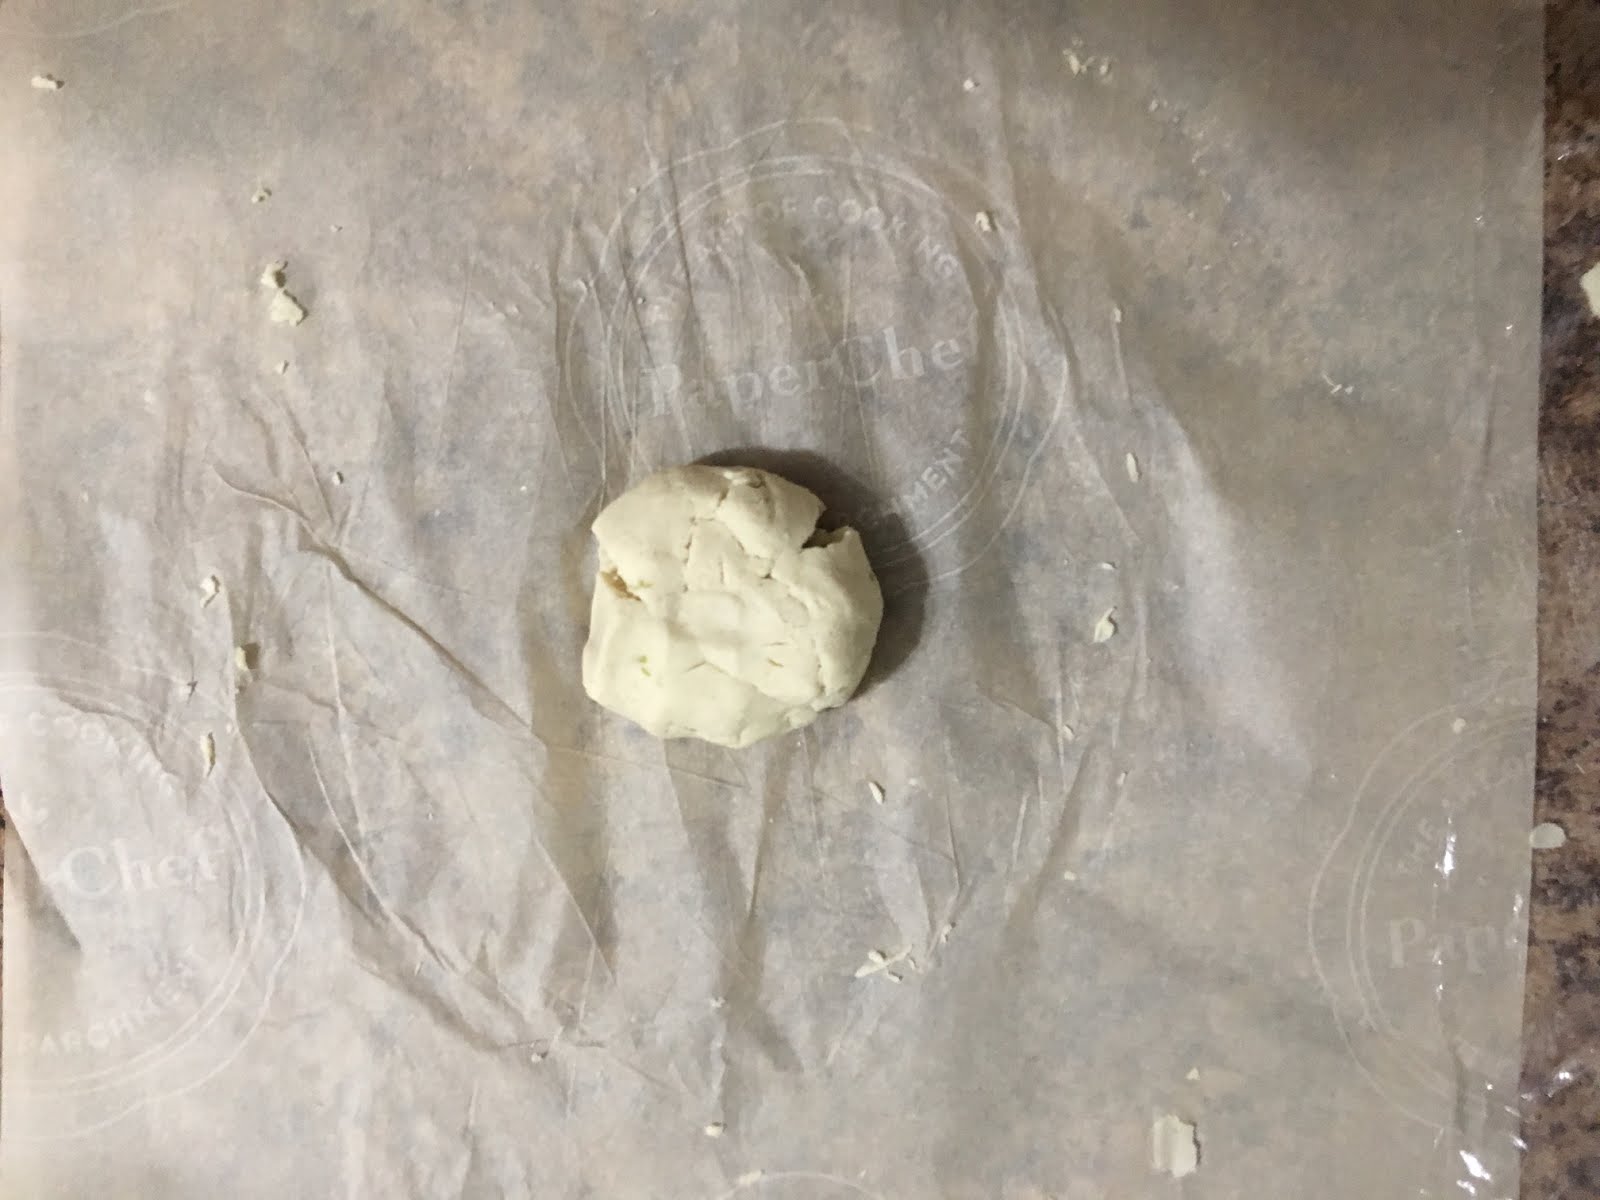 I personally don’t believe in buying things I will use twice a year, unless its a matter of safety or necessity. So I don’t own a tortilla press, however I have come up with a way to make perfect tortillas. Lay out a 1.5′ sheet of Parchment, and put your 1 dough ball in the centre.
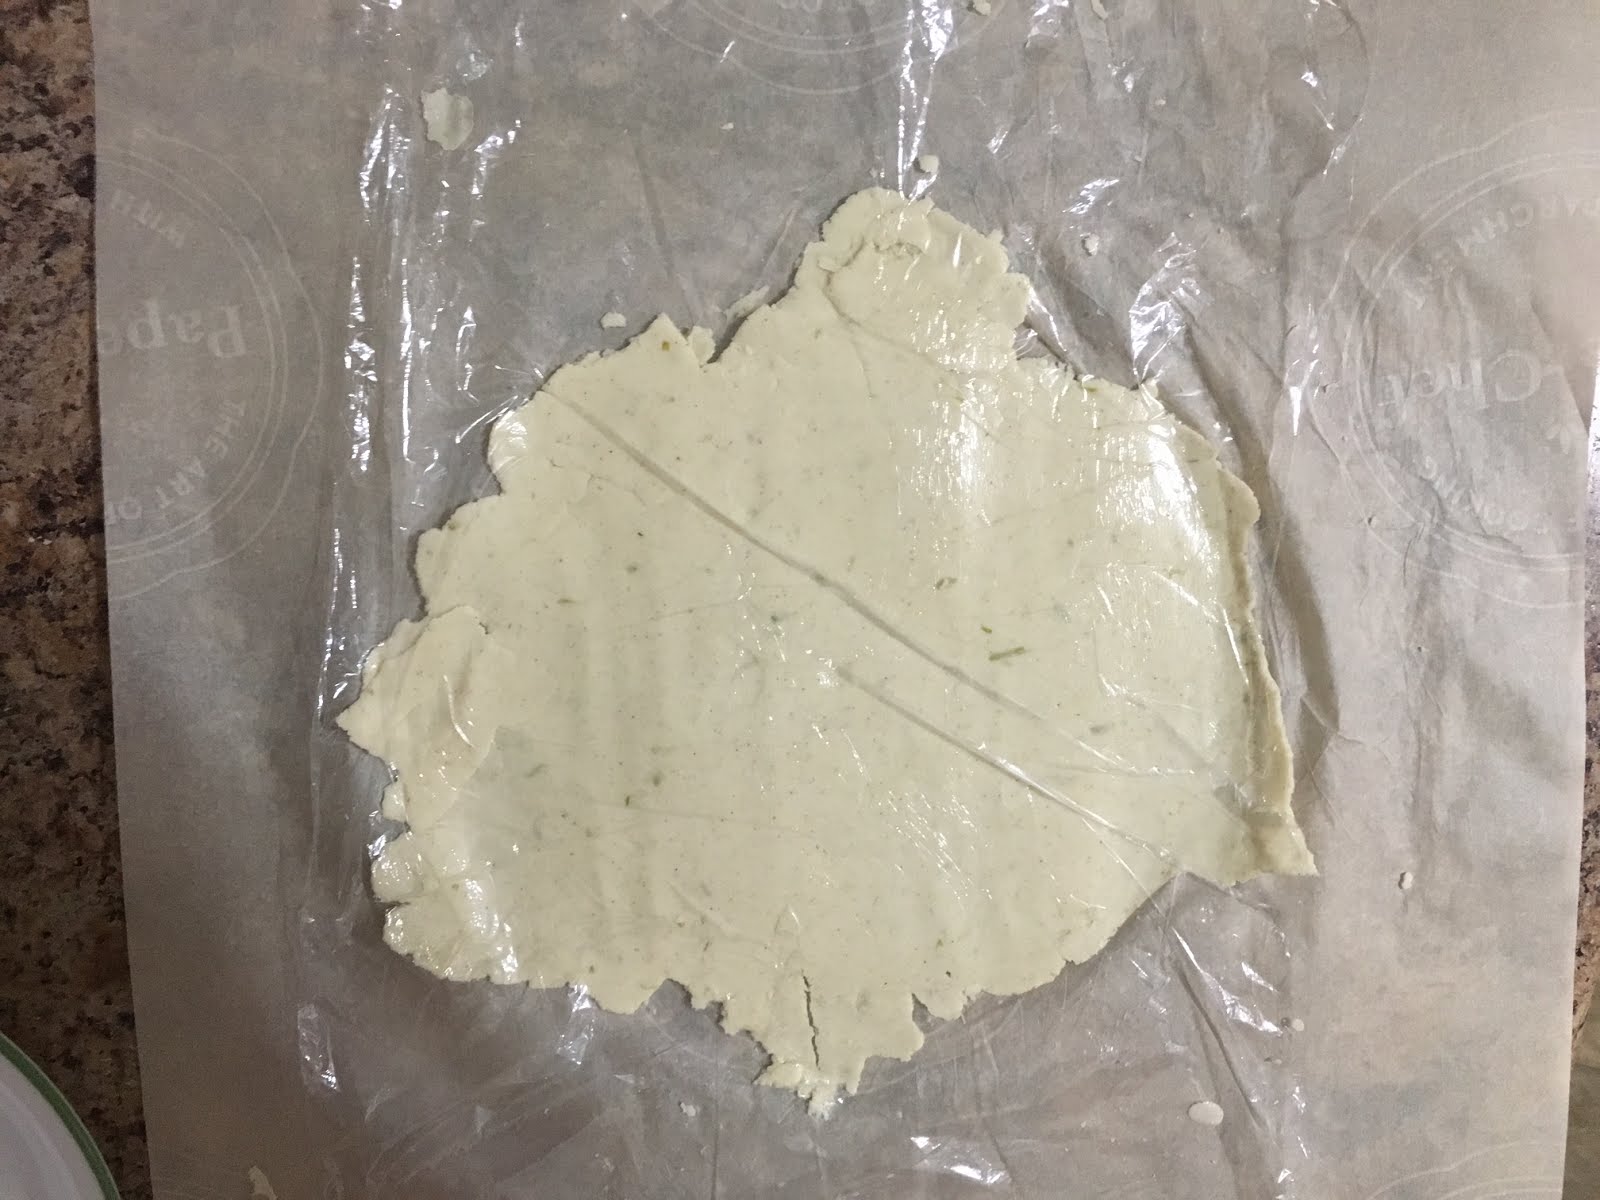 Use a rolling pin to roll the dough ball just until it’s wider than a soup bowl. Make sure to roll back and forth and side to side. FYI: At first your plastic wrap may cling to the dough causing it to curl upward. Simply lift the plastic wrap off the dough, gently place the dough down and put the plastic back. If the parchment becomes wrinkled, simply pull its corners.
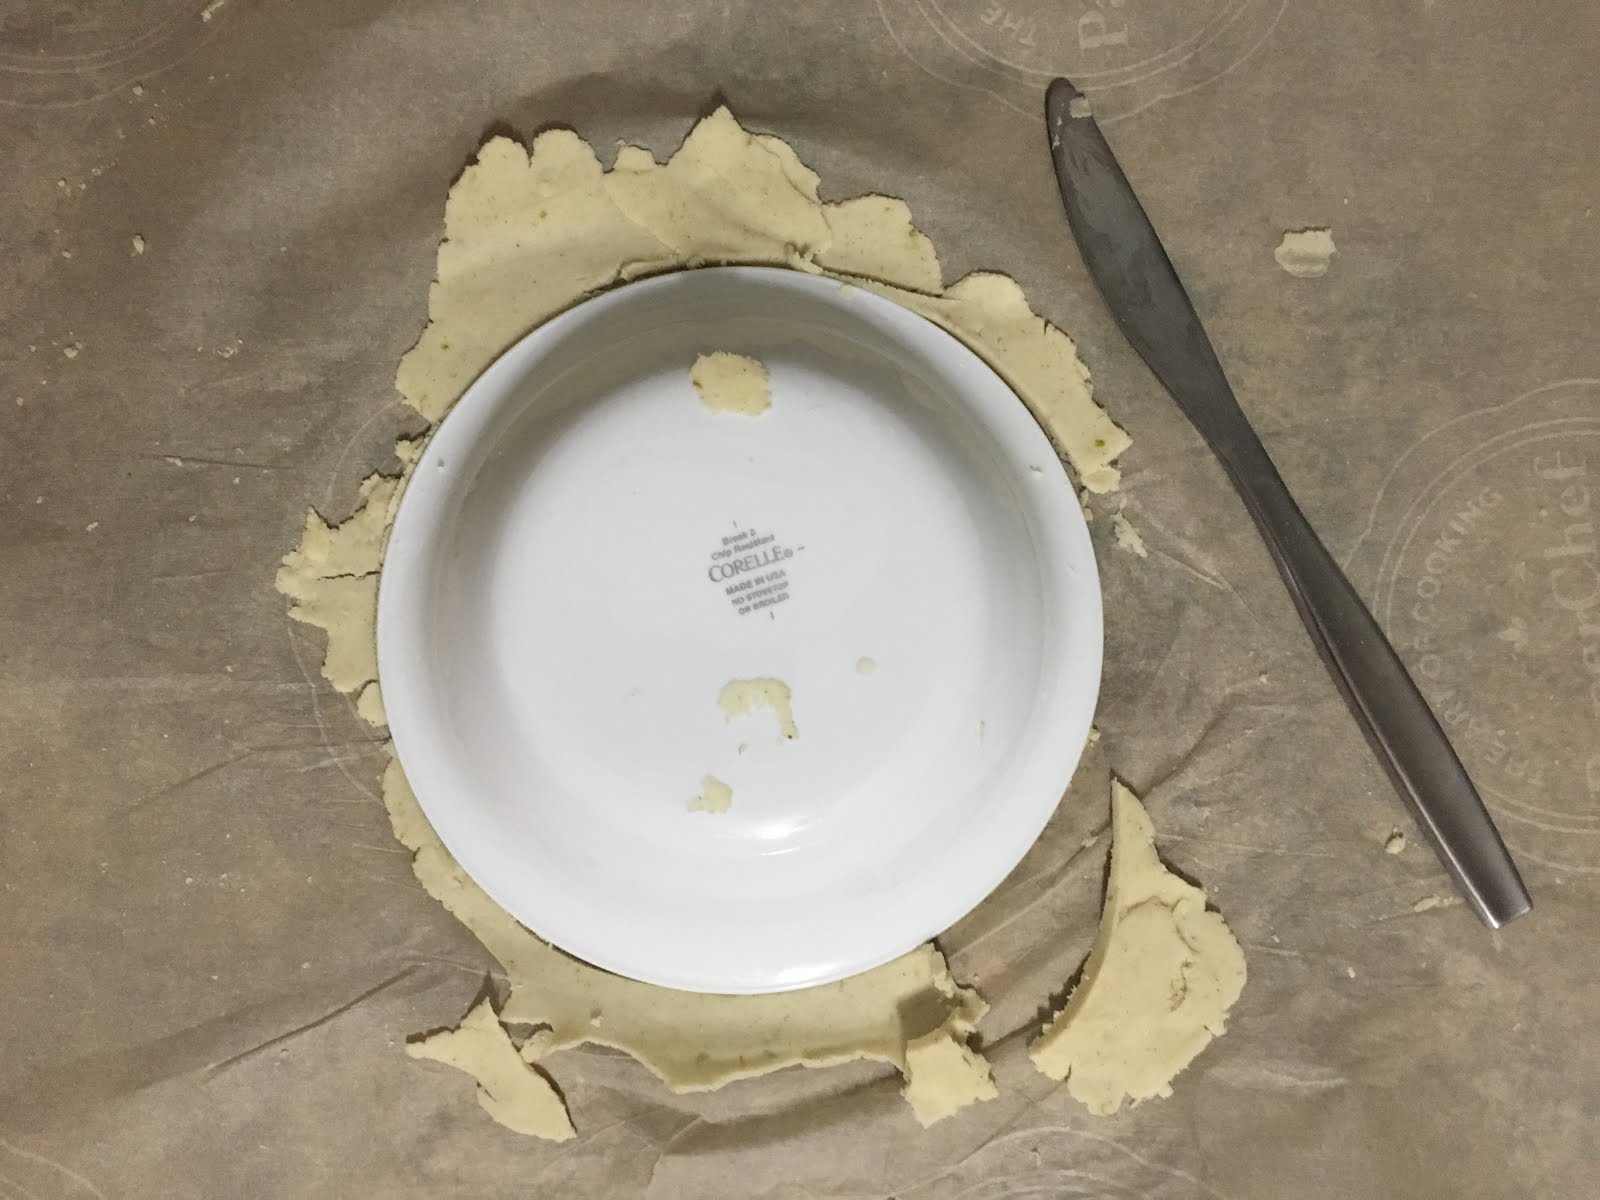 Gently remove your plastic wrap and place a bowl upside down on your dough, using a butter knife cut around the rim of your bowl, this will give you perfectly shaped tortillas. Use the scrap pieces to fill any cuts, are place the rest to the side. There is no gluten in Masa, so you don’t have to worry about over working it.
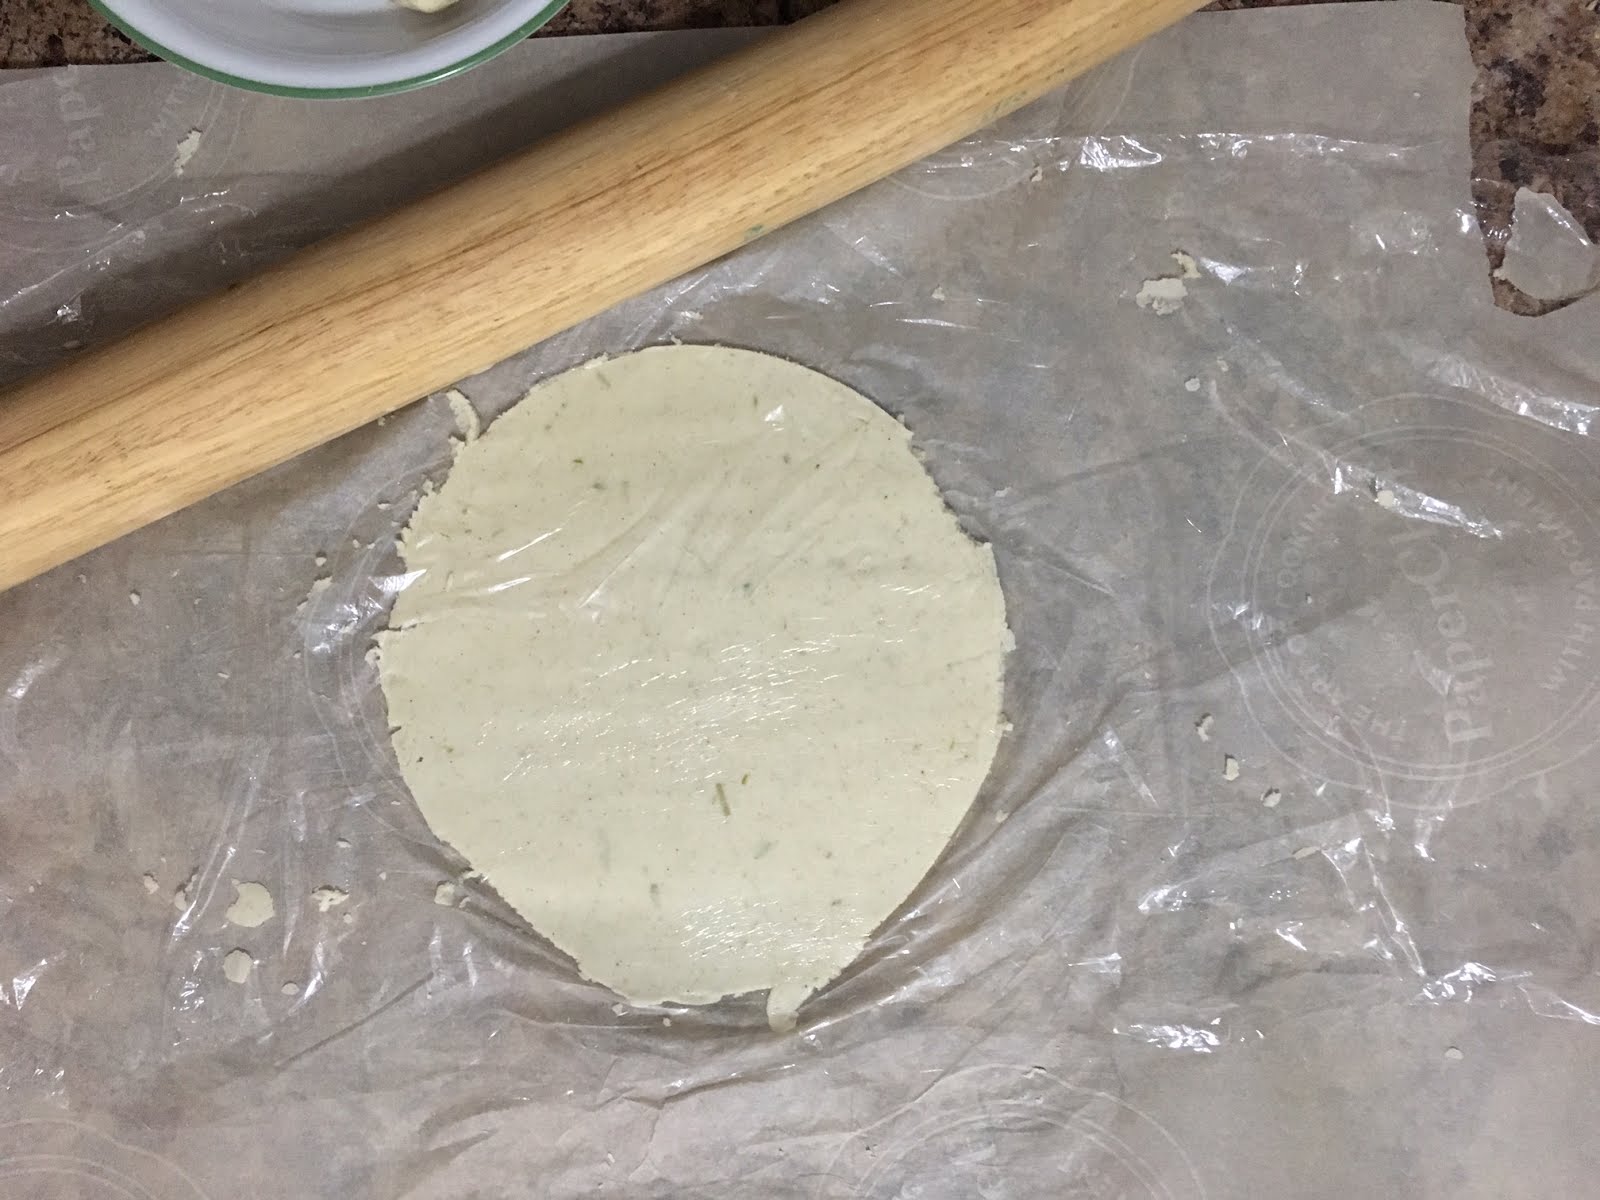 Place the plastic wrap back on top of the dough and use rolling pin thing out the tortilla to about 1/6″
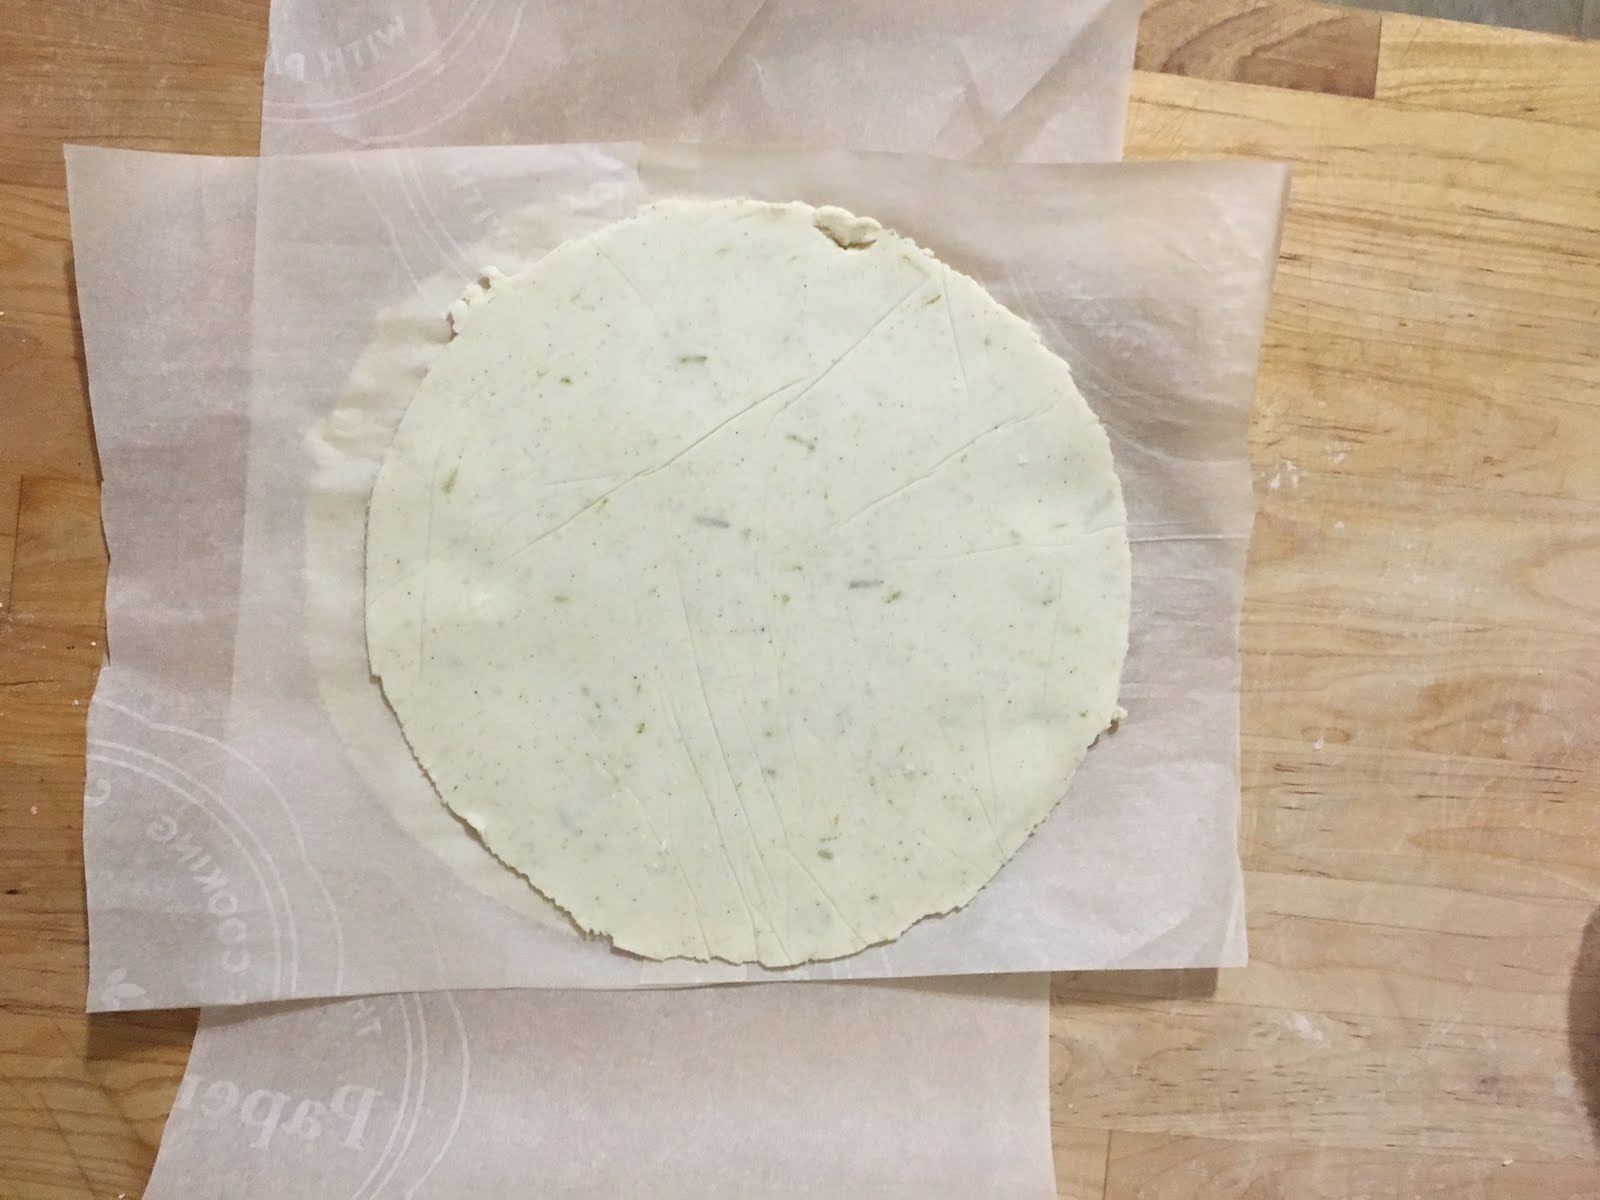 Slowly peel the tortilla off the parchment, and place on the side till you’re ready to cook them. I place all the tortillas on top of each other with a piece of parchment paper to separate them. Cover with plastic wrap, or damp cloth.
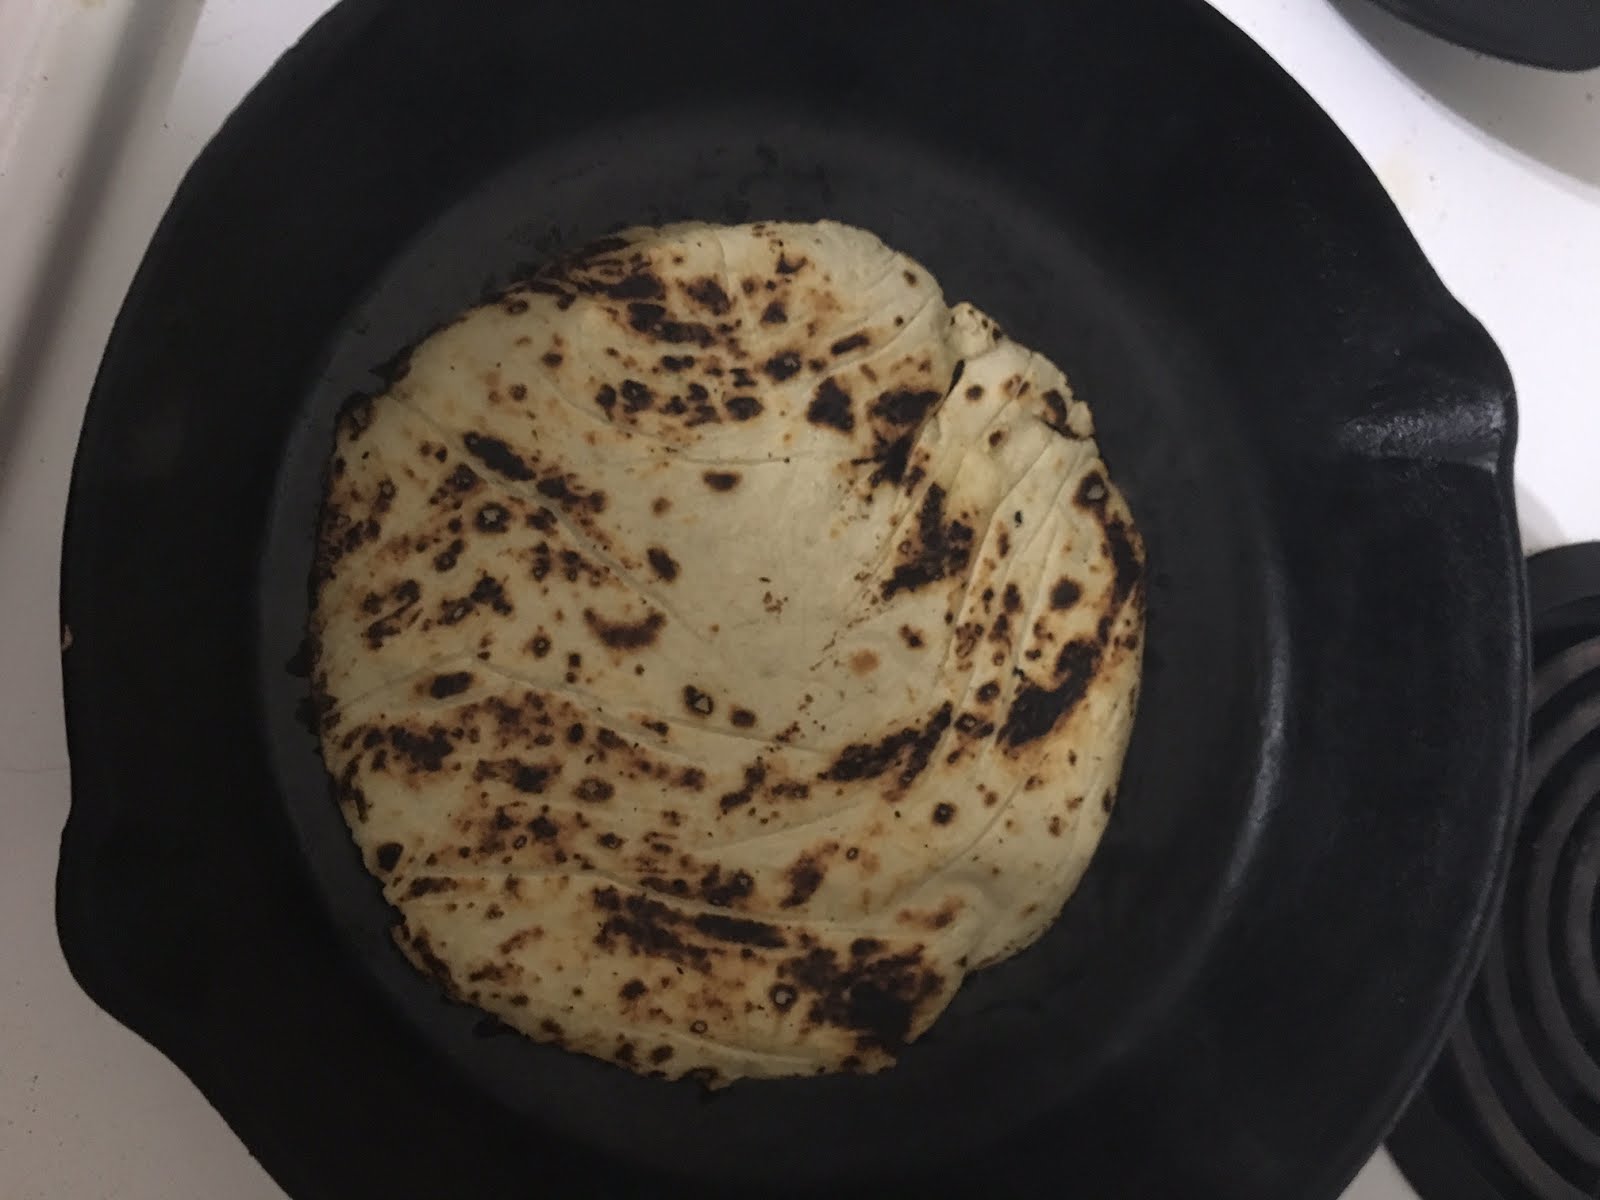 Cook each tortilla one at a time on a non greased cast iron pan set to high heat. If you don’t have cast iron, you can use a stainless steel pan, but you will have to wait longer in between cooking each tortilla for the stainless to regain its heat. It should take about 30-40 seconds on the first side, and about 20 seconds on the other side. They may puff up, thats a good thing, it means they are well rolled.
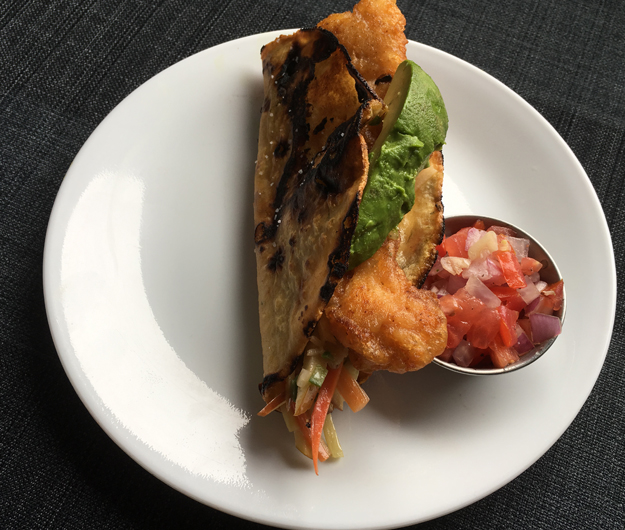
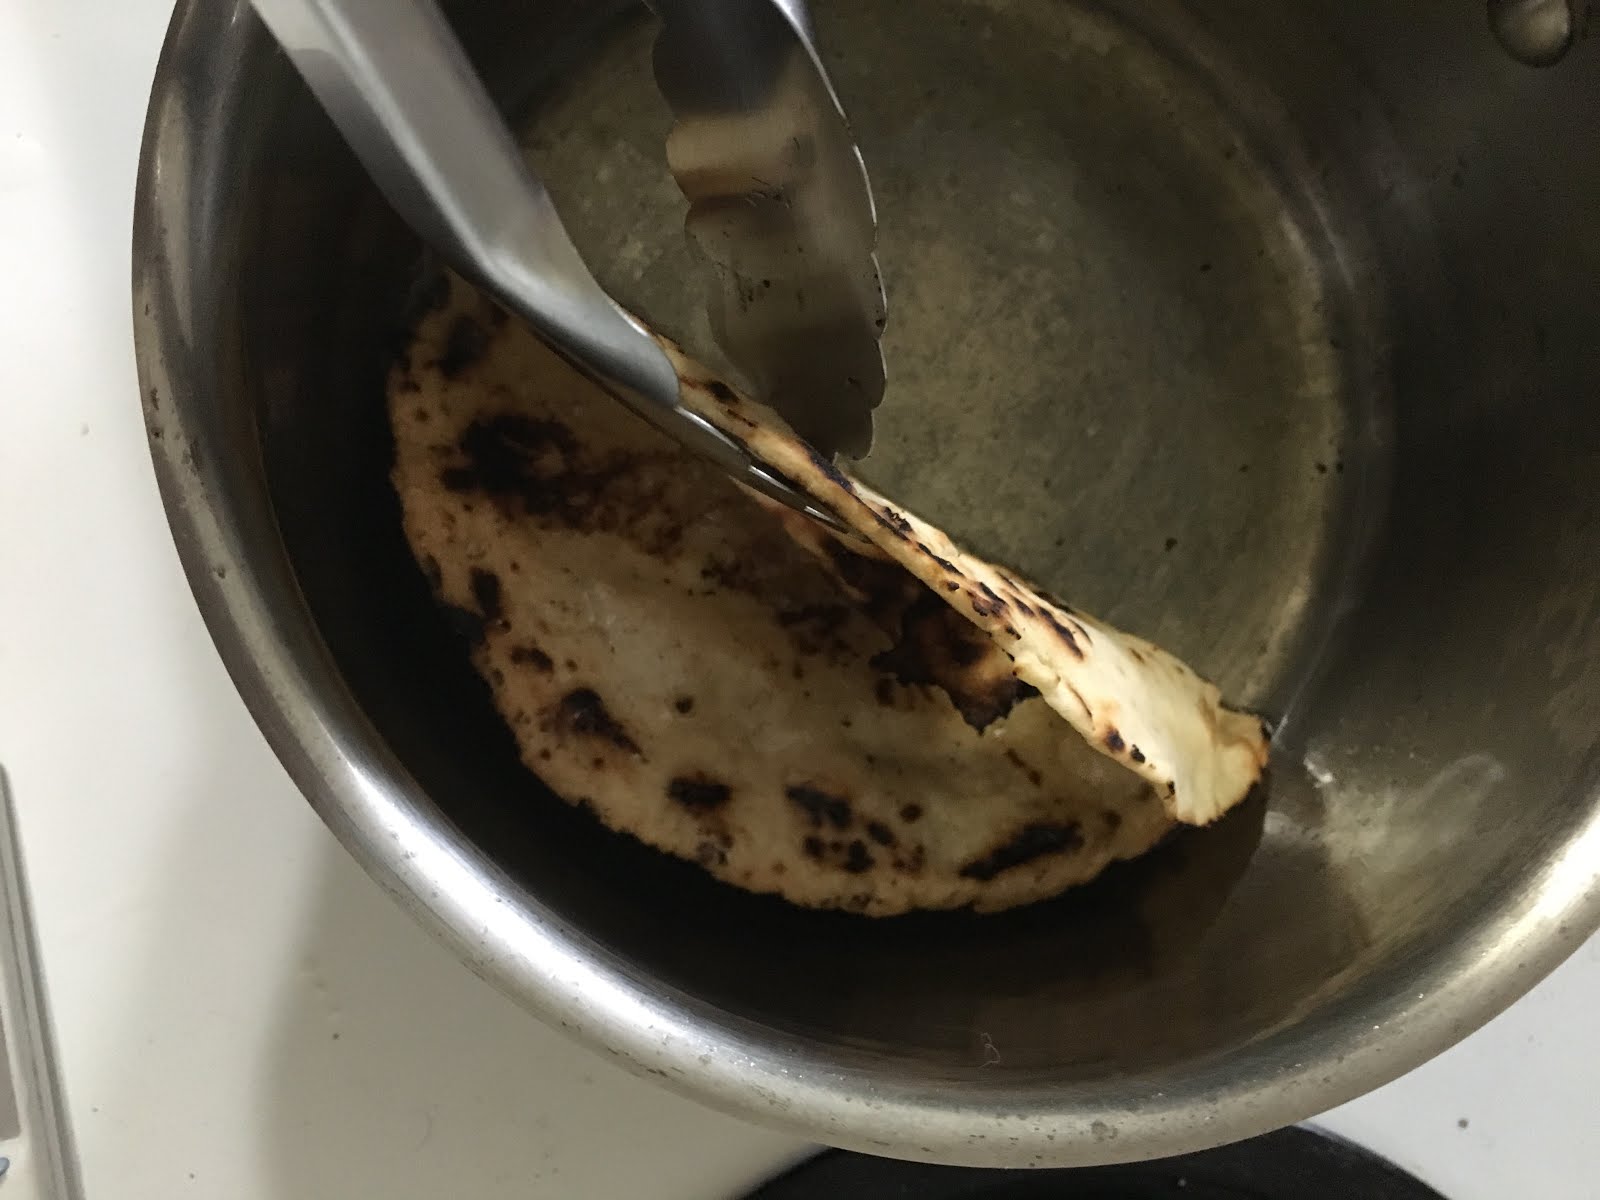 Using tongs, pick up a cooked tortilla, and lower it into the oil so that only half of it is frying. Using the a wooden spoon push down any big bubbles that form.
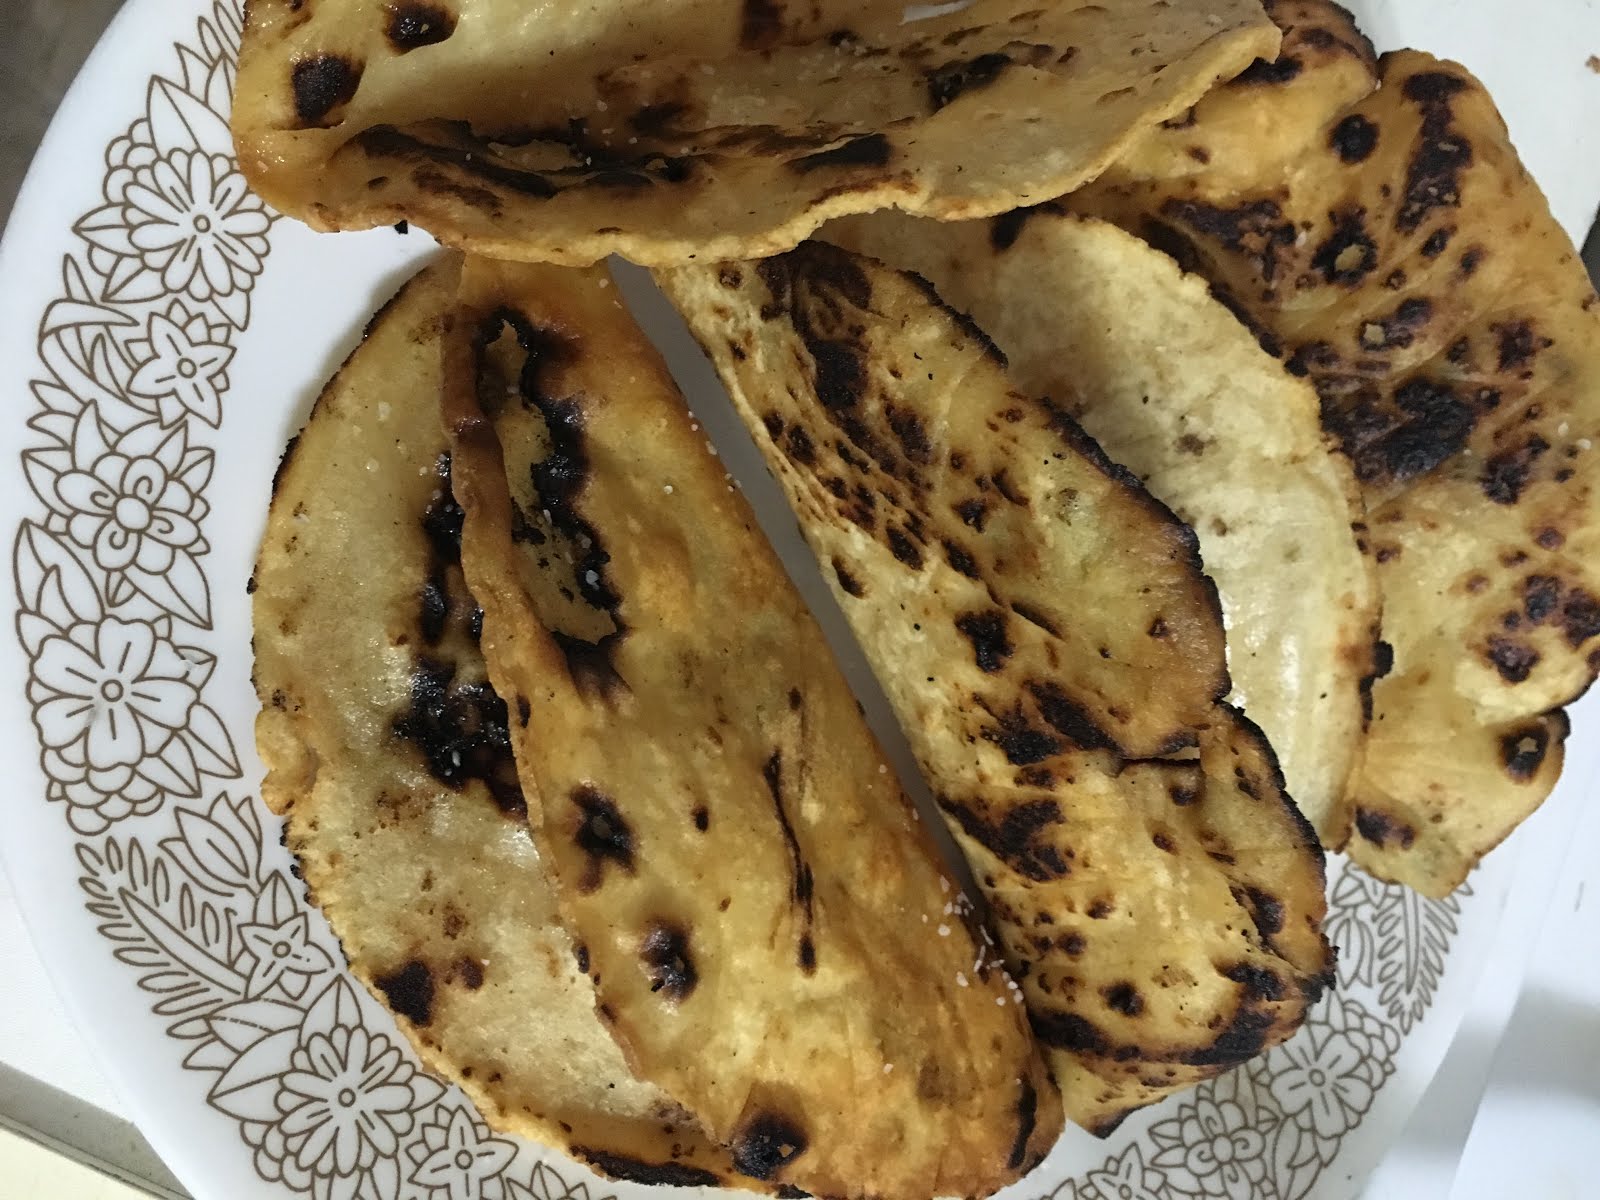 Once the shell holds its shape, move to the side and sprinkle with salt.
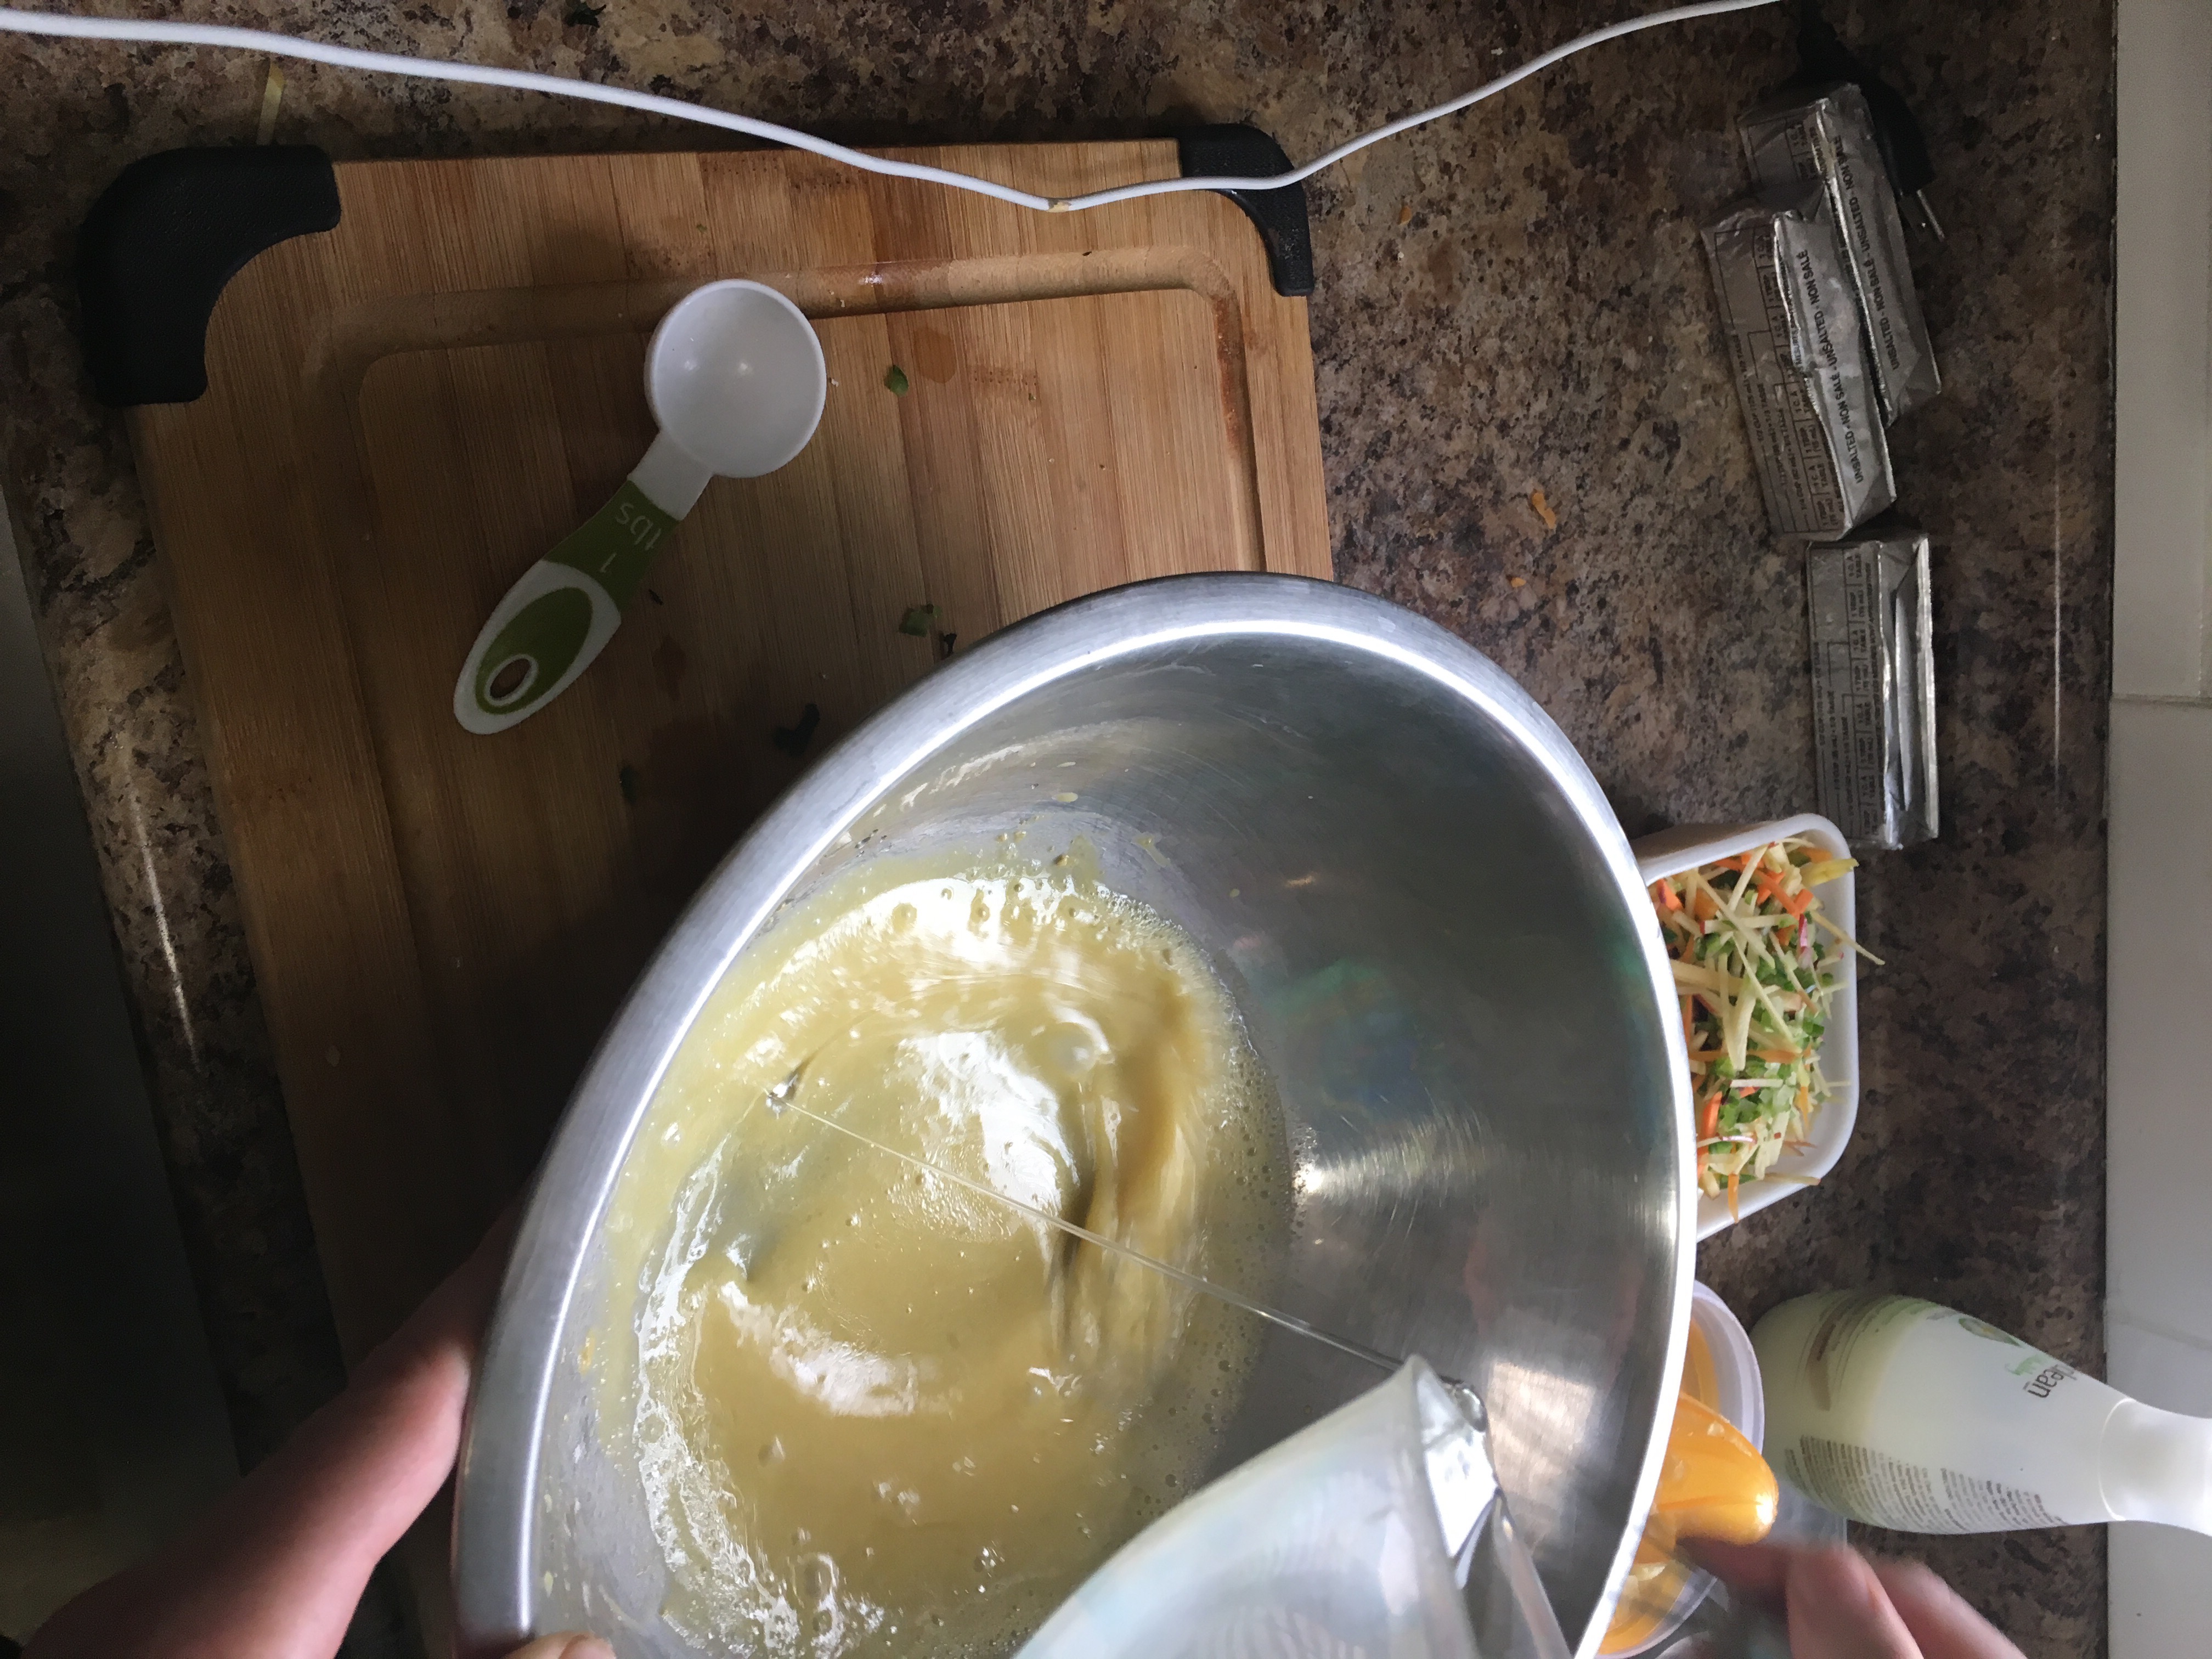 Slowly add Canola Oil into mixture while whisking. The oil should emulsify into the mixture so you have a solid consistent dressing. You don’t want the mixture to break, so you’re better off adding it too slowly, than too fast.
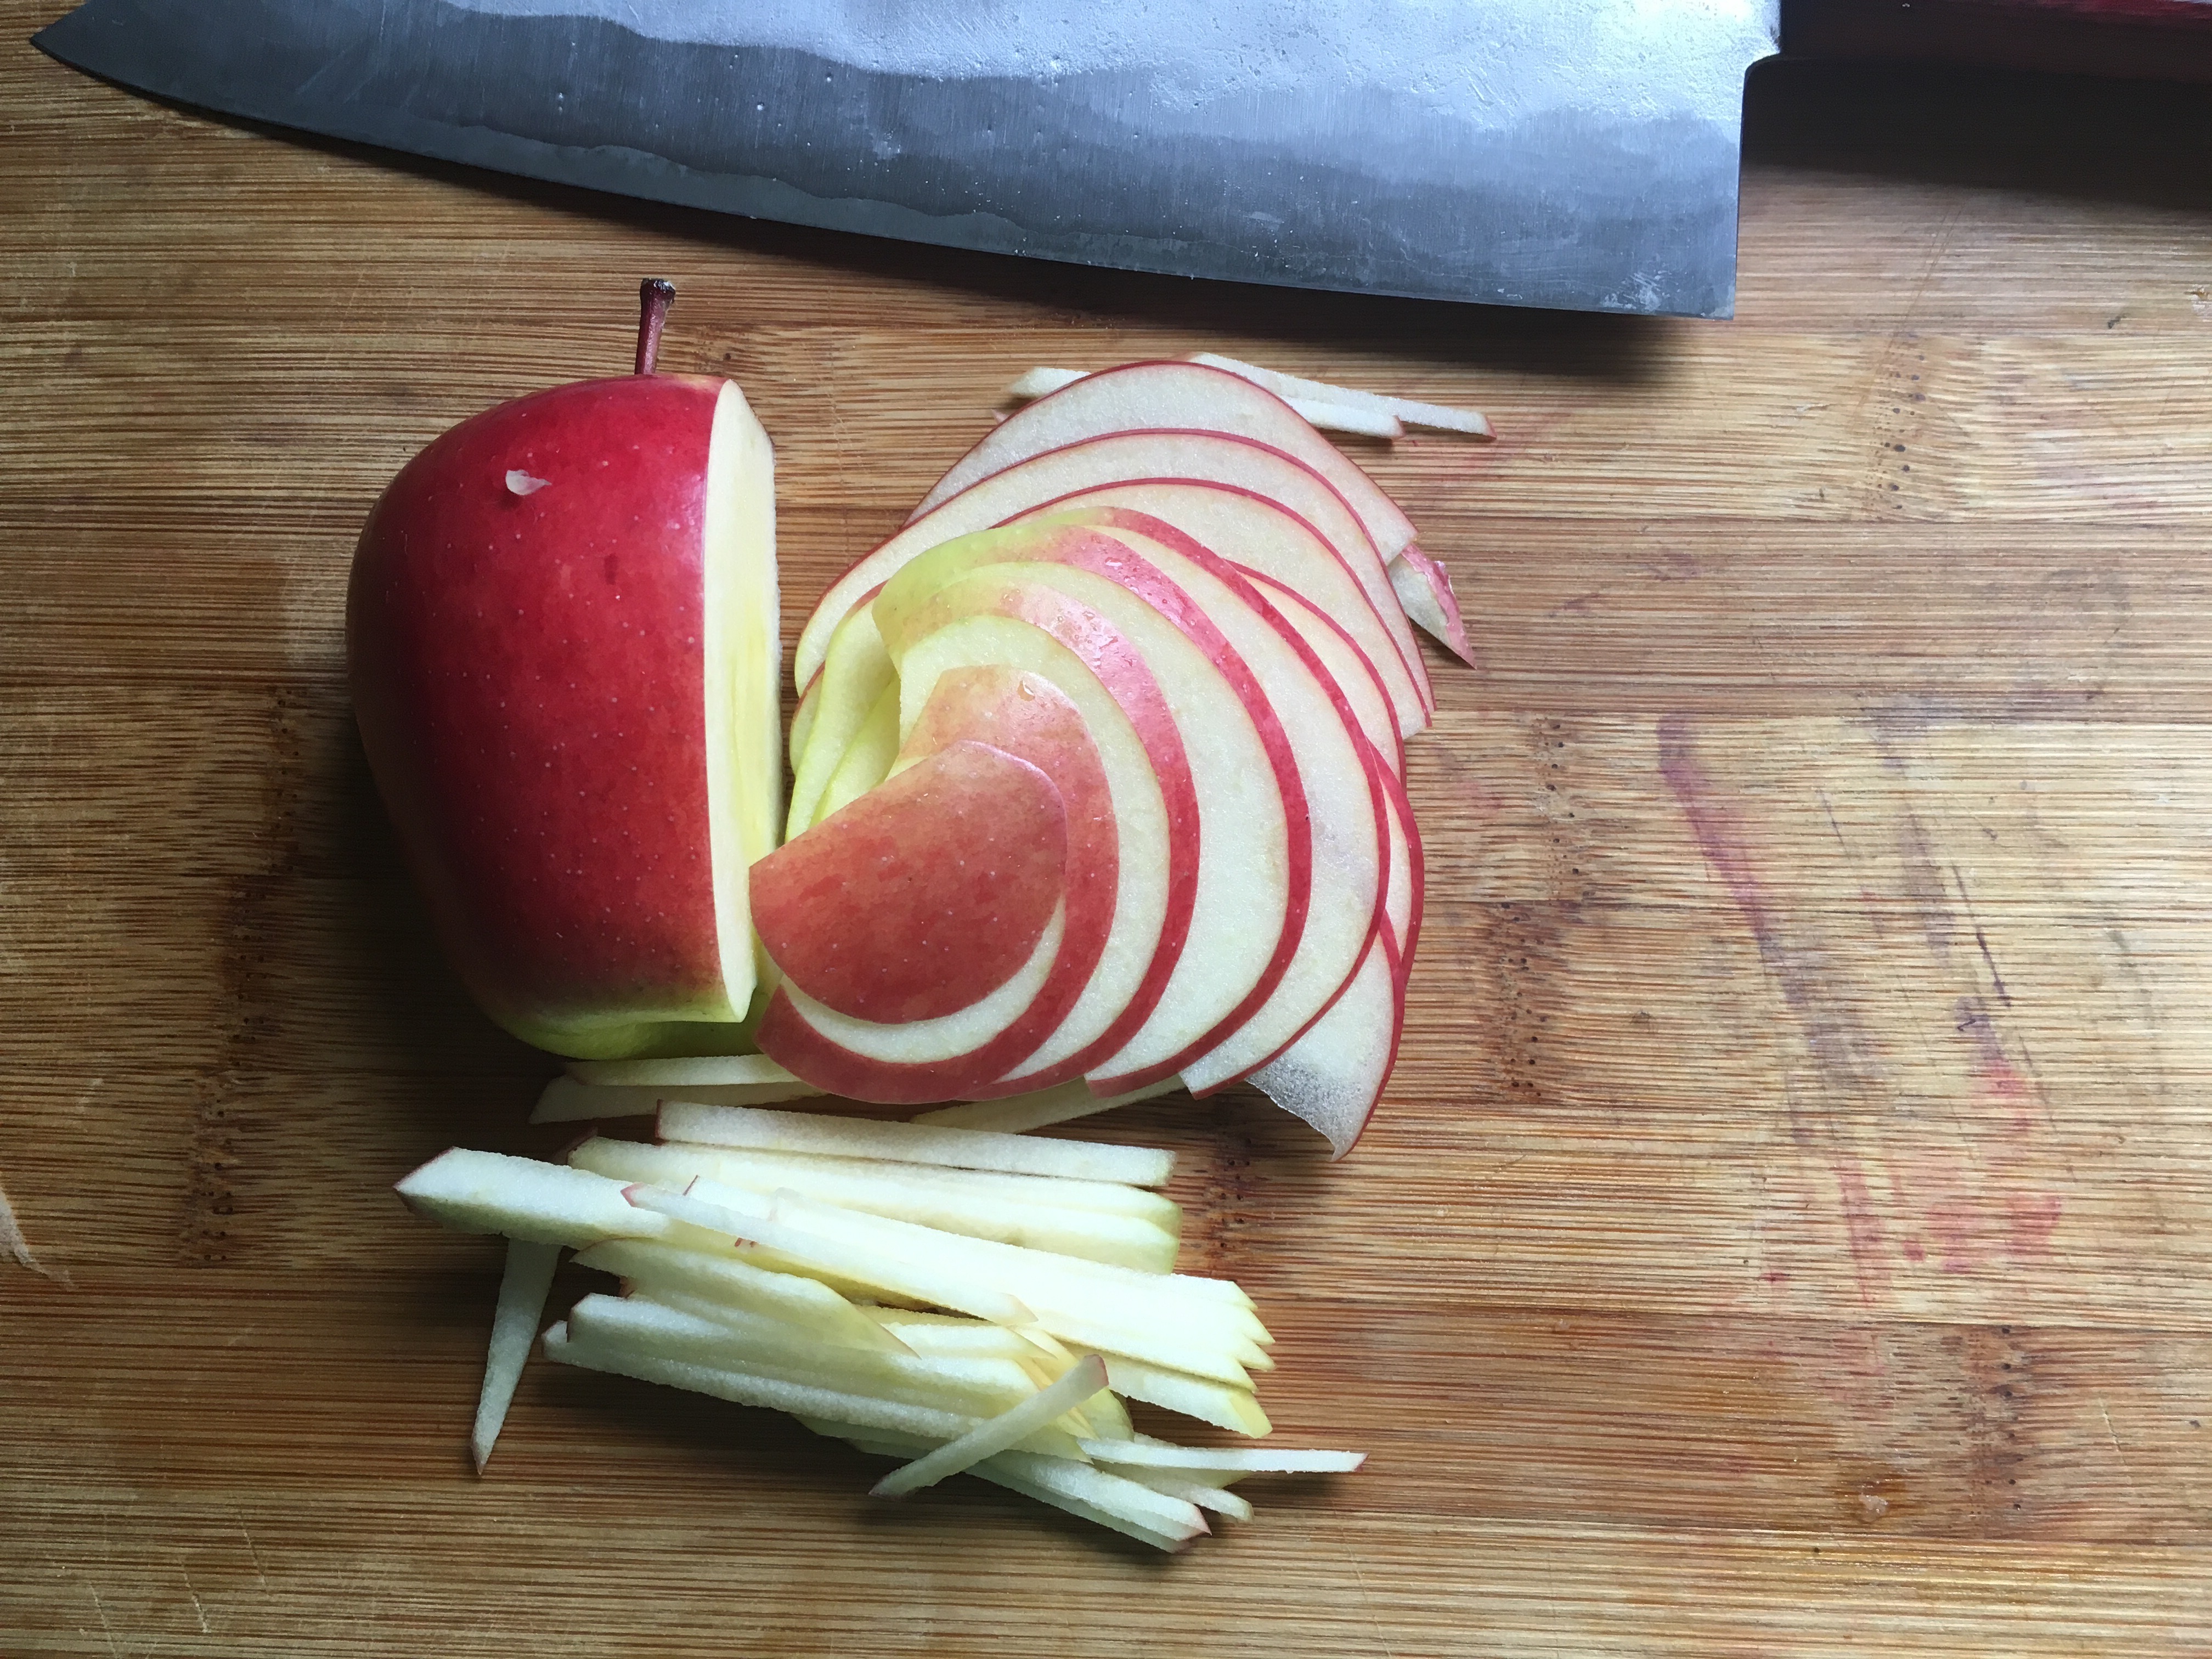 Apple Sliced the same way as the Tomato for the Pico de Gallo, into 1/8″ rounds, then cut into sticks. The apple should have a little bit of peel on both ends.
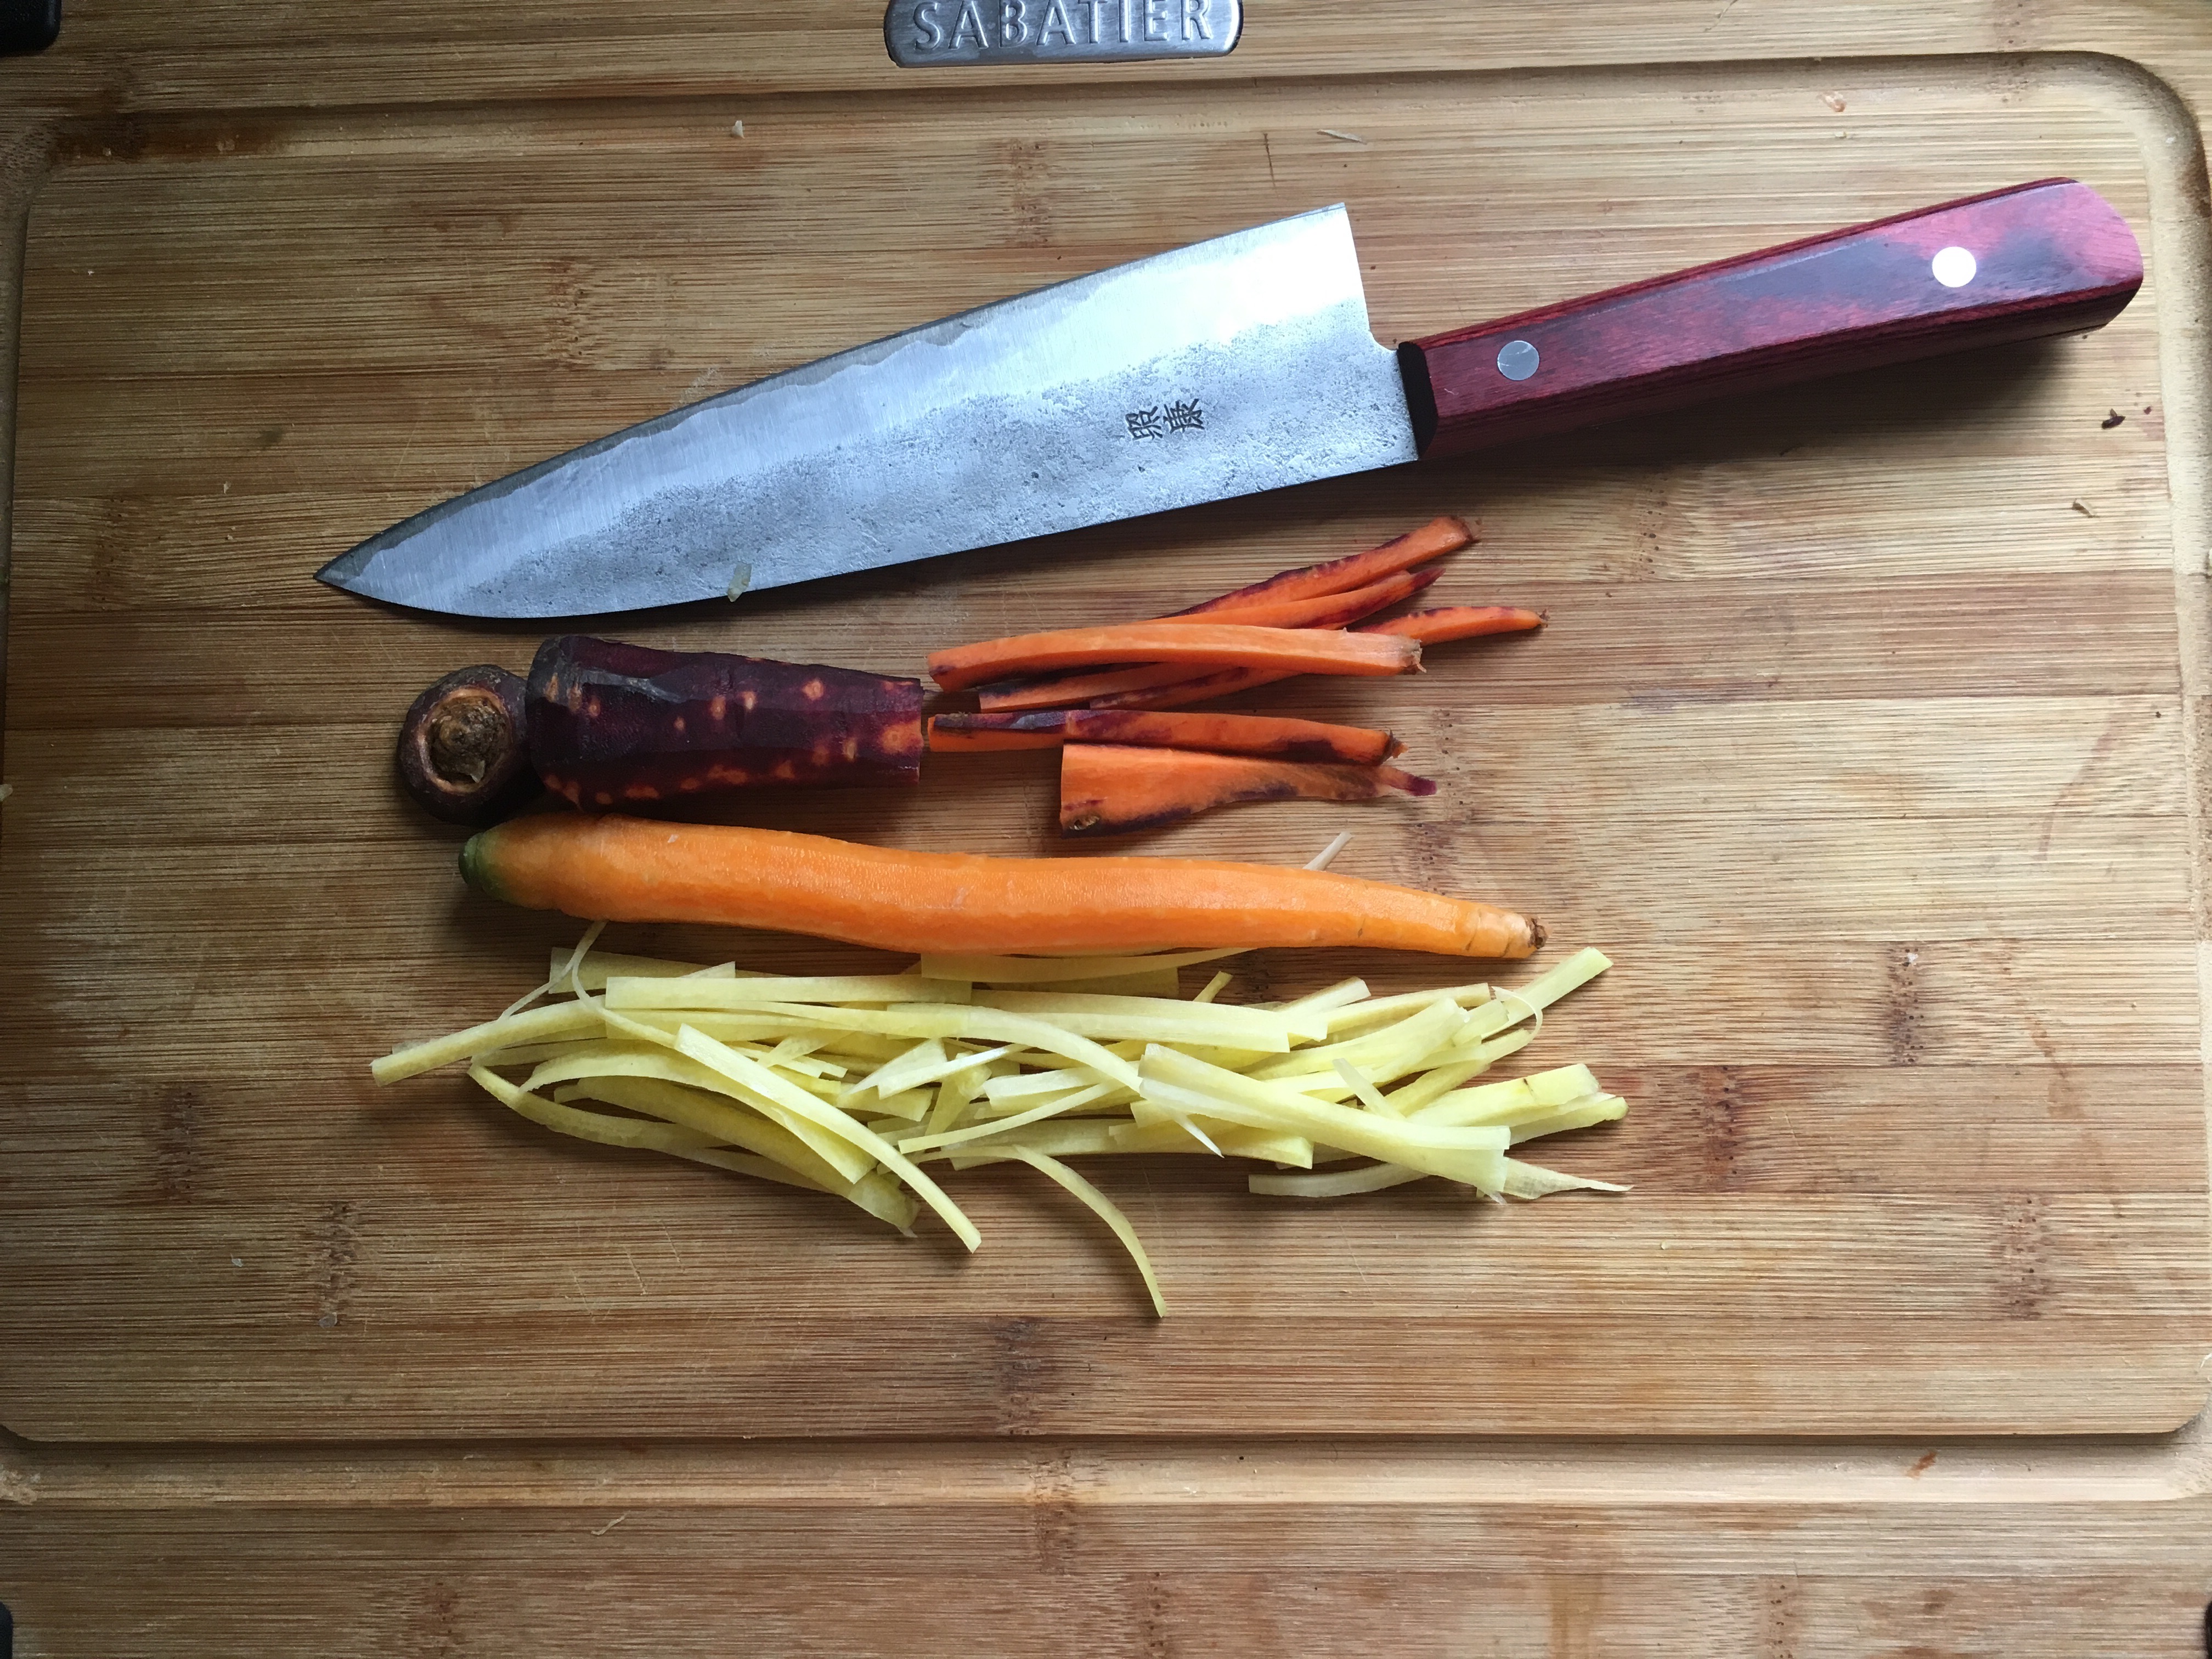 Cut Carrots into 1/8″ by 3″ sticks by cutting them into half, then each half cut into strips, then each strip into sticks
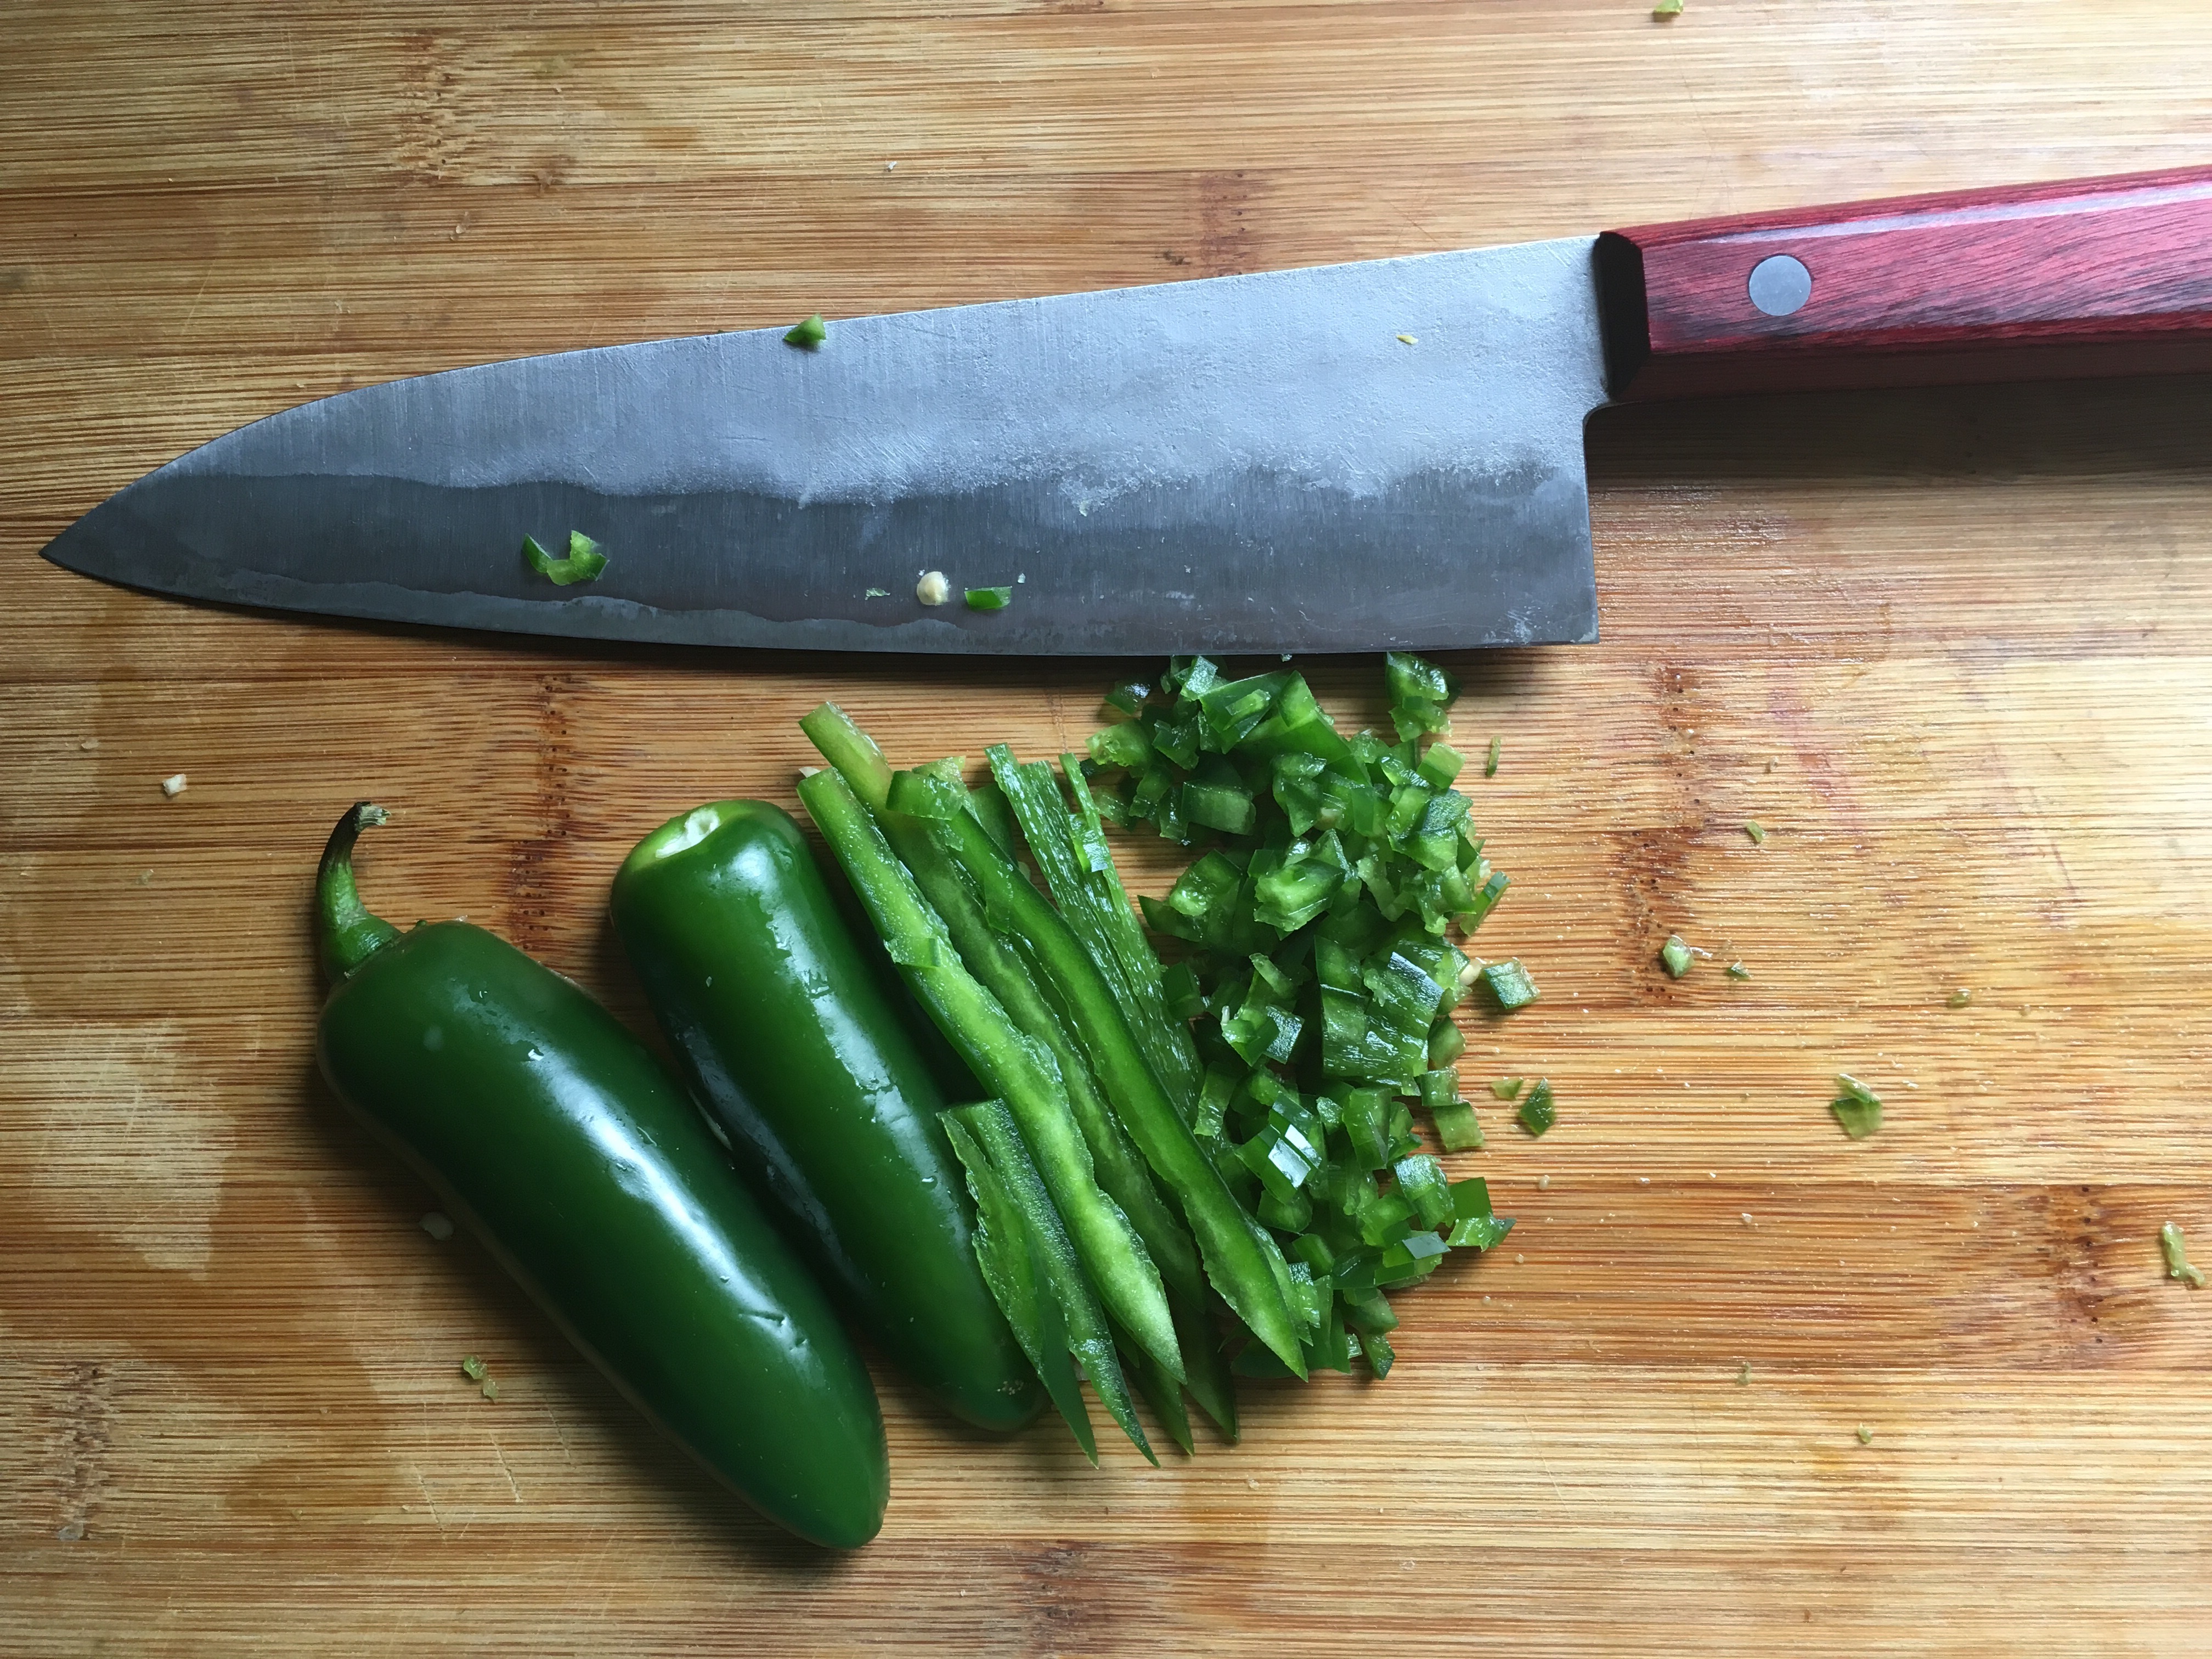 Dice the Yellow Onion and Jalapeño into 1/4″. Make sure to discard the seeds from the Jalapeño.
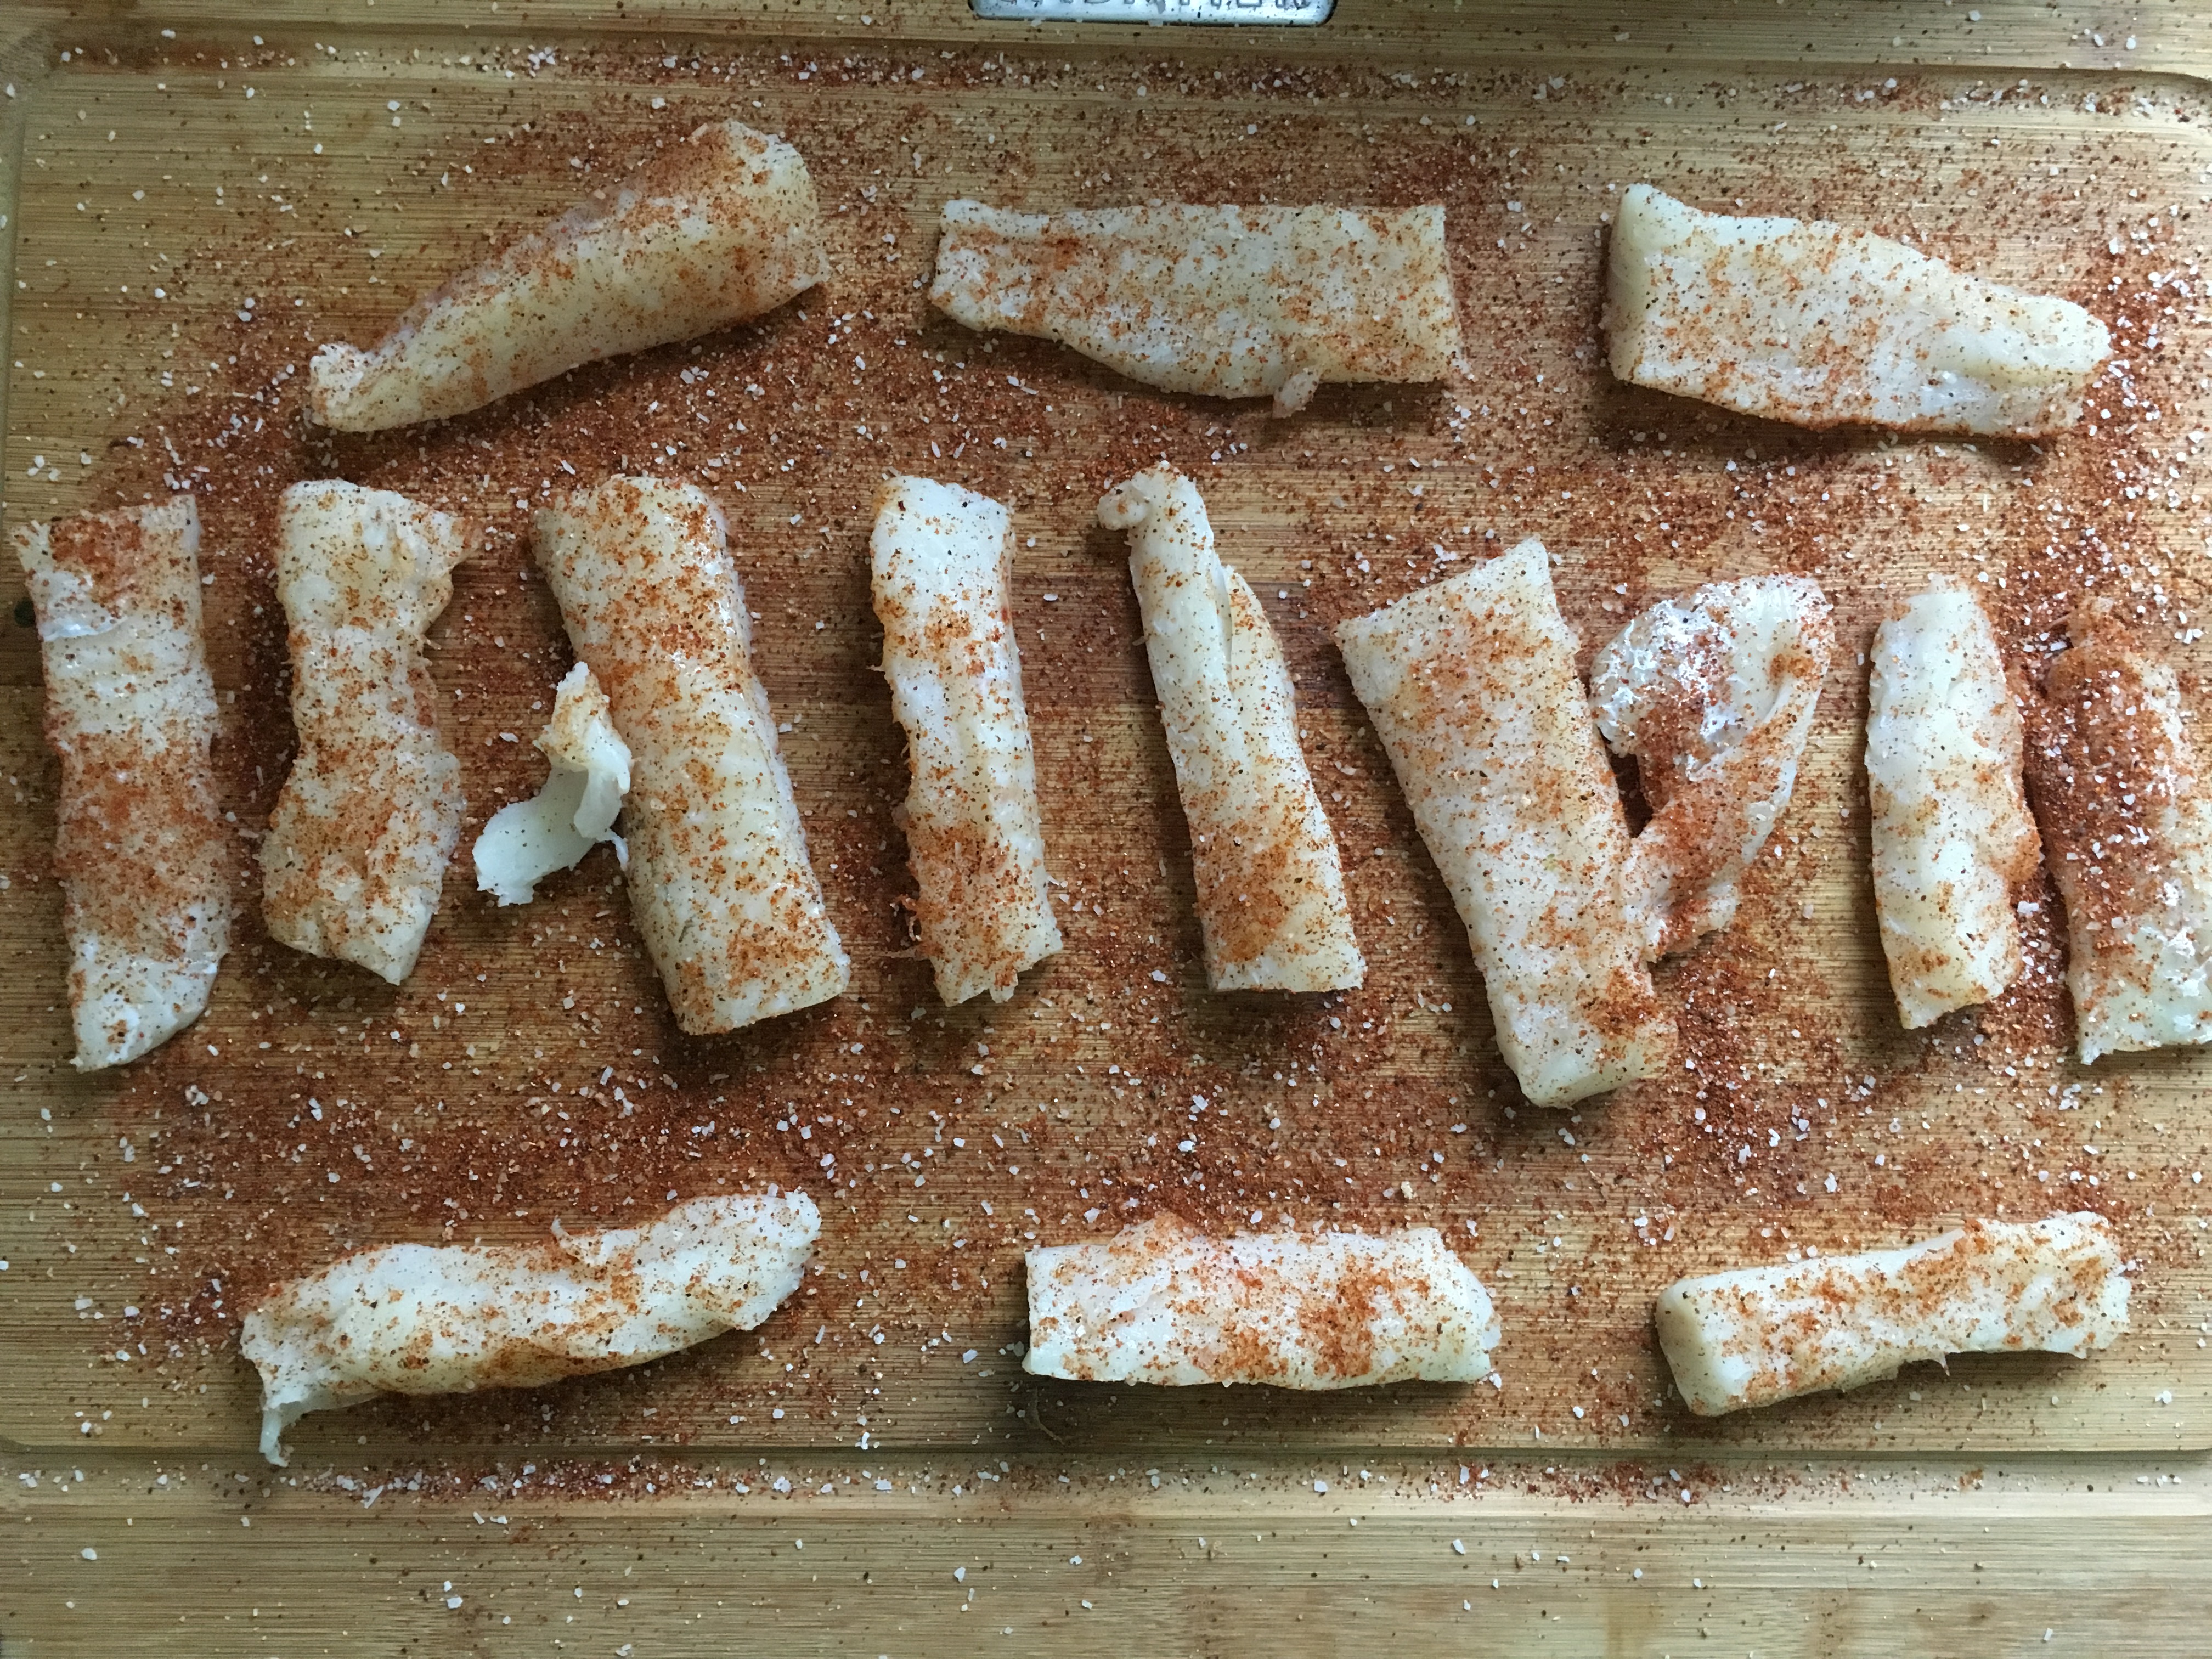 Cover Haddock strips with spice mixture on all sides evenly and liberally. Set aside until needed.
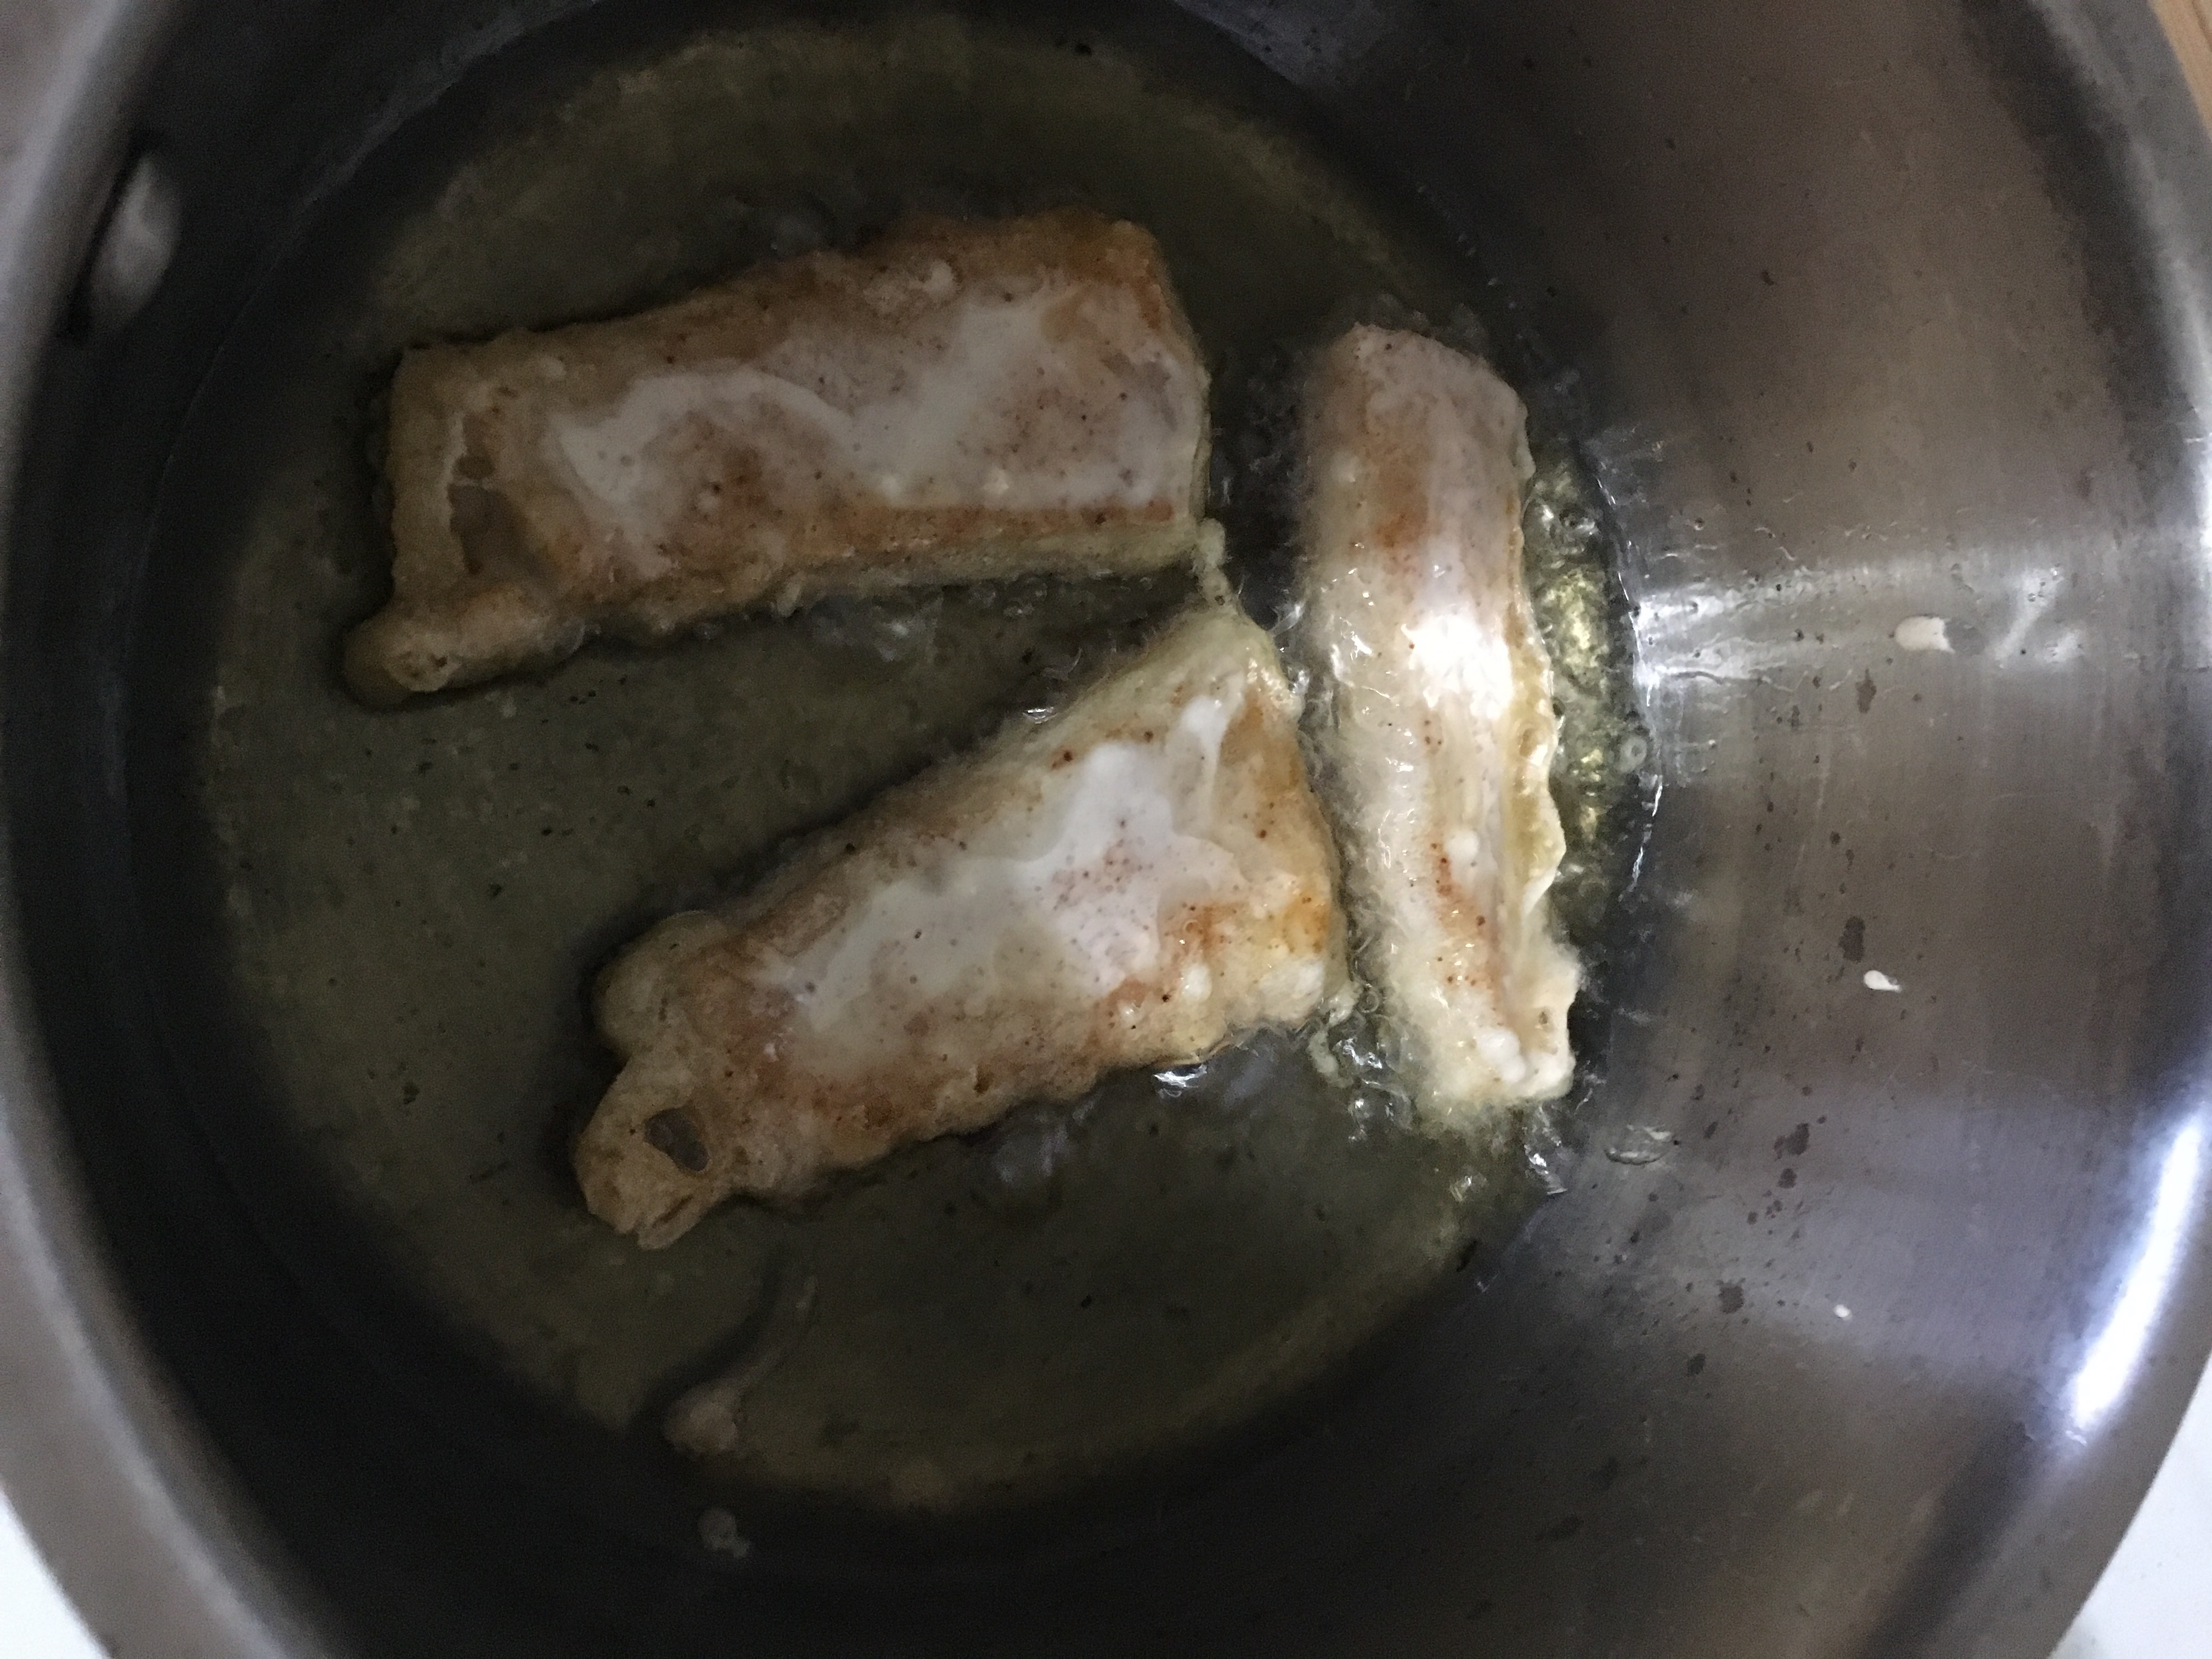 Place two or three pieces of the batter covered Haddock into the hot oil and let it cook, make sure to turn over when the bottom is golden brown. Once the second side is cooked, remove the fish and place on paper towel covered plate and sprinkle lightly with Salt.