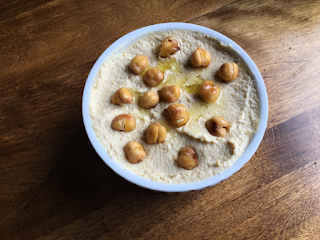
Sometimes, the difference between good and great is 2%. At least that’s what I told John, a class mate of mine; because my class average was 2% higher than his. At the time I meant it as a joke, but I think I might have been on to something. A better way to say it, might be ‘Sometimes, the different between good and great are the fine details.’ I bring this up because I was in the mood to make Hummus, and this is a perfect example of something that can be great, if you look after all the small details. The recipe I give down below is not based on the recipe we use at my place of employment, but I do make hummus at work at least twice a week. Here are some tips that I’ve learned:
Try and use a very good food processor. A cheap or low quality one will make the job longer. Personally, I find it takes a good 7-10 minutes of processing before the hummus is soft and creamy, longer with a cheap processor. If you’re in a situation where your processor isn’t up to the task, run it as long as you can, and when you feel it get hot, let the processor rest for ten or fifteen minutes, then continue. Keep doing this until your hummus is ready. Tahini on the other hand, you definitely can’t fake. If you’re like me, you may have to buy Tahini if you don’t and have a top notch food processor.
Consistency is a bit fickle. I find as I’m adding liquid, at first you’ll have to add a lot before you’ll see a big difference in consistency, but as the hummus loosens, you’ll see even a little bit will make a big difference
Finally, there are only a few ingredients in hummus, and as I mentioned in past posts, the fewer the number ingredients you have in a recipe, the more important the quality of each one is. So make sure to use the best ingredients you can get your hands on.
All that being said, there was one fine detail that I felt could elevate my hummus game, and that was roasting the chickpeas. Chickpeas are perfect candidates for roasting! That’s because they are high in proteins and starches, which cause them to undergo the Maillard Reaction. Which is chemists speak for, heat makes them golden brown and delicious.
- 1 1⁄2C Chickpeas
- 10 Cloves of Garlic
- 2T Canola Oil
- 2T Water
- 2 1⁄2T Tahini
- 2T Lemon Juice
- 1⁄2T Salt
- 1 1⁄2T Extra Virgin Olive
- Place dried chickpeas in a container, fill the container with water so that it covers the chickpeas by two inches, seal container and place in fridge overnight.
- If the chickpeas are still good, they should have doubled or tripled in size. If that’s the case discard the water, put the chickpeas in a pot and fill with fresh water until the water just covers the chickpeas. Set the stove to max heat.
- Bring the water to a boil, then lower heat to its lowest setting and place the lid on the pot. Let sit until the chickpeas become soft. It takes about an hour and a half to two hours.
- Pre-heat oven to 375 degrees Fahrenheit on conventional oven, or 400 degrees on a non conventional oven. Drain and dry the chickpeas, then lightly cover with Canola oil. Make sure to save the water they were cooked in.
- Place the garlic in a ramekin, with a pinch of salt and pepper, two table spoons of water, and two table spoons of canola oil.
- Place your oil covered chickpeas on a parchment lined baking sheet, then place your chickpeas and ramekin with the garlic into the pre-heated oven. The chickpeas should take about 20 to 30 minutes to become golden brown, while the garlic should thake ablut 25 to 35 minutes to achieve the same.
- Place two cups of your roasted chickpeas, roasted garlic, the oil the garlic was cooked in, tahini, lemon juice, a pinch of salt into your food processor.
- Turn your food processor on, until your chickpeas are coarse in size.
- Turn the processor off and scrape down the sides of the interior of the processor bowl and add a little of the reserved chickpea cooking liquid.
- Repeat step 9 until the chickpeas make a uniformed paste, and is CLOSE to the consistency you’re looking for. Remember, at first it will take more liquid for the consistency of the hummus to change, but be careful because as it thins out, a little bit of the reserved liquid will make a much bigger change, I ended up using 5.5floz of the reserved cooking liquid.
- Add the Olive Oil, and continue to process until the hummus takes on a creamy consistency.
- Repeat step 9 until the hummus is the desired consistency. The hummus will thicken when you put it in the fridge, so keep that in mind.
- Place hummus in fridge overnight, and taste for seasoning the next day. Add salt as needed.
- Take a fancy Photo and post it to Instagram with the hashtag #foryourfoulmouth!
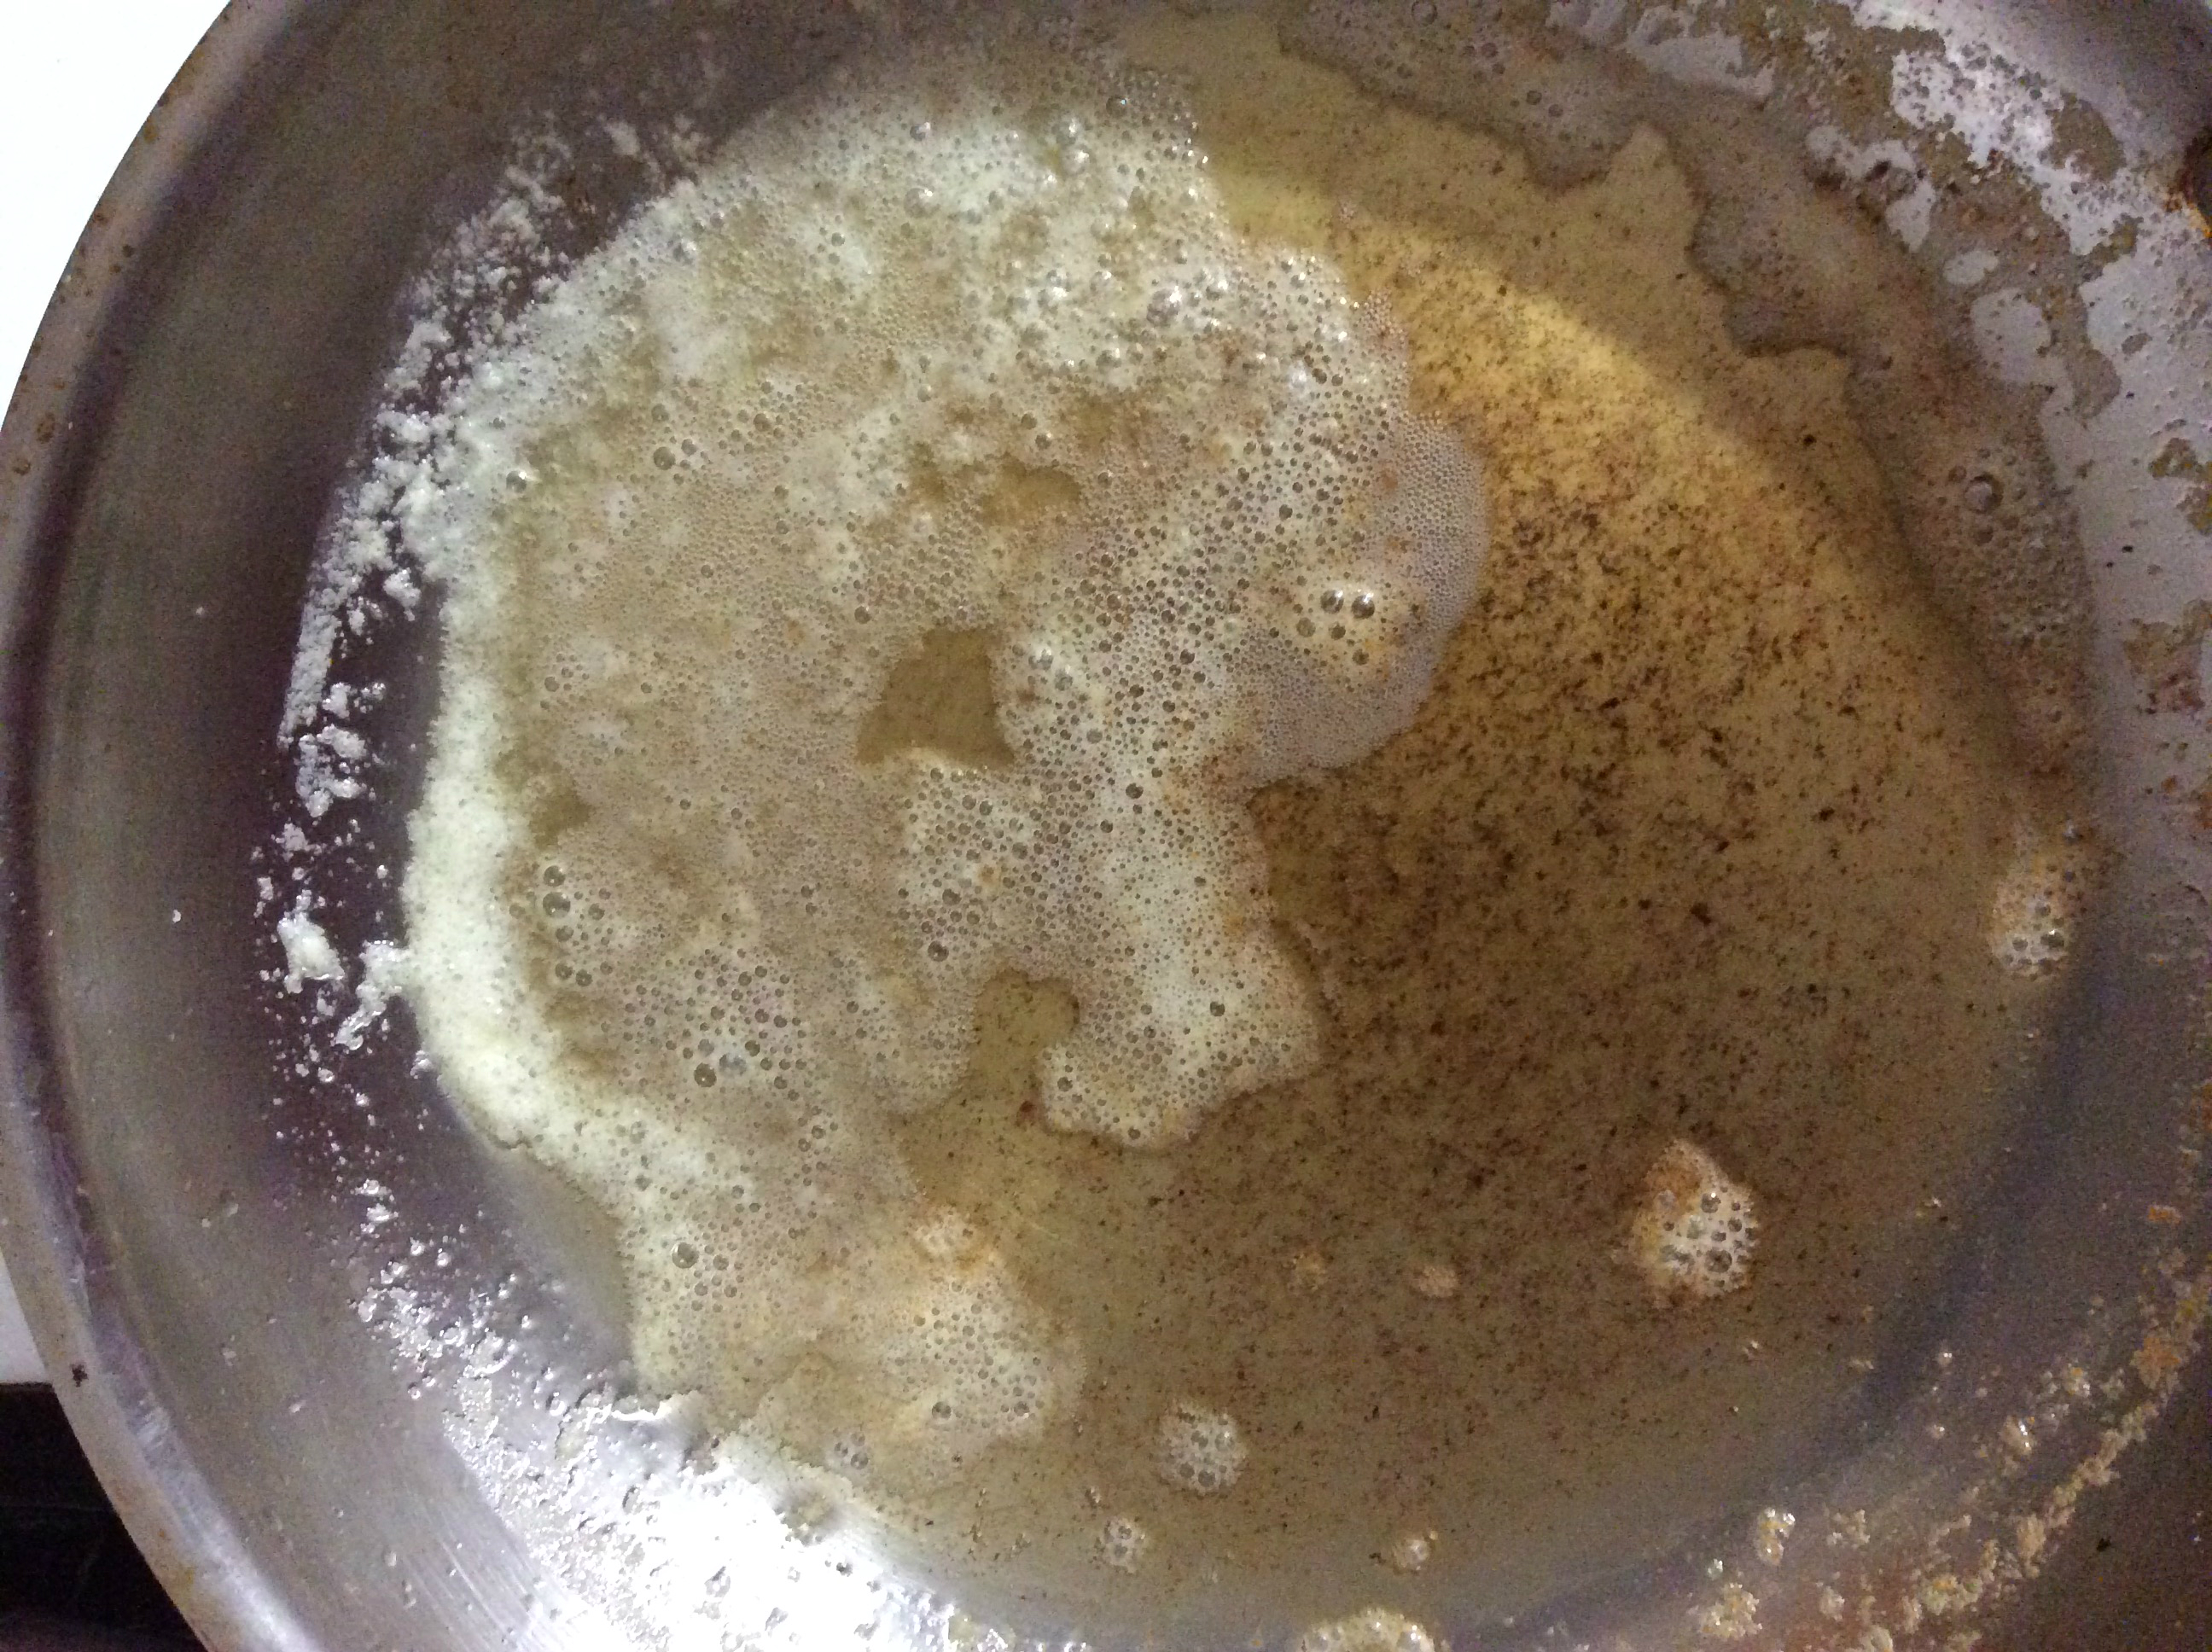 Put Butter on a pan set to medium low heat, You want to wait for it to completely melt, and turn brown. It should take on a nutty/caramel smell. Run it though a fine strainer, and allow to cool.
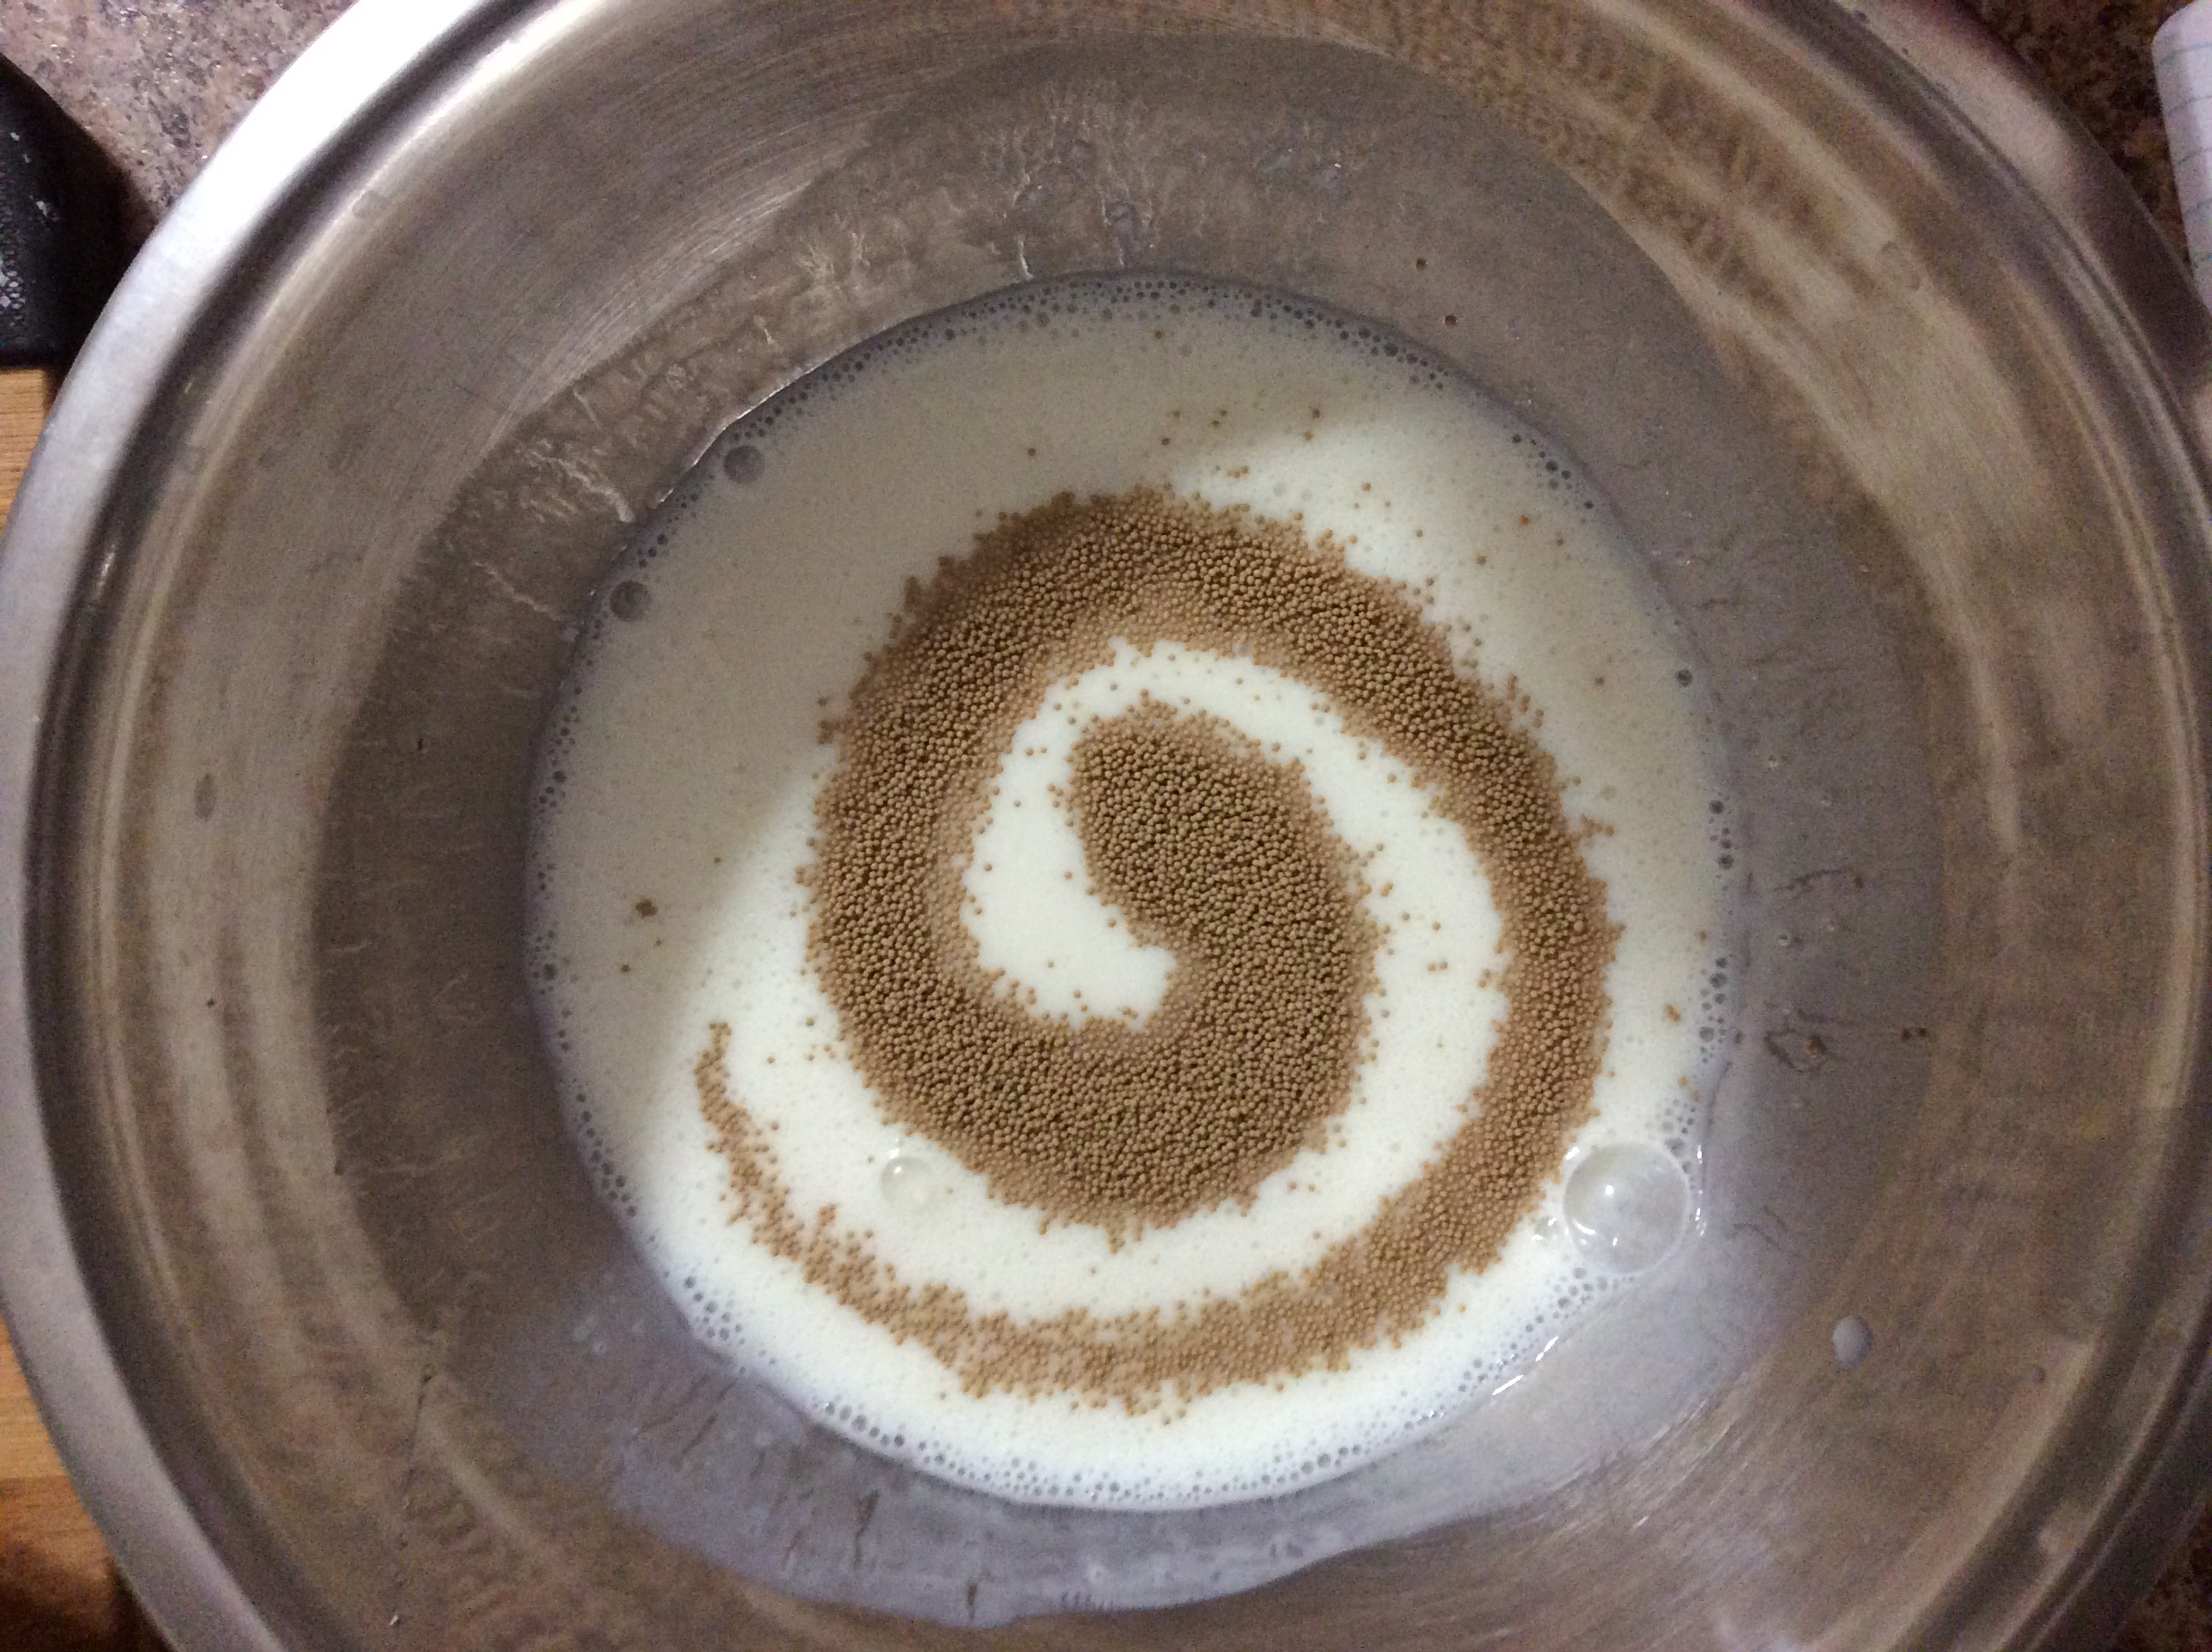 Mix Together Buttermilk, Milk and Honey into a bowl and mix until the honey has completely dissolved. add the yeast and allow to sit for 10 minute in a warm place to Bloom.
 Mix the Sifted Flour mixture into the Milk Mixture. DO NOT OVER MIX. It’s ok if there are a few lumps.
 Remove the batter from the fridge, and let sit on the counter for 20 mins
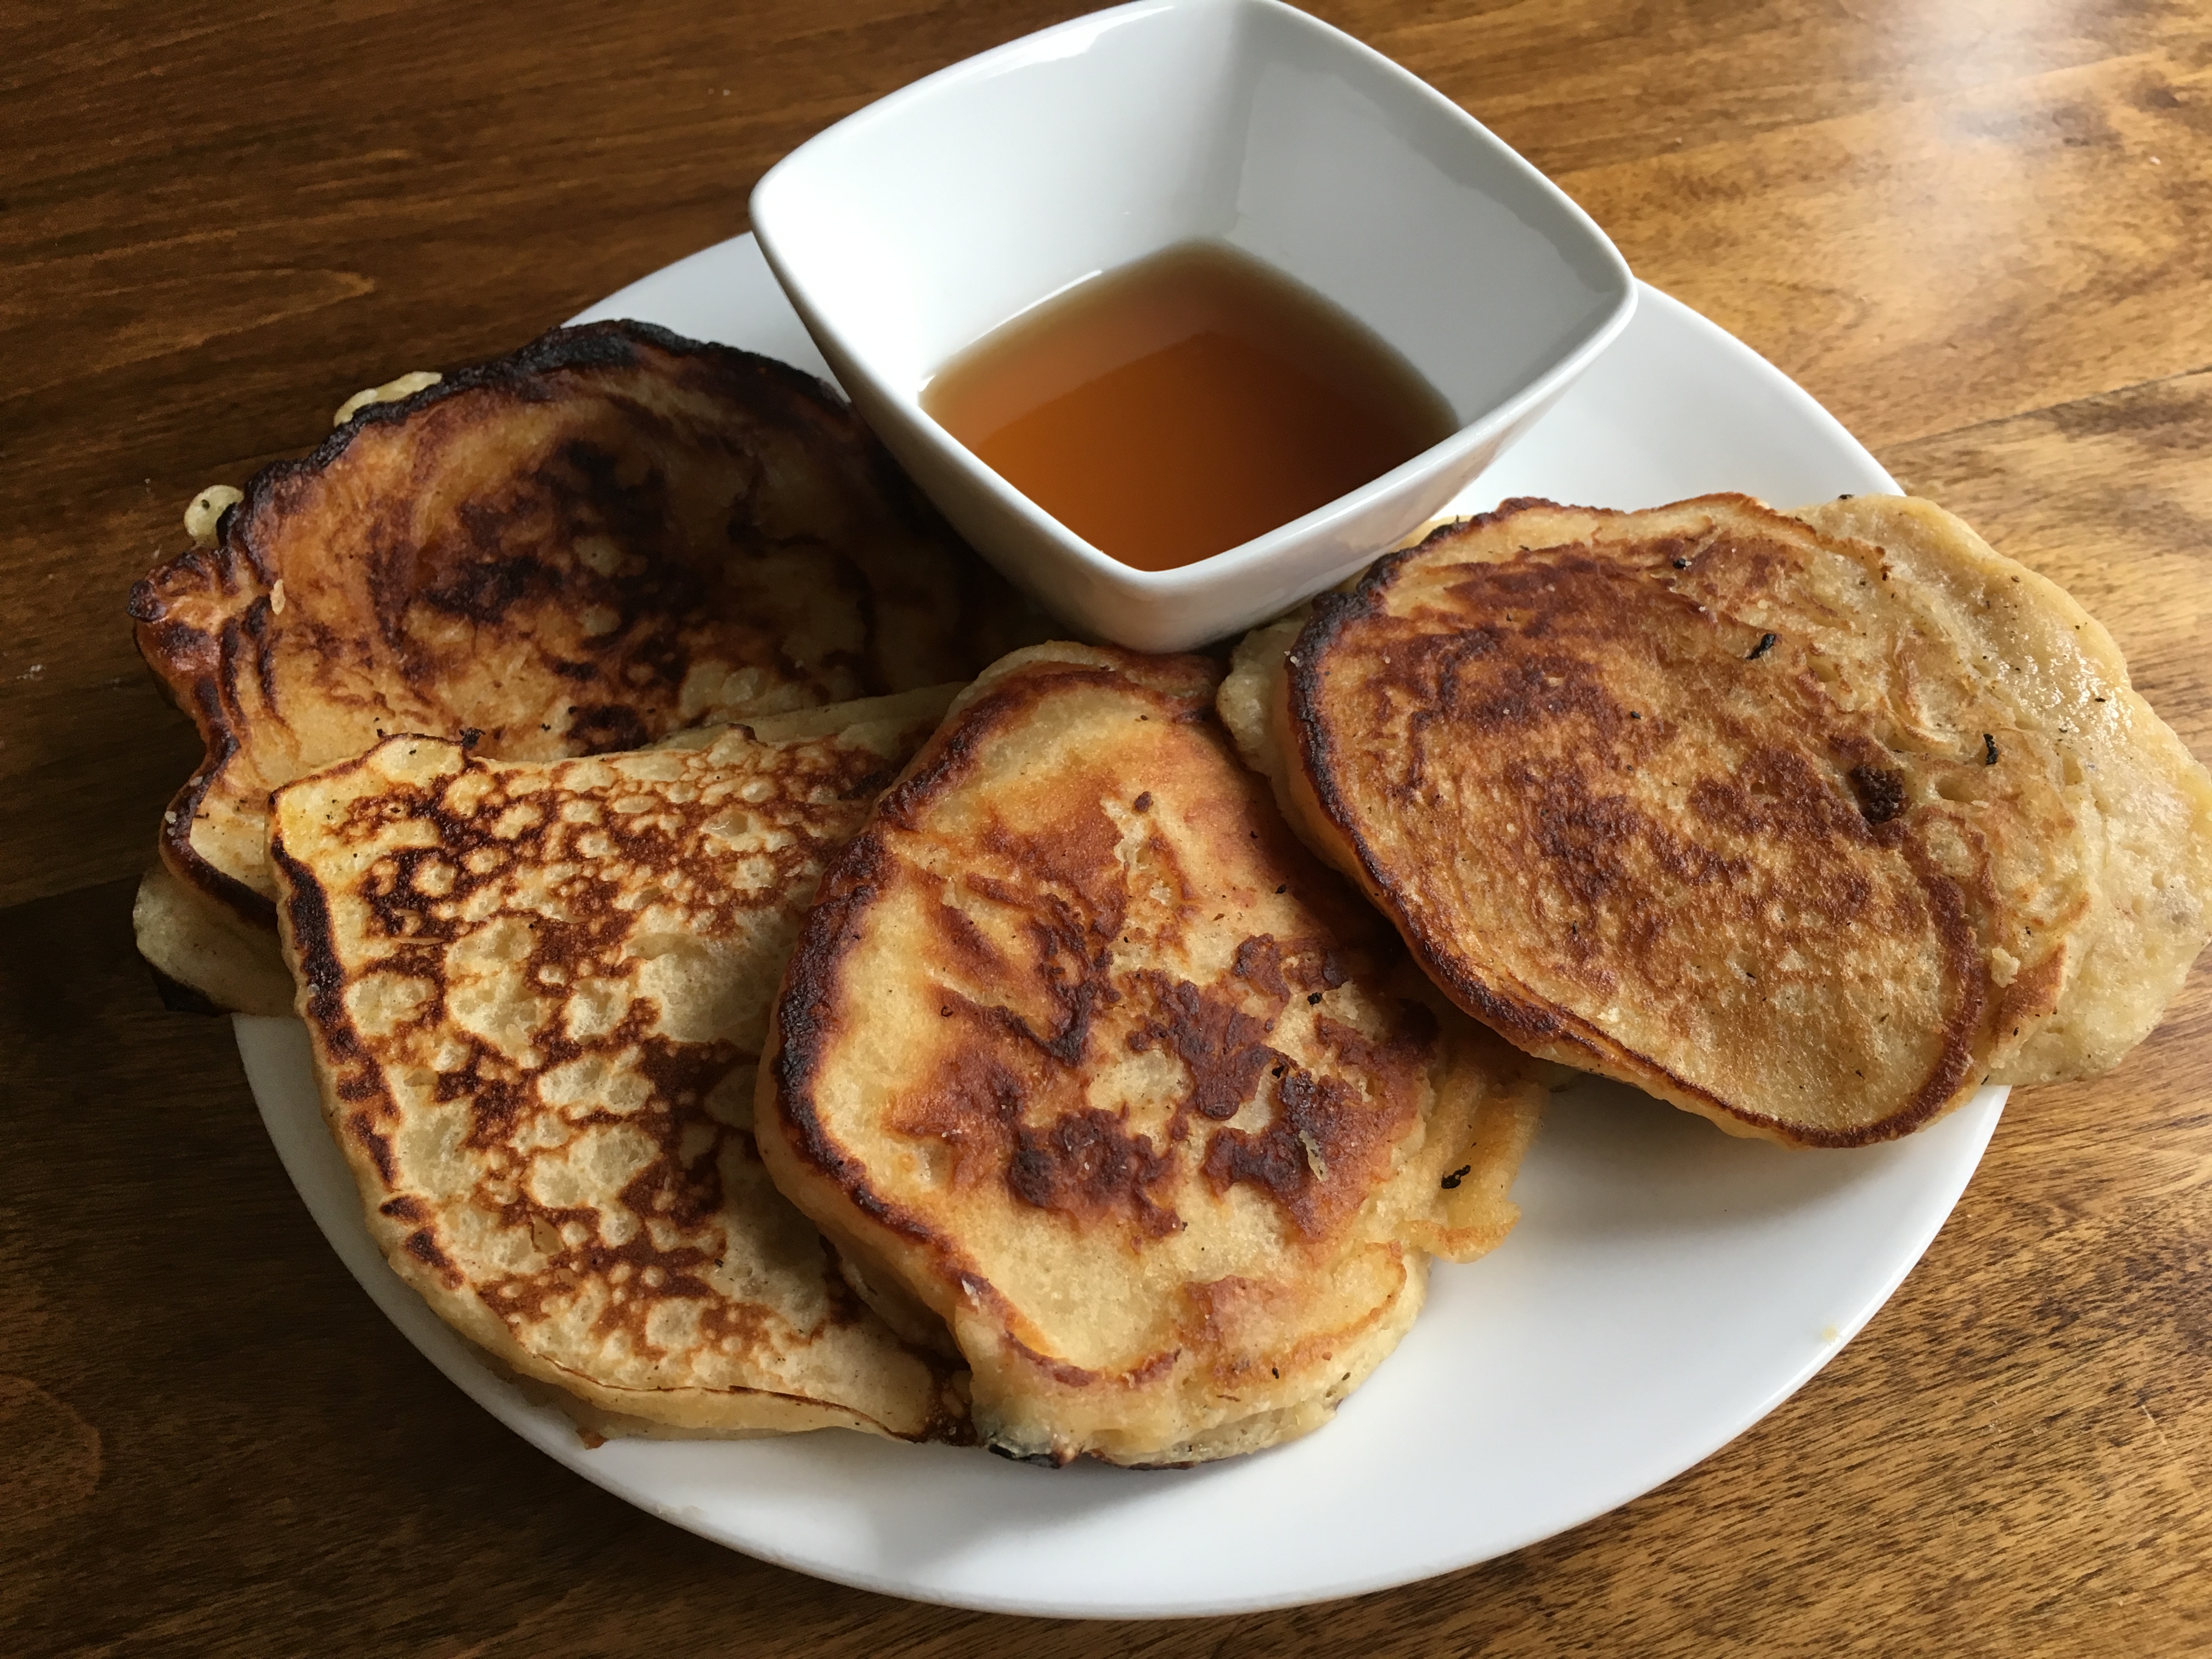
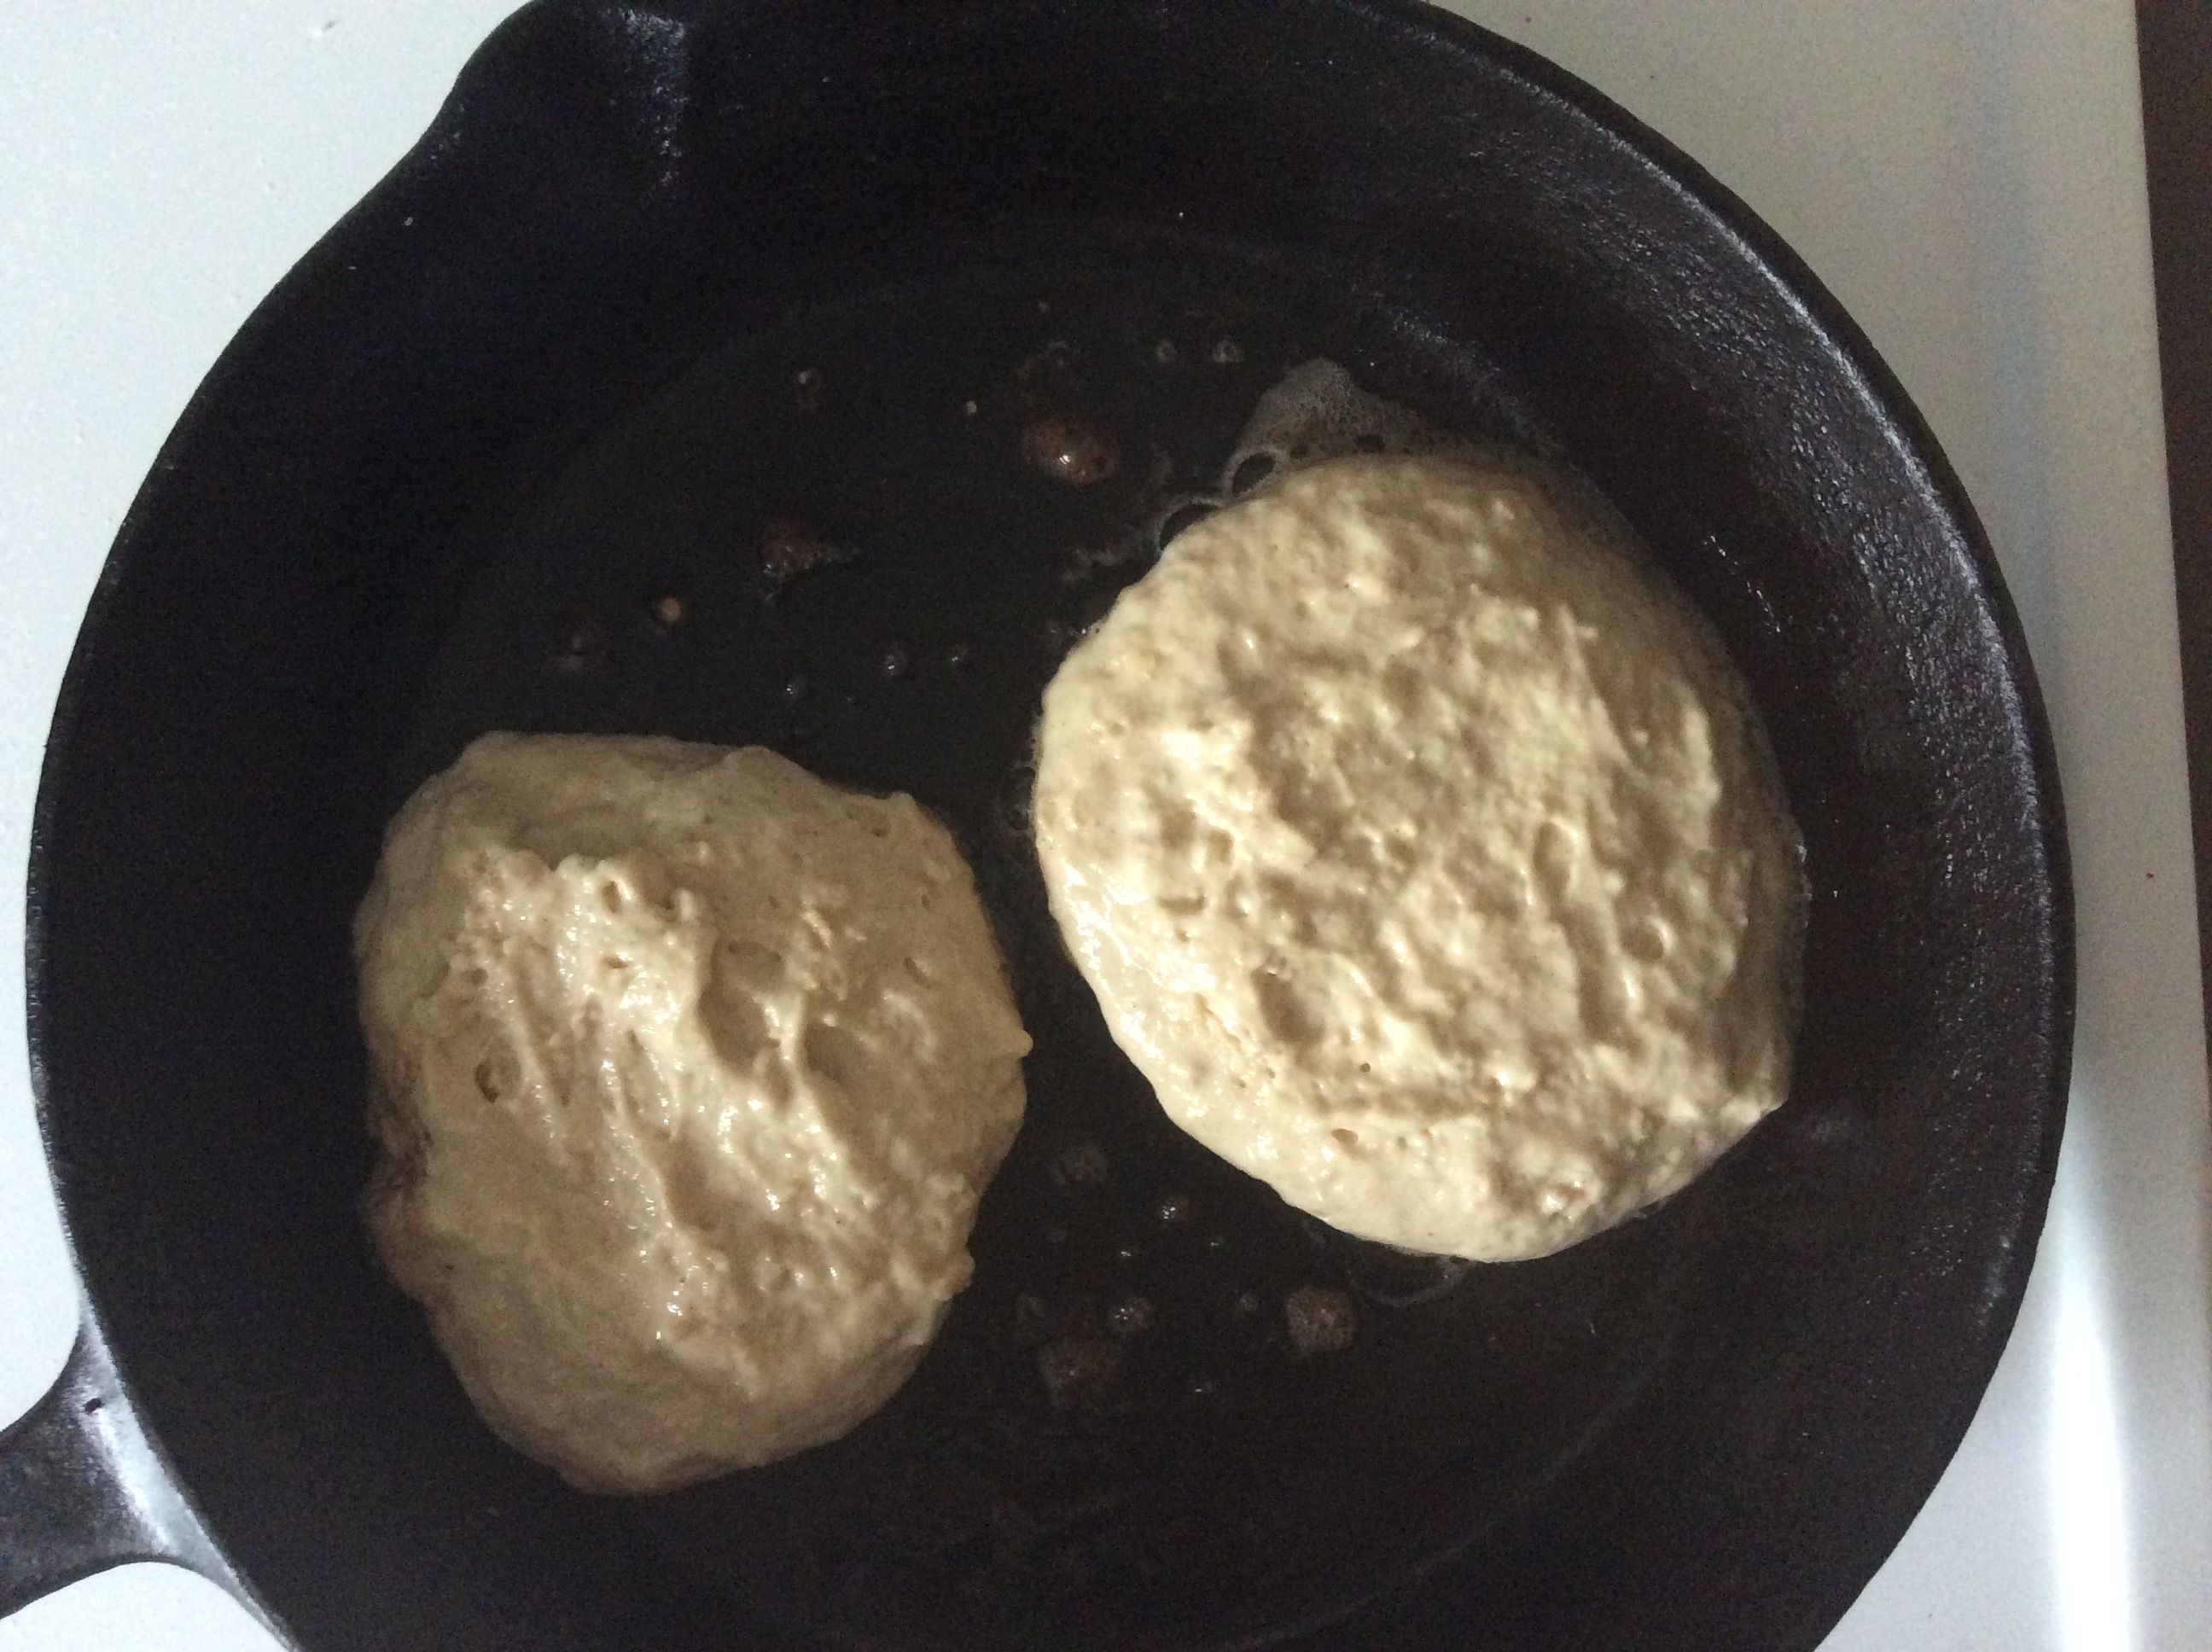 Place a 1/4 of batter on to the Pan. This is a thick batter, so you might have to use a spatula to spread the batter out nicely.