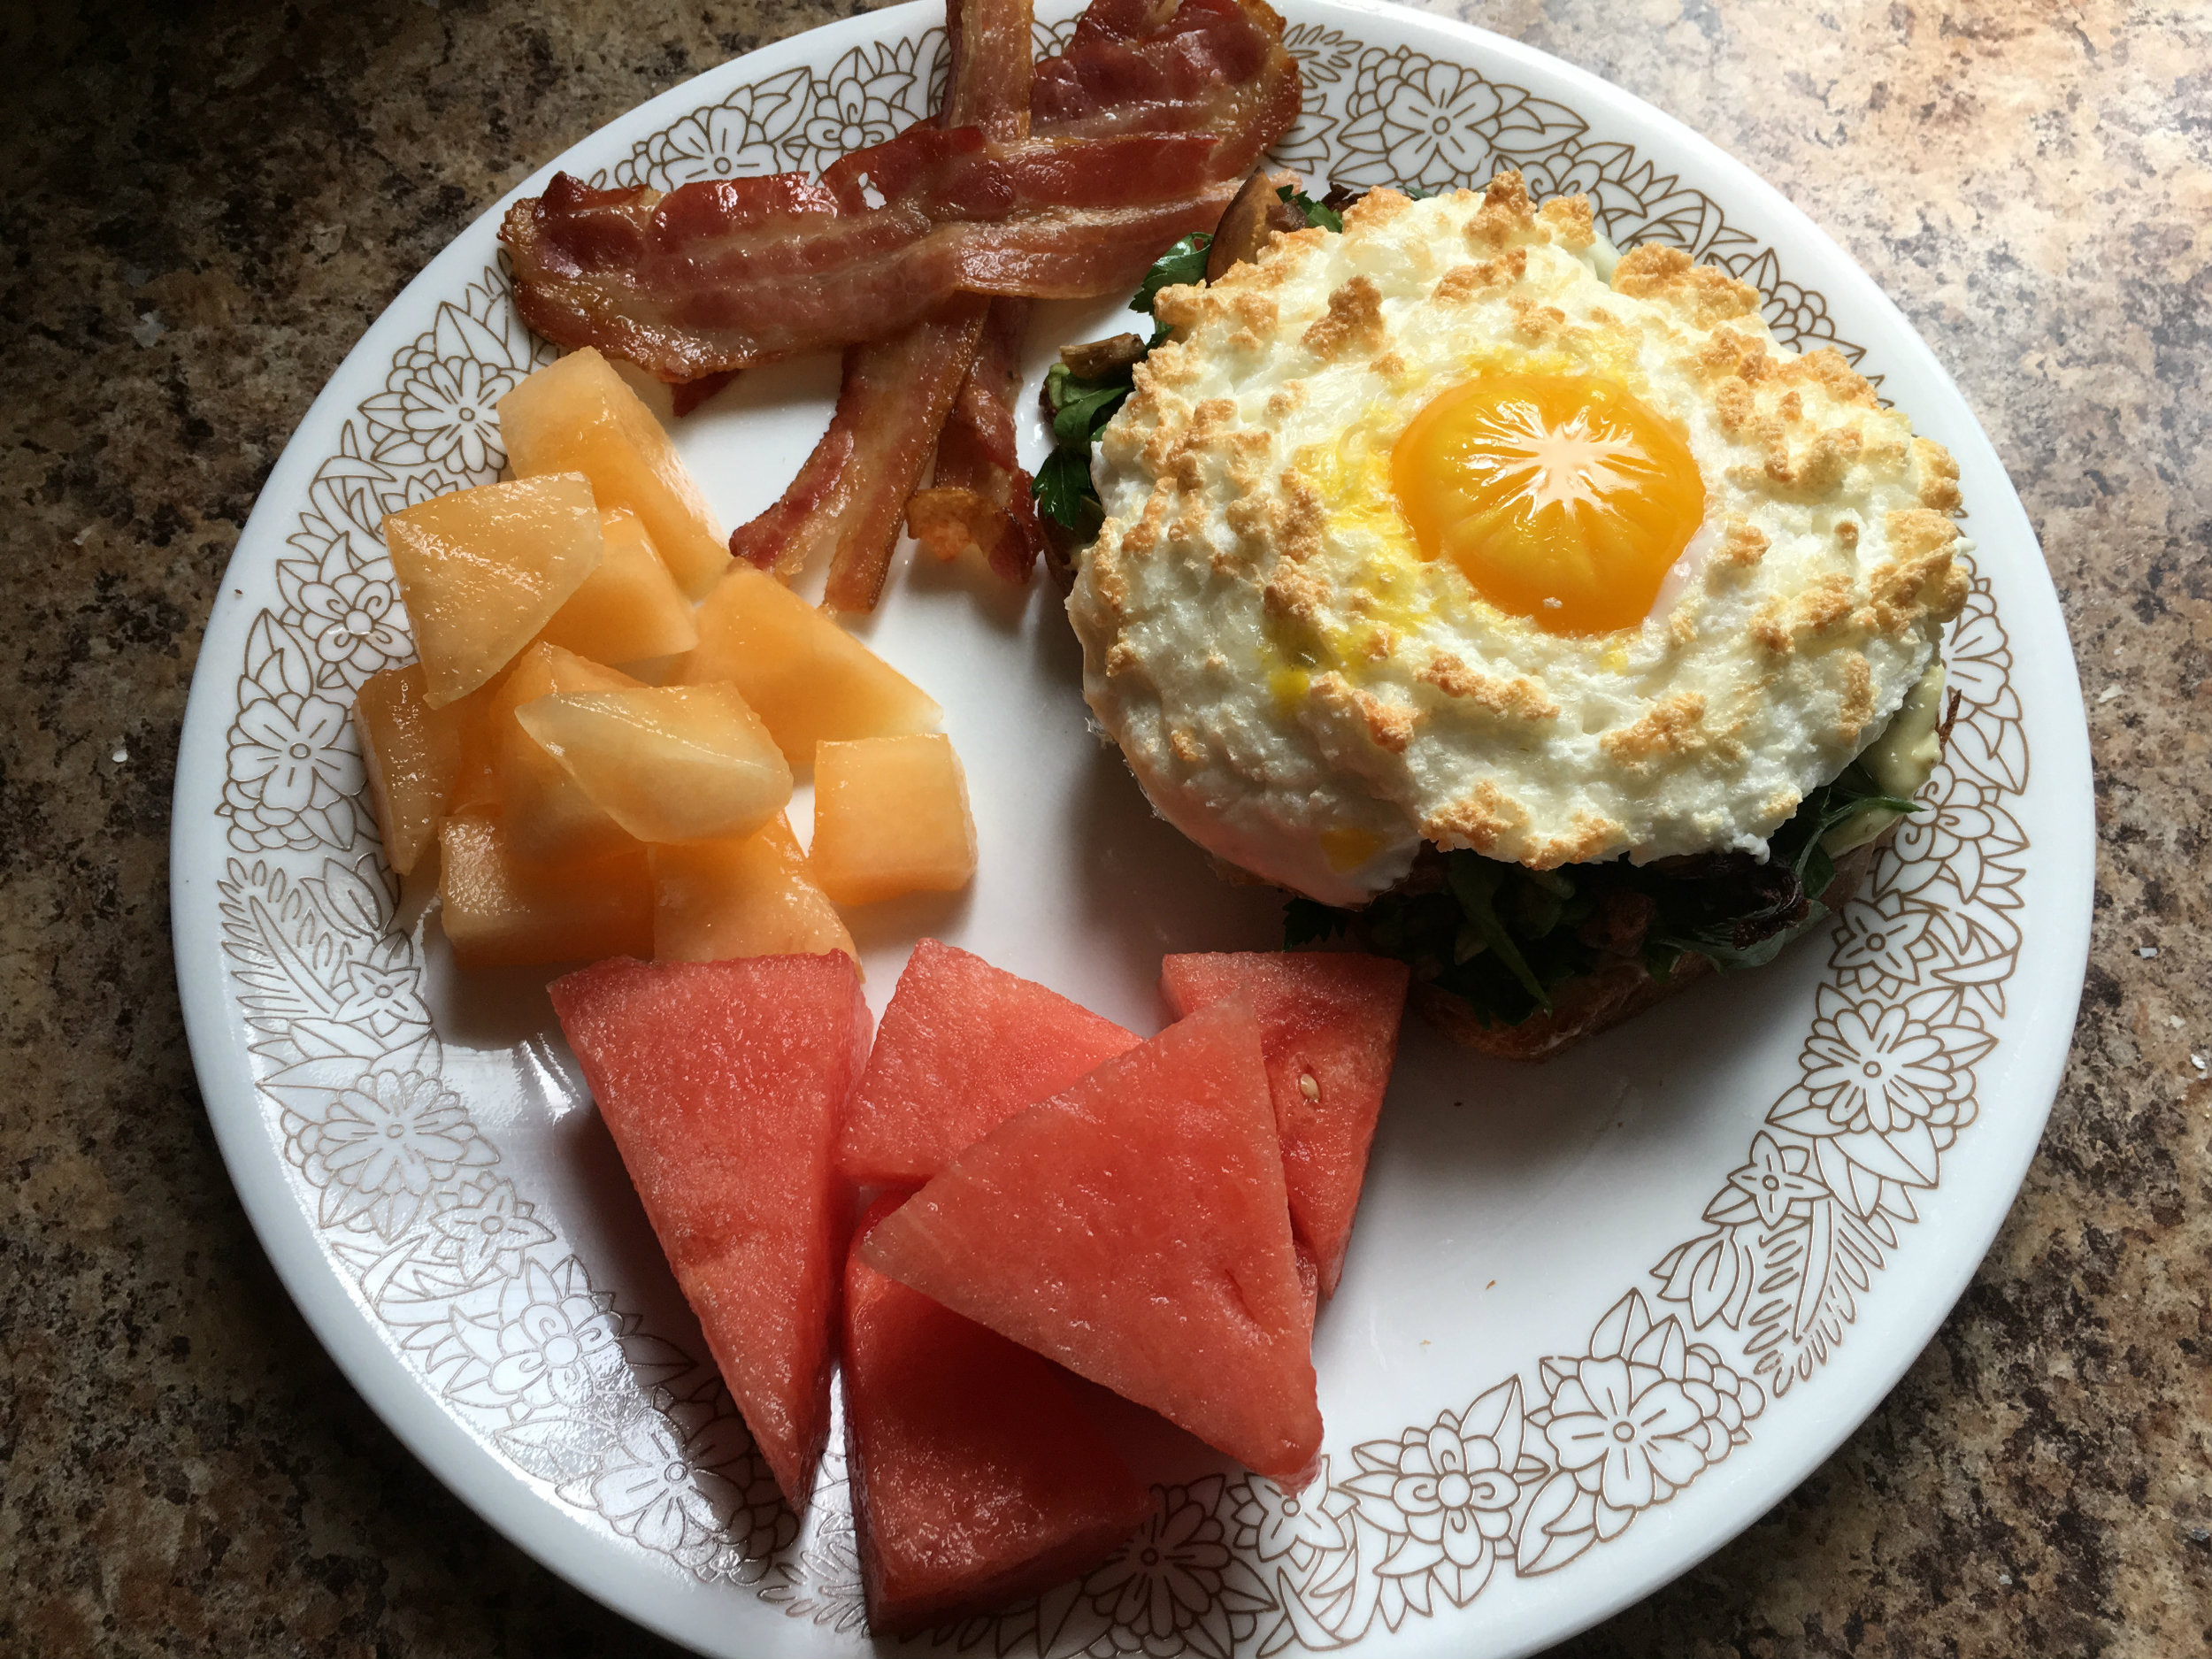
It is said that the Sandwich as we know it, was the result of John Montagu, 4th Earl of Sandwich. He was a card player and wanted food he could eat with one hand, so he wouldn’t have to put his cards down. It’s my understanding that even though there have been instances of food being prepared this way before that, this is what created the trend we know and love today. Knowing that, an open face sandwich almost seems counter productive… but here’s the thing, in my opinion, when food is good enough, you CAN’T eat it while doing something else! When food is done properly, it demands your attention. Which brings me to what to the recipe I’ve created. This open faced sandwich, you eat with a knife and fork. That mens no distractions like cards, phones, and if it’s an awkward breakfast with someone you don’t like, conversation.
It has a few layers: Buttermilk toast with Mayo, Roasted Mushrooms, lettuce, and a ‘cloudy egg’. For the Buttermilk Bread, I really recommend my roommate, Cheryl’s recipe. She doesn’t have it posted anywhere, but you can always text her, I’m sure she’ll give it to you. If you don’t have her number, I suggest asking her for it the next time you see her. Failing that, store bought buttermilk bread, a thick piece of Challah bread, or sour dough will work very well here.
I made up a simple Mayo recipe; it’s creamy, and zesty, and awesome. I used an immersion blender, and had it made in the time it took to make the toast.
The lettuce mixture was Parsley and Boston Lettuce. If you’ve never had the latter before, it’s similar to arugula in taste. It is; however, much sweeter. It’s shaped more like a smooth loose cabbage.
A layer of crispy Mushrooms & finally, the cloudy egg. This is a food that has been trending for a while, but I have never seen in it as part of a sandwich. Which is insane because it makes so much sense. The beaten egg whites give it a nice soft texture, and a rich taste because of the folded in cheese. Since the yolks are cooked for less time then the whites, the are runny, and create a perfect sauce!! This is a great recipe for breakfast, but it is a little involved, prepping the lettuce and the mushrooms the night before is a good idea.
Roasted Mushrooms:
- 3 Button Mushrooms
- 34g Oyster Mushrooms
- 1T Olive Oil
- 3 Pinch Salt
- 2 Oregano
- Place a baking sheet into a 450 degree Convection oven (475 degree non convection). Don’t put any parchment on down.
 While the oven and the baking sheet are preheating, slice the mushrooms, you want them about 1/8″ thick and place them into a bowl.
- Mix oil, salt and oregano and mushrooms until they evenly coated.
- Place the Mushroom mixture onto the hot baking sheet. return the sheet into the oven for 18 minutes, make sure to mix the mushroom once half way through
- Put mushroom aside until needed.
Lettuce Mixture:
- 1T Red Wine Vinegar
- 1T Extra Virgin Olive Oil
- 1/4t Sugar
- 18g Parsley
- 46g Boston Lettuce
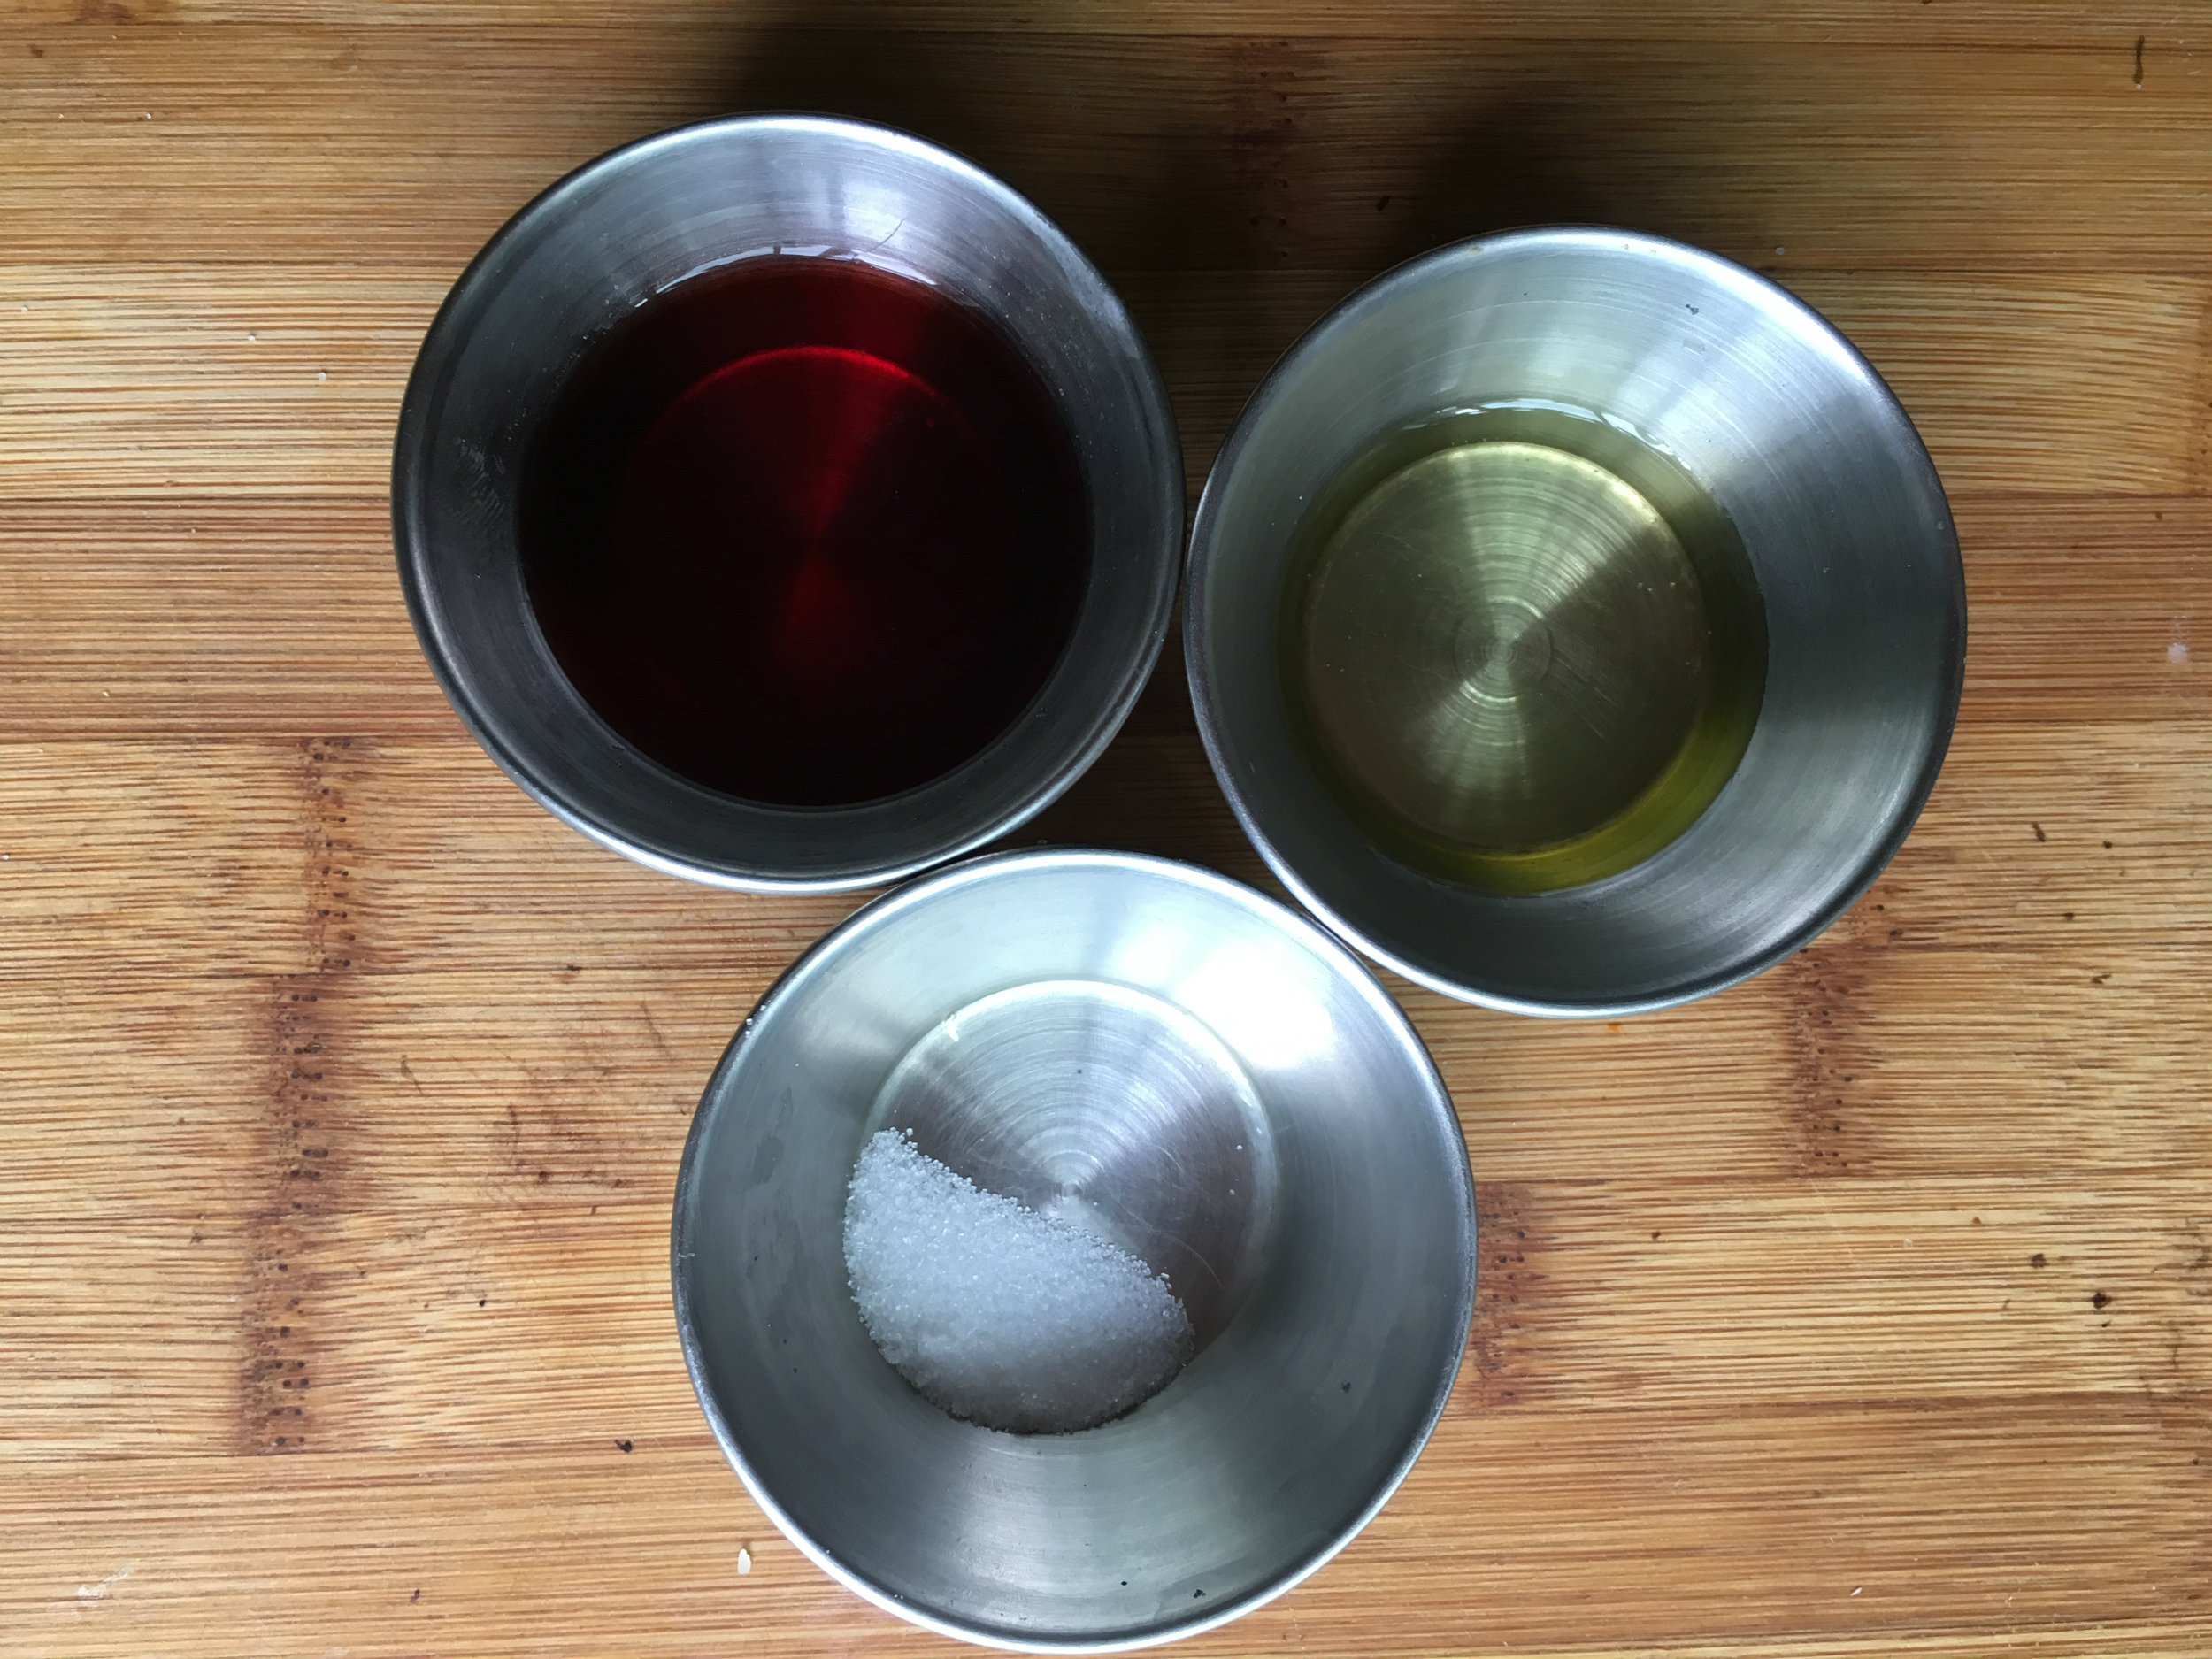 Mix the Sugar into the Red Wine Vinegar until it’s
completely dissolved. Cut the leafs of the Parsley off using a sharp knife. If you hold a bundle of parsley stem side closer to you, and use the knife to sheer off the leafs.
- Cut the Boston Lettuce using the chiffonade cut. You can see the process HERE. It’s how the Basil is cut.
- Mix all the ingredients together in a bowl, and place aside until needed.
Cloudy Eggs:
- 20g Mozzarella
- 9g Parmesan (you want the bricked stuff, not the pre shredded canned stuff.)
- 3 Eggs Whites.
- Preheat convection oven to 325 degrees (350 non convections).
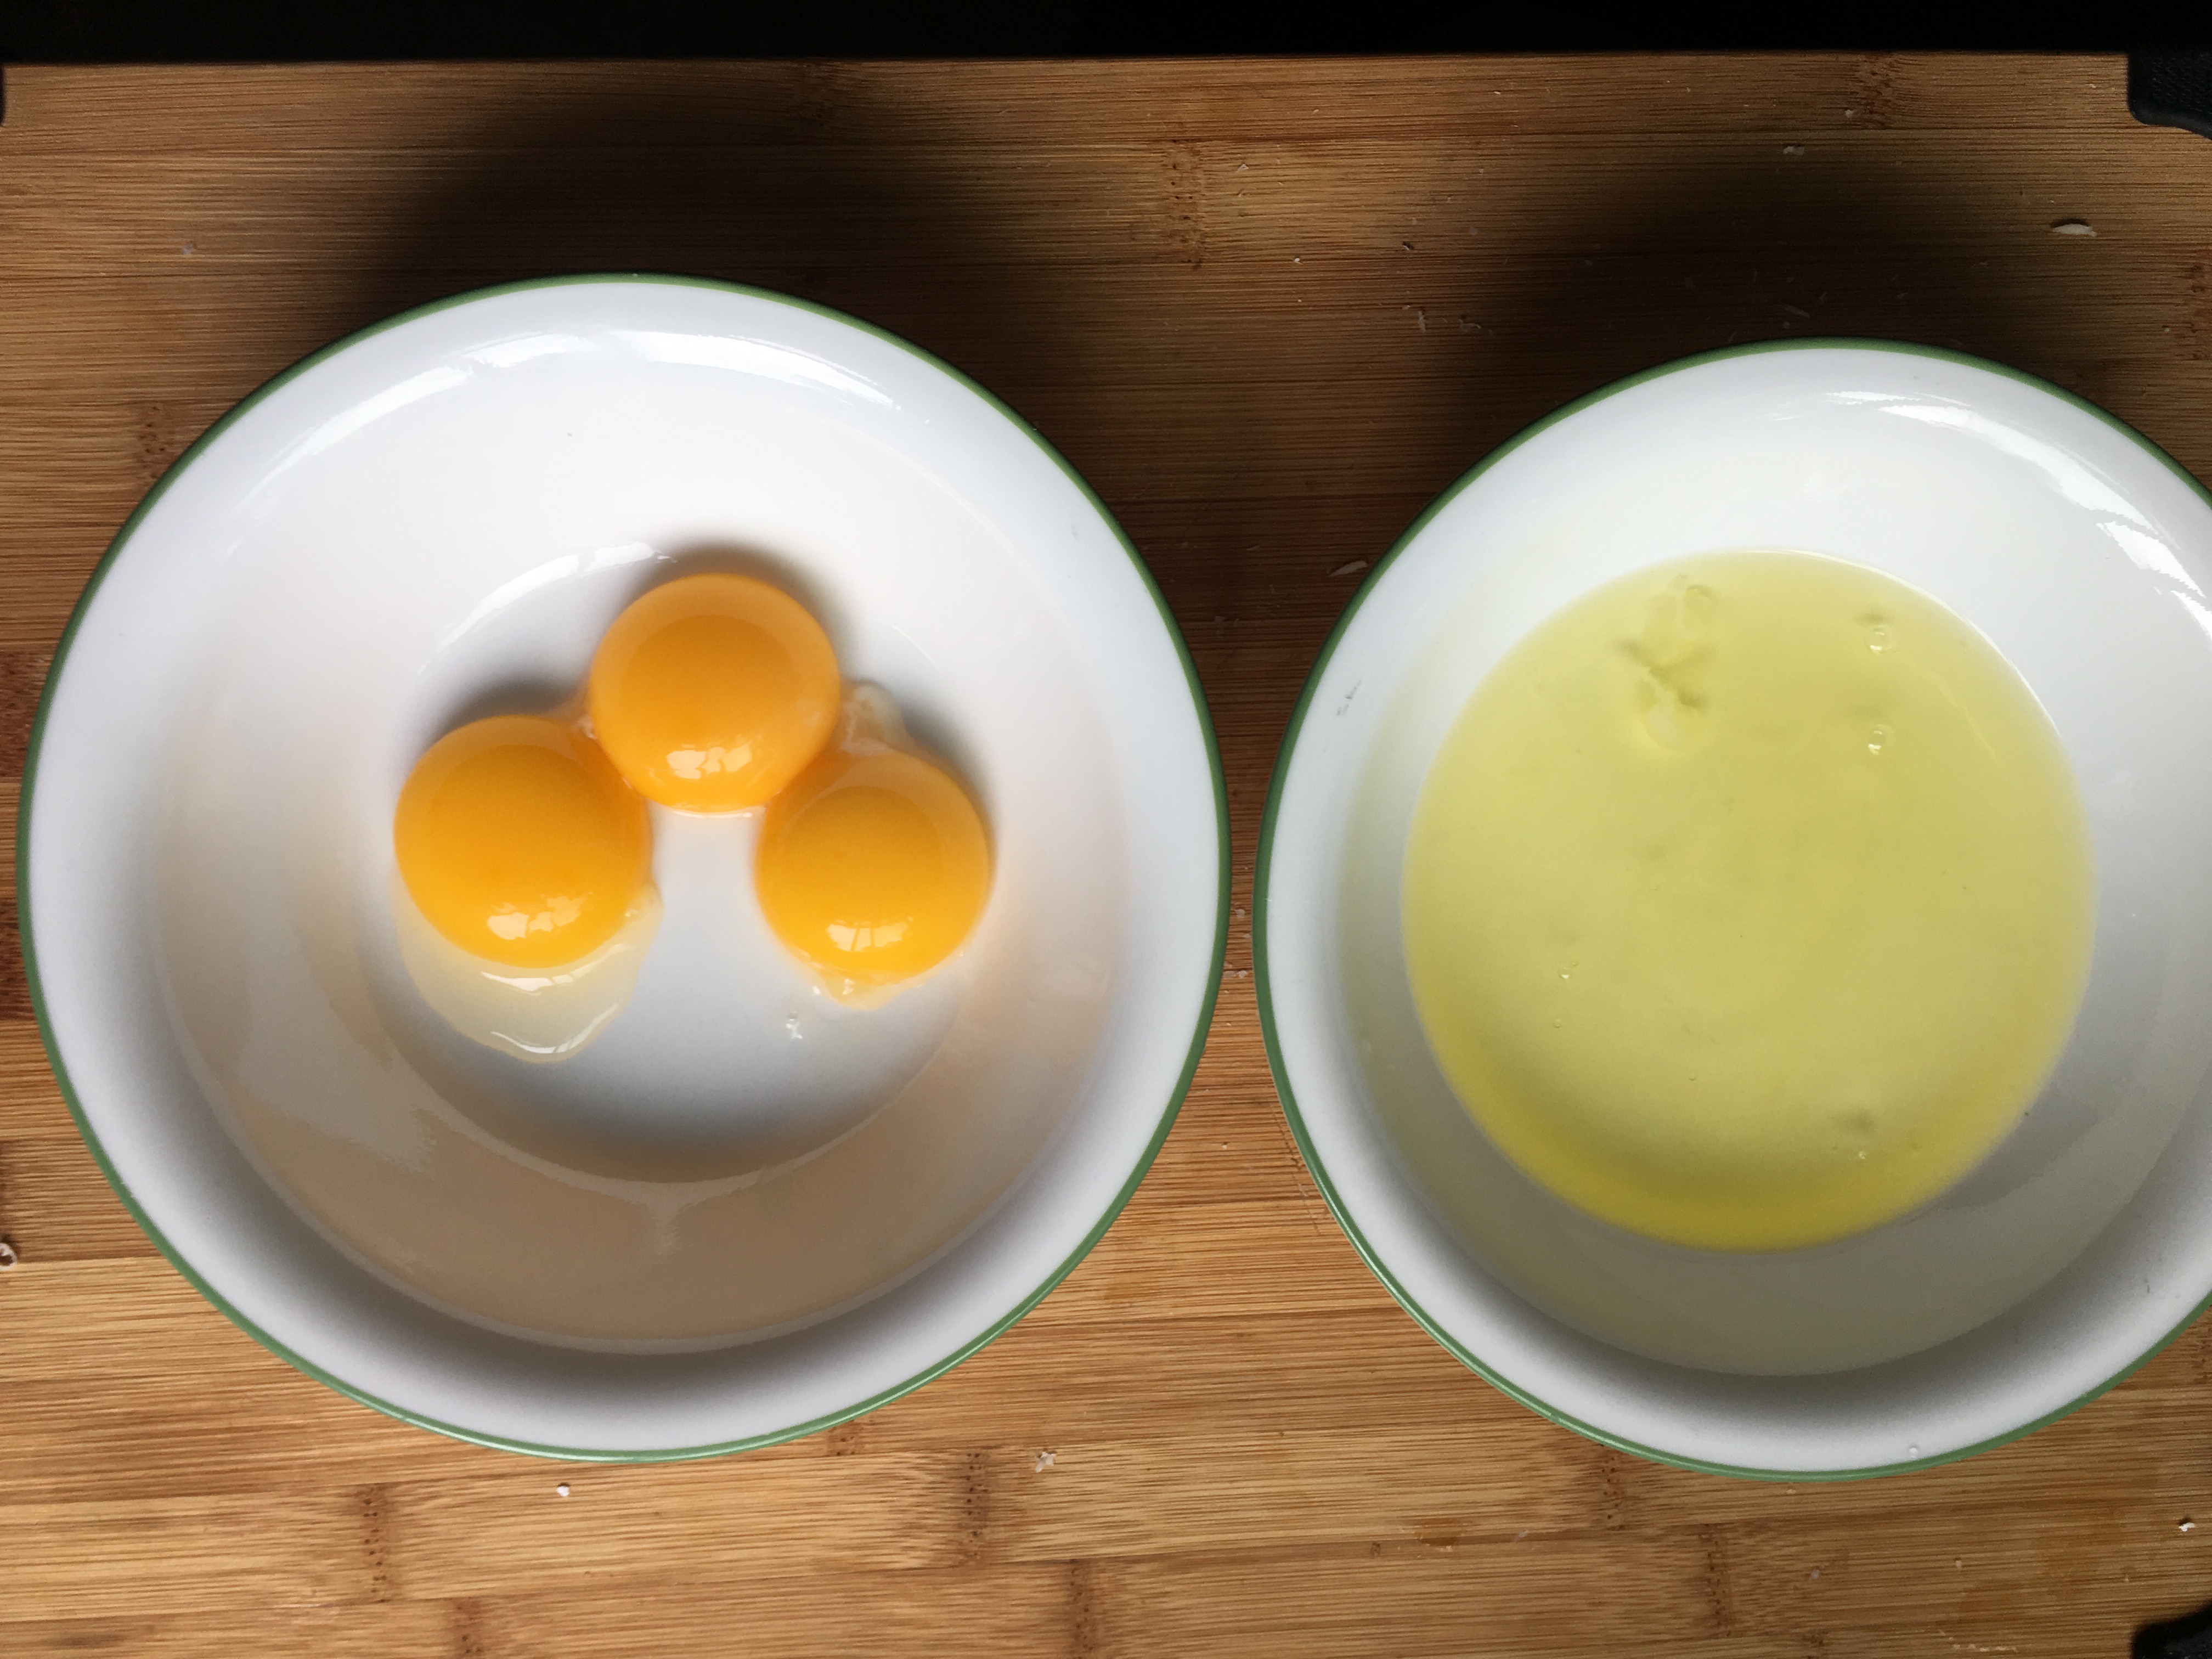 Separate the eggs, and keep the same the whites and yolks.
- Beat the whites until the form a stiff peak foam. I used a stand mixer with the whisk attachment. You can use a hand mixer, or a regular whisk. If you do it the old fashioned way, make sure you use a whisk with a lot of tines, or else it will take a while.
- Fold in both cheeses to the meringue gently.
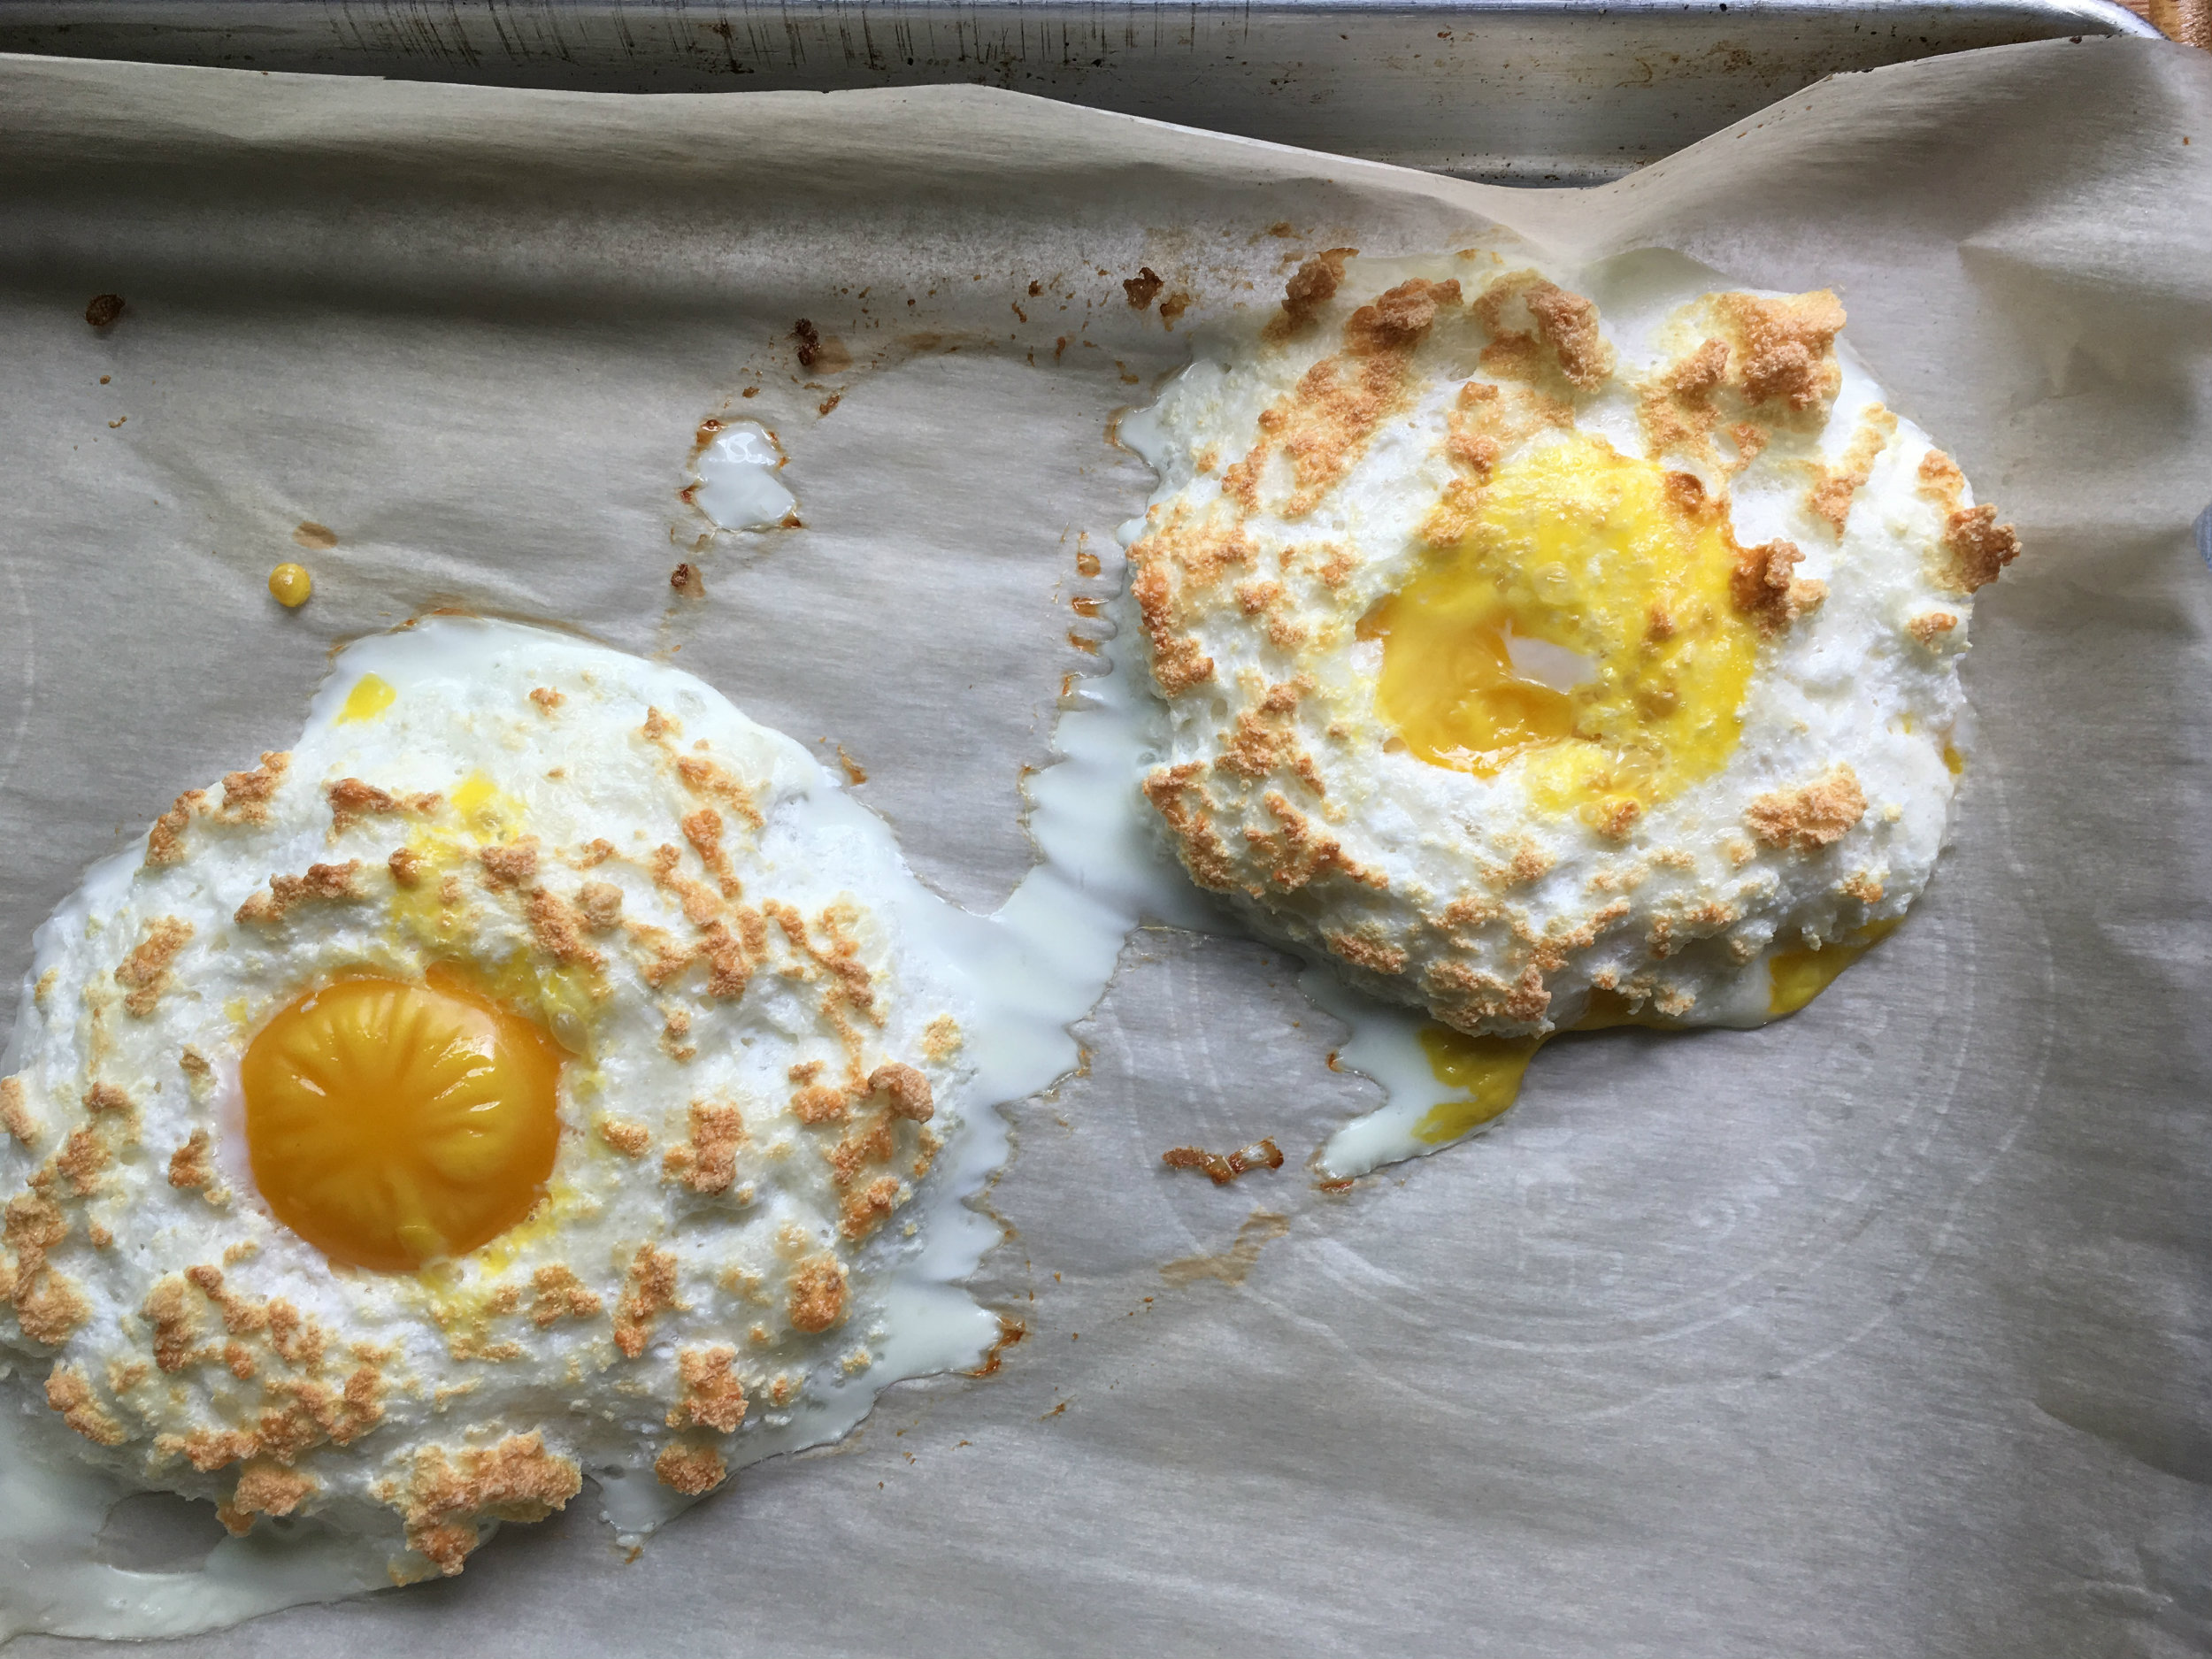
 Divide the meringue into two piles on a parchment lined baking sheet. Use a spoon to put a dip in the middle of each one.
- Place into the oven for 3 minutes
- Remove the meringue and place an egg yolk into the dip of each pile, place back into the oven for 2 minutes. Place one egg yolk aside for mayo
- Remove from the oven, and turn on the broiler, place the baking sheet under the broiler for about a minute. Don’t leave this unattended. Keep your eye on it, and remove it once you see the gold brown form on the white. You don’t want to burn the whites, or over cook the yolks.
 Place eggs on the side, put 2 pieces of bread in the toaster and make toast.
MAYO:
- 1 Egg Yolk
- 2 Garlic Cloves
- 1.5 White Wine Vinegar
- 3/8C Extra Virgin Olive Oil
- 3/8C Canola Oil
- 1/2t Salt
- 1T Dijon
- Place all the ingredients in a high thinner cup. I used a measuring cup.
- Wait about 1 minute for the oil to float to the top.
- Insert the immersion blender into the mixture slowly, make sure not mix anything around too much.
- Pulse the blender until you start seeing mayo form.
- Once you see the majority of the mixture has emulsified, keep the blender on, and slowly lift the blender up and down until it’s a unified mixture.
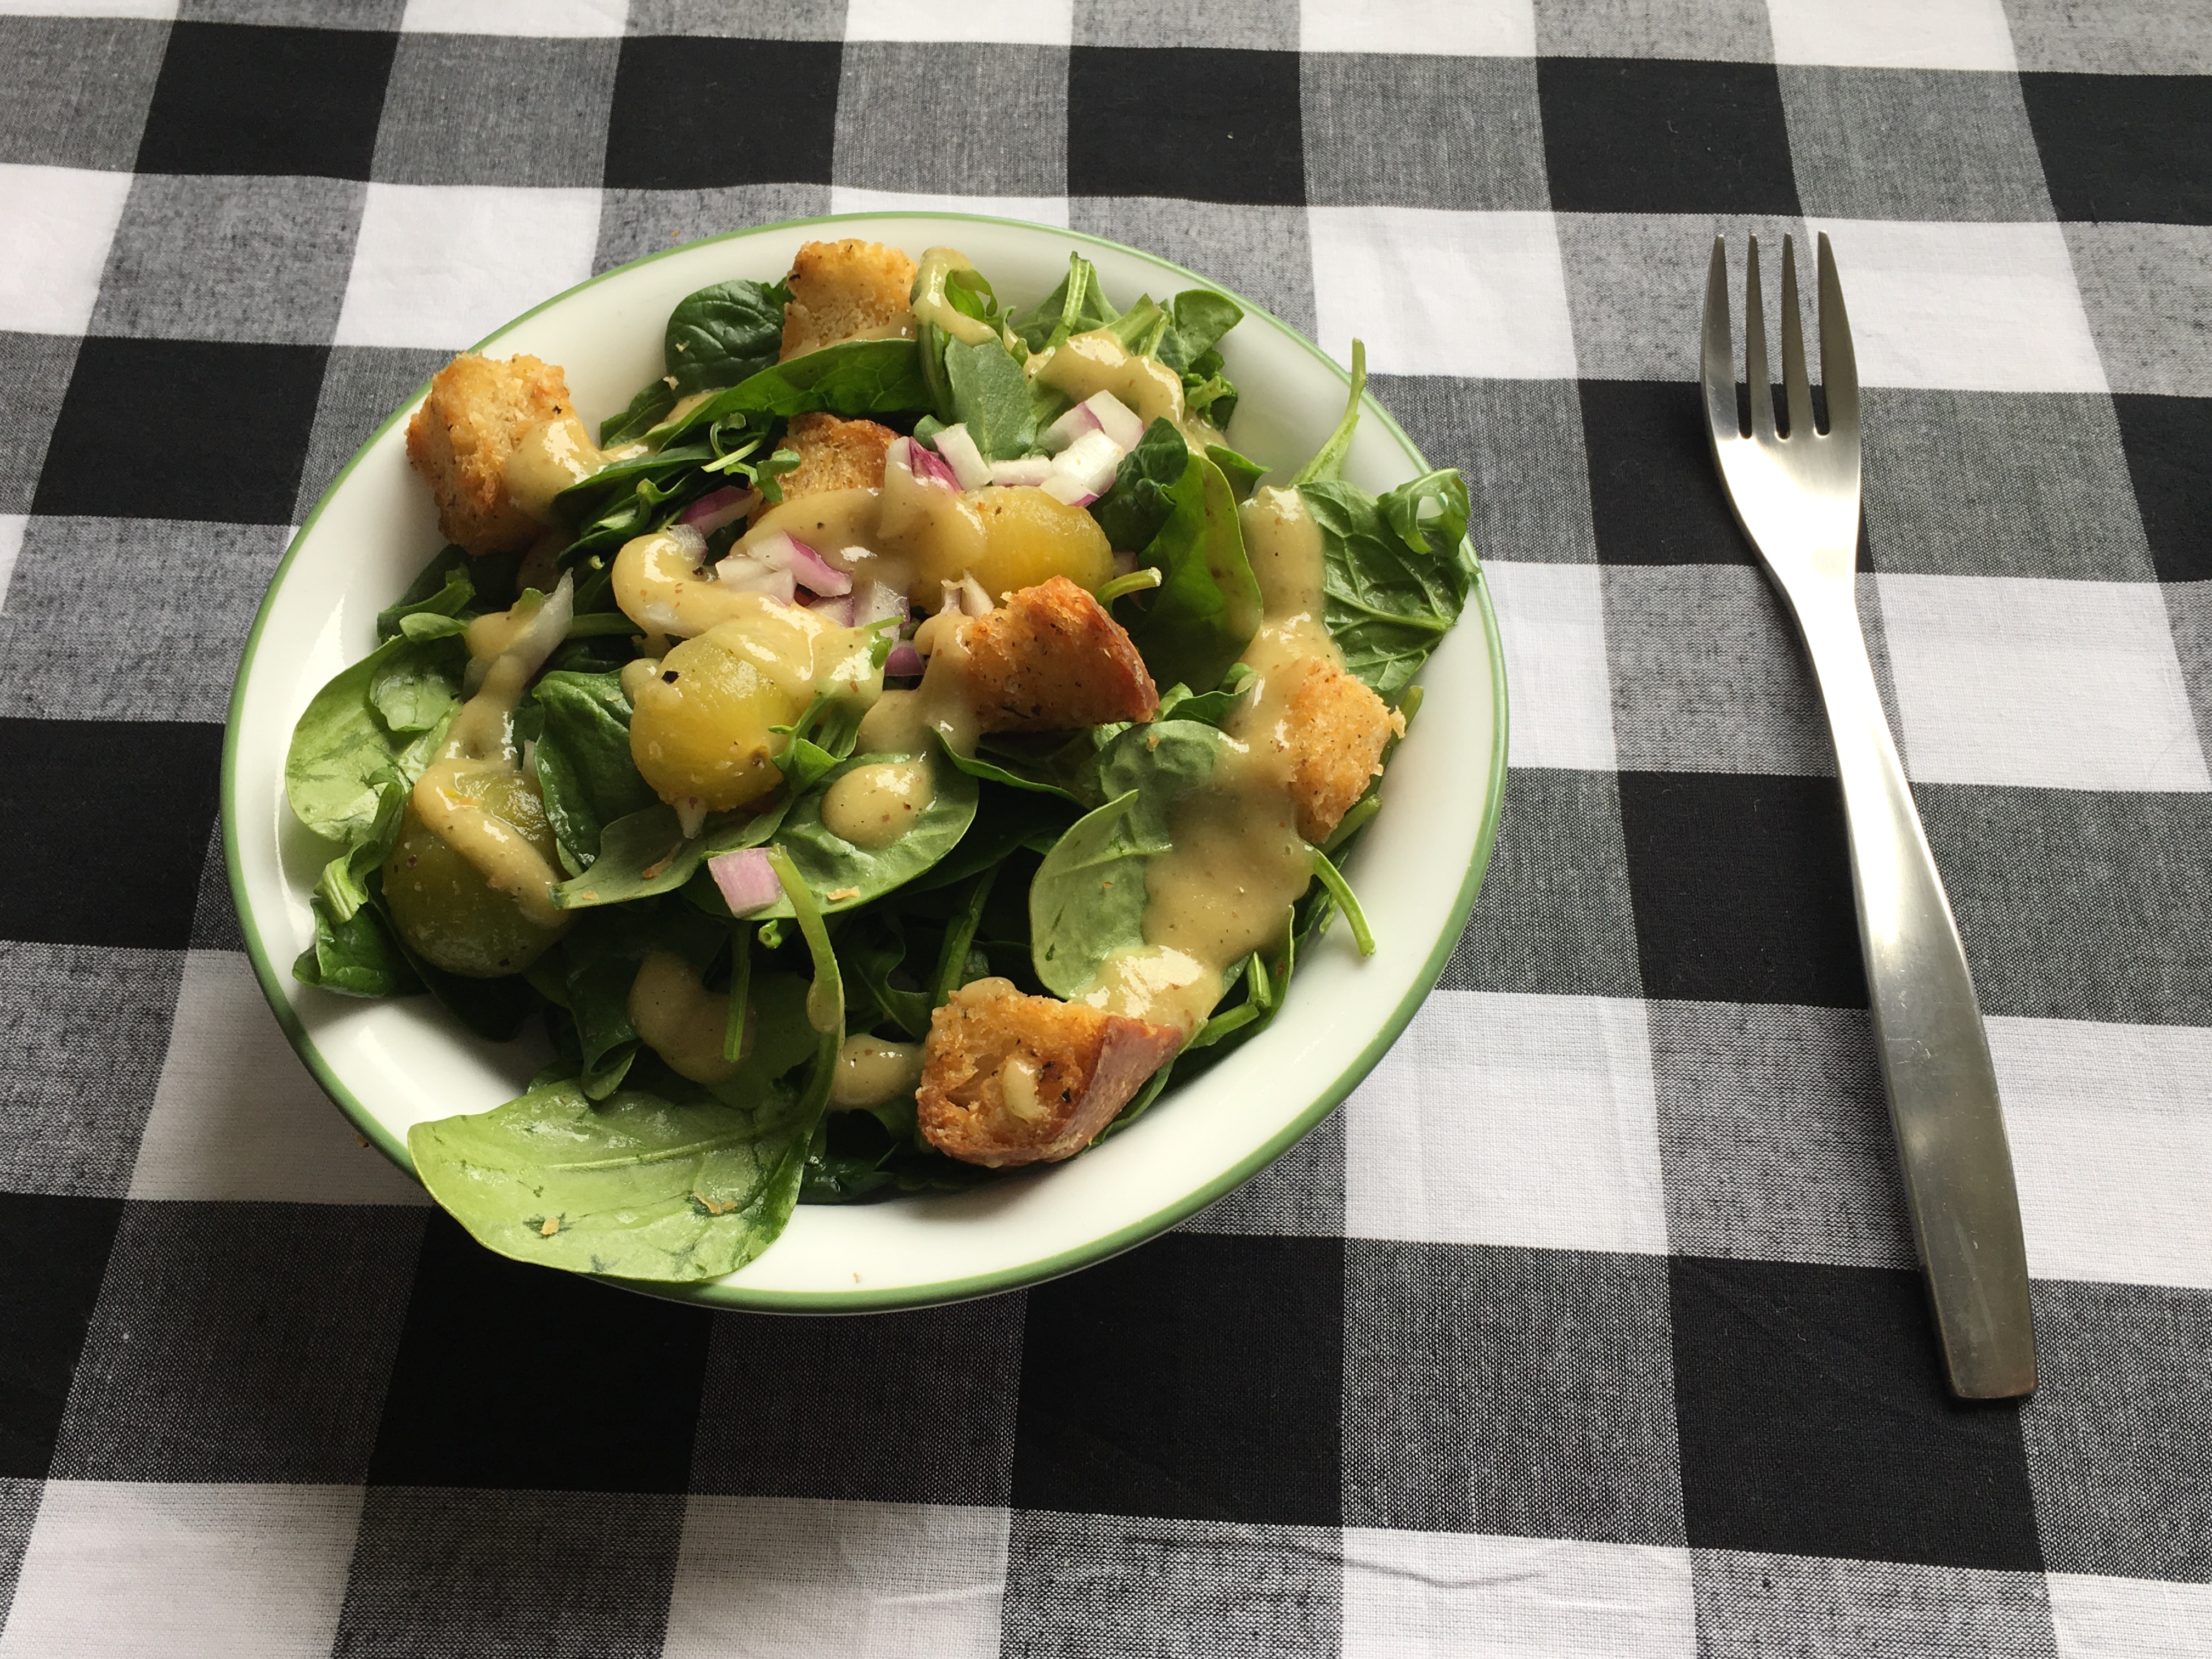
The Final Construction
- Put mayo on one side of both pieces of toast.
- Place Lettuce mixture on the mayo side of the toast (incase you couldn’t figure that out)
- Then place the Roasted Mushroom mixture on top of the lettuce.
- Then finally place the cloudy egg to top it off.
- Take a fancy photo, and post it to Instagram with the hashtag #foryourfoulmouth.
 Cut little crosses on the bottom of each Tomato. Do your best to cut the skin, and not into the flesh of your tomato. A Pearing knife, or small serrated knife will work well.
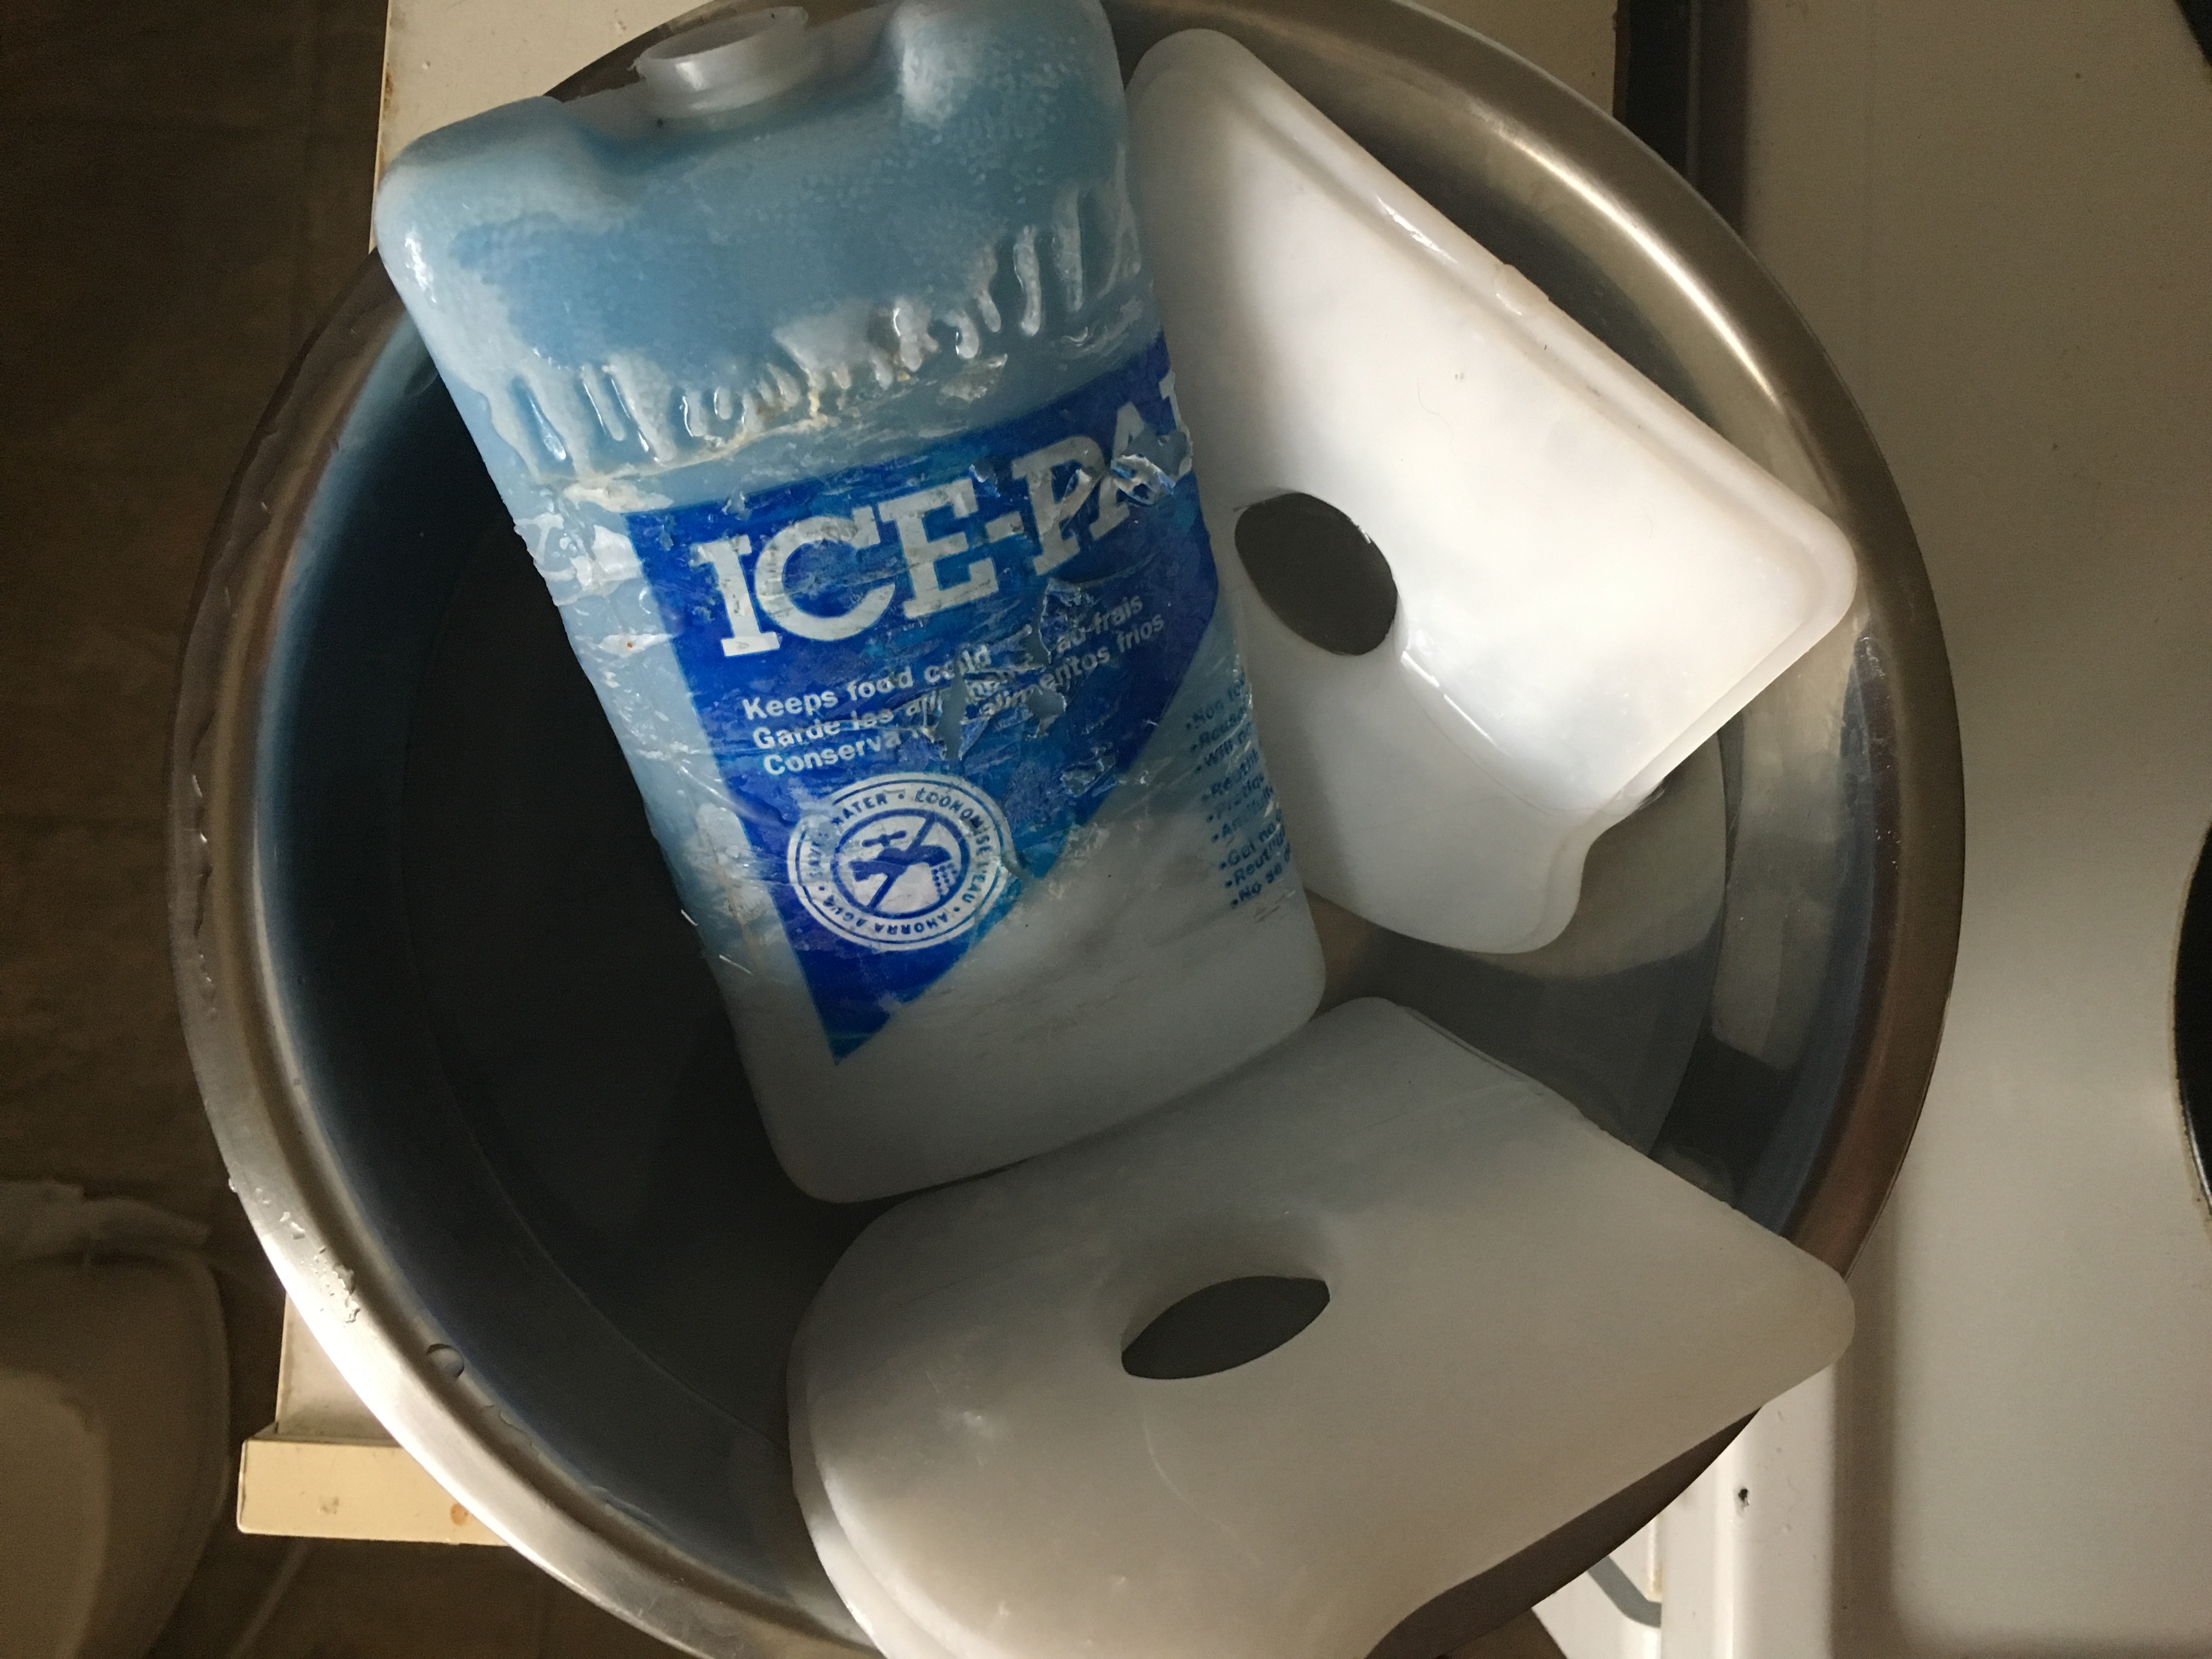 Fill up a big bowl with ice water. I didn’t have ice, so I used ice packs, which worked well.
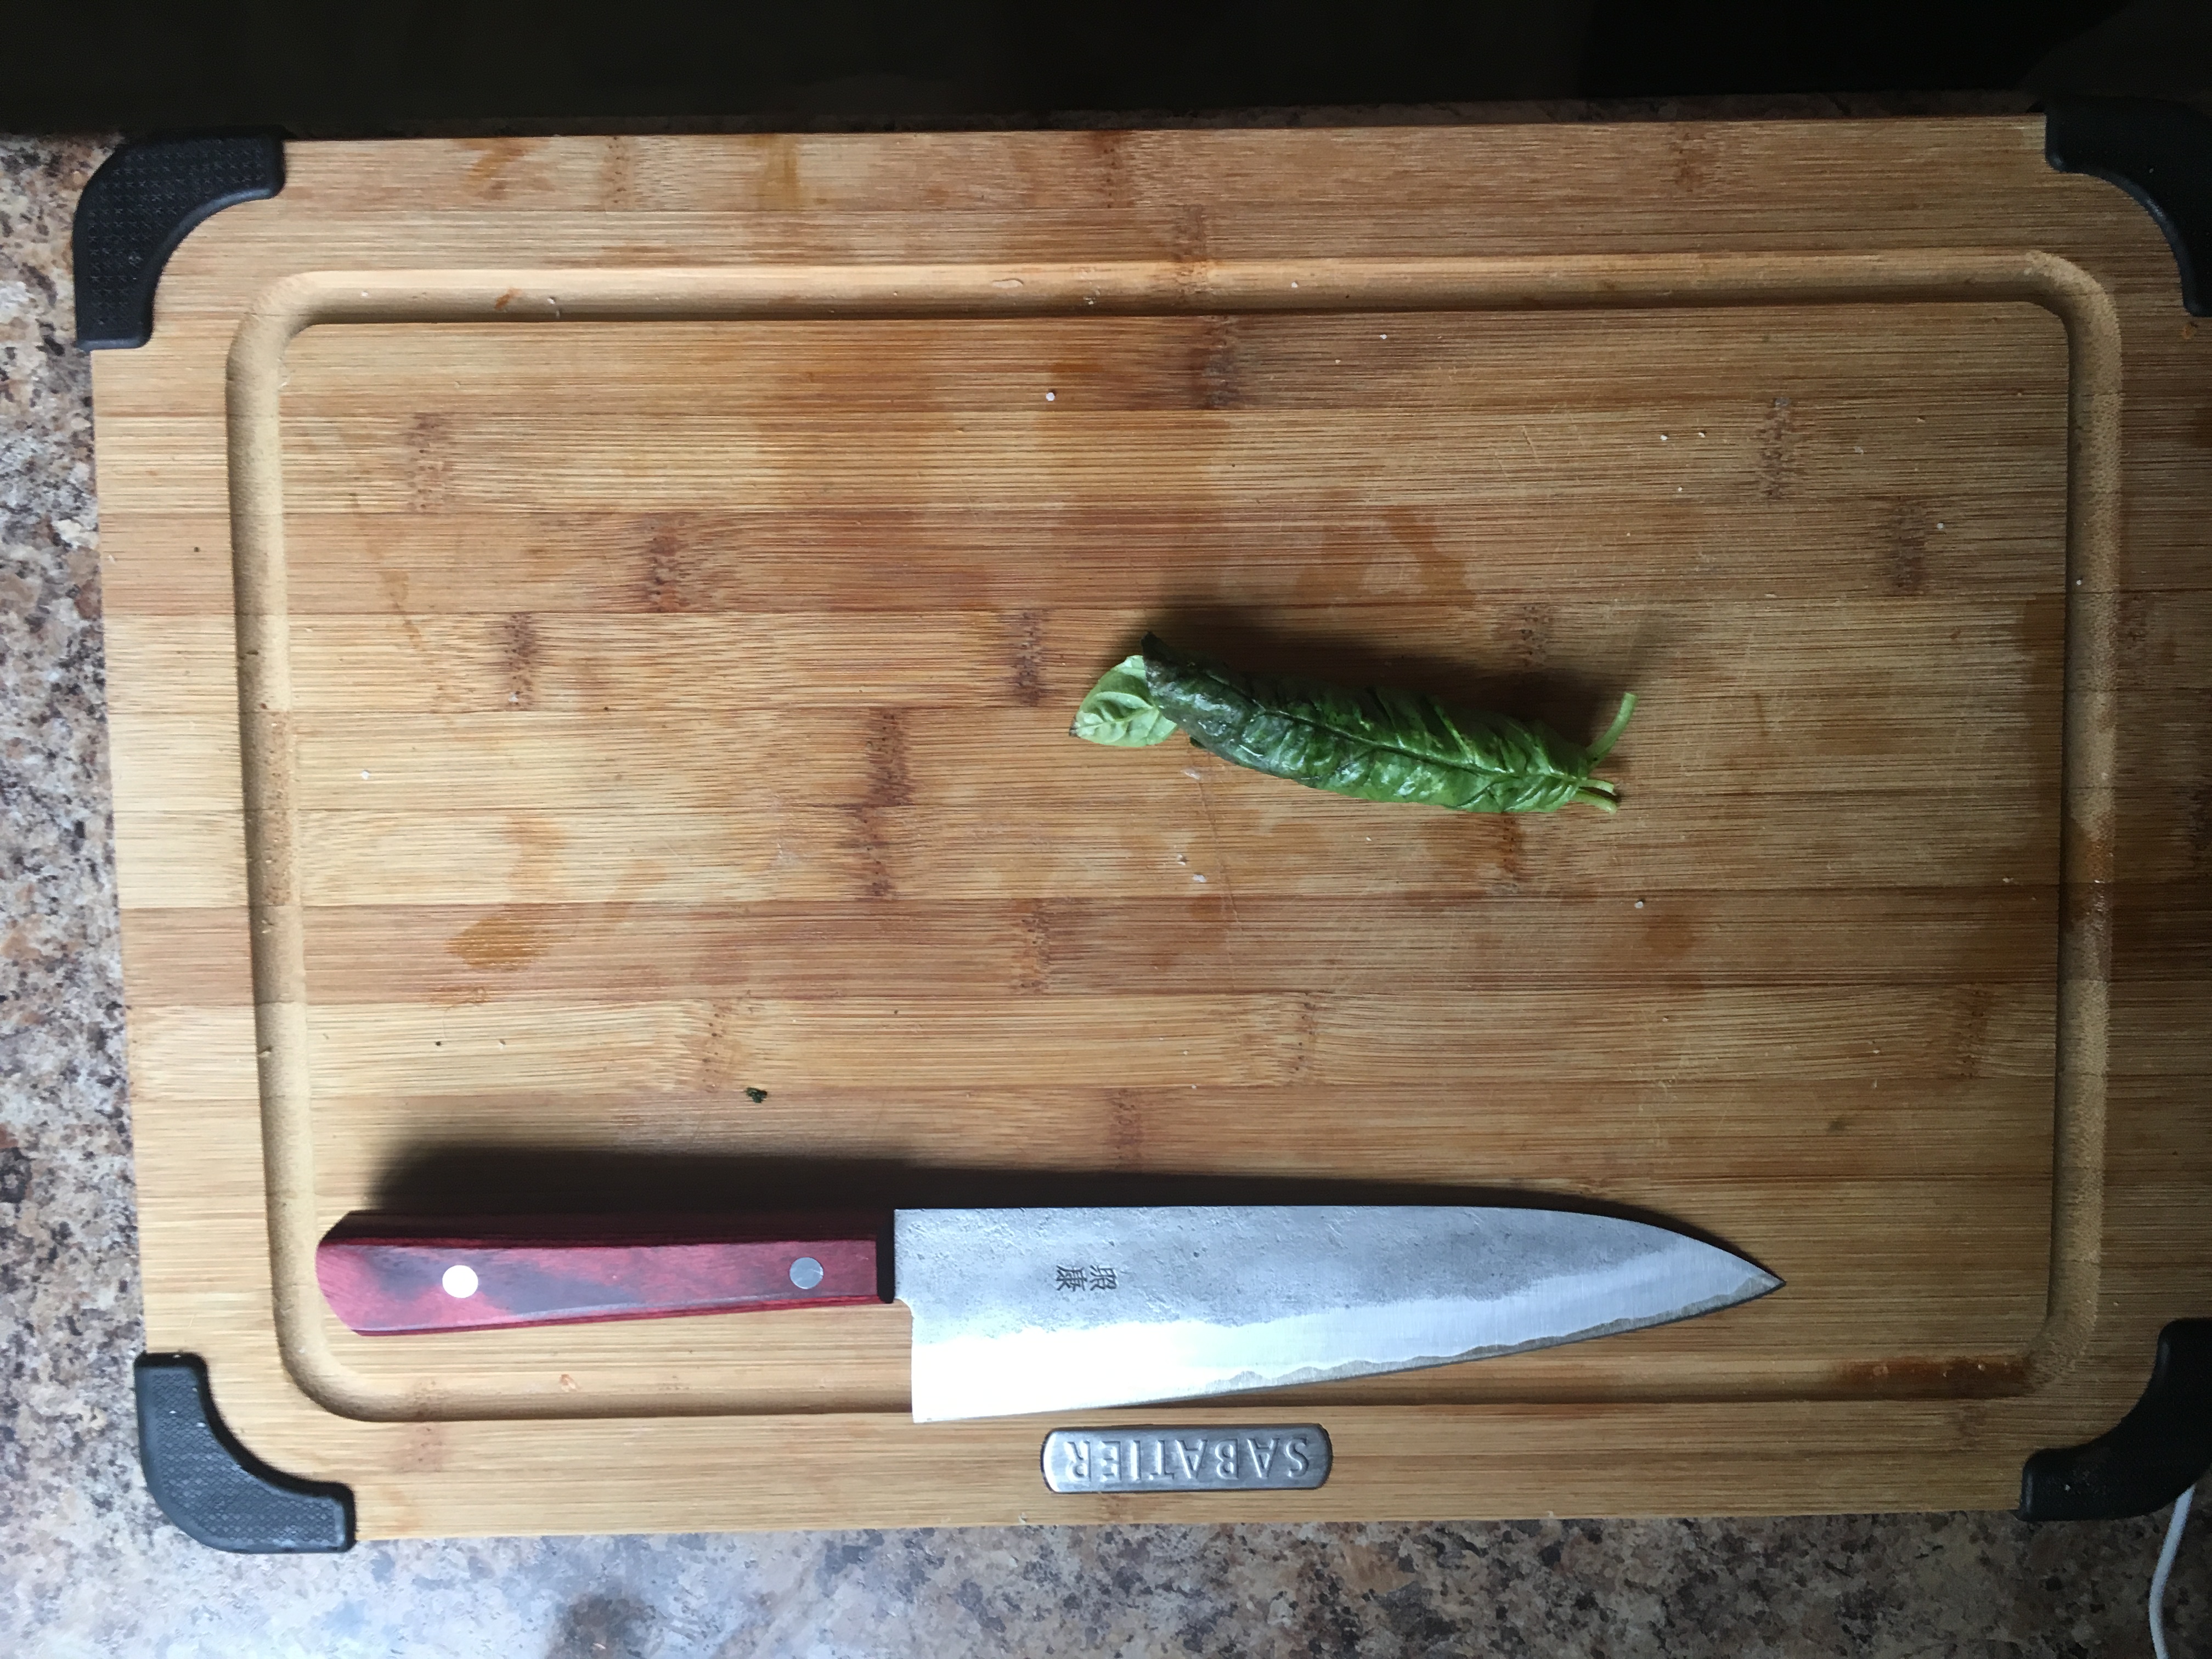 Roll all the Basil together, then cut them as thinly as possible. You should end up with little strips of basil. Place basil into a mixing bowl big enough to hold the Tomatoes.
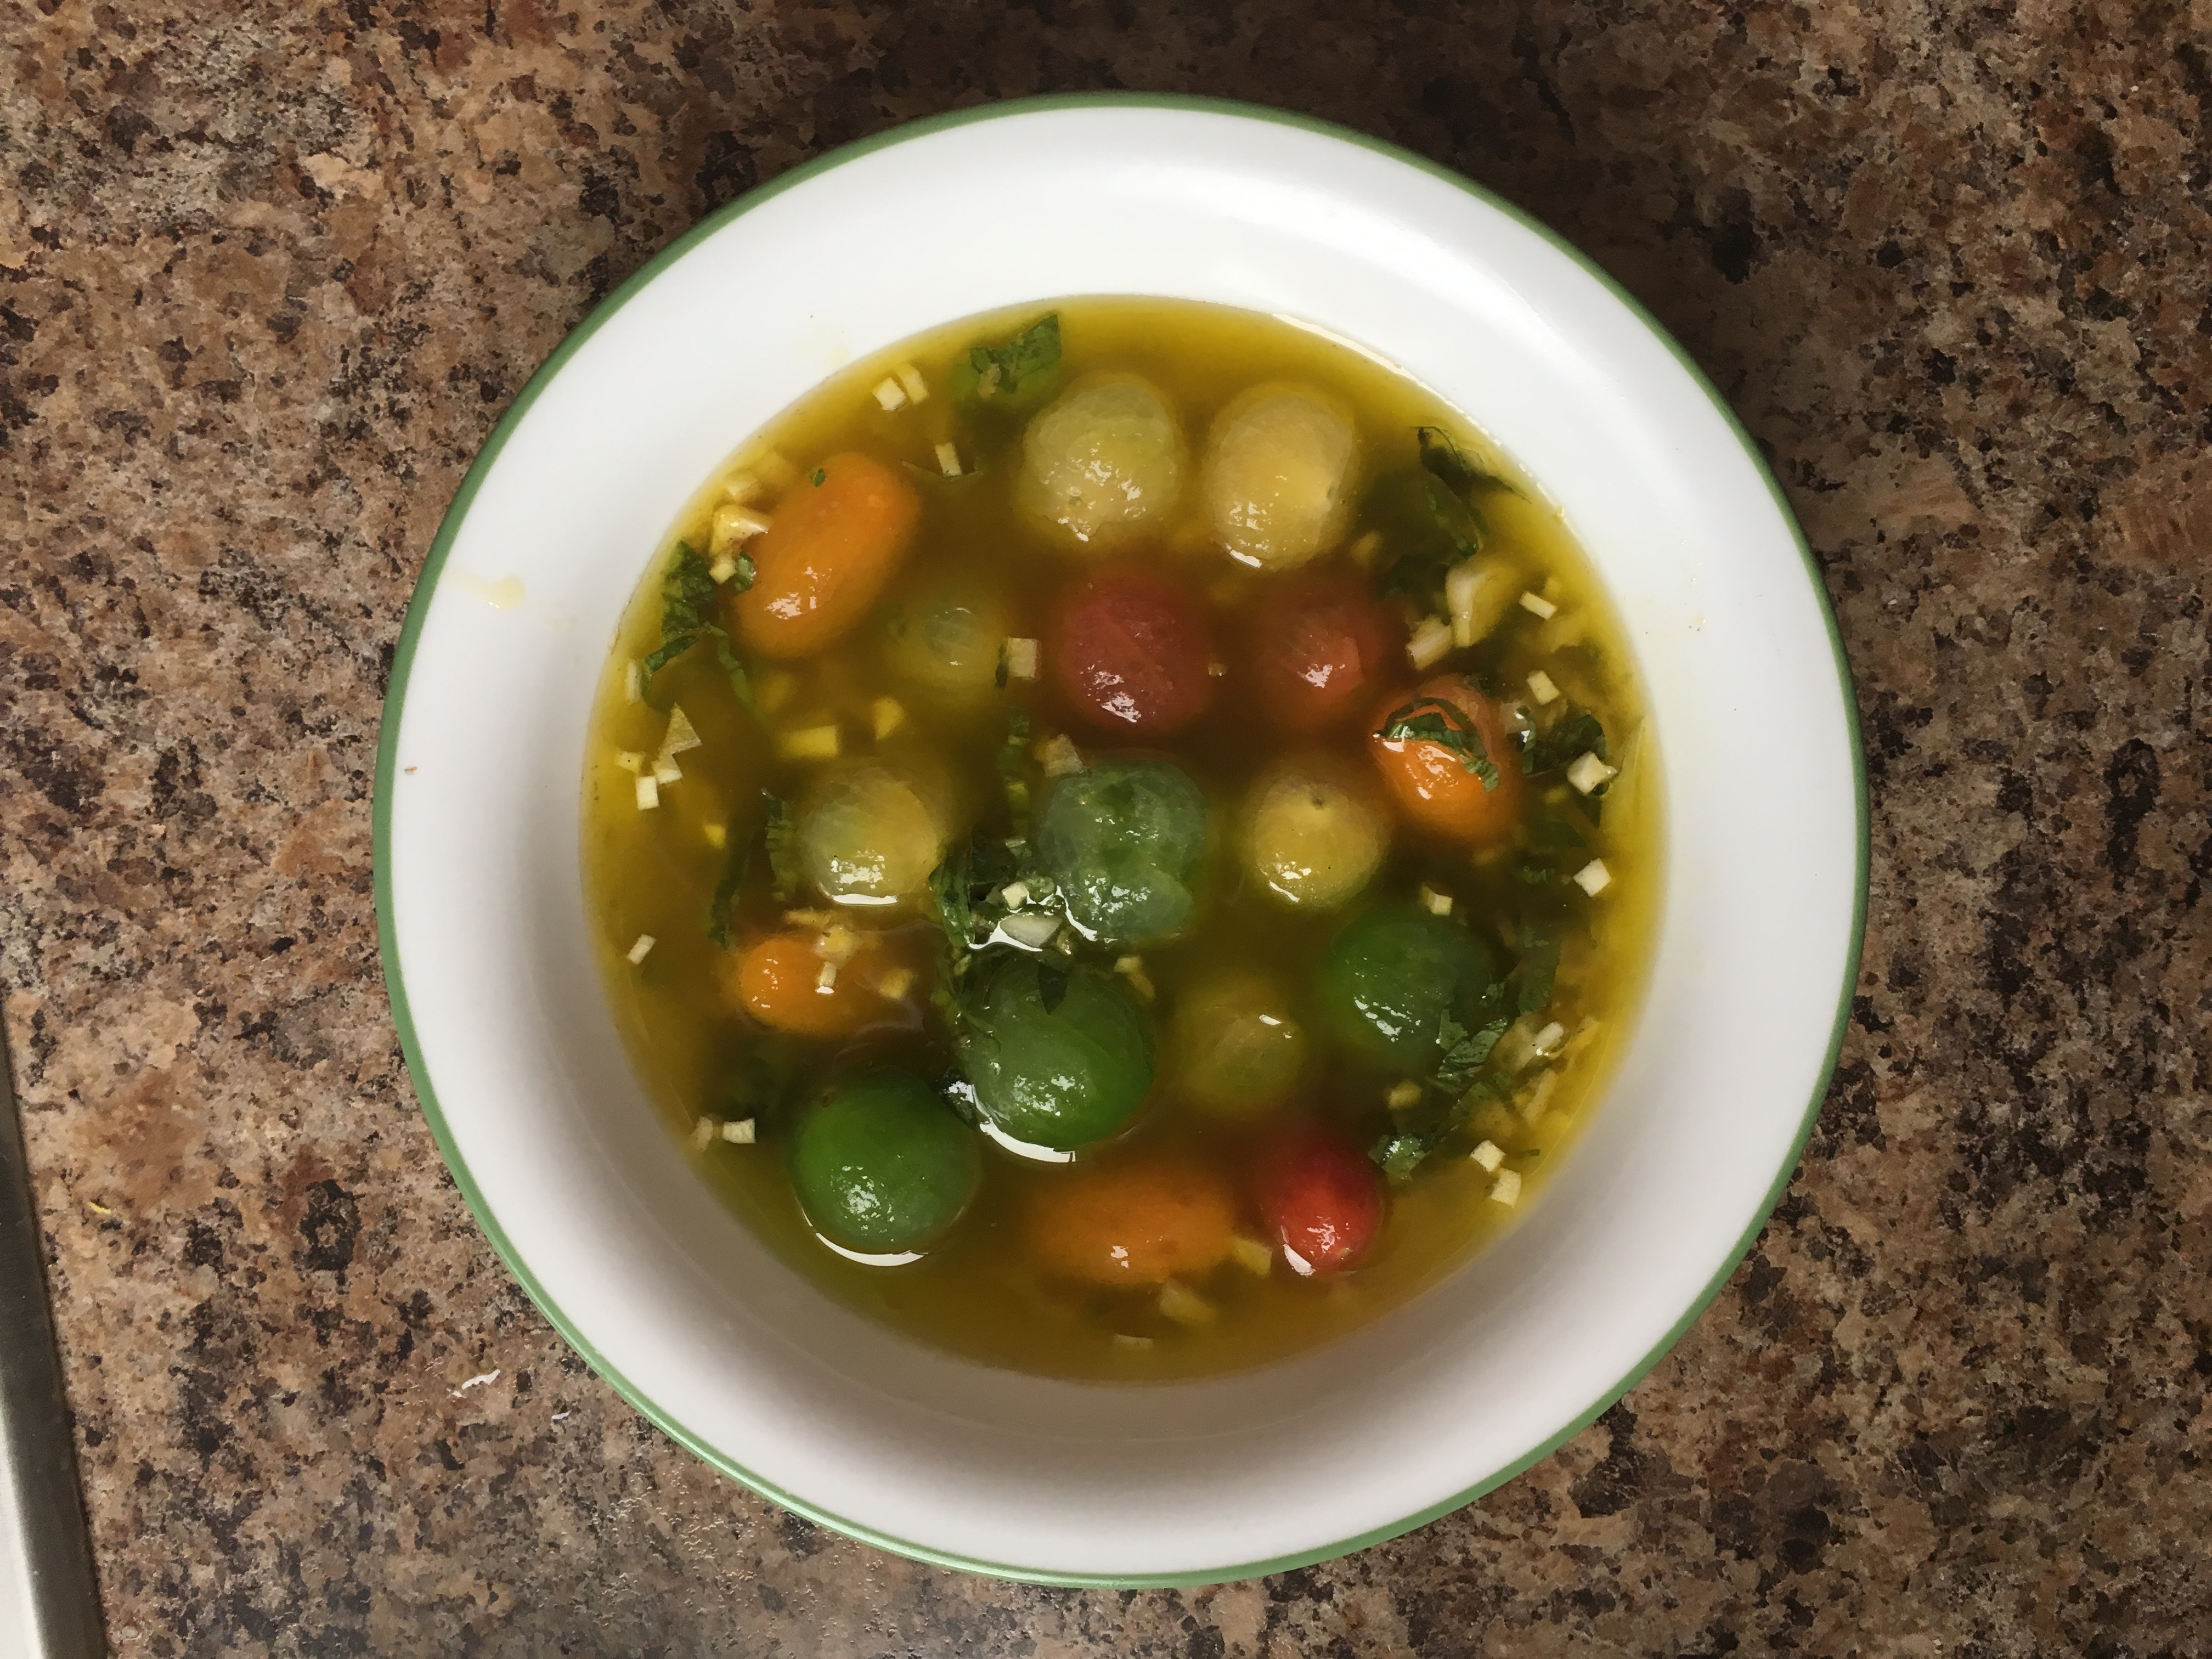 Into the same bowl as the Lemon and the Basil, whisk together the Olive Oil, Salt, pepper, and diced Onions.
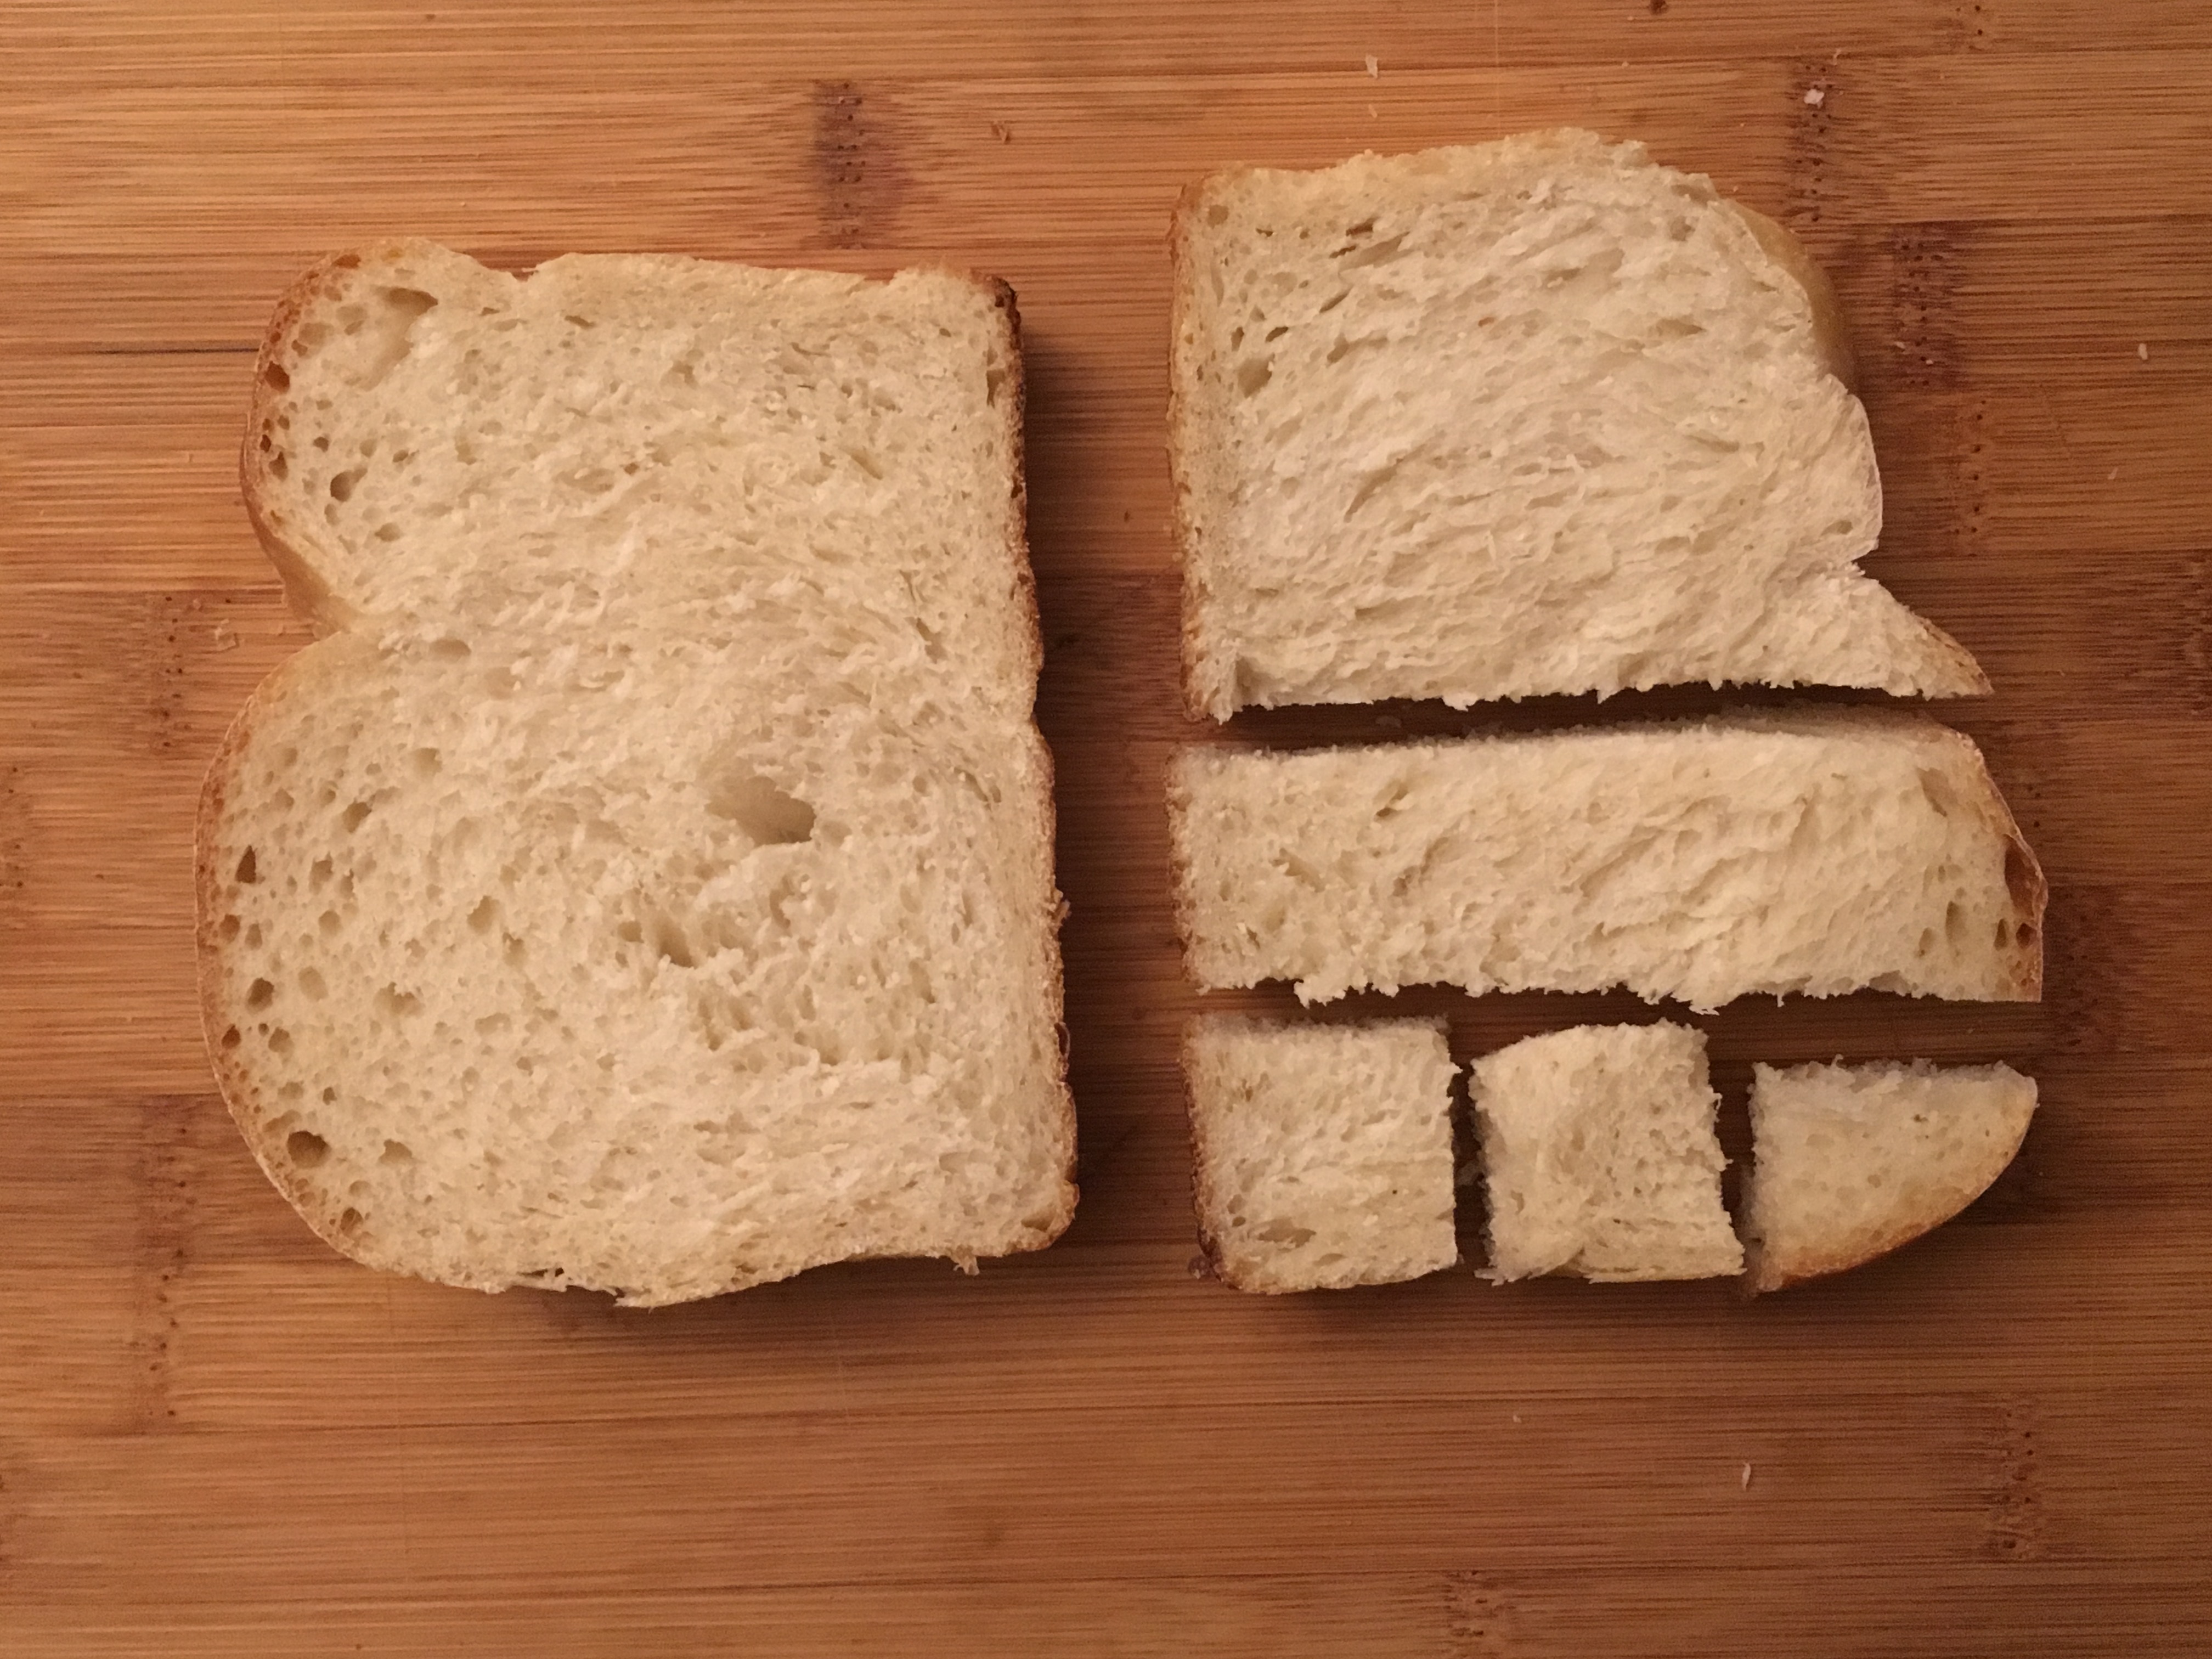 Take some 1/2″ slices of Sough Dough Bread. I used two, and cut them into 1/2″ cubes, then put them into a large mixing bowl.
 Put the seasoned bread on a parchment lined baking sheet. And place in the oven for 5 to 10 minutes. You’re looking for a nice colour to form, and that will vary depending on different factors. So don’t walk away.
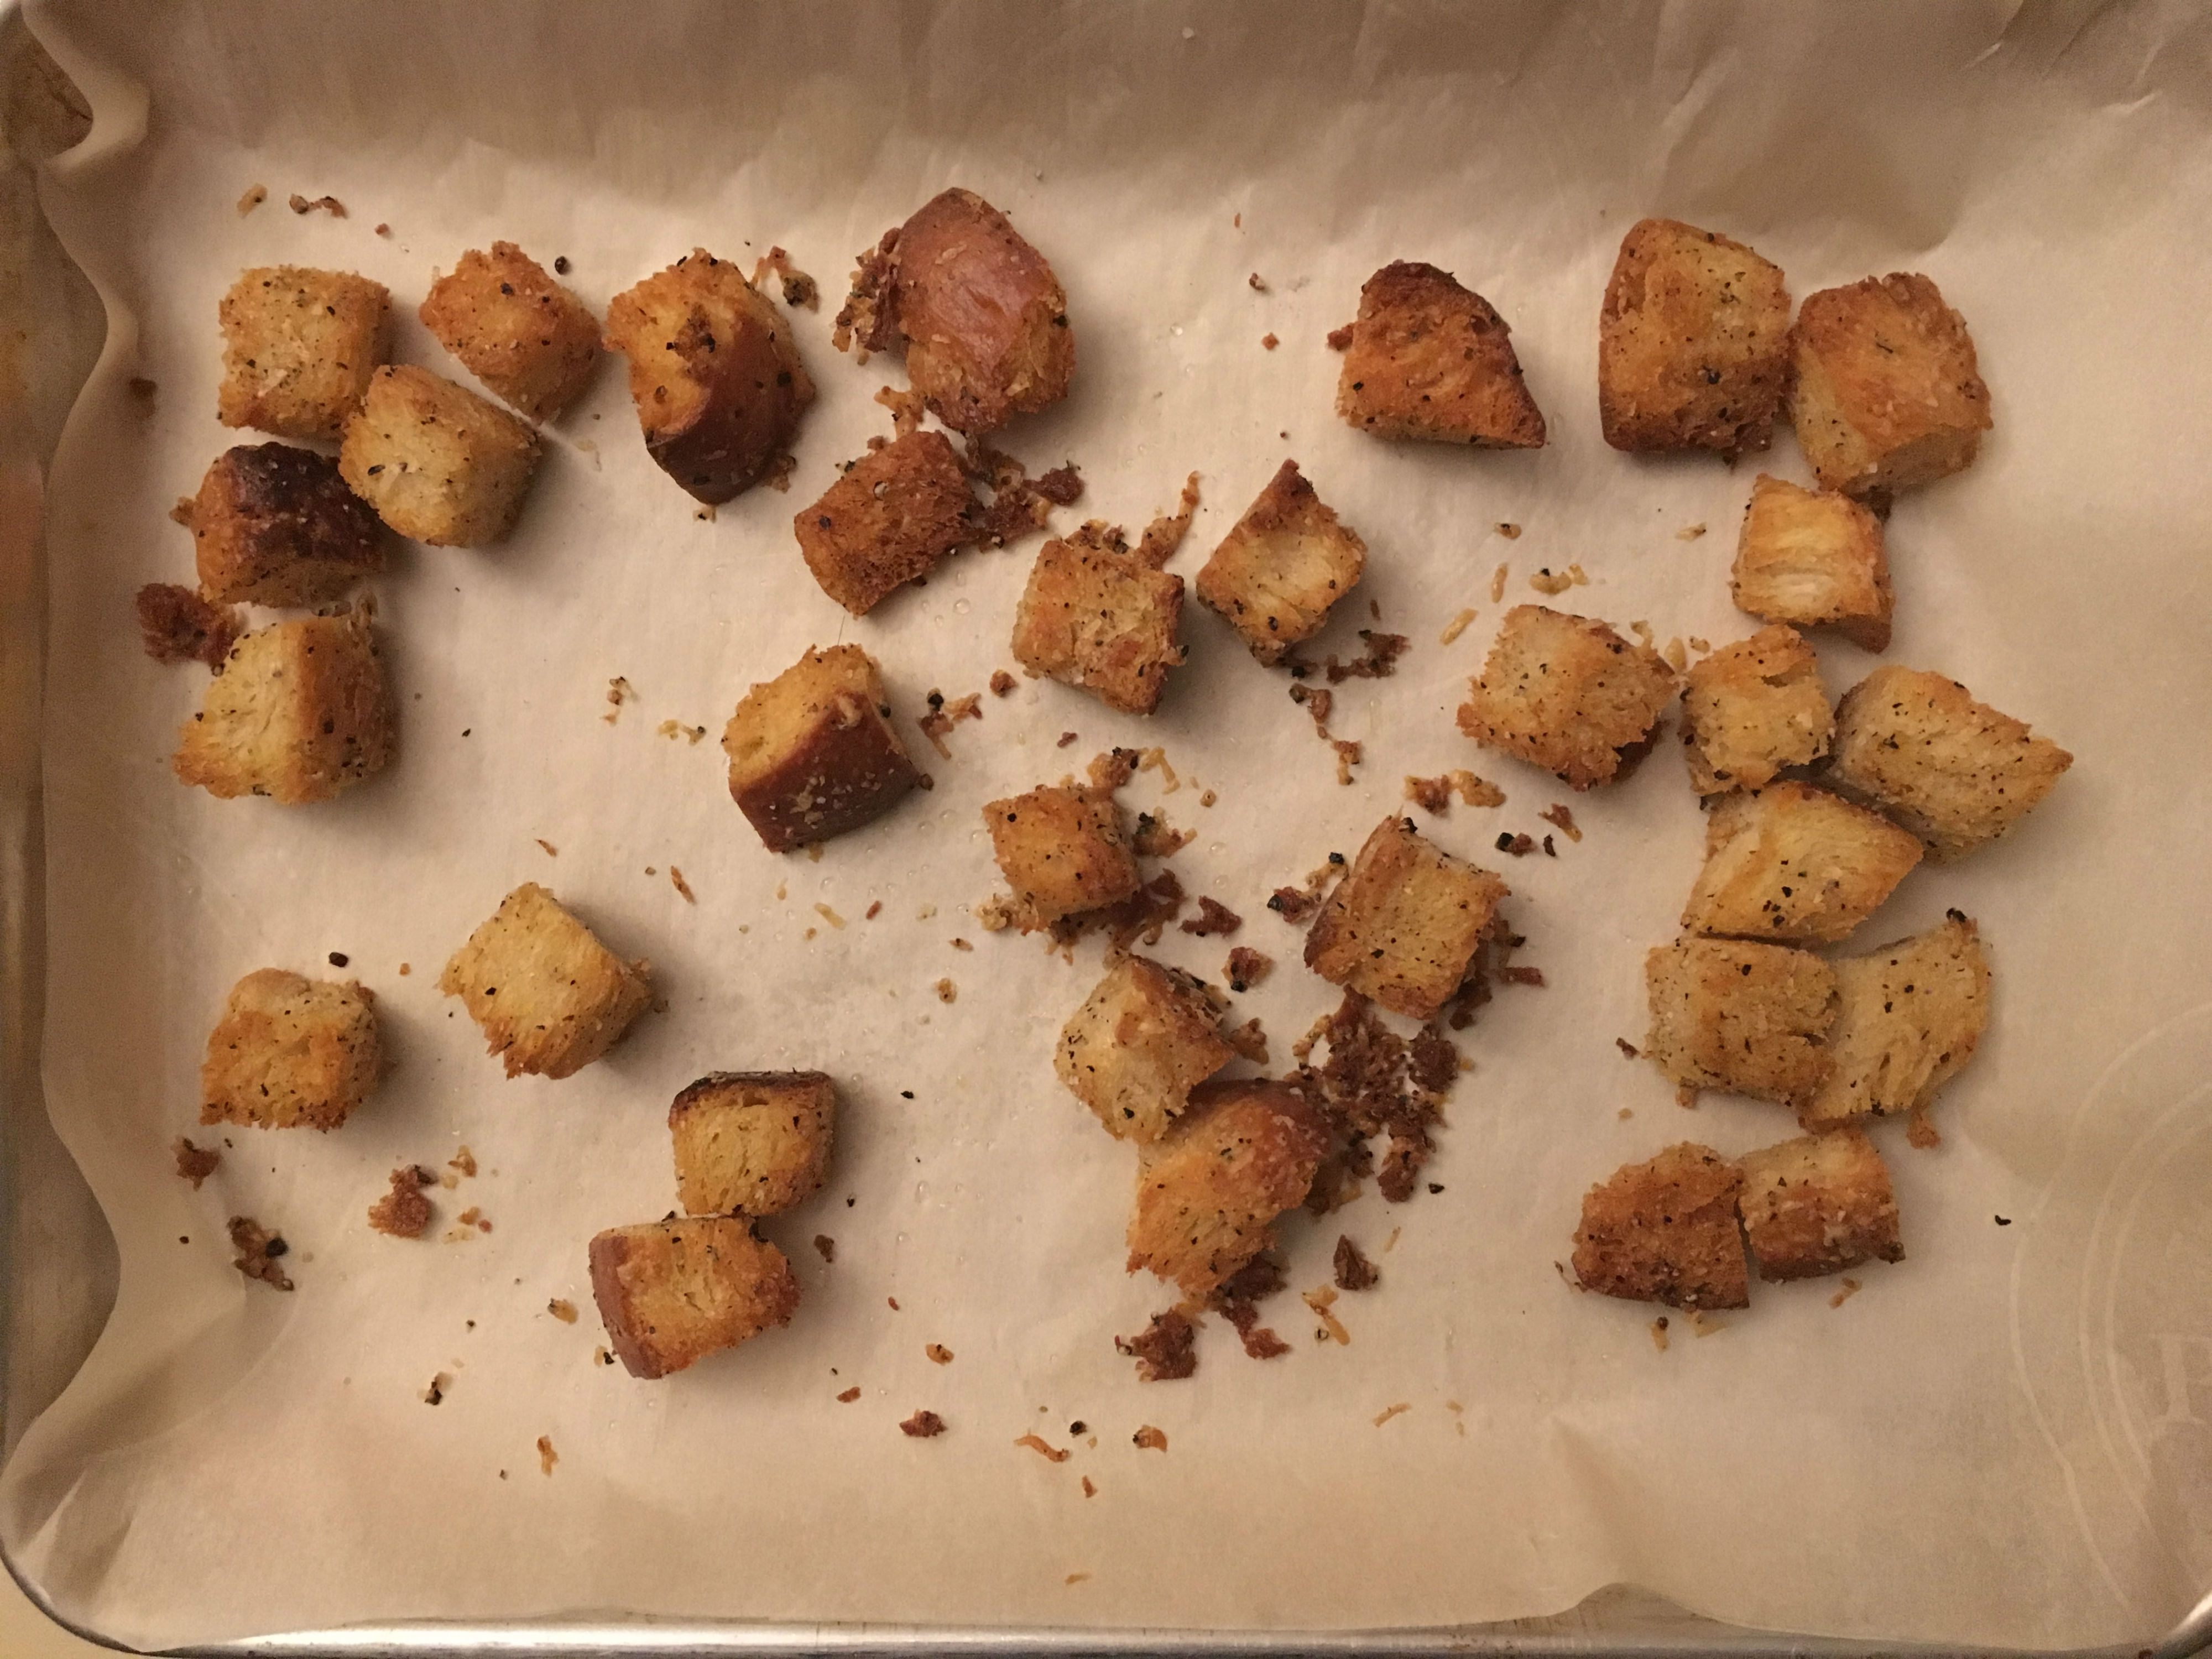 Remove from baking sheet, and let cool on the side until needed.
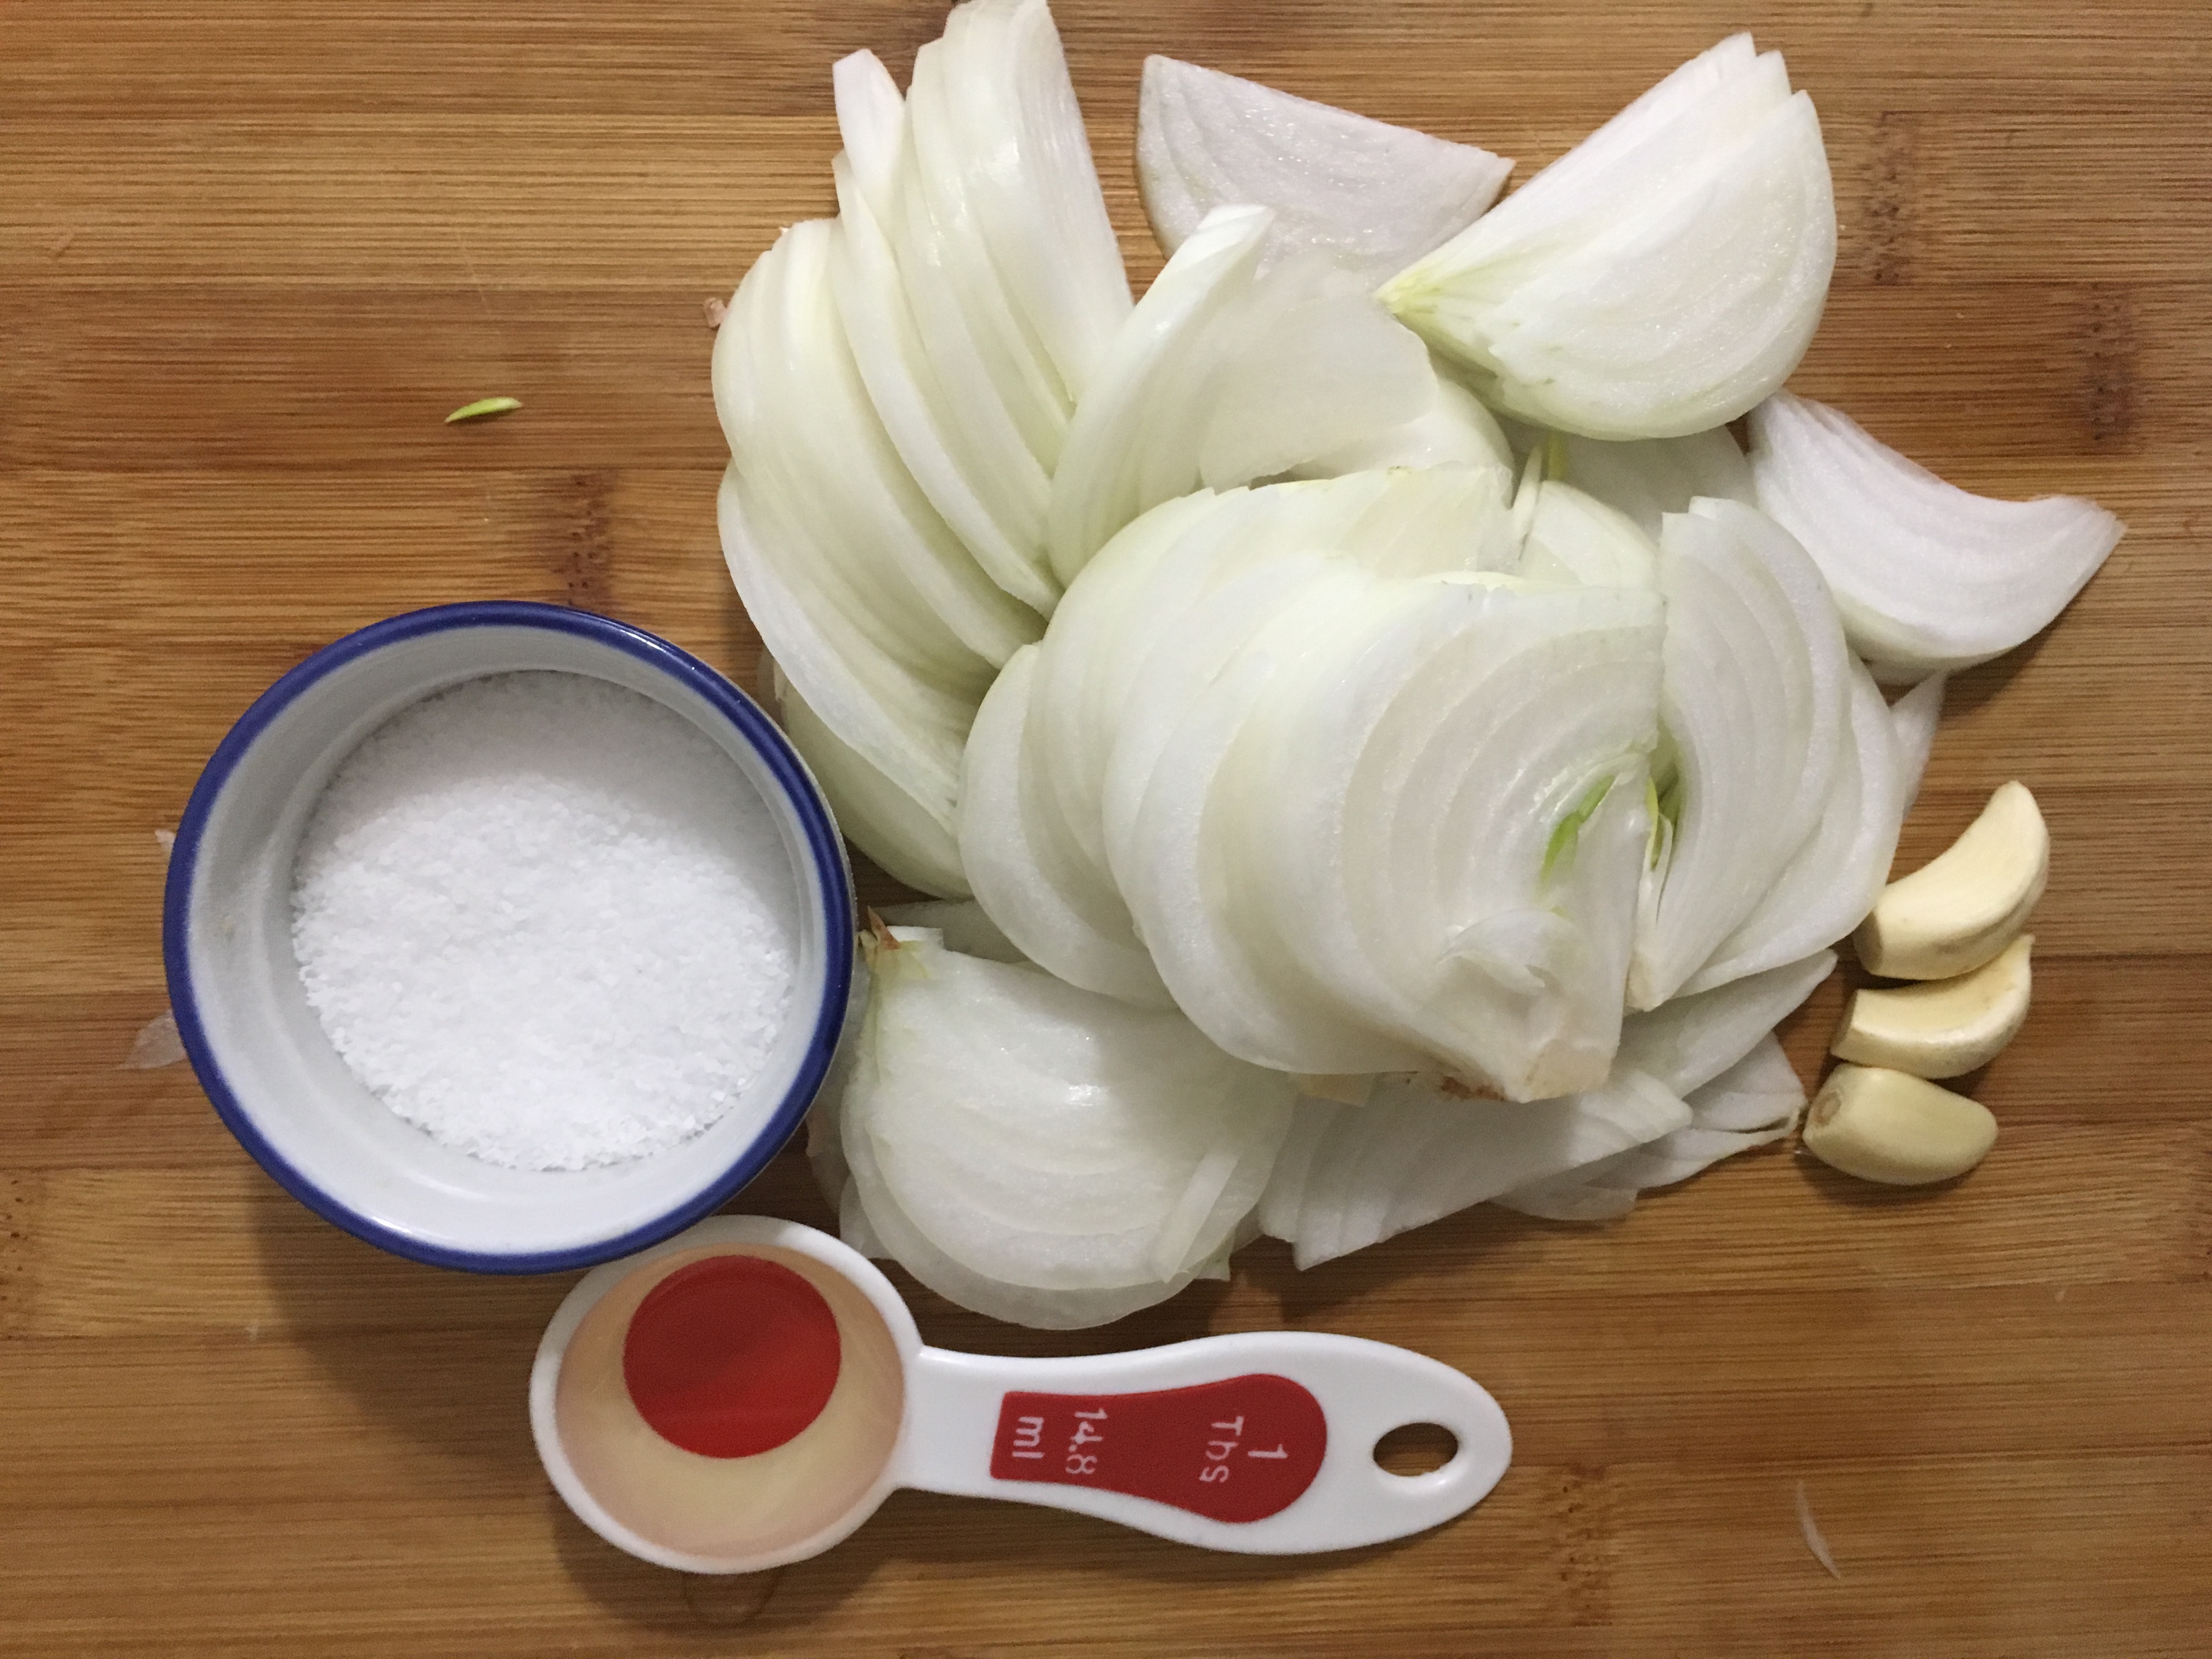 Remove skin from the onion and garlic, and slice Onion into 1/4″ rounds.
 Put a cast iron pan on high, with enough oil to cover the bottom of the pan. Once it’s nice and hot, place the in the onions and garlic and sauté for 1 minute.
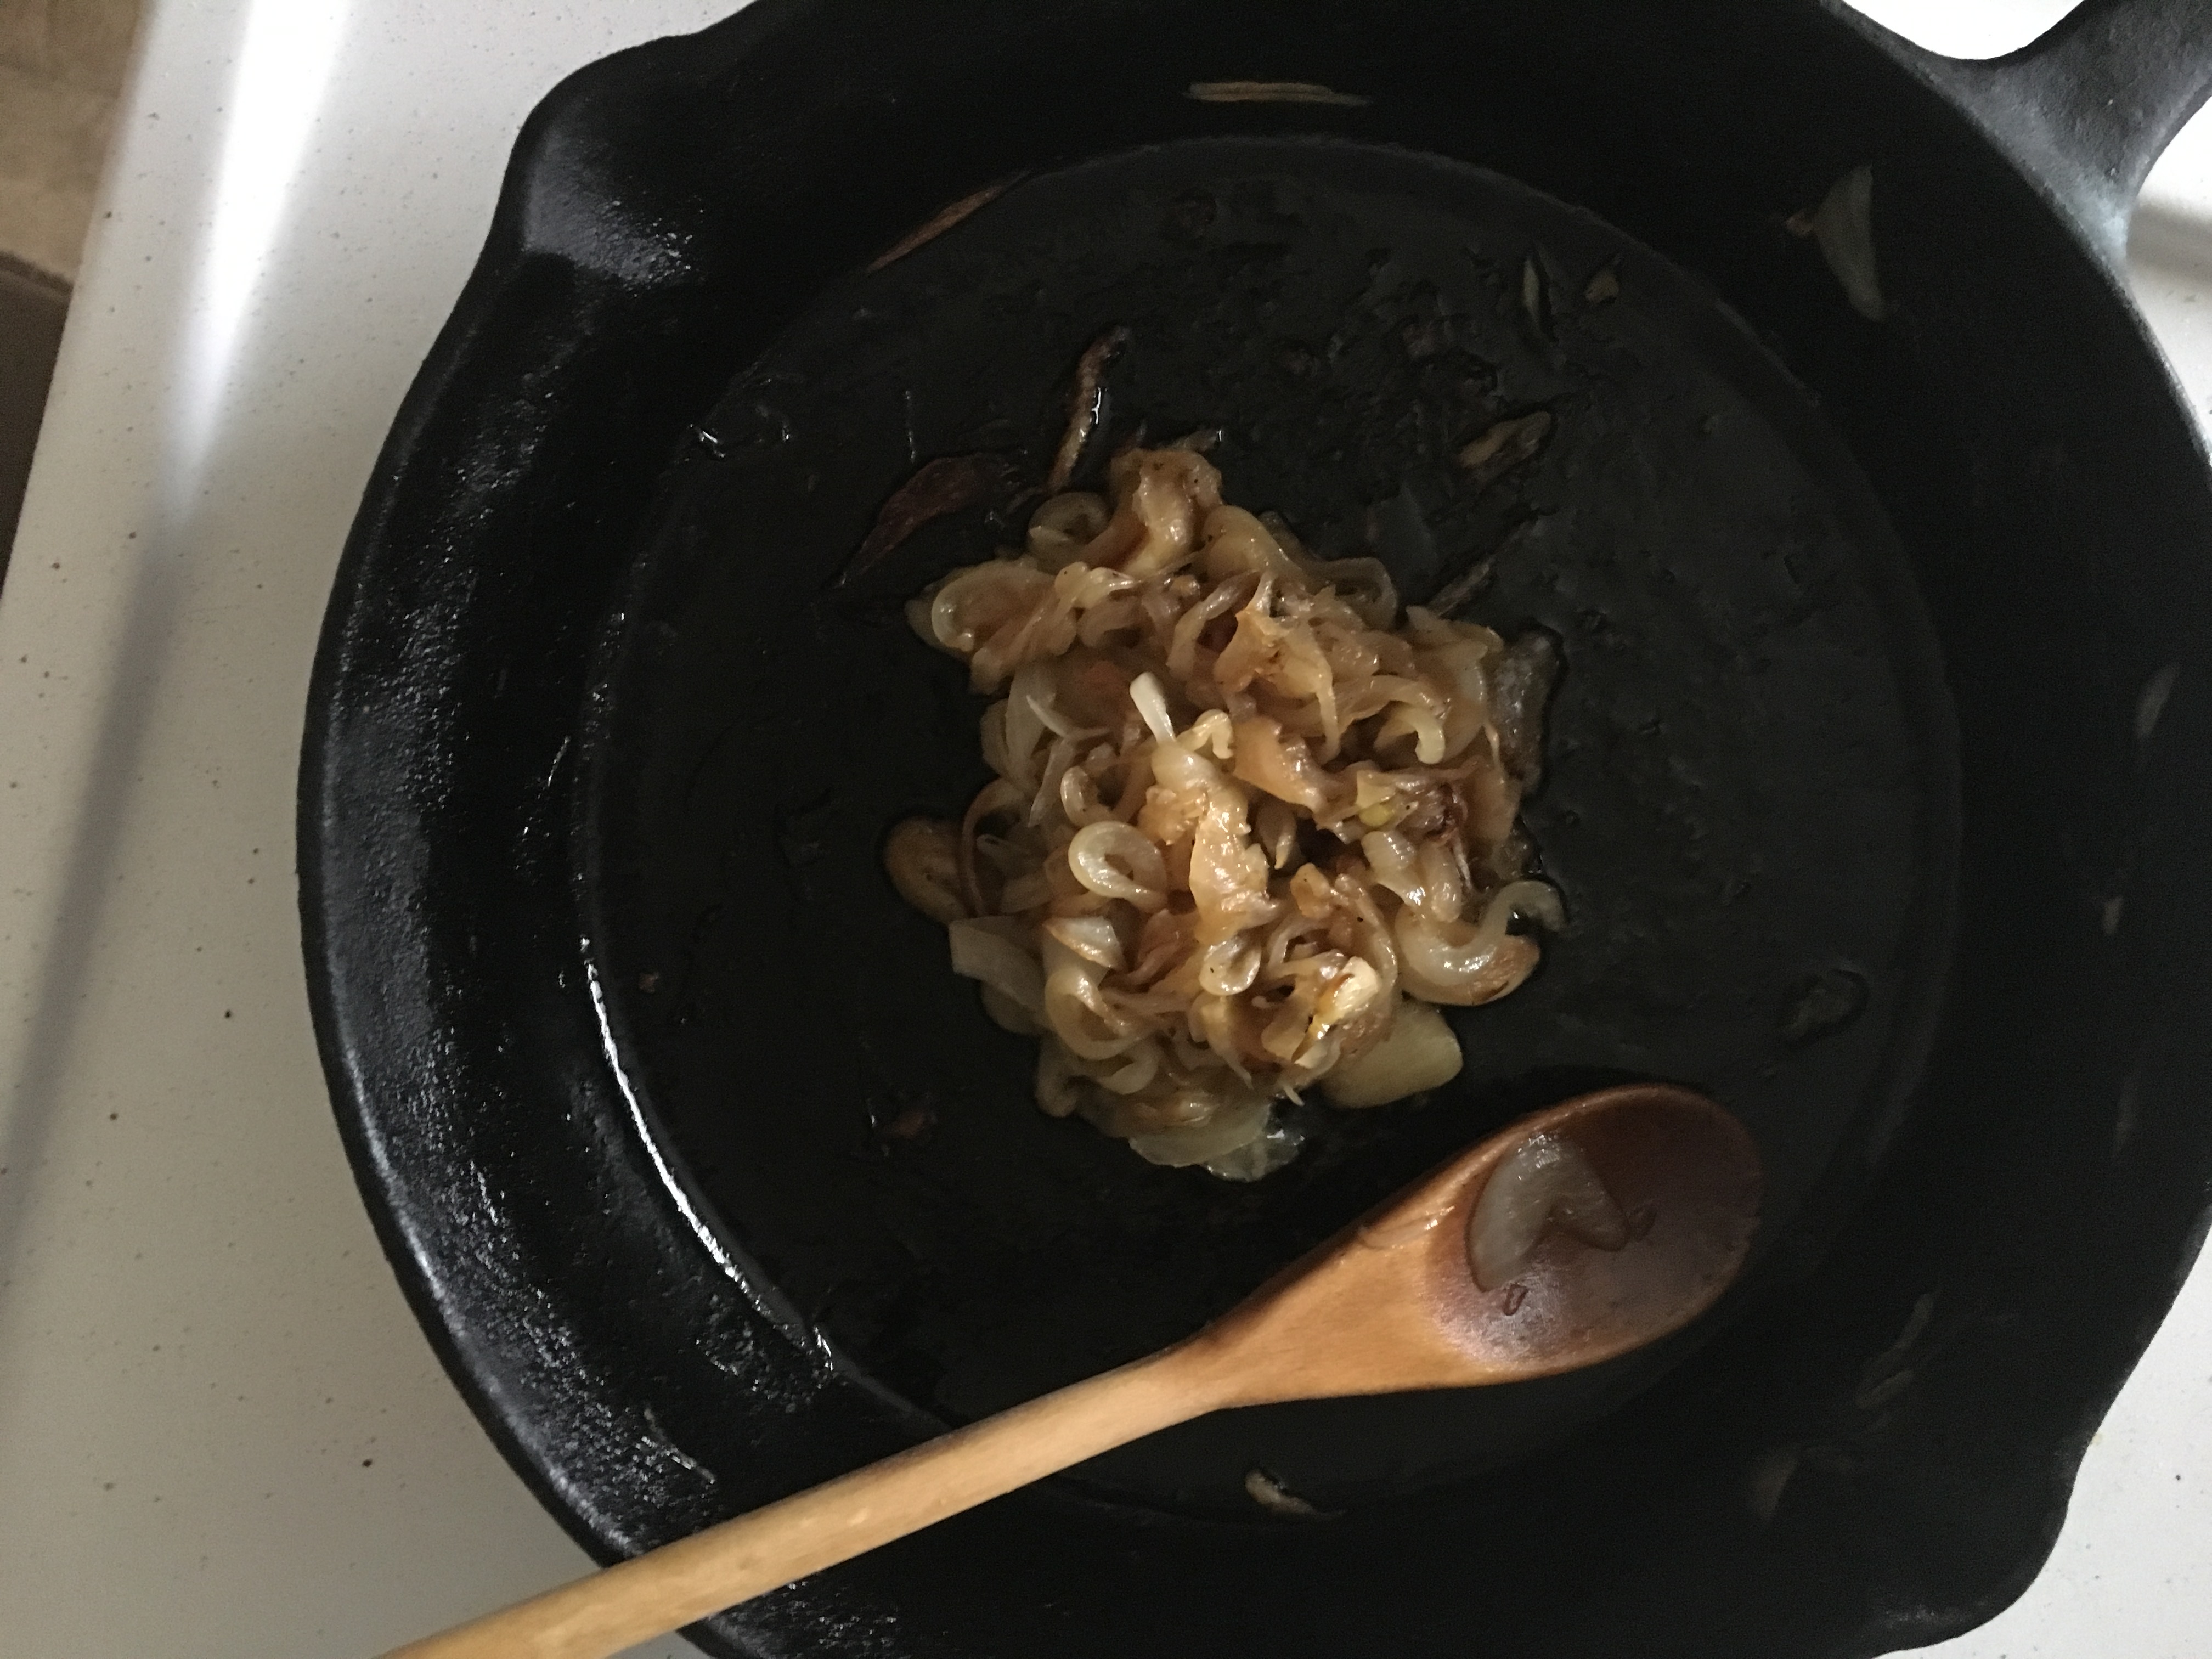 Lower the temperature down to medium low. Stir occasionally, until the onions and garlic become golden and caramelized. This is going into a dressing, so I bring them down into a paste.