A Rich Spud On the Side

Every year, I have a BBQ to help raise money for The Ottawa Mission. They are a organization that is very near and dear to my heart. Amongst other things, they dedicate themselves to making sure no one goes hungry. They have a kitchen that is open for three meals a day to anyone that who needs it, regardless of their situation. I plan on writing about some of the awesome stuff they did for me in particular, but in the mean time, I’ll leave a link to donate on the bottom.

This year I made four dishes: Roasted Potato Salad, Vegetable Sticks with Hummus, Ravioli Stuffed with Grilled Vegetables and smoked Tomato Sauce, and Smoked then Fried Chicken. The Chicken came out well, but utilized some equipment I built myself. The good news is, I’ve already shared my Hummus recipe here and I plan on sharing the potato salad recip today.

Potato salad is a staple at any BBQ. I can’t think of any other dish, let alone side dish, that can be creamy, light, while still being hardy. This is my 4th year holding this event, and the spud-tastic side has always been a go-to, however this year I took a whole new approach on it. Assuming you’re not a big fan of German cuisine, most of us think potato salad as boiled potatoes mixed with a mayo based dressing, then cooled. If you happen to know the aforementioned Germans Cuisine, then you know they skip the mayo all together.
Instead they take the potatoes right from the boiling water and mix it with oil and vinegar, then season accordingly. The result is the potatoes absorb most of the liquid, giving you more of seasoning opposed to a dressing. My understanding is it’s often served hot.

What I came up with was a mixture of the two, with a twist that I haven’t seen before. The potatoes were very flavourful because I did the german style of “hot mixing” with vinegar and oil, but then added a small amount of mayo and seasoning to give them the creamy texture we all associate with Potato salad. Here is the twist, I roasted the potatoes! They just came out beautifully.
A few side points,

I made a vegan mayo for this recipe. It’s one of the few vegan foods that imitate something else, that I actually find better then the original. Seriously, vegan mayo is better tasting then the store bought mayo you find in stores. So I give it a pass.
I didn’t add hard boiled eggs to this recipe, because of dietary restrictions of some guests who attended. If I were to made it again, this would definitely be added

Here is how I did it:

Vegan Mayo:

Ingredients:

  • 1/2C Soy Milk (If you don’t have Soymilk, or prefer traditional mayo, you can use the recipe found here)
  • 1/2C Canola Oil
  • 1/2C Olive Oil
  • 2t Apple Cider Vinegar
  1. Place all the ingredients in a high thinner cup. I used a measuring cup.
  2. Wait about 1 minute for the oil to float to the top.
  3. Insert the immersion blender into the mixture slowly.
  4. Pulse the blender until you start seeing mayo form.
  5. Once you see the majority of the mixture has emulsified, keep the blender on, and slowly lift the blender up and down until it’s a unified mixture.

Potato Salad:

  • 1lbs Russet Potatoes*
  • Pinch Salt
  • Double Pinch of Pepper
  • 1/4t of Garlic Powder
  • 6T Olive Oil
  • 1.5T Lemon Juice
  • 1.5T Apple Cider Vinegar
  • 1.5oz Onion
  • 3/4oz Celery
  • 2T Mayo
  1. Wash, dry and Cut Potatoes into 3/4″ squares. Leave the skin on, they add a wonderful
  2. Toss the cut potatoes in 1T of olive oil until they are throughly covered
  3. Place oiled potatoes directly on a baking sheet and roast at 350 degrees Fahrenheit in a convection oven (375 degrees in a non convection oven) for 30 minutes. Make sure to mix the potatoes up half way through.
  4. While the potatoes cook, mix all the other ingredients except the onion, celery and mayo into a bowl, mix as well as you can. The oil and vinegar will want to separate, which is fine. This will be your seasoning.
  5. Check to see if the potatoes are soft, golden-brown and delicious, if they need more time, crank the oven up 50 degrees, and check on them every 10 minutes until they are ready. Make sure to mix them every time you look at them.
  6. Once your potatoes are done, quickly put them directly from the oven, into a a clean mixing bowl. Then pour the seasoning, onto the hot potatoes and quickly mix until the potatoes have absorbed all the liquid.
  7. Mix in celery, onion and mayo.
  8. Place in fridge overnight and serve.
  9. Take a fancy photo, and post it to Instagram with the hashtag #foryourfoulmouth

*I used Potatoes my roommate picked up from a farmers market. They were very unusual. They had paper thin skins, and even after 45 minutes in the oven, they didn’t really brown. They were very delicious, but I switched the recipe to russet. Since I have no way of knowing what I actually used, and feel they weren’t the best choice.

Donate to the Ottawa Mission: Here

Purée-ly Delicious

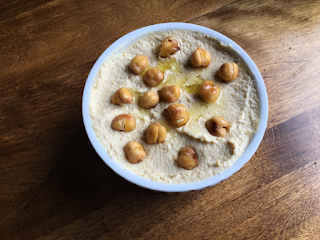
Sometimes, the difference between good and great is 2%. At least that’s what I told John, a class mate of mine; because my class average was 2% higher than his. At the time I meant it as a joke, but I think I might have been on to something. A better way to say it, might be ‘Sometimes, the different between good and great are the fine details.’ I bring this up because I was in the mood to make Hummus, and this is a perfect example of something that can be great, if you look after all the small details. The recipe I give down below is not based on the recipe we use at my place of employment, but I do make hummus at work at least twice a week. Here are some tips that I’ve learned:

Try and use a very good food processor. A cheap or low quality one will make the job longer. Personally, I find it takes a good 7-10 minutes of processing before the hummus is soft and creamy, longer with a cheap processor. If you’re in a situation where your processor isn’t up to the task, run it as long as you can, and when you feel it get hot, let the processor rest for ten or fifteen minutes, then continue. Keep doing this until your hummus is ready. Tahini on the other hand, you definitely can’t fake. If you’re like me, you may have to buy Tahini if you don’t and have a top notch food processor.

Consistency is a bit fickle. I find as I’m adding liquid, at first you’ll have to add a lot before you’ll see a big difference in consistency, but as the hummus loosens, you’ll see even a little bit will make a big difference

Finally, there are only a few ingredients in hummus, and as I mentioned in past posts, the fewer the number ingredients you have in a recipe, the more important the quality of each one is. So make sure to use the best ingredients you can get your hands on.

All that being said, there was one fine detail that I felt could elevate my hummus game, and that was roasting the chickpeas. Chickpeas are perfect candidates for roasting! That’s because they are high in proteins and starches, which cause them to undergo the Maillard Reaction. Which is chemists speak for, heat makes them golden brown and delicious.

Ingredients:

  • 1 12C Chickpeas
  • 10 Cloves of Garlic
  • 2T Canola Oil
  • 2T Water
  • 2 12T Tahini
  • 2T Lemon Juice
  • 12T Salt
  • 1 12T Extra Virgin Olive
  1. Place dried chickpeas in a container, fill the container with water so that it covers the chickpeas by two inches, seal container and place in fridge overnight.
  2. If the chickpeas are still good, they should have doubled or tripled in size. If that’s the case discard the water, put the chickpeas in a pot and fill with fresh water until the water just covers the chickpeas. Set the stove to max heat.
  3. Bring the water to a boil, then lower heat to its lowest setting and place the lid on the pot. Let sit until the chickpeas become soft. It takes about an hour and a half to two hours.
  4. Pre-heat oven to 375 degrees Fahrenheit on conventional oven, or 400 degrees on a non conventional oven. Drain and dry the chickpeas, then lightly cover with Canola oil. Make sure to save the water they were cooked in.
  5. Place the garlic in a ramekin, with a pinch of salt and pepper, two table spoons of water, and two table spoons of canola oil.
  6. Place your oil covered chickpeas on a parchment lined baking sheet, then place your chickpeas and ramekin with the garlic into the pre-heated oven. The chickpeas should take about 20 to 30 minutes to become golden brown, while the garlic should thake ablut 25 to 35 minutes to achieve the same.
  7. Place two cups of your roasted chickpeas, roasted garlic, the oil the garlic was cooked in, tahini, lemon juice, a pinch of salt into your food processor.
  8. Turn your food processor on, until your chickpeas are coarse in size.
  9. Turn the processor off and scrape down the sides of the interior of the processor bowl and add a little of the reserved chickpea cooking liquid.
  10. Repeat step 9 until the chickpeas make a uniformed paste, and is CLOSE to the consistency you’re looking for. Remember, at first it will take more liquid for the consistency of the hummus to change, but be careful because as it thins out, a little bit of the reserved liquid will make a much bigger change, I ended up using 5.5floz of the reserved cooking liquid.
  11. Add the Olive Oil, and continue to process until the hummus takes on a creamy consistency.
  12. Repeat step 9 until the hummus is the desired consistency. The hummus will thicken when you put it in the fridge, so keep that in mind.
  13. Place hummus in fridge overnight, and taste for seasoning the next day. Add salt as needed.
  14. Take a fancy Photo and post it to Instagram with the hashtag #foryourfoulmouth!

A Hot Innovation

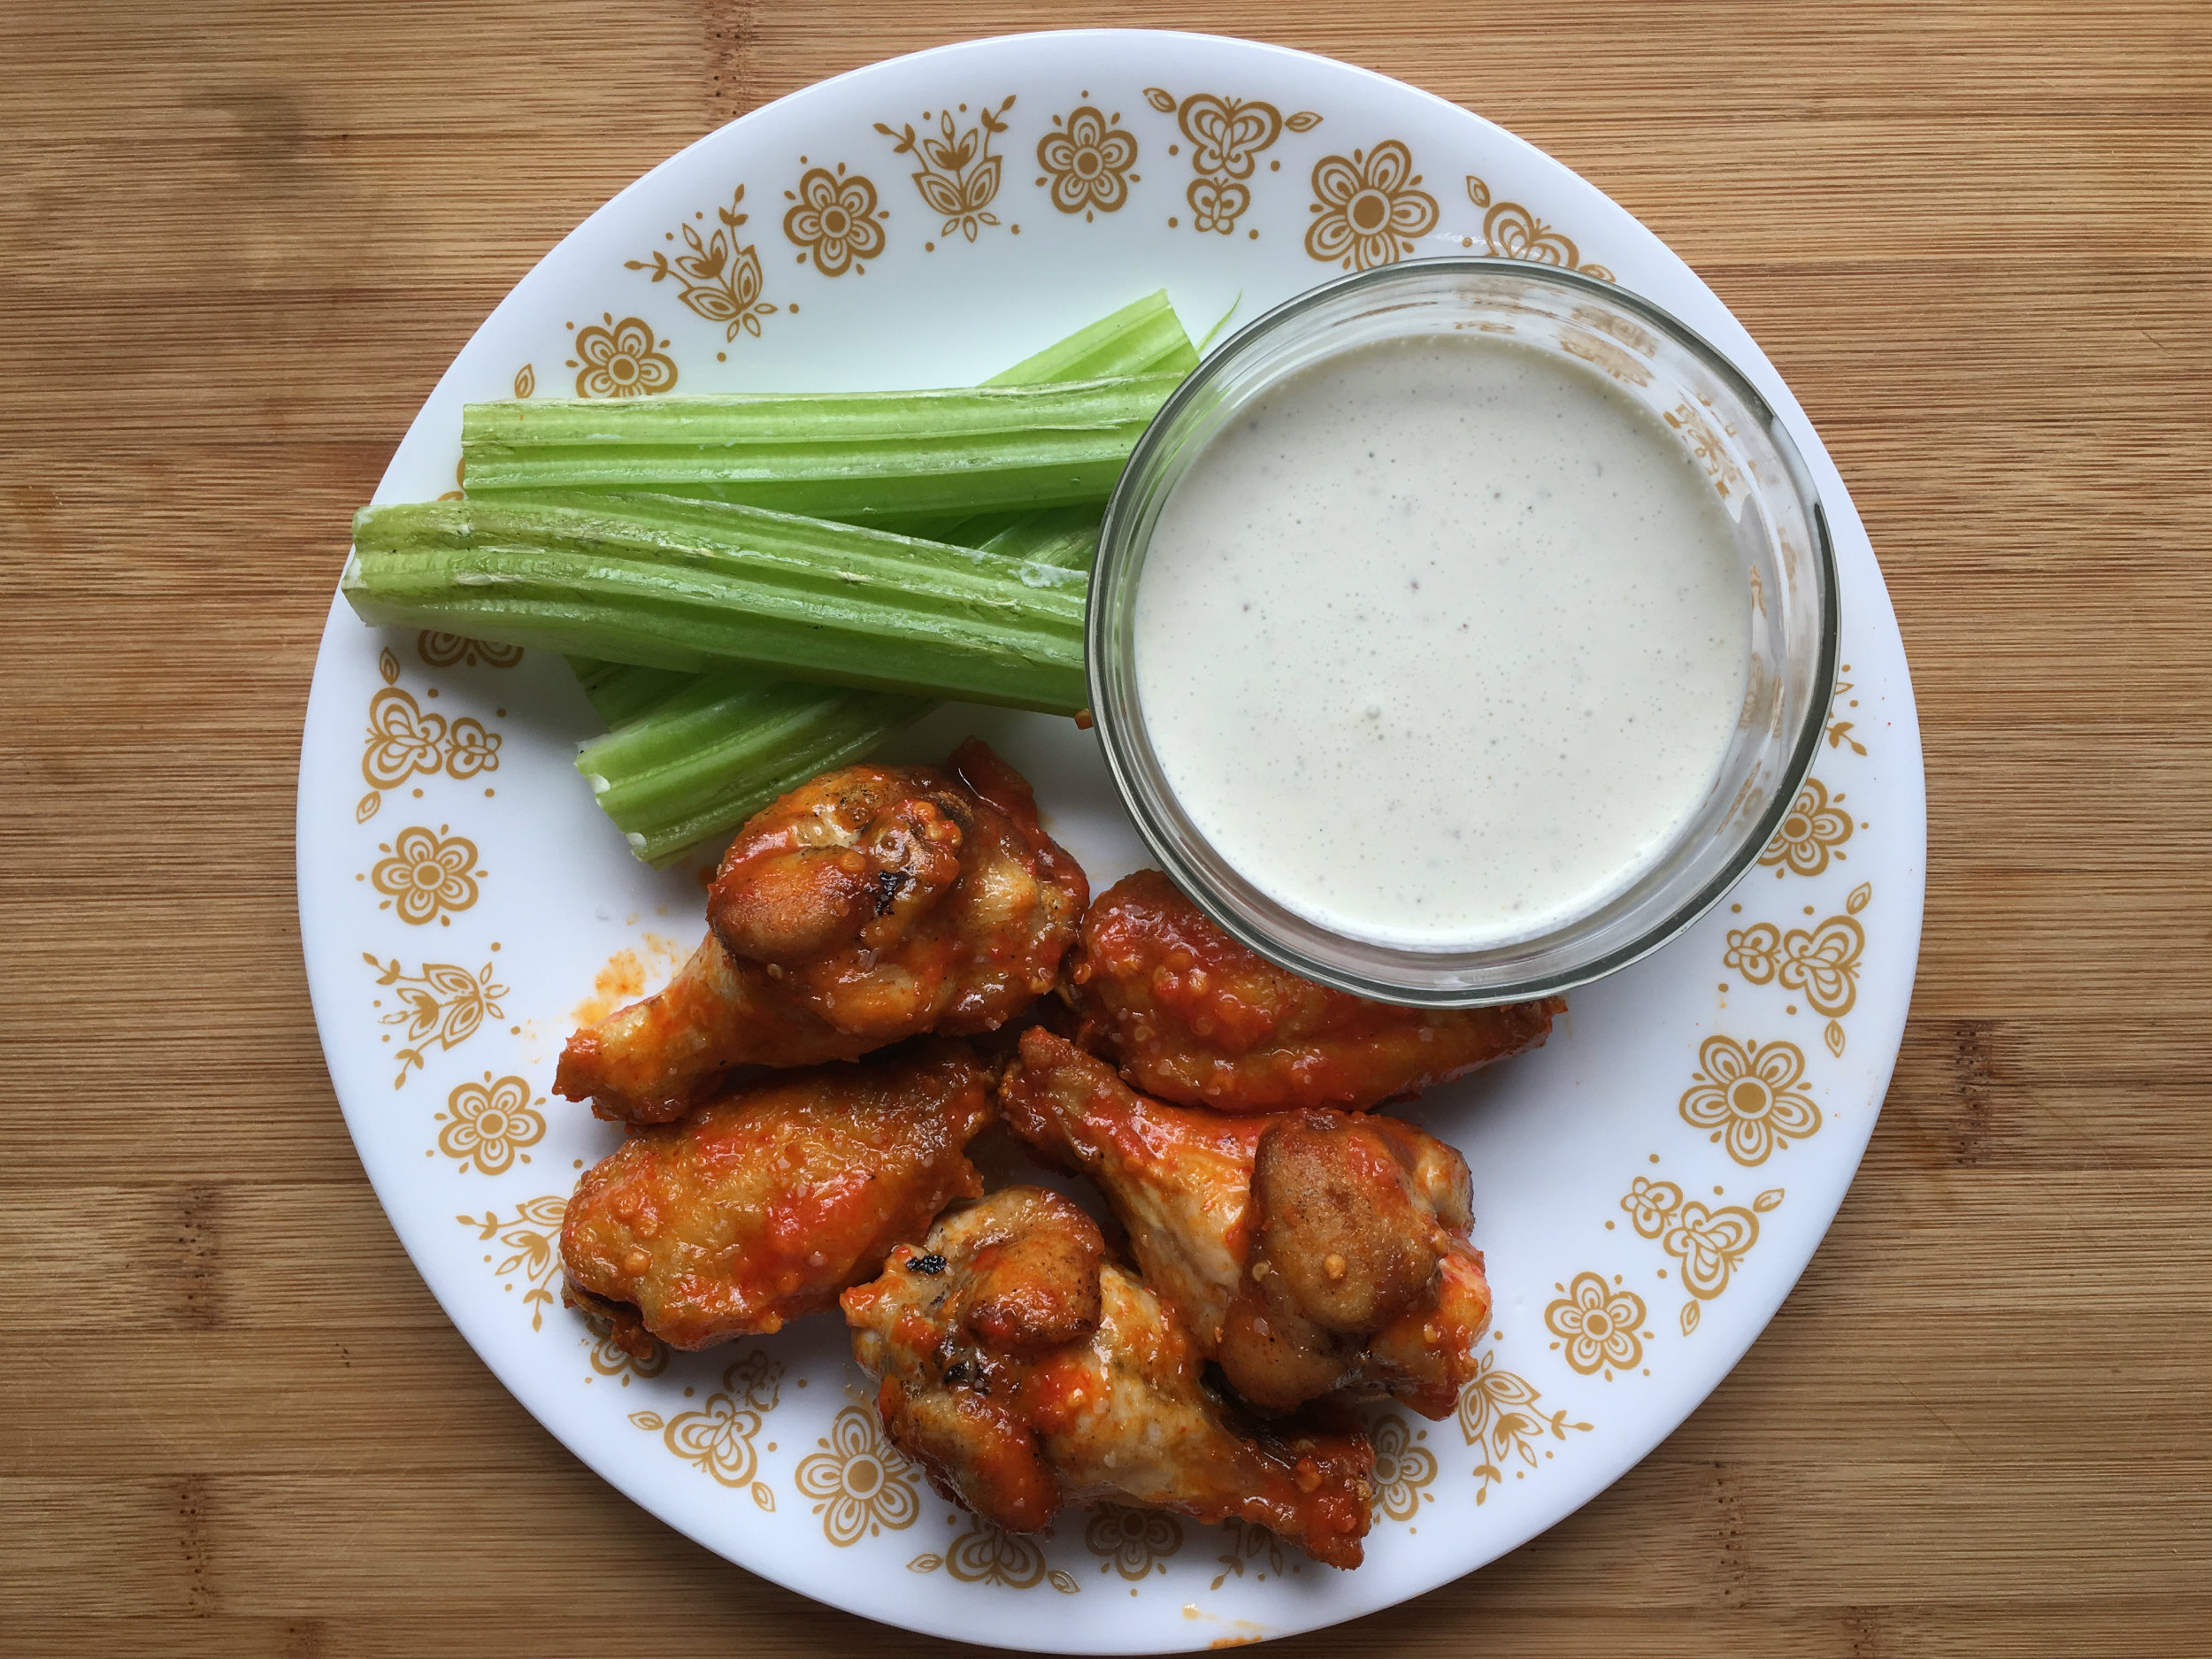
There is an old adage that claims, ‘necessity is the mother of all innovation,’ buffalo wings are a great example of that. Even though there are few stories about how bar owner Teressa Bellissimo created the dish, my favourite involves a group of hungry bar students coming into her bar and needing nourishment fast. So she threw some chicken wings into the deep fryer then covered them in a butter and hot sauce mixture. This may not sound like a huge innovation, but remember, at this point chicken wings were used for stocks and soups. Ordering ‘wings’ wasn’t a thing!

Legend has it she served it with a blue cheese dressing, and celery, which is how it is still served today.

Since July 29 is National Chicken Wing Day and July 23 was National Hot Enough For Ya day, this recipe kills two birds with one stone, or errr… ummm two days with one recipe…

Blue Cheese Dressing:
I used a recipe I that I found on one of my favourite food blogs, Food Wishes. I’ll link to it down below, Chef John is amazing, and his recipes are very solid!

I believe traditionally, you’d use a hot sauce made with vinegar and Cayenne peppers, like Frank’s Red Hot, or Louisiana Hot Sauce. However, fresh Cayenne isn’t easy to get a hold of this time of year in my area. So, I used a mixture of Scotch Bonnet, and Red Thai.

Buffalo Wings:

  • 50g Scotch Bonnet Peppers
  • 75g Red Thai Peppers
  • 3T Lime Juice
  • 1/3C Lemon Juice
  • 1C Vinegar
  • 3 Cloves Garlic Minced
  • 6T Butter
  • 1lbs Chicken Wings
  1. Put Scotch Bonnet peppers in a 325 degree Fahrenheit Convection oven (350 degree non Convection) on a parchment lined baking sheet. Let roast until they turn wrinkled and dark in colour. This should take about 30 minutes
  2. Remove the stems from all the peppers, then place in a pot with the: Garlic, Lemon Juice, Lime Juice, Vinegar.
  3. Bring the pot up to a boil, then reduce heat to a gentle simmer, and let sit for 20 minutes.
  4. Remove from heat, and let cool.
  5. Place mixture into a blender and blend until a smooth homogenous mixture forms.
  6. Place the back in to pot, and simmer for 20 minutes
  7. Place Butter into mixture and mix until butter had melted and fully incorporated, keep the temperature low so the mixture doesn’t separate.
  8. Place Buffalo sauce into bowl, and place aside.
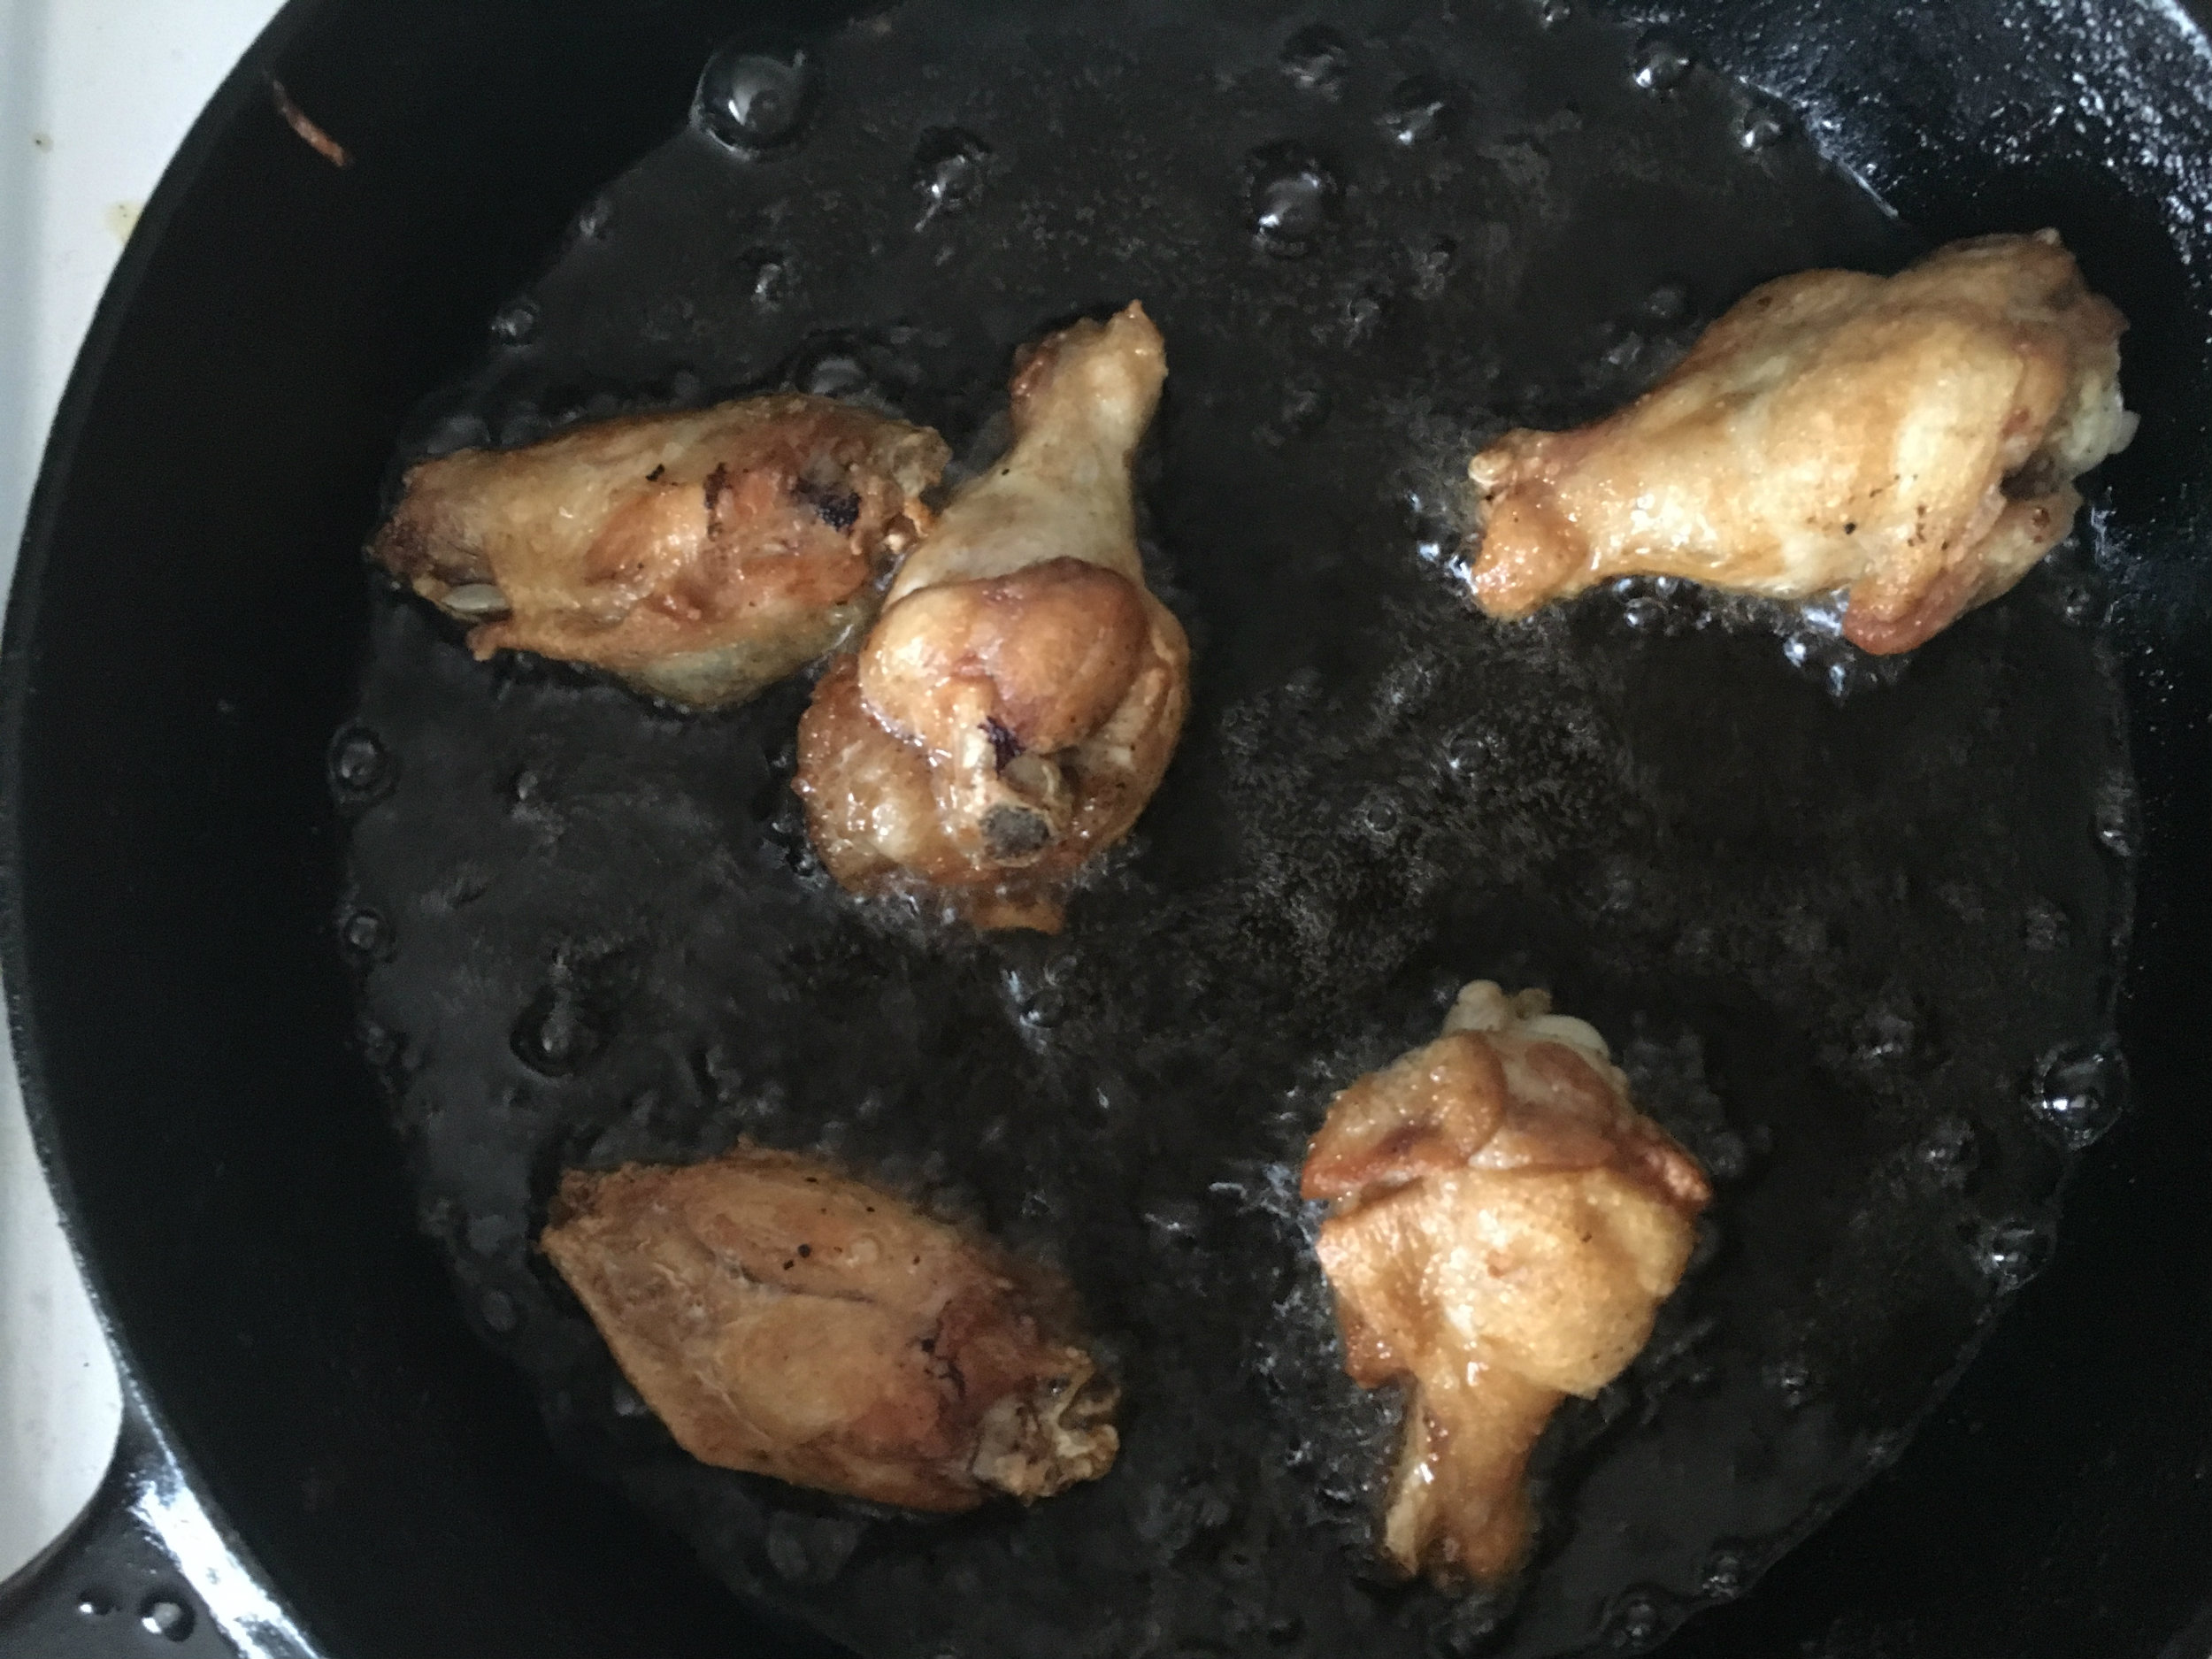
  9. Pan on medium heat, and fill with oil about half way. You want to make sure it’s a pan with high sides, and preferably cast iron. Bring oil to 350 degrees.
  10. Place chicken wings in the oil, and let fry. If the oil doesn’t completely cover the chicken, just turn the wings over every 2 minutes. Don’t over crowd the pan, you’re better off doing small batches, so the oil will stay hot.
  11. Once the wings are golden brown and delicious, temp the biggest wings and make sure they are at least 175 degrees Fahrenheit.
  12. Place cooked wings in a clean bowl, and toss with the buffalo sauce until evenly coated.
  13. Take a fancy Photo and post it to Instagram with the hashtag #foryourfoulmouth!
Sources:
Blue Cheese Dressing: http://foodwishes.blogspot.ca/2013/03/creamy-blue-cheese-dressing-chicken.html
National Chicken Wing Day: http://www.nationalchickenwingday.com/