A Rich Spud On the Side

Every year, I have a BBQ to help raise money for The Ottawa Mission. They are a organization that is very near and dear to my heart. Amongst other things, they dedicate themselves to making sure no one goes hungry. They have a kitchen that is open for three meals a day to anyone that who needs it, regardless of their situation. I plan on writing about some of the awesome stuff they did for me in particular, but in the mean time, I’ll leave a link to donate on the bottom.

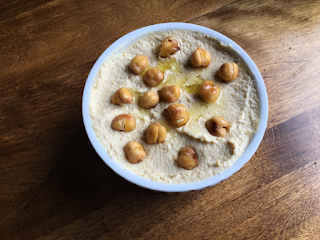
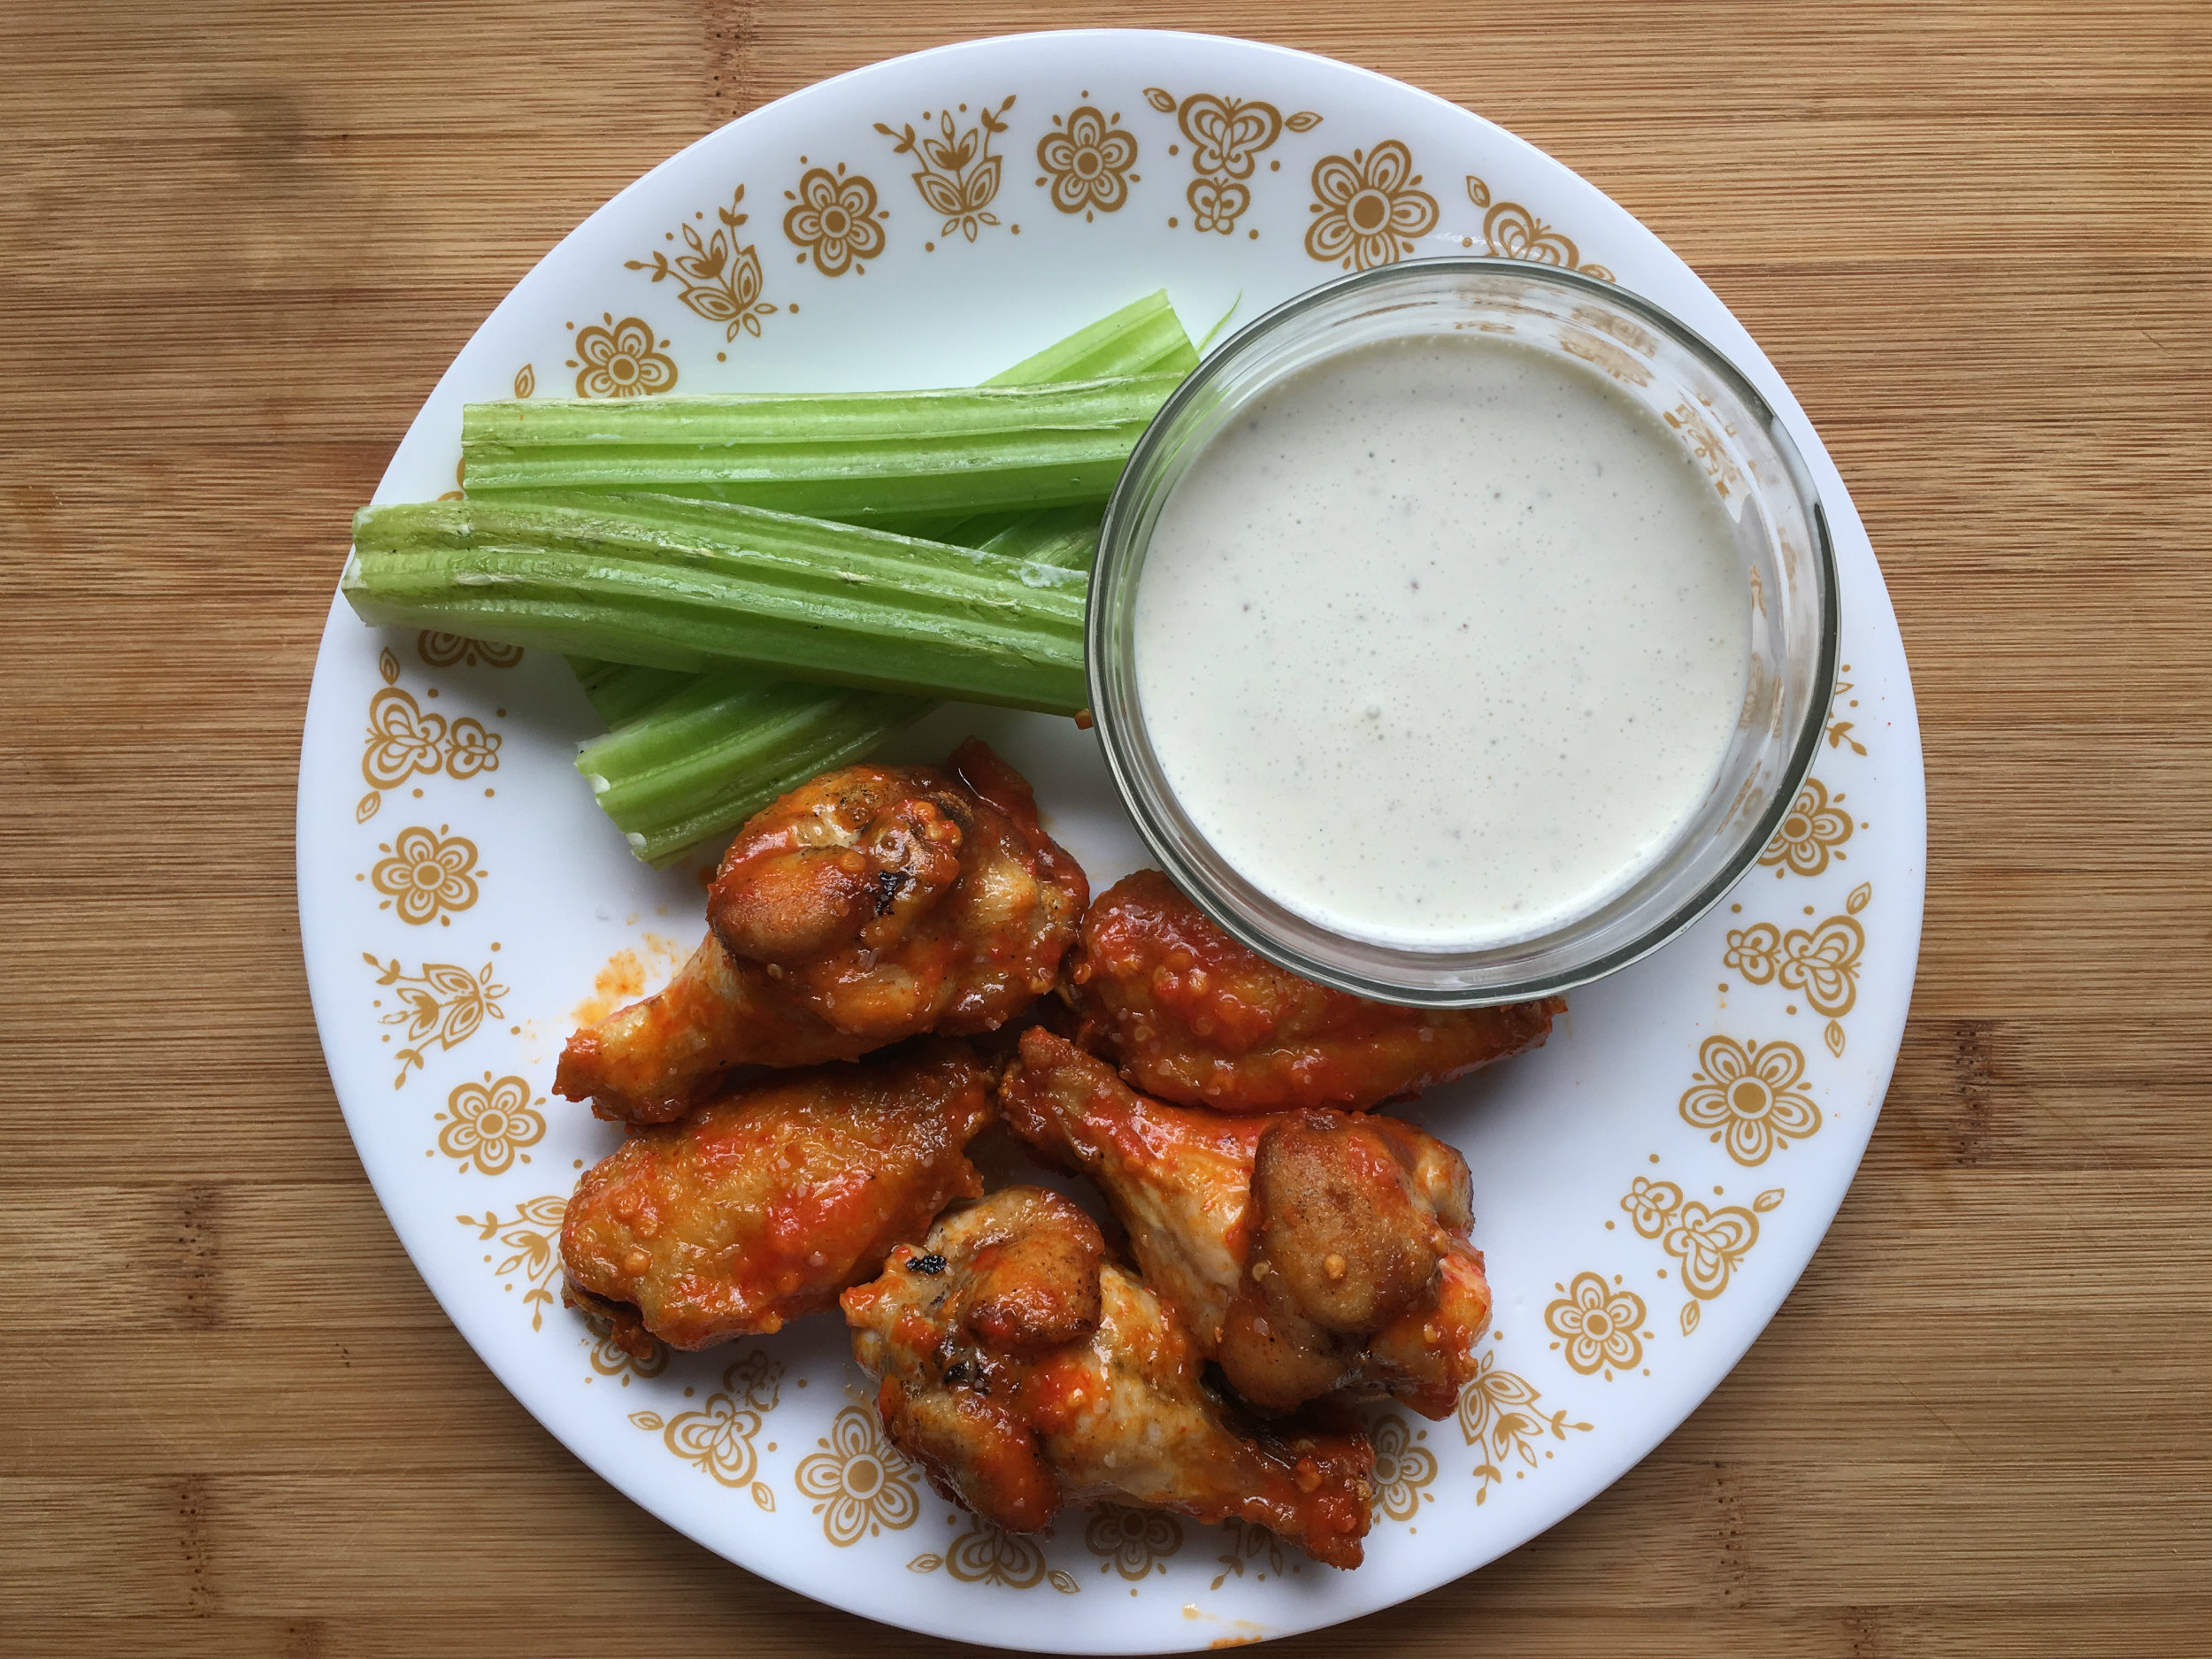
This year I made four dishes: Roasted Potato Salad, Vegetable Sticks with Hummus, Ravioli Stuffed with Grilled Vegetables and smoked Tomato Sauce, and Smoked then Fried Chicken. The Chicken came out well, but utilized some equipment I built myself. The good news is, I’ve already shared my Hummus recipe here and I plan on sharing the potato salad recip today.

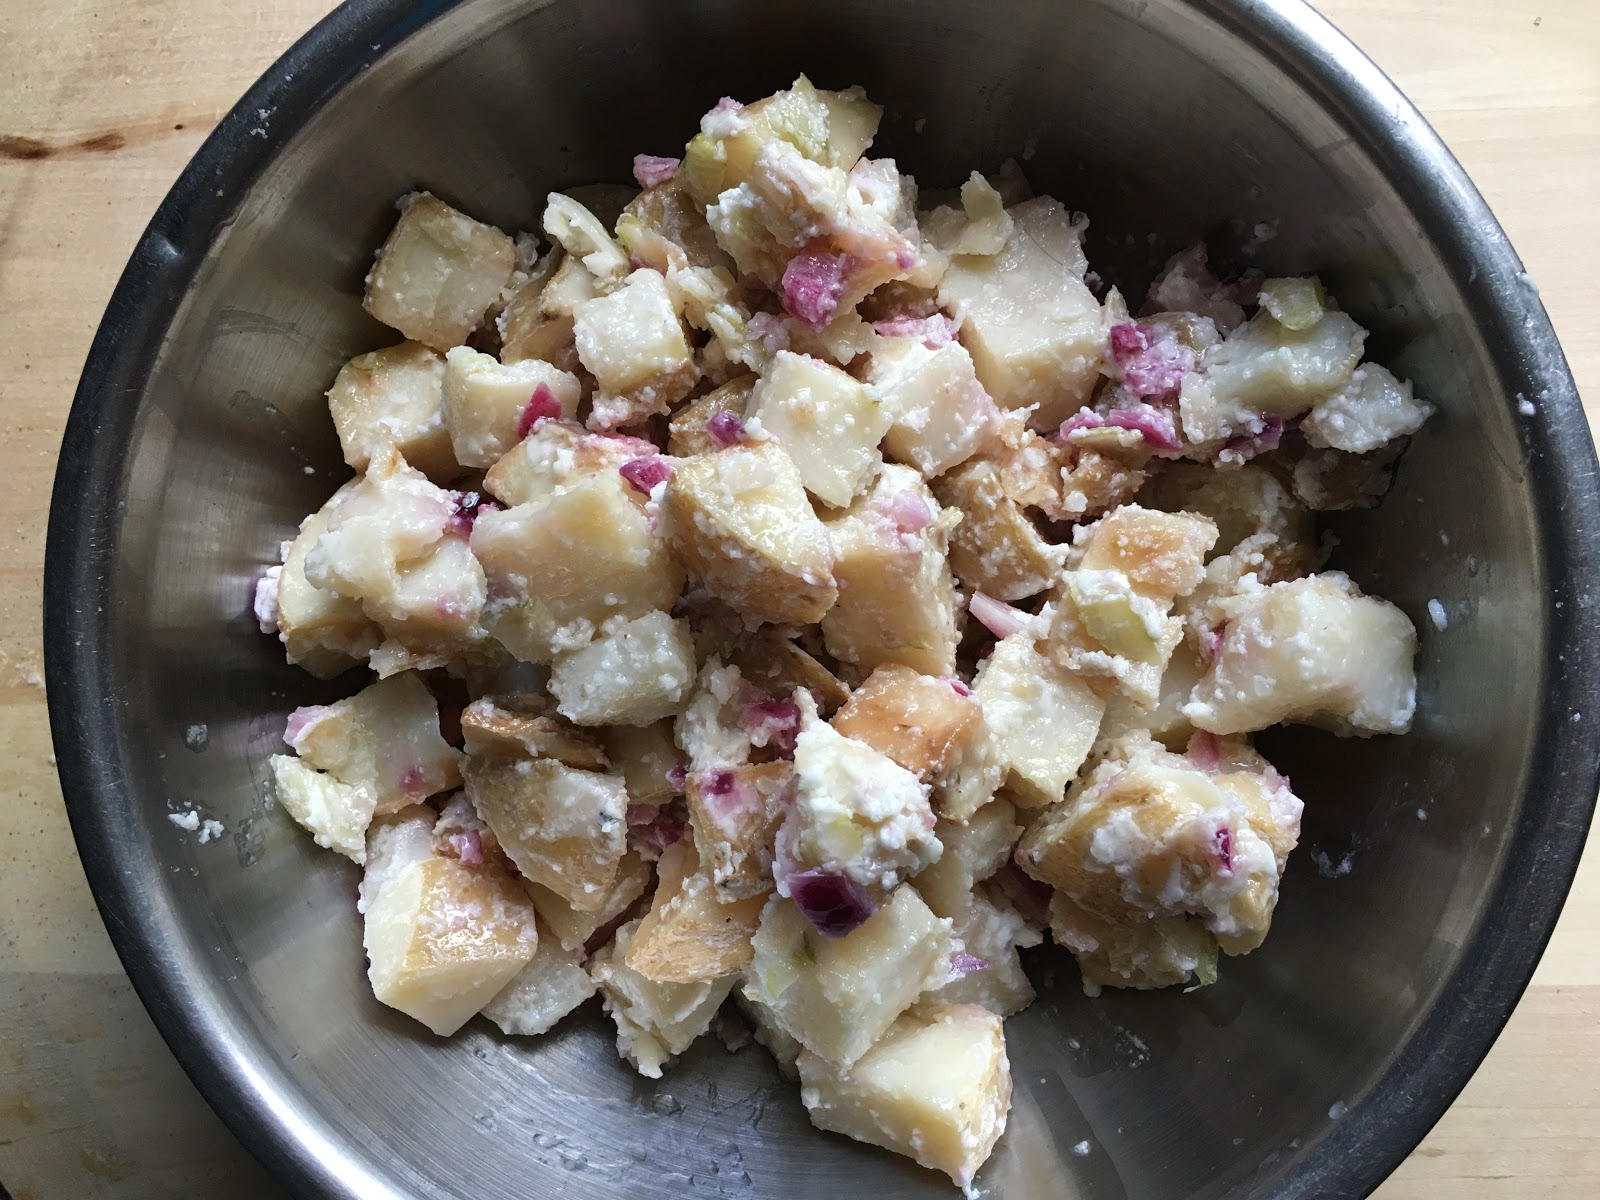
Potato salad is a staple at any BBQ. I can’t think of any other dish, let alone side dish, that can be creamy, light, while still being hardy. This is my 4th year holding this event, and the spud-tastic side has always been a go-to, however this year I took a whole new approach on it. Assuming you’re not a big fan of German cuisine, most of us think potato salad as boiled potatoes mixed with a mayo based dressing, then cooled. If you happen to know the aforementioned Germans Cuisine, then you know they skip the mayo all together.
Instead they take the potatoes right from the boiling water and mix it with oil and vinegar, then season accordingly. The result is the potatoes absorb most of the liquid, giving you more of seasoning opposed to a dressing. My understanding is it’s often served hot.

What I came up with was a mixture of the two, with a twist that I haven’t seen before. The potatoes were very flavourful because I did the german style of “hot mixing” with vinegar and oil, but then added a small amount of mayo and seasoning to give them the creamy texture we all associate with Potato salad. Here is the twist, I roasted the potatoes! They just came out beautifully.
A few side points,

I made a vegan mayo for this recipe. It’s one of the few vegan foods that imitate something else, that I actually find better then the original. Seriously, vegan mayo is better tasting then the store bought mayo you find in stores. So I give it a pass.
I didn’t add hard boiled eggs to this recipe, because of dietary restrictions of some guests who attended. If I were to made it again, this would definitely be added

Here is how I did it:

Vegan Mayo:

Ingredients:

  • 1/2C Soy Milk (If you don’t have Soymilk, or prefer traditional mayo, you can use the recipe found here)
  • 1/2C Canola Oil
  • 1/2C Olive Oil
  • 2t Apple Cider Vinegar
  1. Place all the ingredients in a high thinner cup. I used a measuring cup.
  2. Wait about 1 minute for the oil to float to the top.
  3. Insert the immersion blender into the mixture slowly.
  4. Pulse the blender until you start seeing mayo form.
  5. Once you see the majority of the mixture has emulsified, keep the blender on, and slowly lift the blender up and down until it’s a unified mixture.

Potato Salad:

  • 1lbs Russet Potatoes*
  • Pinch Salt
  • Double Pinch of Pepper
  • 1/4t of Garlic Powder
  • 6T Olive Oil
  • 1.5T Lemon Juice
  • 1.5T Apple Cider Vinegar
  • 1.5oz Onion
  • 3/4oz Celery
  • 2T Mayo
  1. Wash, dry and Cut Potatoes into 3/4″ squares. Leave the skin on, they add a wonderful
  2. Toss the cut potatoes in 1T of olive oil until they are throughly covered
  3. Place oiled potatoes directly on a baking sheet and roast at 350 degrees Fahrenheit in a convection oven (375 degrees in a non convection oven) for 30 minutes. Make sure to mix the potatoes up half way through.
  4. While the potatoes cook, mix all the other ingredients except the onion, celery and mayo into a bowl, mix as well as you can. The oil and vinegar will want to separate, which is fine. This will be your seasoning.
  5. Check to see if the potatoes are soft, golden-brown and delicious, if they need more time, crank the oven up 50 degrees, and check on them every 10 minutes until they are ready. Make sure to mix them every time you look at them.
  6. Once your potatoes are done, quickly put them directly from the oven, into a a clean mixing bowl. Then pour the seasoning, onto the hot potatoes and quickly mix until the potatoes have absorbed all the liquid.
  7. Mix in celery, onion and mayo.
  8. Place in fridge overnight and serve.
  9. Take a fancy photo, and post it to Instagram with the hashtag #foryourfoulmouth

*I used Potatoes my roommate picked up from a farmers market. They were very unusual. They had paper thin skins, and even after 45 minutes in the oven, they didn’t really brown. They were very delicious, but I switched the recipe to russet. Since I have no way of knowing what I actually used, and feel they weren’t the best choice.

Donate to the Ottawa Mission: Here

Purée-ly Delicious

Sometimes, the difference between good and great is 2%. At least that’s what I told John, a class mate of mine; because my class average was 2% higher than his. At the time I meant it as a joke, but I think I might have been on to something. A better way to say it, might be ‘Sometimes, the different between good and great are the fine details.’ I bring this up because I was in the mood to make Hummus, and this is a perfect example of something that can be great, if you look after all the small details. The recipe I give down below is not based on the recipe we use at my place of employment, but I do make hummus at work at least twice a week. Here are some tips that I’ve learned:

Try and use a very good food processor. A cheap or low quality one will make the job longer. Personally, I find it takes a good 7-10 minutes of processing before the hummus is soft and creamy, longer with a cheap processor. If you’re in a situation where your processor isn’t up to the task, run it as long as you can, and when you feel it get hot, let the processor rest for ten or fifteen minutes, then continue. Keep doing this until your hummus is ready. Tahini on the other hand, you definitely can’t fake. If you’re like me, you may have to buy Tahini if you don’t and have a top notch food processor.

Consistency is a bit fickle. I find as I’m adding liquid, at first you’ll have to add a lot before you’ll see a big difference in consistency, but as the hummus loosens, you’ll see even a little bit will make a big difference

Finally, there are only a few ingredients in hummus, and as I mentioned in past posts, the fewer the number ingredients you have in a recipe, the more important the quality of each one is. So make sure to use the best ingredients you can get your hands on.

All that being said, there was one fine detail that I felt could elevate my hummus game, and that was roasting the chickpeas. Chickpeas are perfect candidates for roasting! That’s because they are high in proteins and starches, which cause them to undergo the Maillard Reaction. Which is chemists speak for, heat makes them golden brown and delicious.

Ingredients:

  • 1 12C Chickpeas
  • 10 Cloves of Garlic
  • 2T Canola Oil
  • 2T Water
  • 2 12T Tahini
  • 2T Lemon Juice
  • 12T Salt
  • 1 12T Extra Virgin Olive
  1. Place dried chickpeas in a container, fill the container with water so that it covers the chickpeas by two inches, seal container and place in fridge overnight.
  2. If the chickpeas are still good, they should have doubled or tripled in size. If that’s the case discard the water, put the chickpeas in a pot and fill with fresh water until the water just covers the chickpeas. Set the stove to max heat.
  3. Bring the water to a boil, then lower heat to its lowest setting and place the lid on the pot. Let sit until the chickpeas become soft. It takes about an hour and a half to two hours.
  4. Pre-heat oven to 375 degrees Fahrenheit on conventional oven, or 400 degrees on a non conventional oven. Drain and dry the chickpeas, then lightly cover with Canola oil. Make sure to save the water they were cooked in.
  5. Place the garlic in a ramekin, with a pinch of salt and pepper, two table spoons of water, and two table spoons of canola oil.
  6. Place your oil covered chickpeas on a parchment lined baking sheet, then place your chickpeas and ramekin with the garlic into the pre-heated oven. The chickpeas should take about 20 to 30 minutes to become golden brown, while the garlic should thake ablut 25 to 35 minutes to achieve the same.
  7. Place two cups of your roasted chickpeas, roasted garlic, the oil the garlic was cooked in, tahini, lemon juice, a pinch of salt into your food processor.
  8. Turn your food processor on, until your chickpeas are coarse in size.
  9. Turn the processor off and scrape down the sides of the interior of the processor bowl and add a little of the reserved chickpea cooking liquid.
  10. Repeat step 9 until the chickpeas make a uniformed paste, and is CLOSE to the consistency you’re looking for. Remember, at first it will take more liquid for the consistency of the hummus to change, but be careful because as it thins out, a little bit of the reserved liquid will make a much bigger change, I ended up using 5.5floz of the reserved cooking liquid.
  11. Add the Olive Oil, and continue to process until the hummus takes on a creamy consistency.
  12. Repeat step 9 until the hummus is the desired consistency. The hummus will thicken when you put it in the fridge, so keep that in mind.
  13. Place hummus in fridge overnight, and taste for seasoning the next day. Add salt as needed.
  14. Take a fancy Photo and post it to Instagram with the hashtag #foryourfoulmouth!

A Hot Innovation

There is an old adage that claims, ‘necessity is the mother of all innovation,’ buffalo wings are a great example of that. Even though there are few stories about how bar owner Teressa Bellissimo created the dish, my favourite involves a group of hungry bar students coming into her bar and needing nourishment fast. So she threw some chicken wings into the deep fryer then covered them in a butter and hot sauce mixture. This may not sound like a huge innovation, but remember, at this point chicken wings were used for stocks and soups. Ordering ‘wings’ wasn’t a thing!

Legend has it she served it with a blue cheese dressing, and celery, which is how it is still served today.

Since July 29 is National Chicken Wing Day and July 23 was National Hot Enough For Ya day, this recipe kills two birds with one stone, or errr… ummm two days with one recipe…

Blue Cheese Dressing:
I used a recipe I that I found on one of my favourite food blogs, Food Wishes. I’ll link to it down below, Chef John is amazing, and his recipes are very solid!

I believe traditionally, you’d use a hot sauce made with vinegar and Cayenne peppers, like Frank’s Red Hot, or Louisiana Hot Sauce. However, fresh Cayenne isn’t easy to get a hold of this time of year in my area. So, I used a mixture of Scotch Bonnet, and Red Thai.

Buffalo Wings:

  • 50g Scotch Bonnet Peppers
  • 75g Red Thai Peppers
  • 3T Lime Juice
  • 1/3C Lemon Juice
  • 1C Vinegar
  • 3 Cloves Garlic Minced
  • 6T Butter
  • 1lbs Chicken Wings
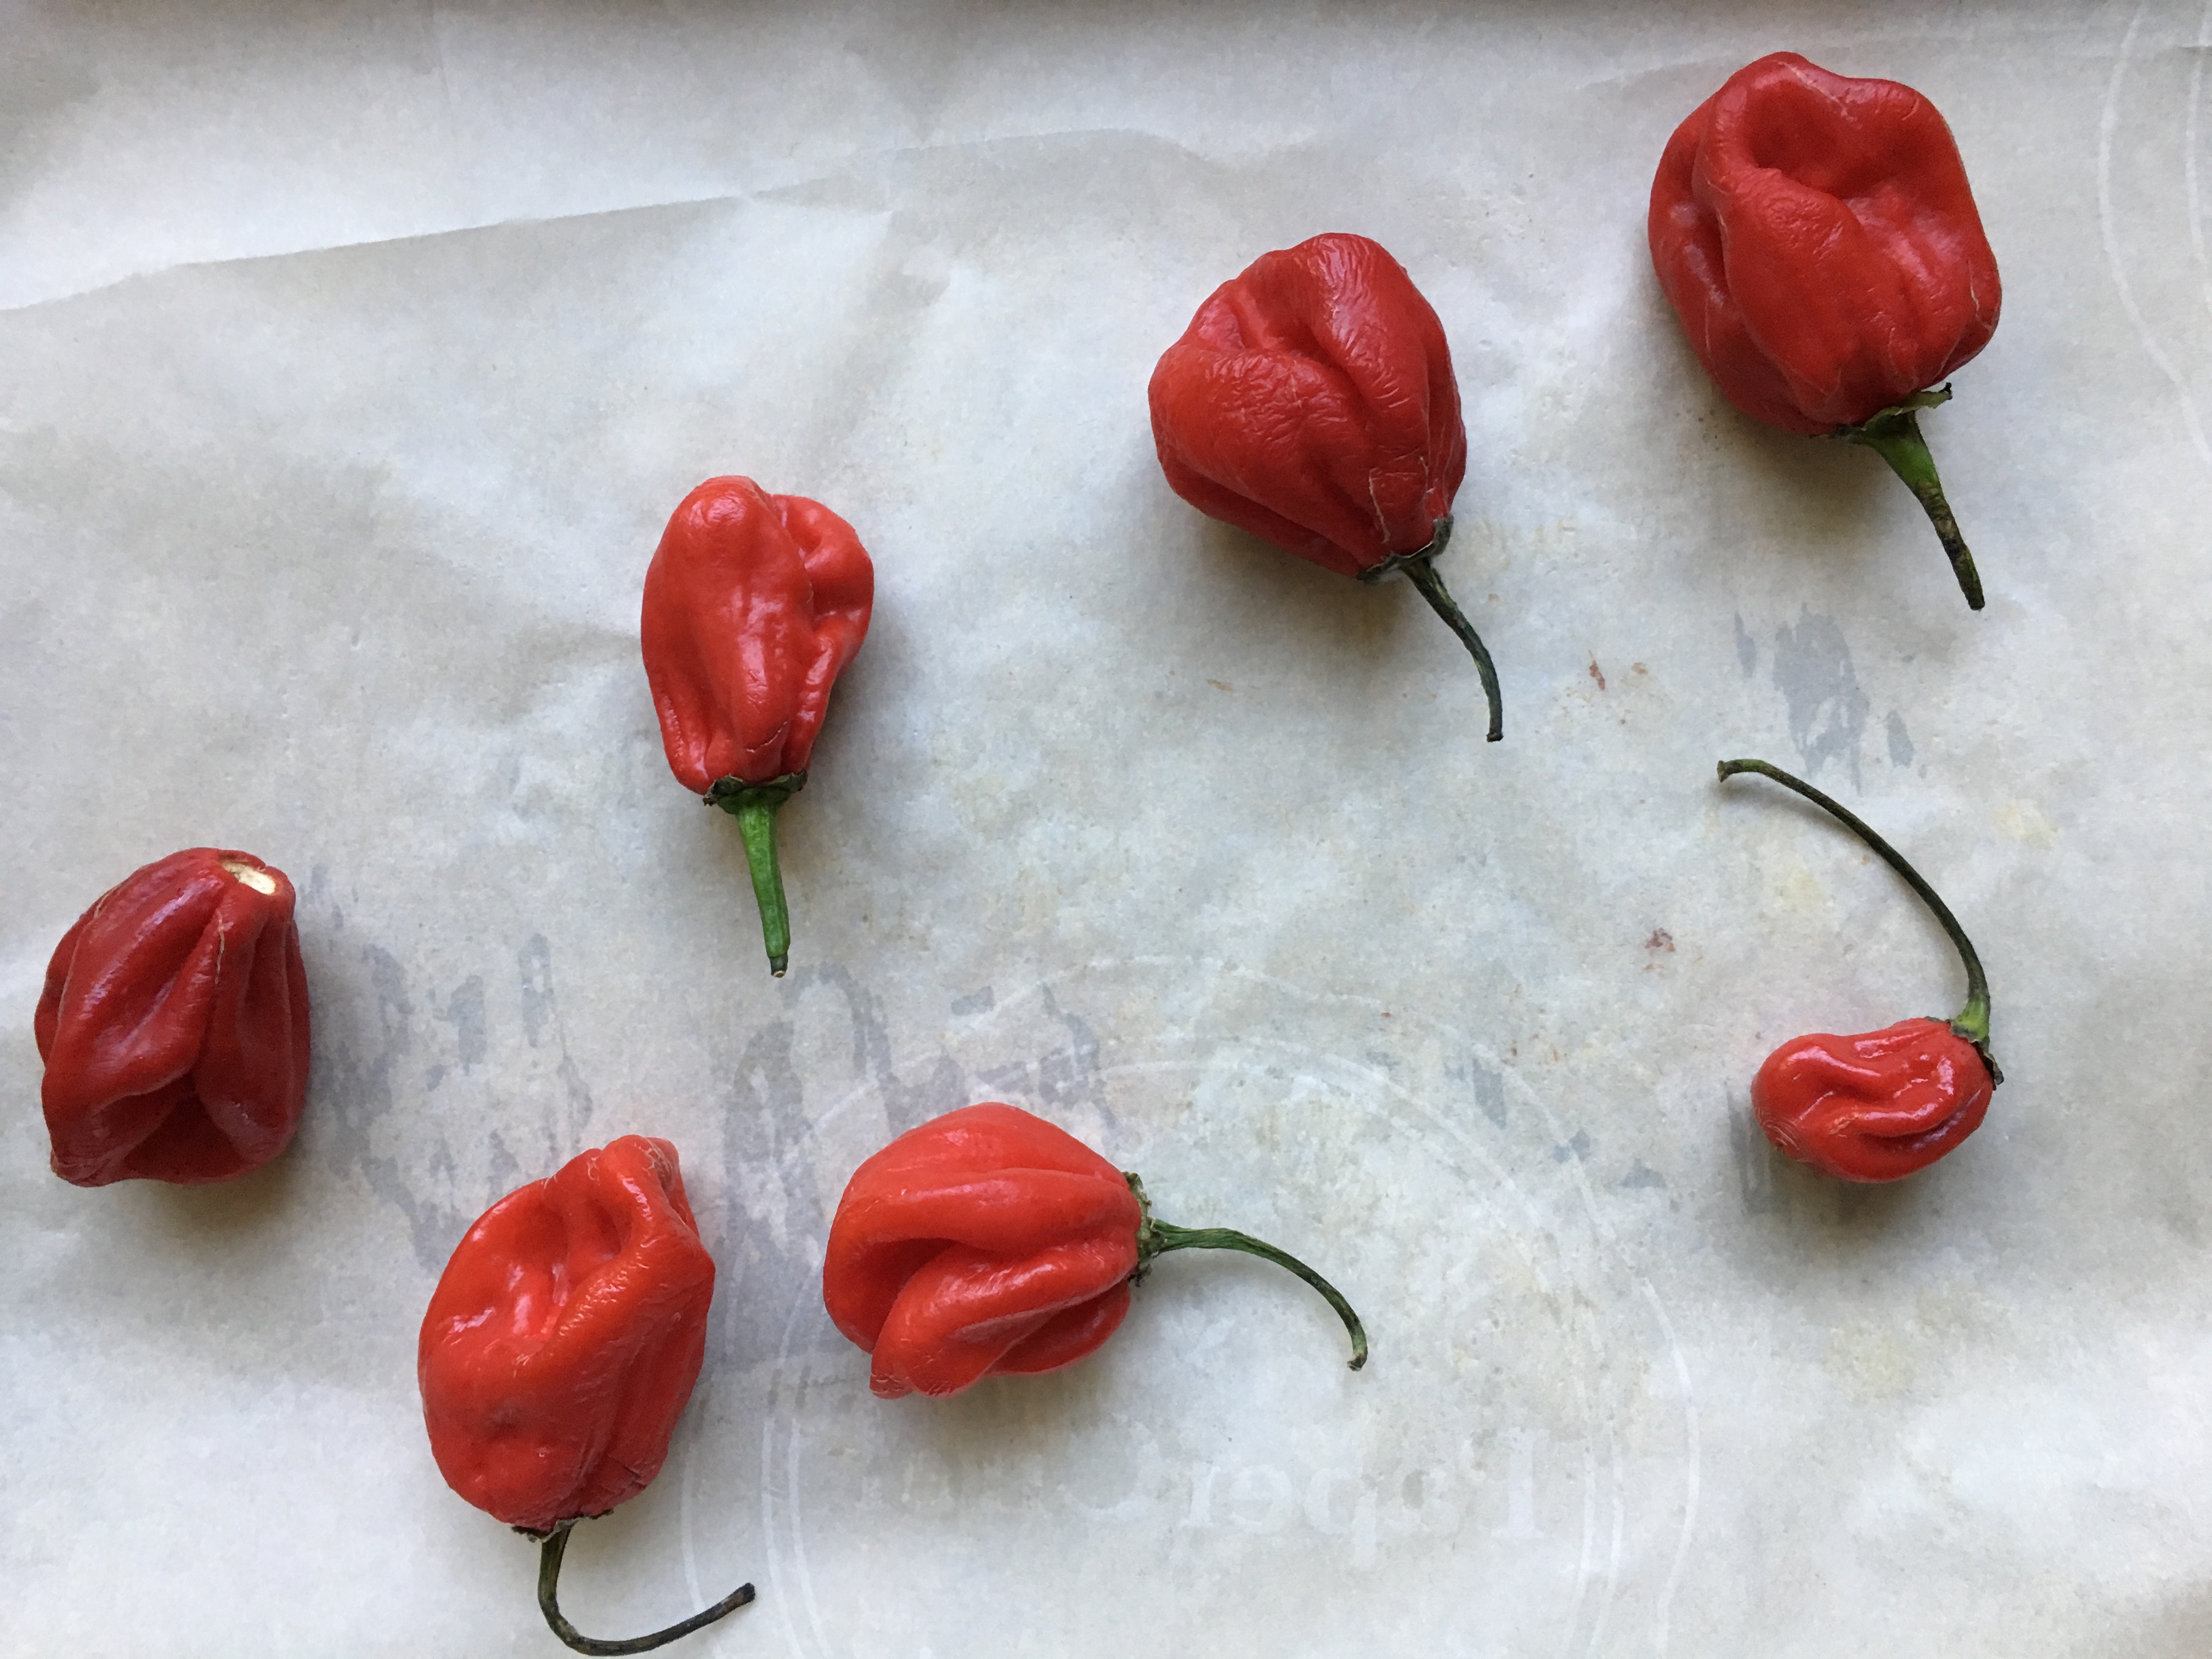
  1. Put Scotch Bonnet peppers in a 325 degree Fahrenheit Convection oven (350 degree non Convection) on a parchment lined baking sheet. Let roast until they turn wrinkled and dark in colour. This should take about 30 minutes
  2. Remove the stems from all the peppers, then place in a pot with the: Garlic, Lemon Juice, Lime Juice, Vinegar.
  3. Bring the pot up to a boil, then reduce heat to a gentle simmer, and let sit for 20 minutes.
  4. Remove from heat, and let cool.
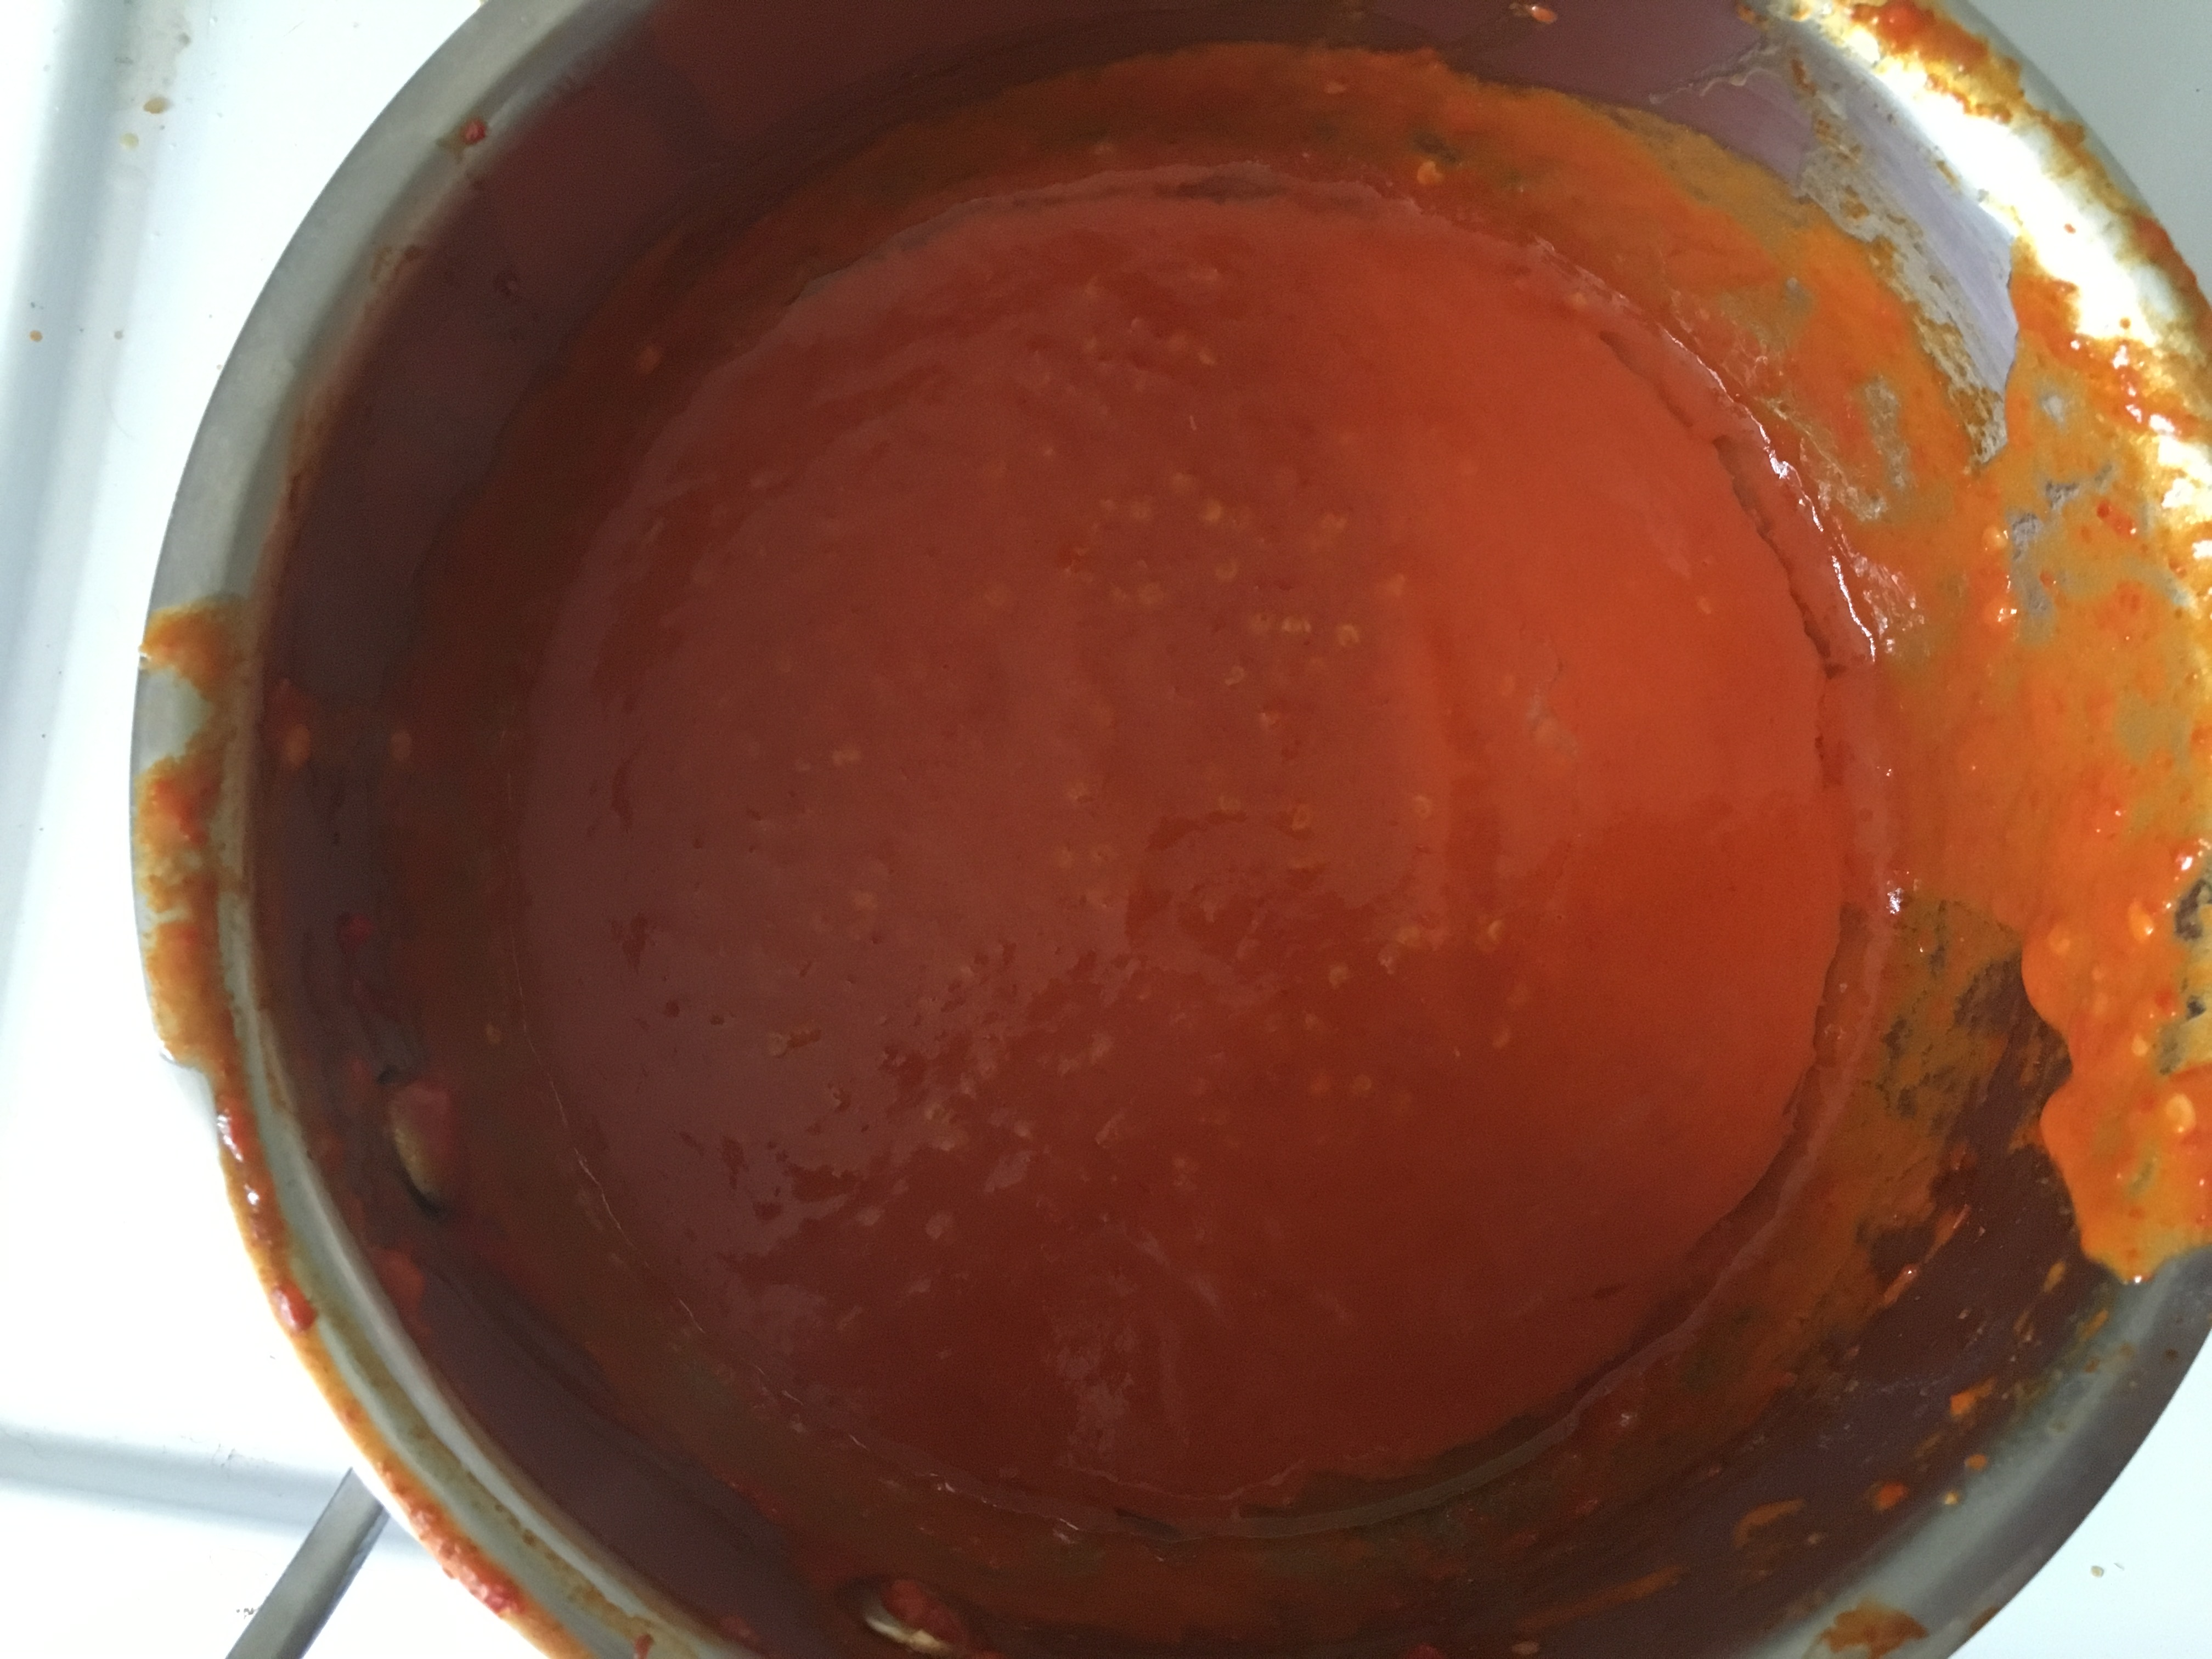
  5. Place mixture into a blender and blend until a smooth homogenous mixture forms.
  6. Place the back in to pot, and simmer for 20 minutes
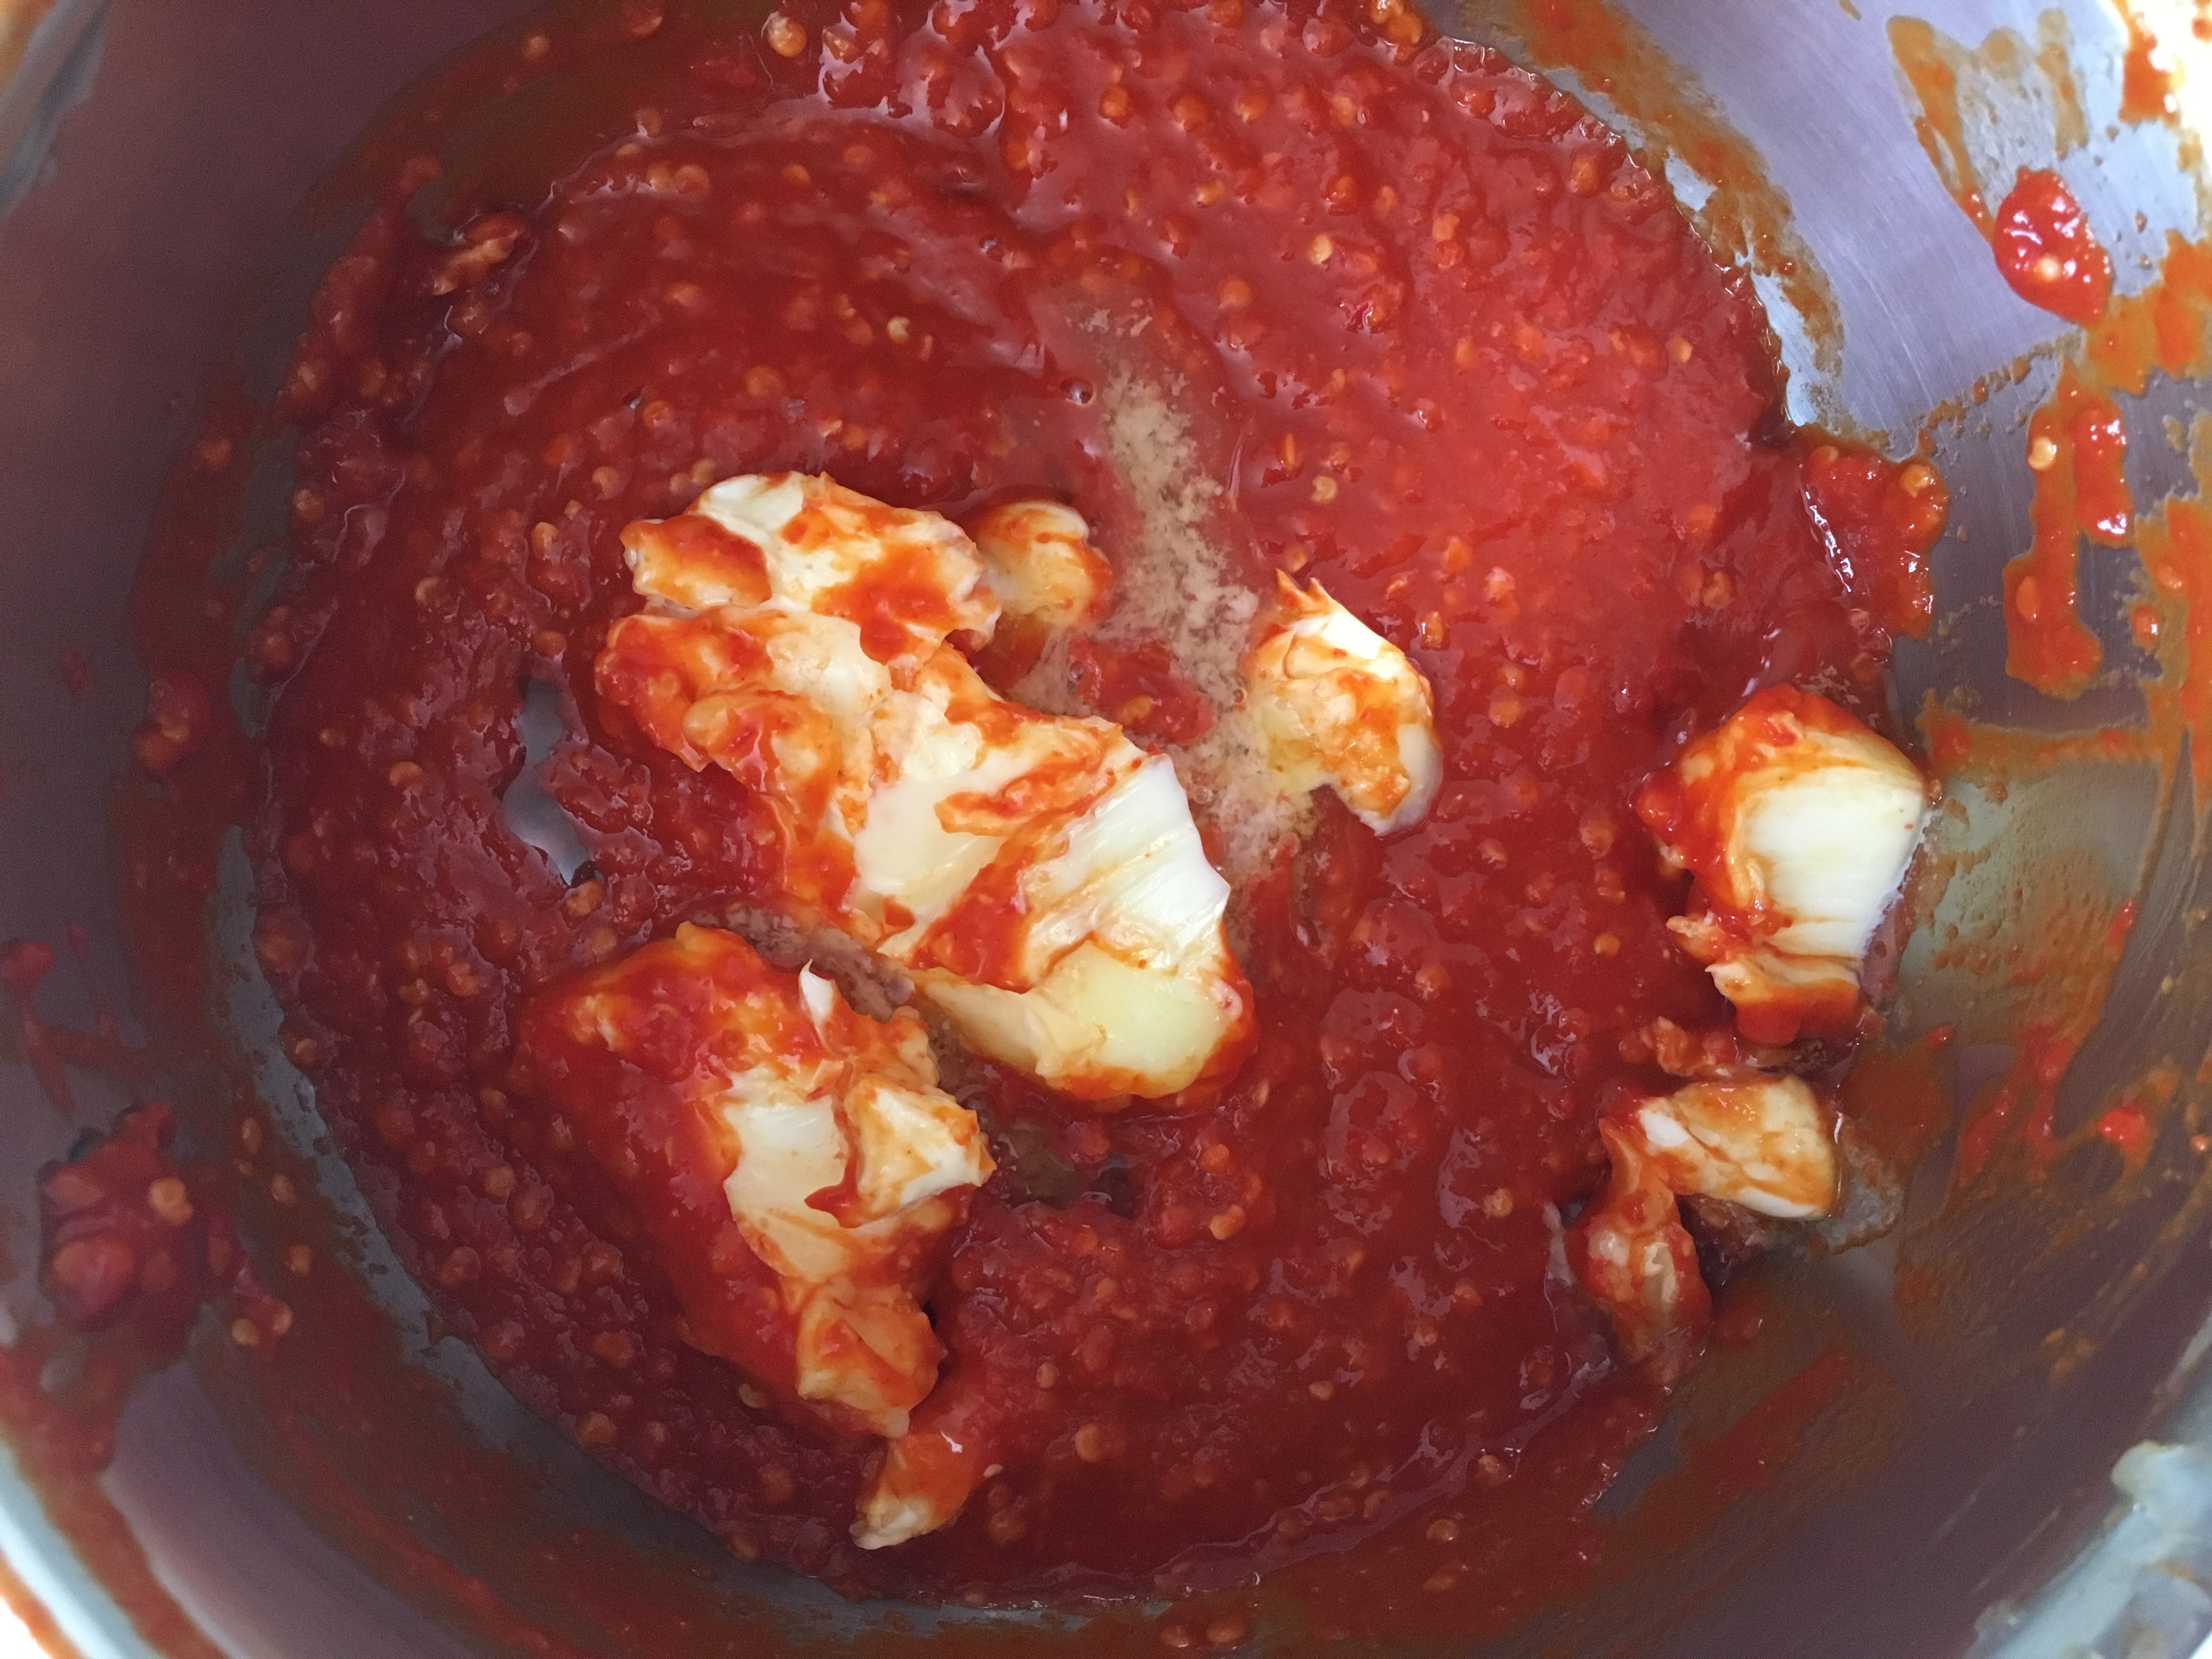
  7. Place Butter into mixture and mix until butter had melted and fully incorporated, keep the temperature low so the mixture doesn’t separate.
  8. Place Buffalo sauce into bowl, and place aside.
  9. Pan on medium heat, and fill with oil about half way. You want to make sure it’s a pan with high sides, and preferably cast iron. Bring oil to 350 degrees.
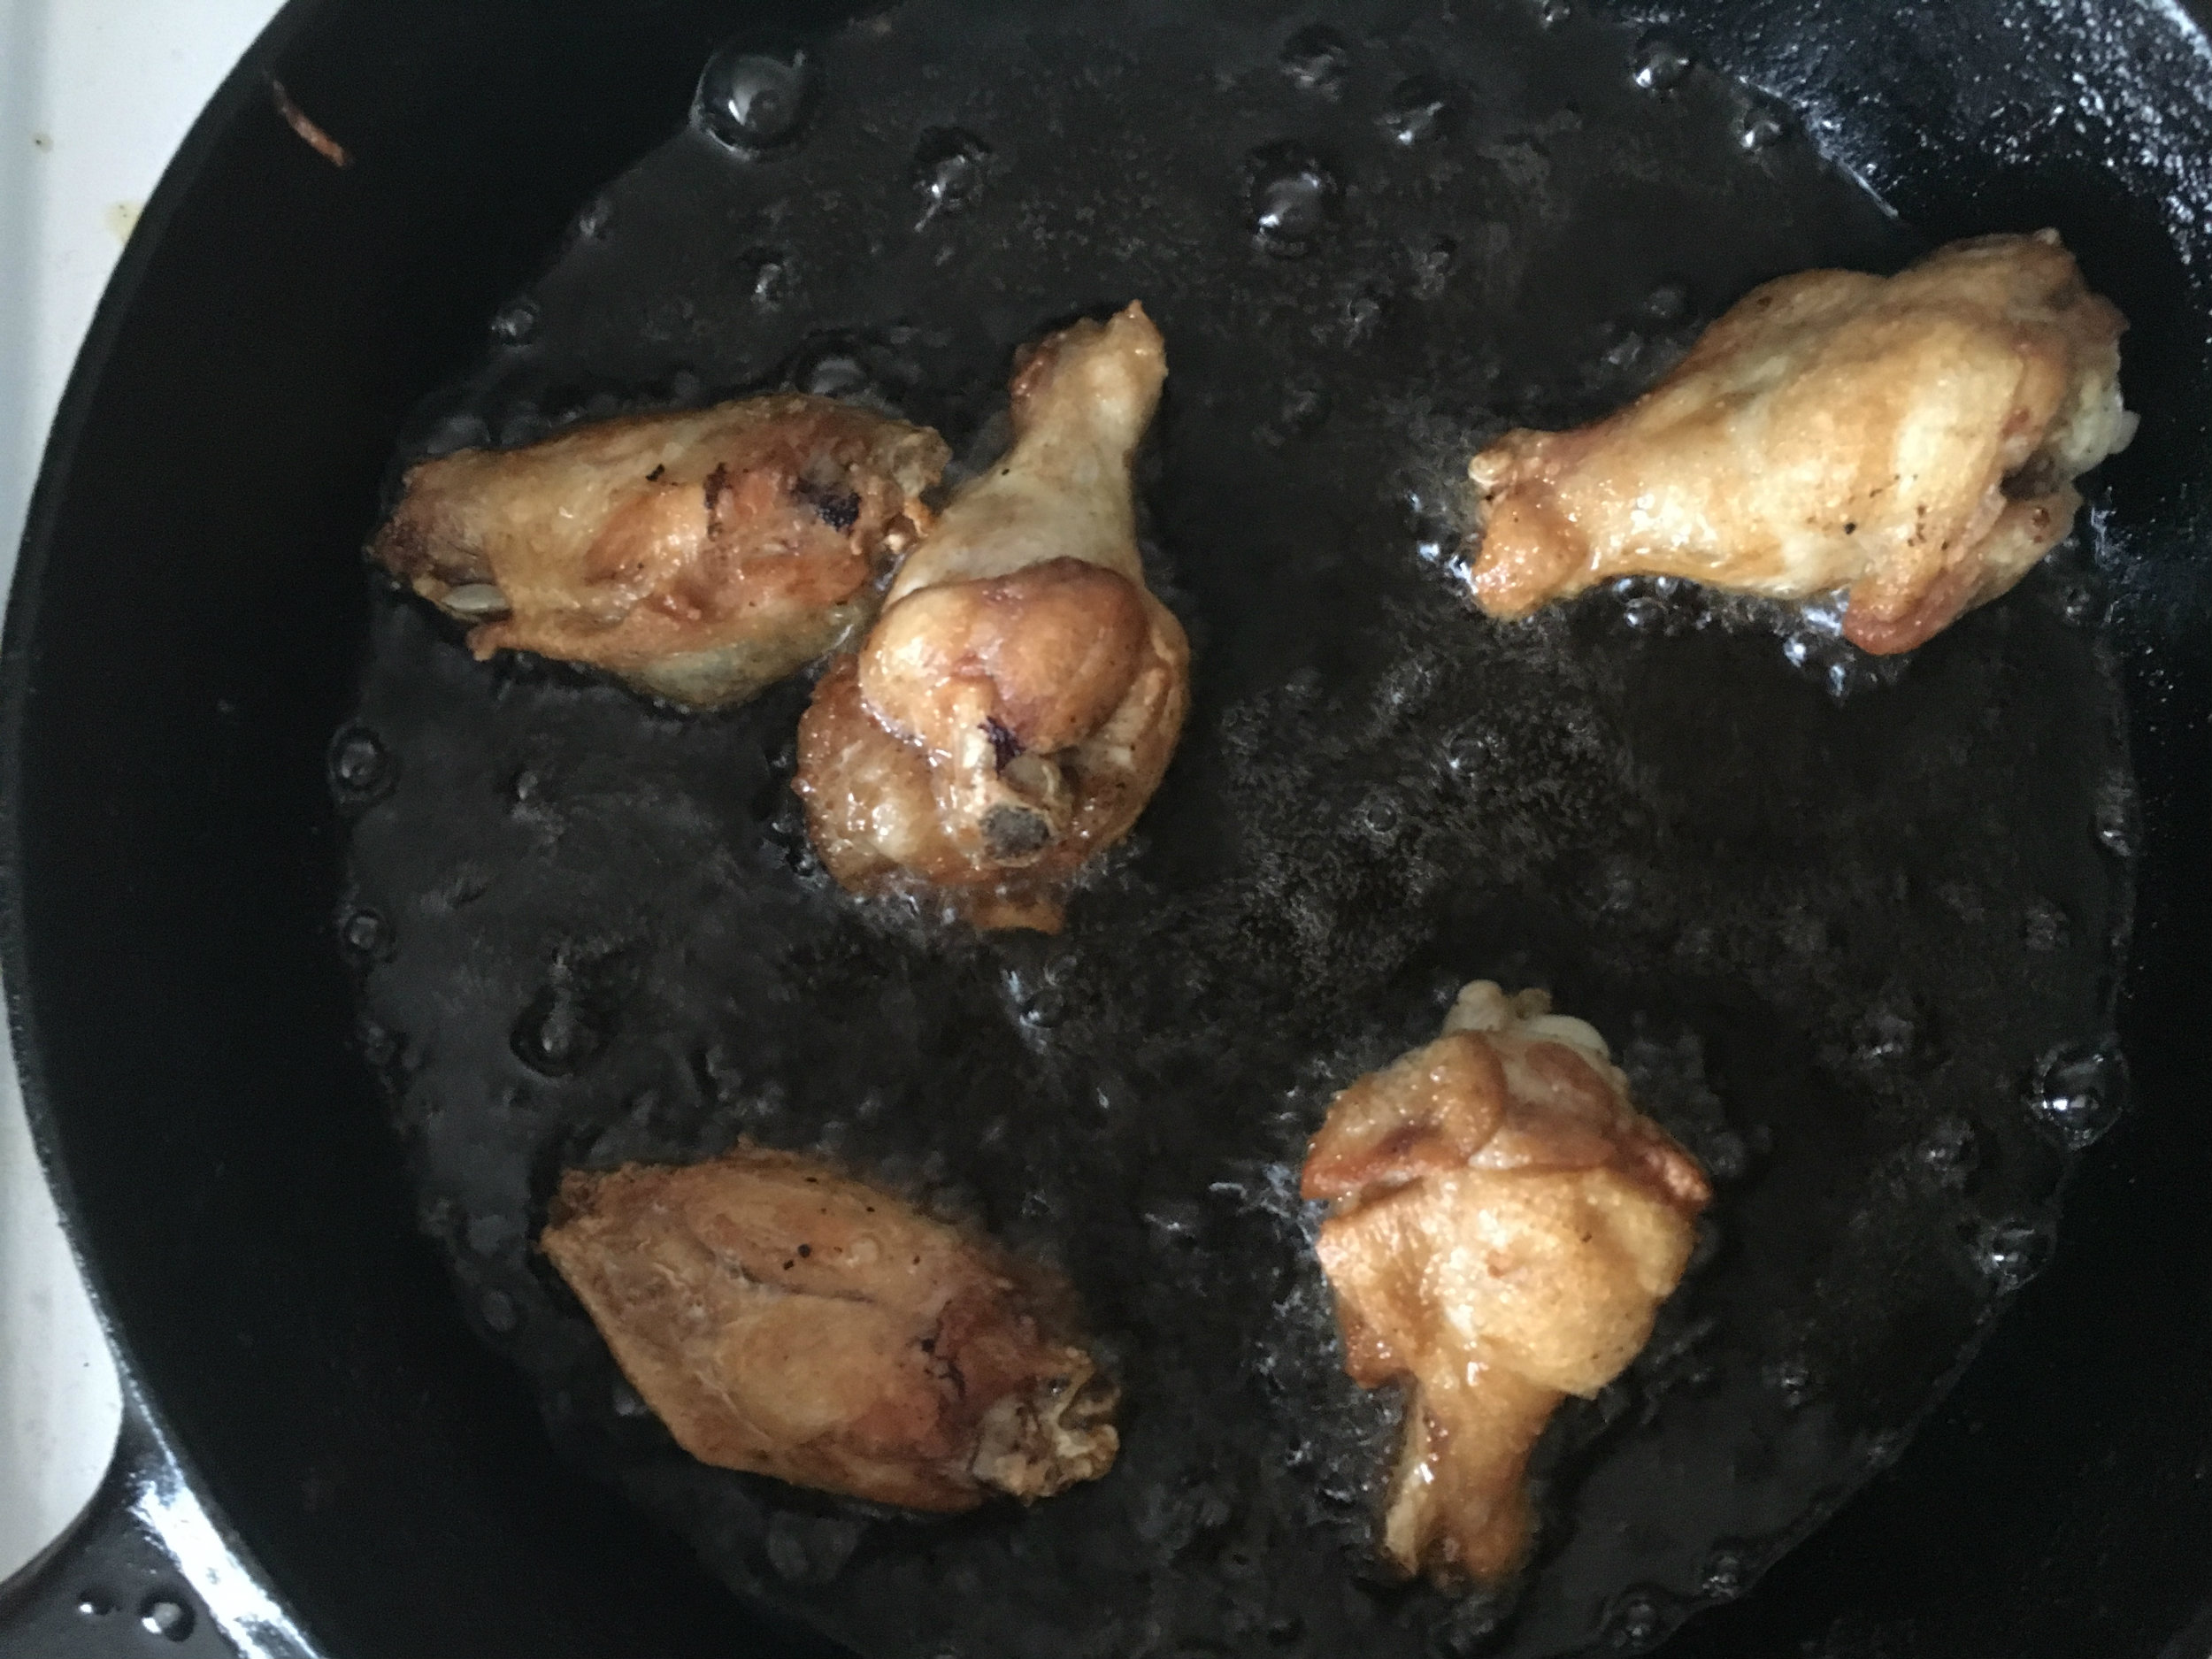
  10. Place chicken wings in the oil, and let fry. If the oil doesn’t completely cover the chicken, just turn the wings over every 2 minutes. Don’t over crowd the pan, you’re better off doing small batches, so the oil will stay hot.
  11. Once the wings are golden brown and delicious, temp the biggest wings and make sure they are at least 175 degrees Fahrenheit.
  12. Place cooked wings in a clean bowl, and toss with the buffalo sauce until evenly coated.
  13. Take a fancy Photo and post it to Instagram with the hashtag #foryourfoulmouth!
Sources:
Blue Cheese Dressing: http://foodwishes.blogspot.ca/2013/03/creamy-blue-cheese-dressing-chicken.html
National Chicken Wing Day: http://www.nationalchickenwingday.com/

Open Face

It is said that the Sandwich as we know it, was the result of John Montagu, 4th Earl of Sandwich. He was a card player and wanted food he could eat with one hand, so he wouldn’t have to put his cards down. It’s my understanding that even though there have been instances of food being prepared this way before that, this is what created the trend we know and love today. Knowing that, an open face sandwich almost seems counter productive… but here’s the thing, in my opinion, when food is good enough, you CAN’T eat it while doing something else! When food is done properly, it demands your attention. Which brings me to what to the recipe I’ve created. This open faced sandwich, you eat with a knife and fork. That mens no distractions like cards, phones, and if it’s an awkward breakfast with someone you don’t like, conversation.

It has a few layers: Buttermilk toast with Mayo, Roasted Mushrooms, lettuce, and a ‘cloudy egg’.  For the Buttermilk Bread, I really recommend my roommate, Cheryl’s recipe. She doesn’t have it posted anywhere, but you can always text her, I’m sure she’ll give it to you. If you don’t have her number, I suggest asking her for it the next time you see her. Failing that, store bought buttermilk bread, a thick piece of Challah bread, or sour dough will work very well here.

I made up a simple Mayo recipe; it’s creamy, and zesty, and awesome. I used an immersion blender, and had it made in the time it took to make the toast.

The lettuce mixture was Parsley and Boston Lettuce. If you’ve never had the latter before, it’s similar to arugula in taste. It is; however, much sweeter. It’s shaped more like a smooth loose cabbage.

A layer of crispy Mushrooms & finally, the cloudy egg. This is a food that has been trending for a while, but I have never seen in it as part of a sandwich. Which is insane because it makes so much sense. The beaten egg whites give it a nice soft texture, and a rich taste because of the folded in cheese. Since the yolks are cooked for less time then the whites, the are runny, and create a perfect sauce!! This is a great recipe for breakfast, but it is a little involved, prepping the lettuce and the mushrooms the night before is a good idea.

Roasted Mushrooms:

  • 3 Button Mushrooms
  • 34g Oyster Mushrooms
  • 1T Olive Oil
  • 3 Pinch Salt
  • 2 Oregano
  1. Place a baking sheet into a 450 degree Convection oven (475 degree non convection). Don’t put any parchment on down.
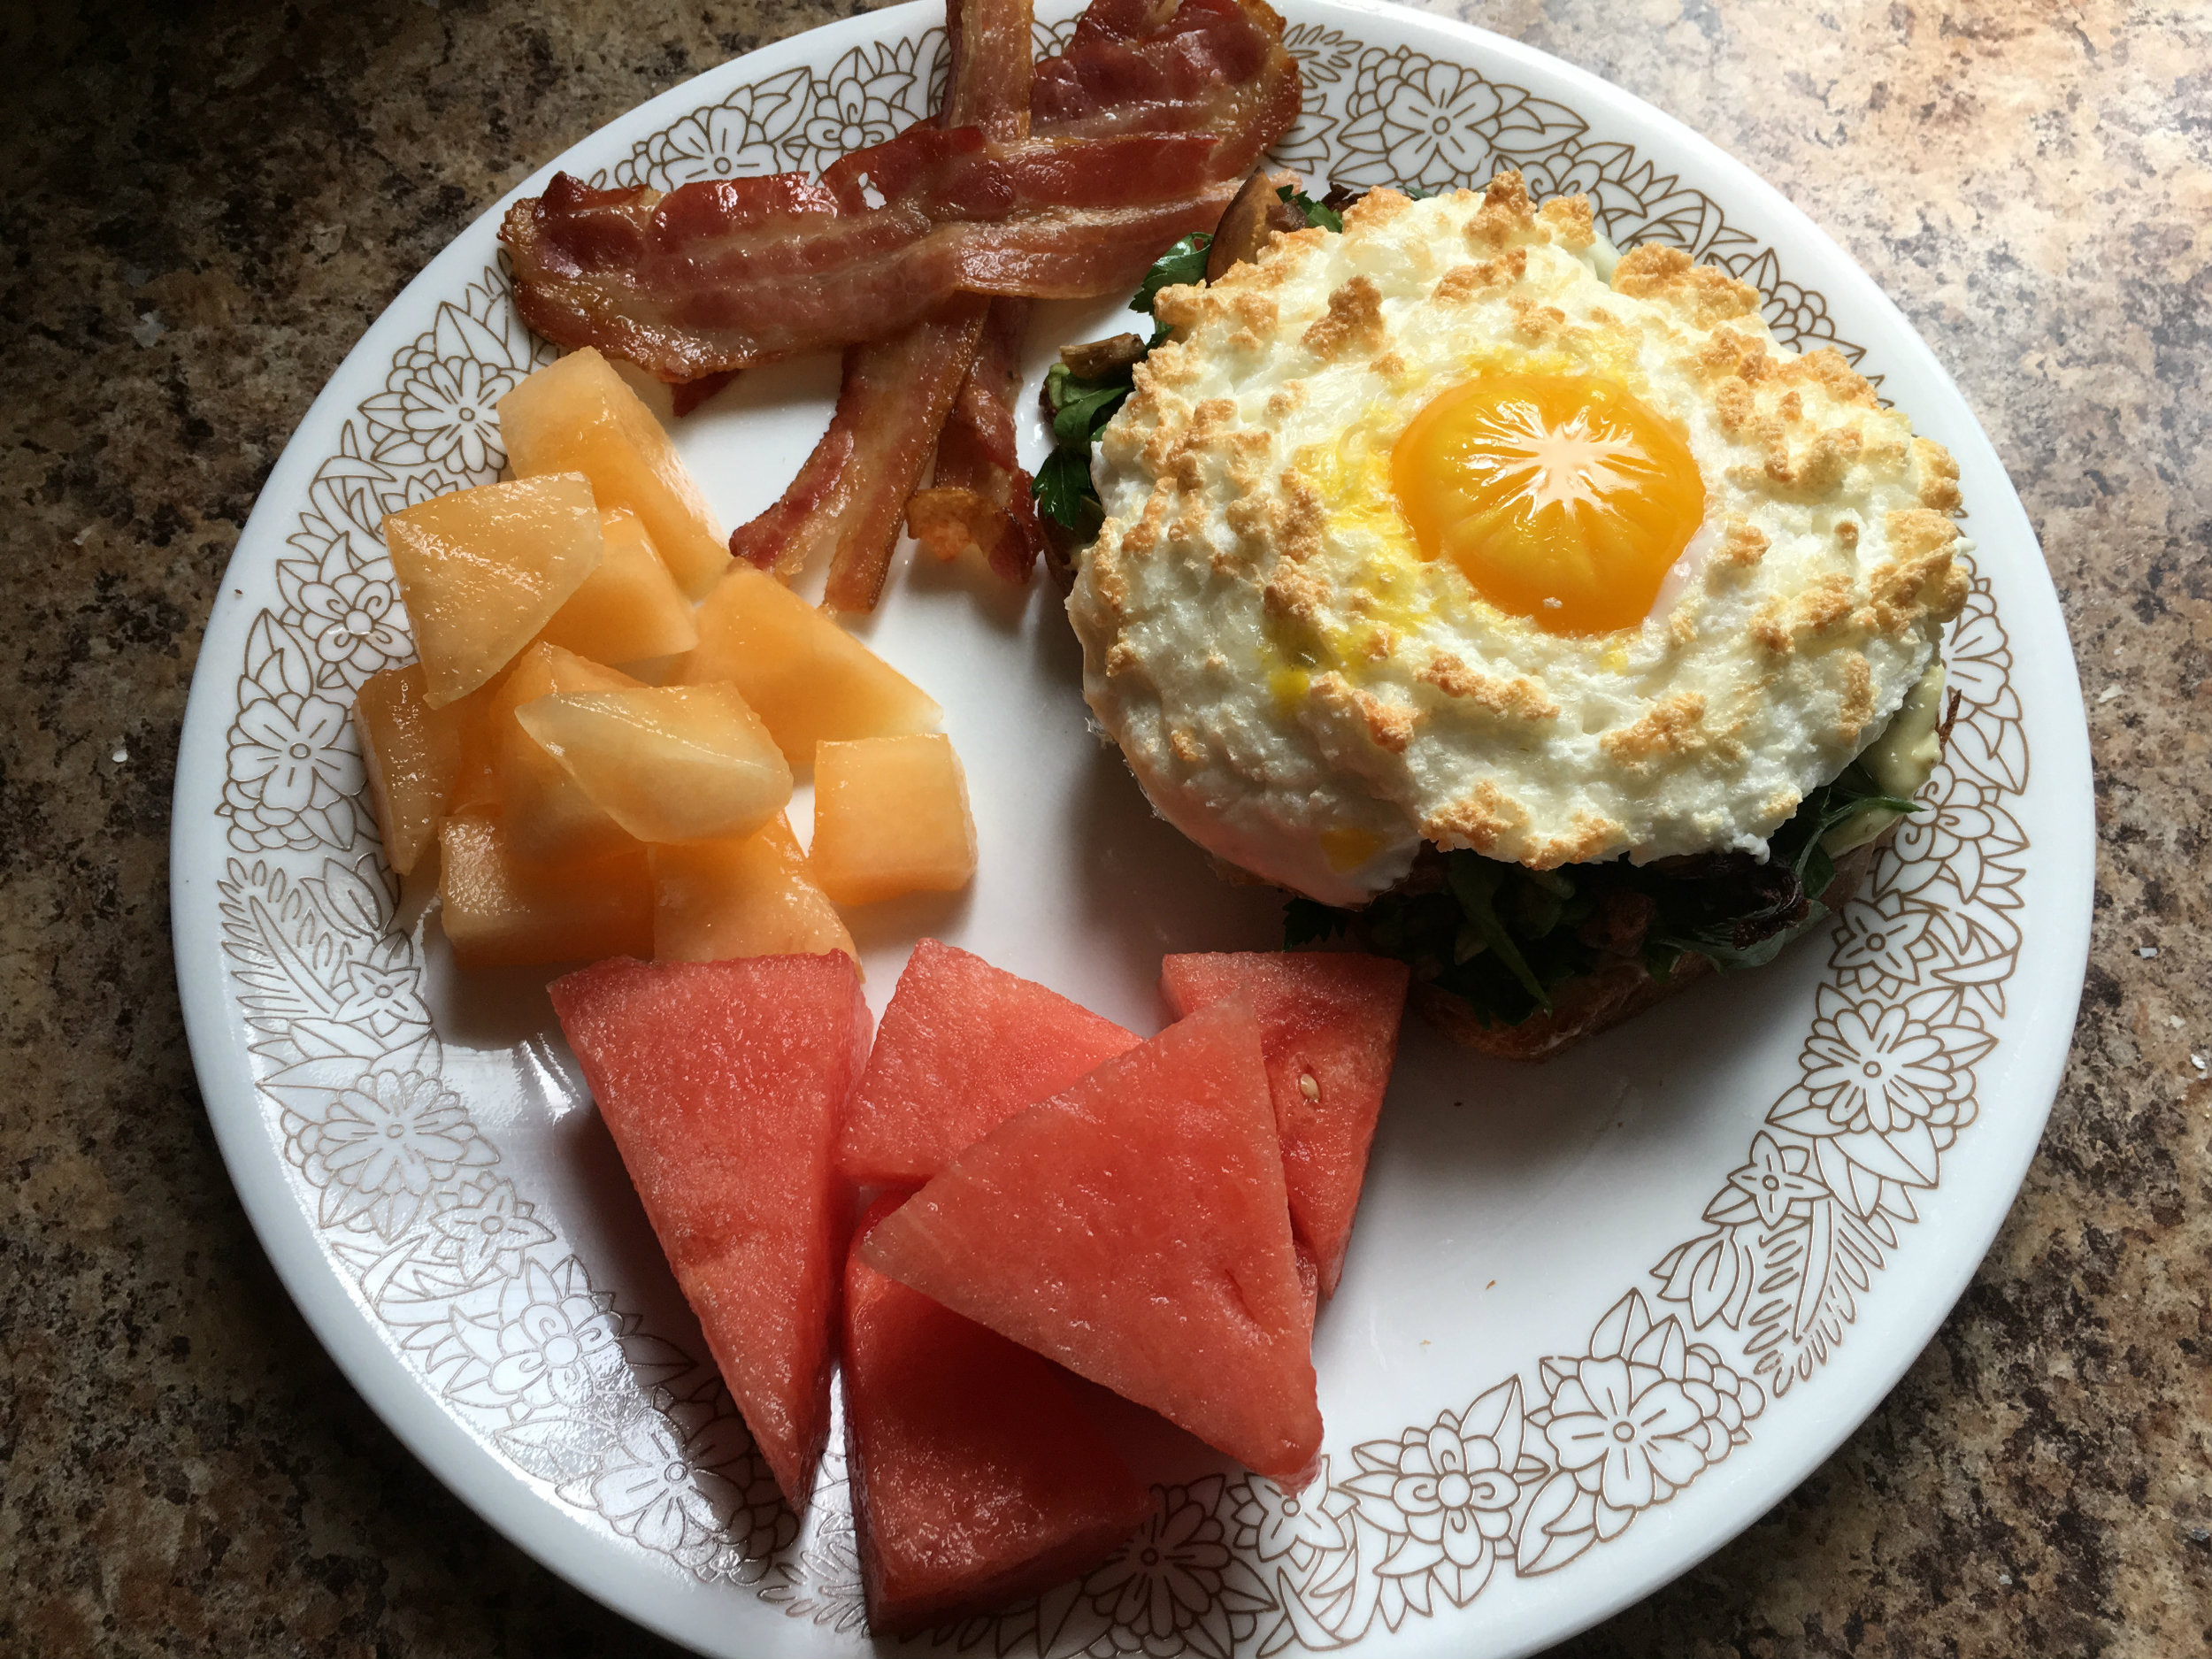
  2. While the oven and the baking sheet are preheating, slice the mushrooms, you want them about 1/8″ thick and place them into a bowl.
  3. Mix oil, salt and oregano and mushrooms until they evenly coated.
  4. Place the Mushroom mixture onto the hot baking sheet. return the sheet into the oven for 18 minutes, make sure to mix the mushroom once half way through
  5. Put mushroom aside until needed.

Lettuce Mixture:

  • 1T Red Wine Vinegar
  • 1T Extra Virgin Olive Oil
  • 1/4t Sugar
  • 18g Parsley
  • 46g Boston Lettuce
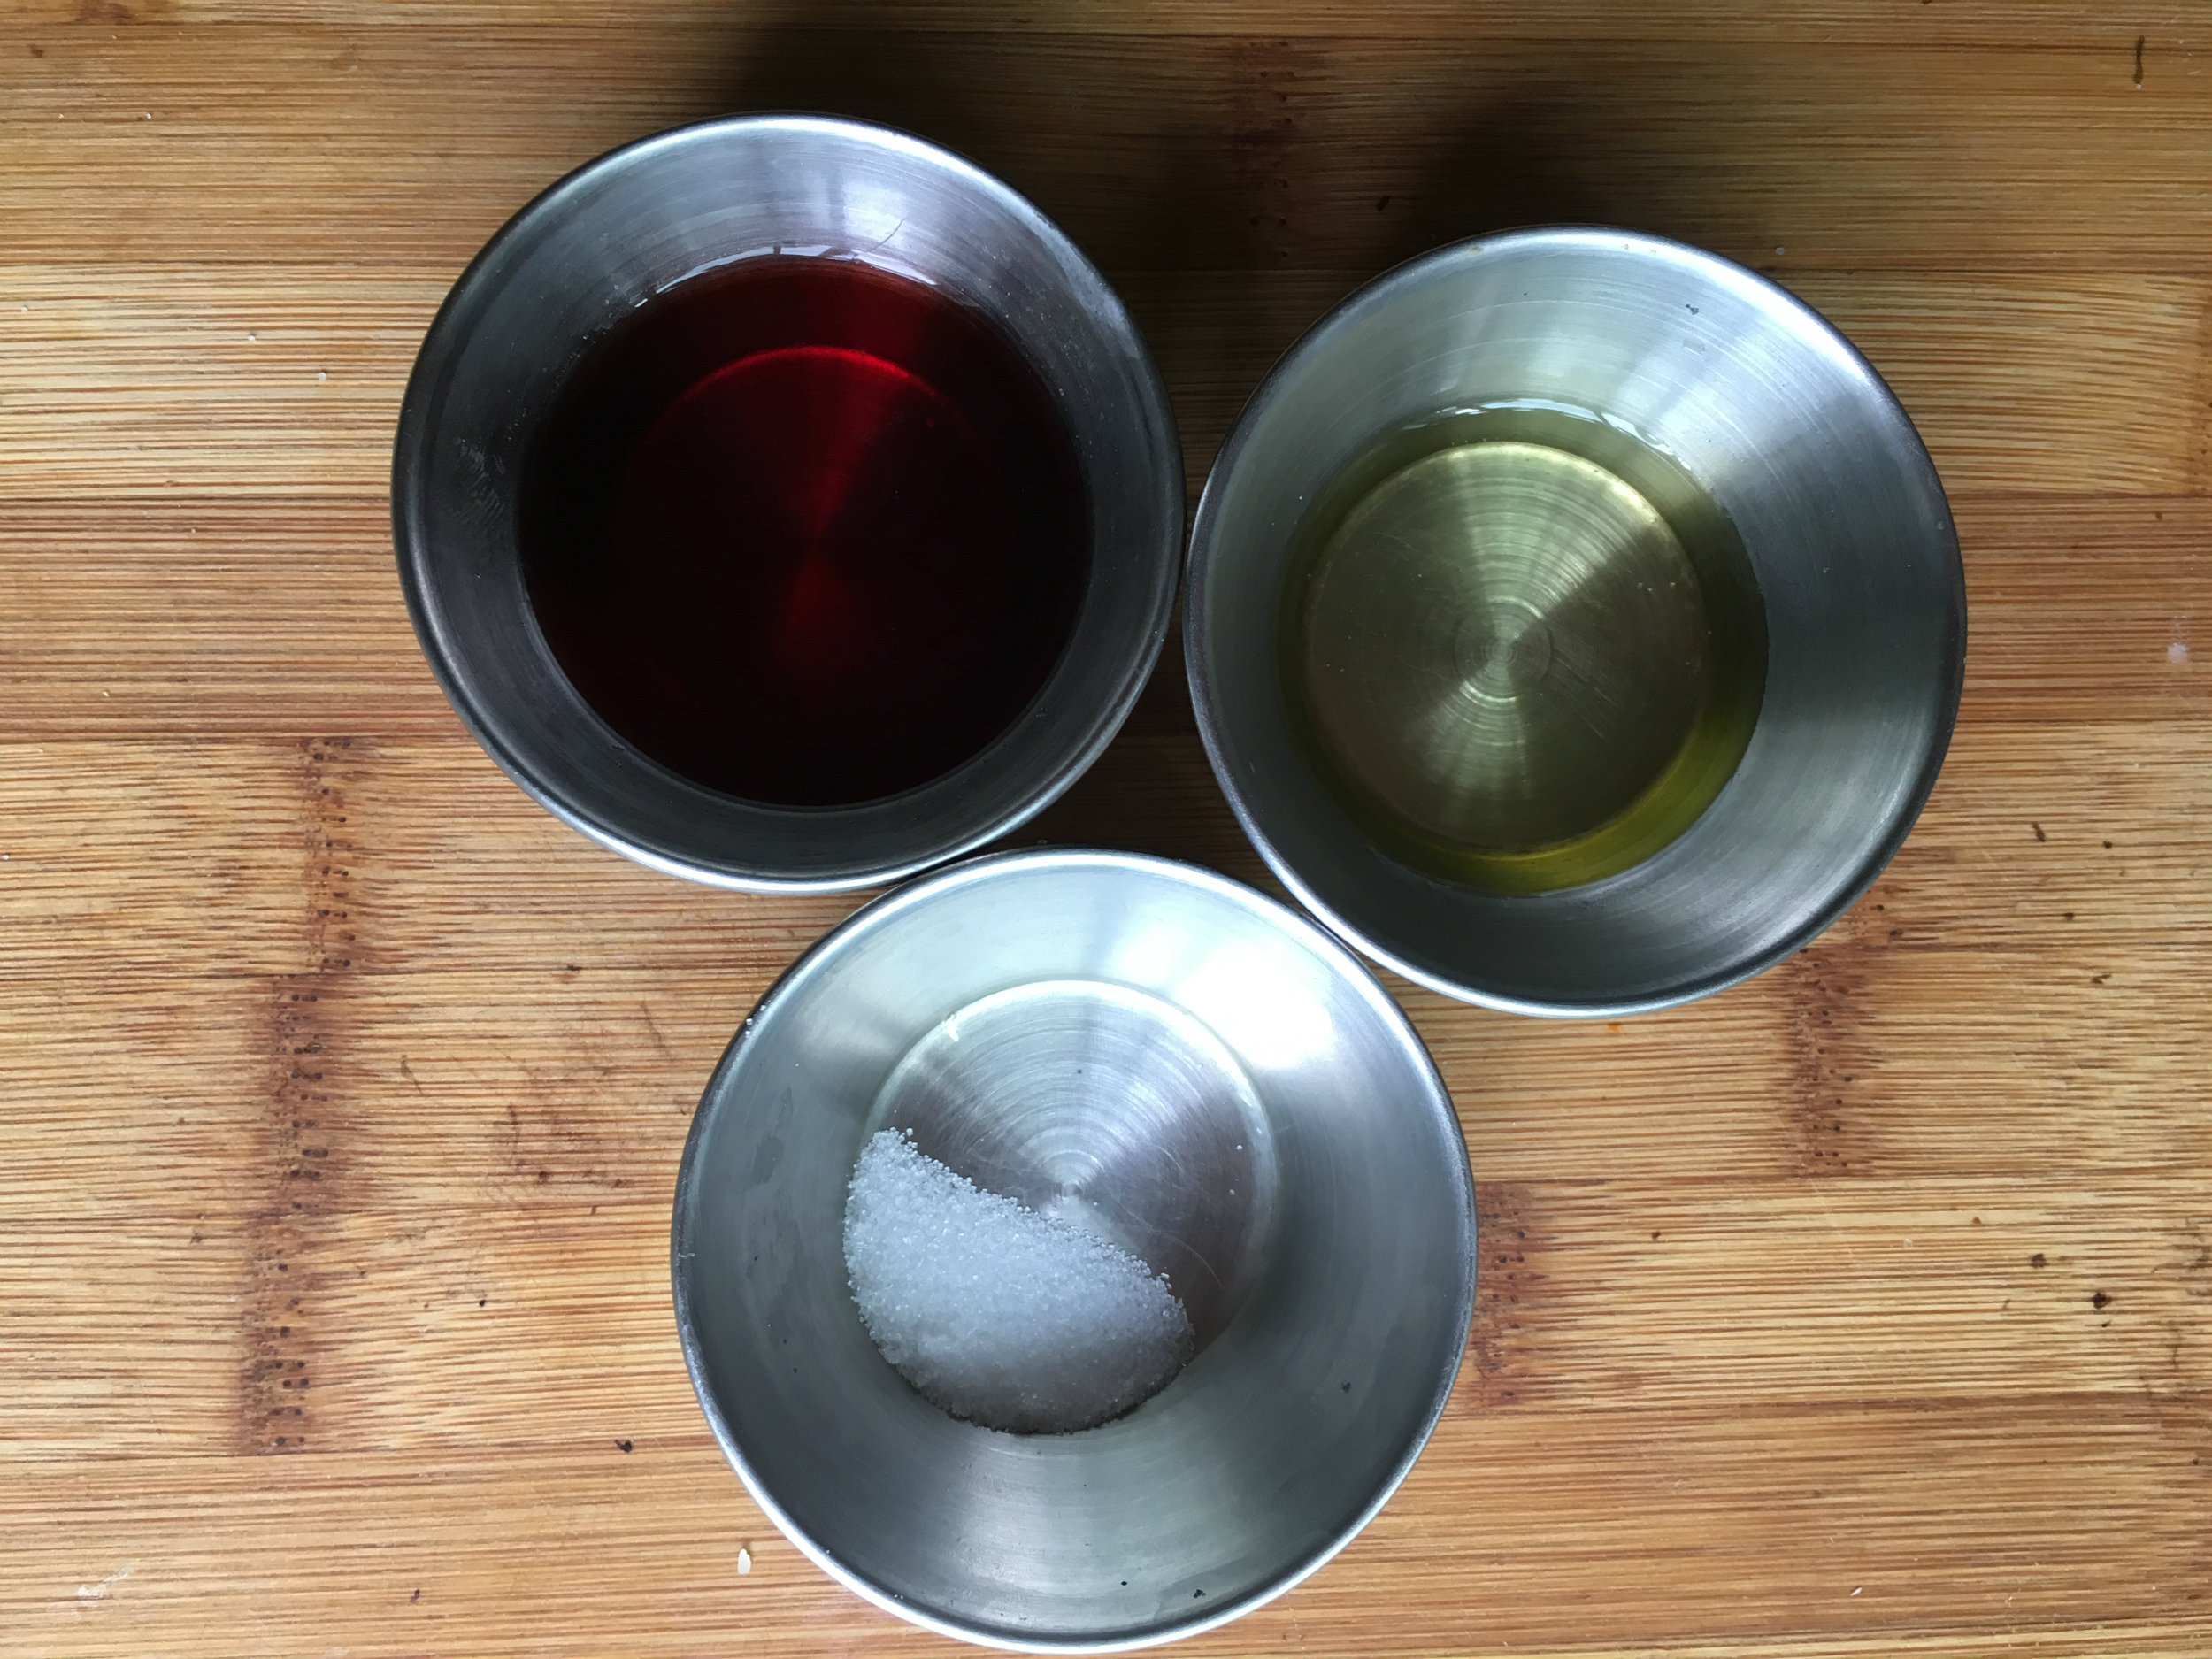
  1. Mix the Sugar into the Red Wine Vinegar until it’s
    completely dissolved.
  2. Cut the leafs of the Parsley off using a sharp knife. If you hold a bundle of parsley stem side closer to you, and use the knife to sheer off the leafs.
  3. Cut the Boston Lettuce using the chiffonade cut. You can see the process HERE. It’s how the Basil is cut.
  4. Mix all the ingredients together in a bowl, and place aside until needed.

Cloudy Eggs:

  • 20g Mozzarella
  • 9g Parmesan (you want the bricked stuff, not the pre shredded canned stuff.)
  • 3 Eggs Whites.
  1. Preheat convection oven to 325 degrees (350 non convections).
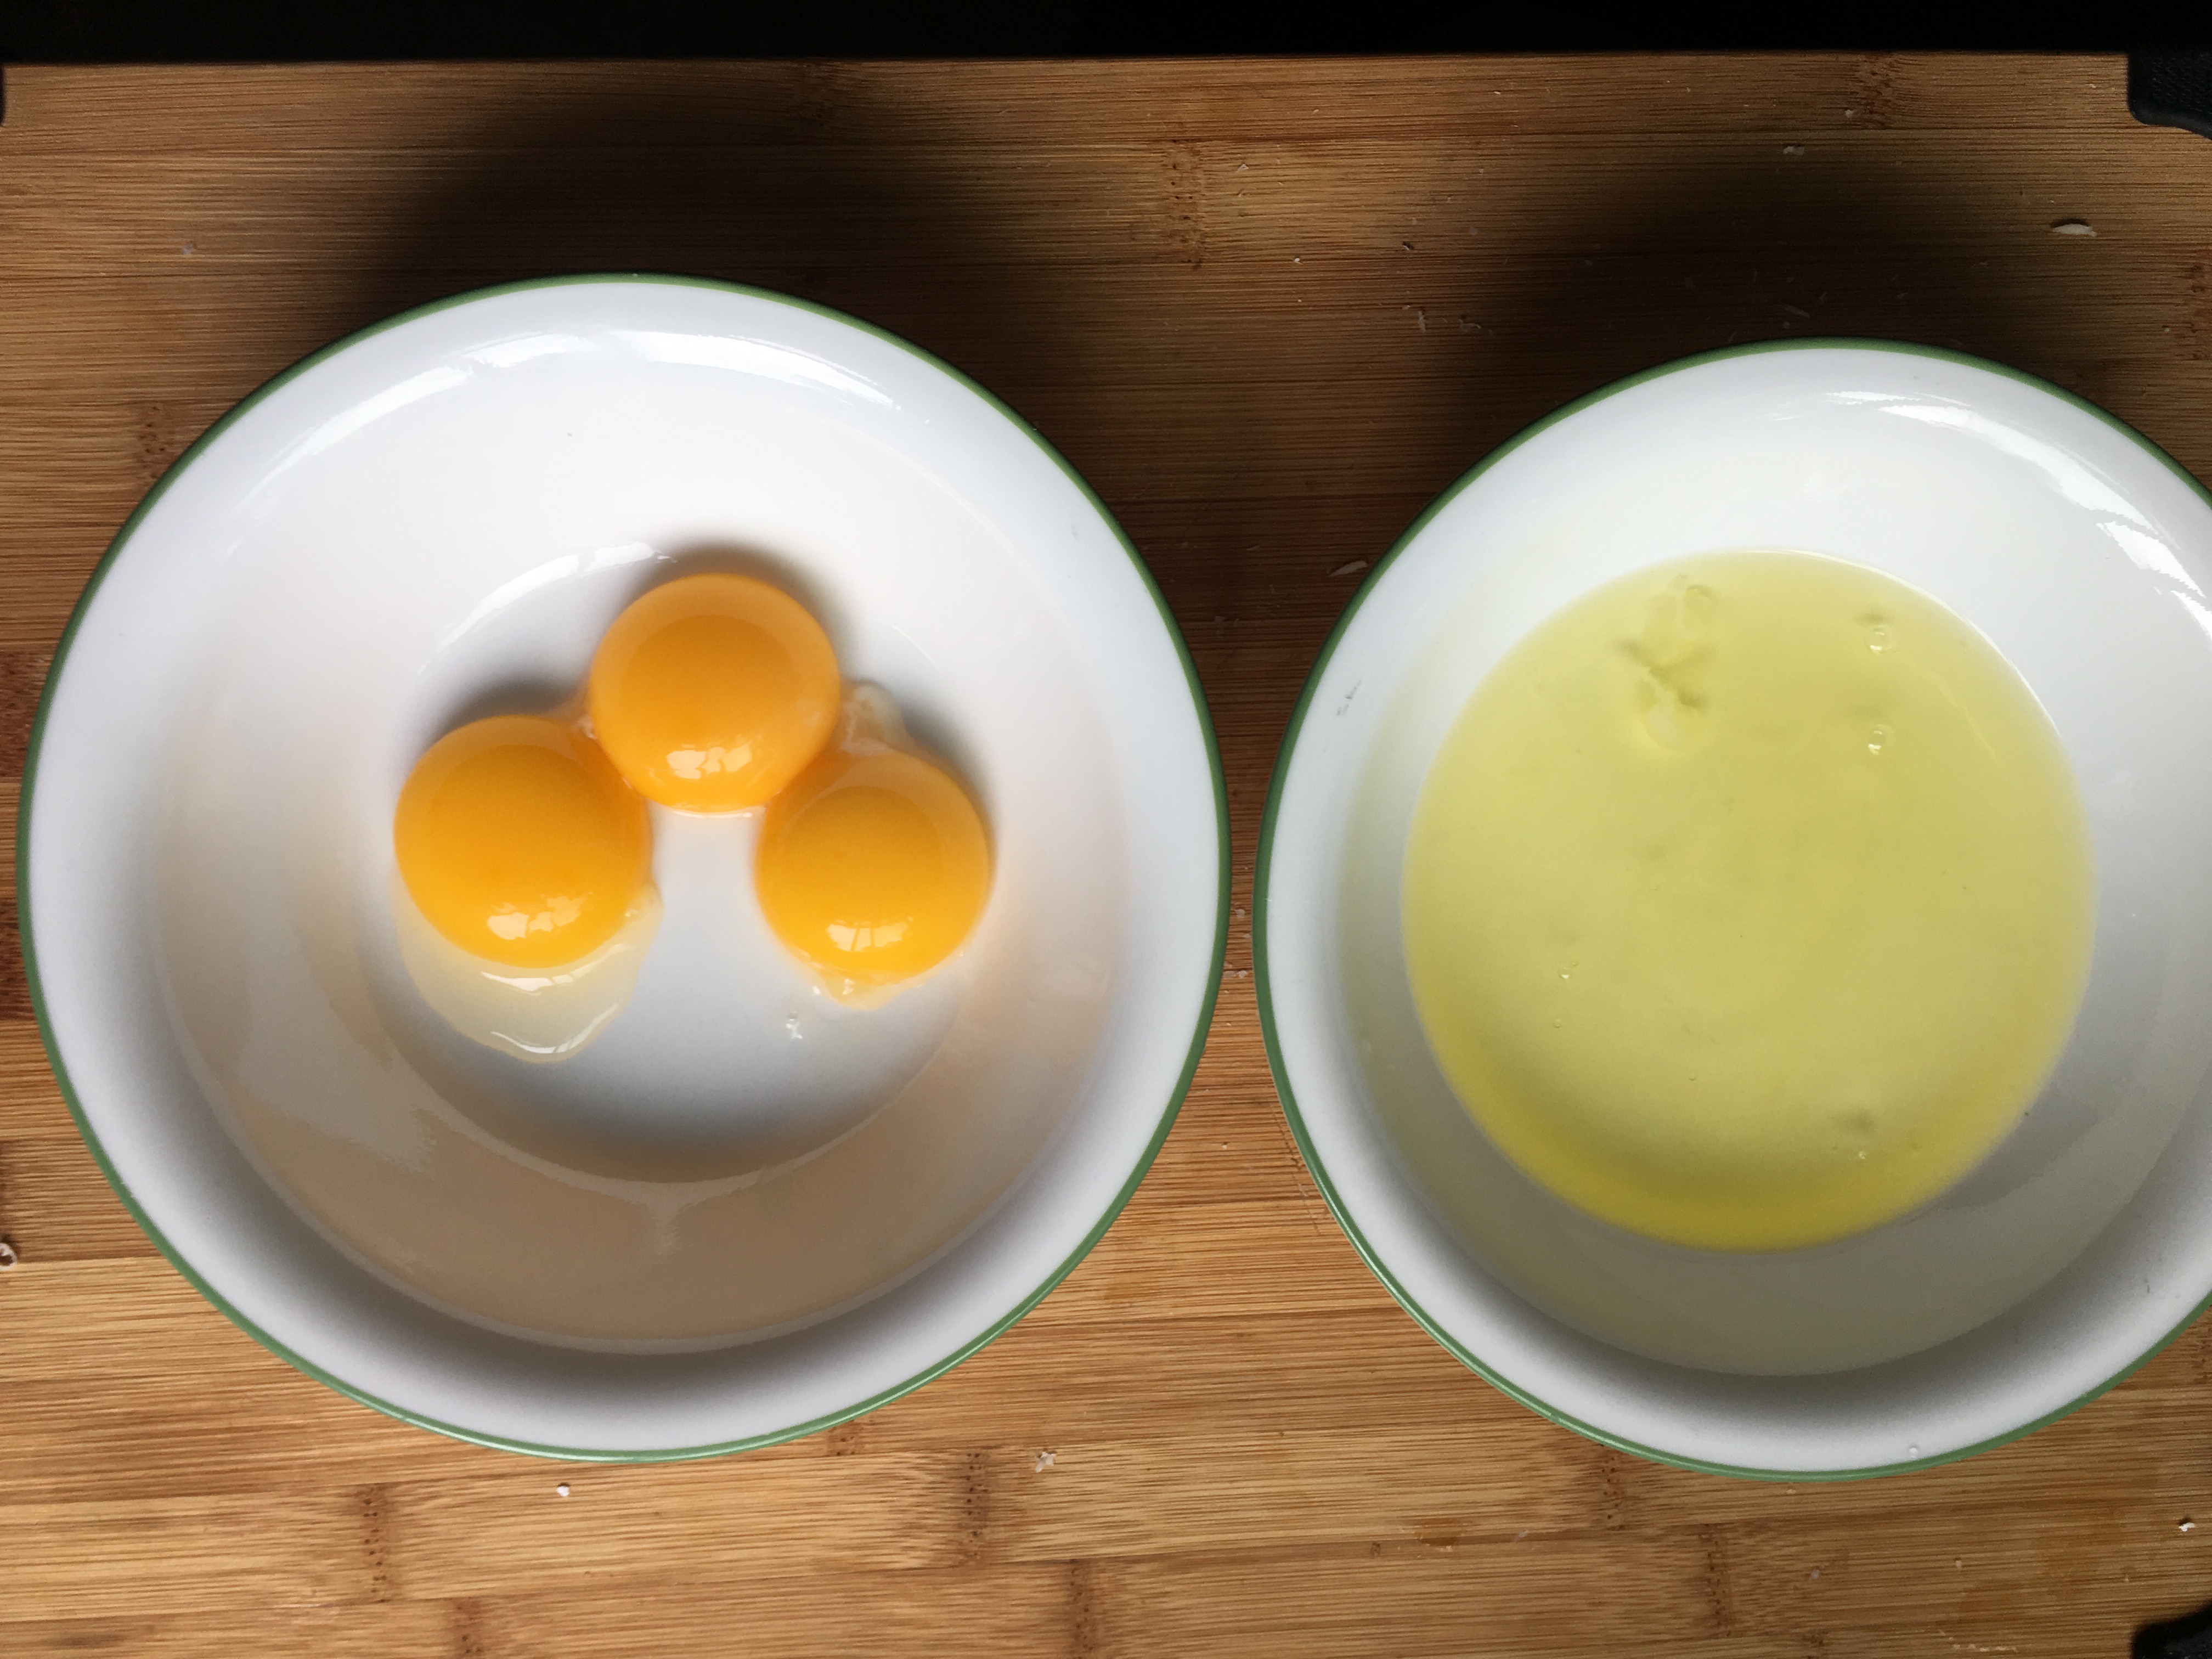
  2. Separate the eggs, and keep the same the whites and yolks.
  3. Beat the whites until the form a stiff peak foam. I used a stand mixer with the whisk attachment. You can use a hand mixer, or a regular whisk. If you do it the old fashioned way, make sure you use a whisk with a lot of tines, or else it will take a while.
  4. Fold in both cheeses to the meringue gently.
  5. Divide the meringue into two piles on a parchment lined baking sheet. Use a spoon to put a dip in the middle of each one.
  6. Place into the oven for 3 minutes
  7. Remove the meringue and place an egg yolk into the dip of each pile, place back into the oven for 2 minutes. Place one egg yolk aside for mayo
  8. Remove from the oven, and turn on the broiler, place the baking sheet under the broiler for about a minute. Don’t leave this unattended. Keep your eye on it, and remove it once you see the gold brown form on the white. You don’t want to burn the whites, or over cook the yolks.
  9. The Egg on the left is perfect, The egg on the right had the yolk burst because I wasn't gentle enough when I placed it on the meringue 
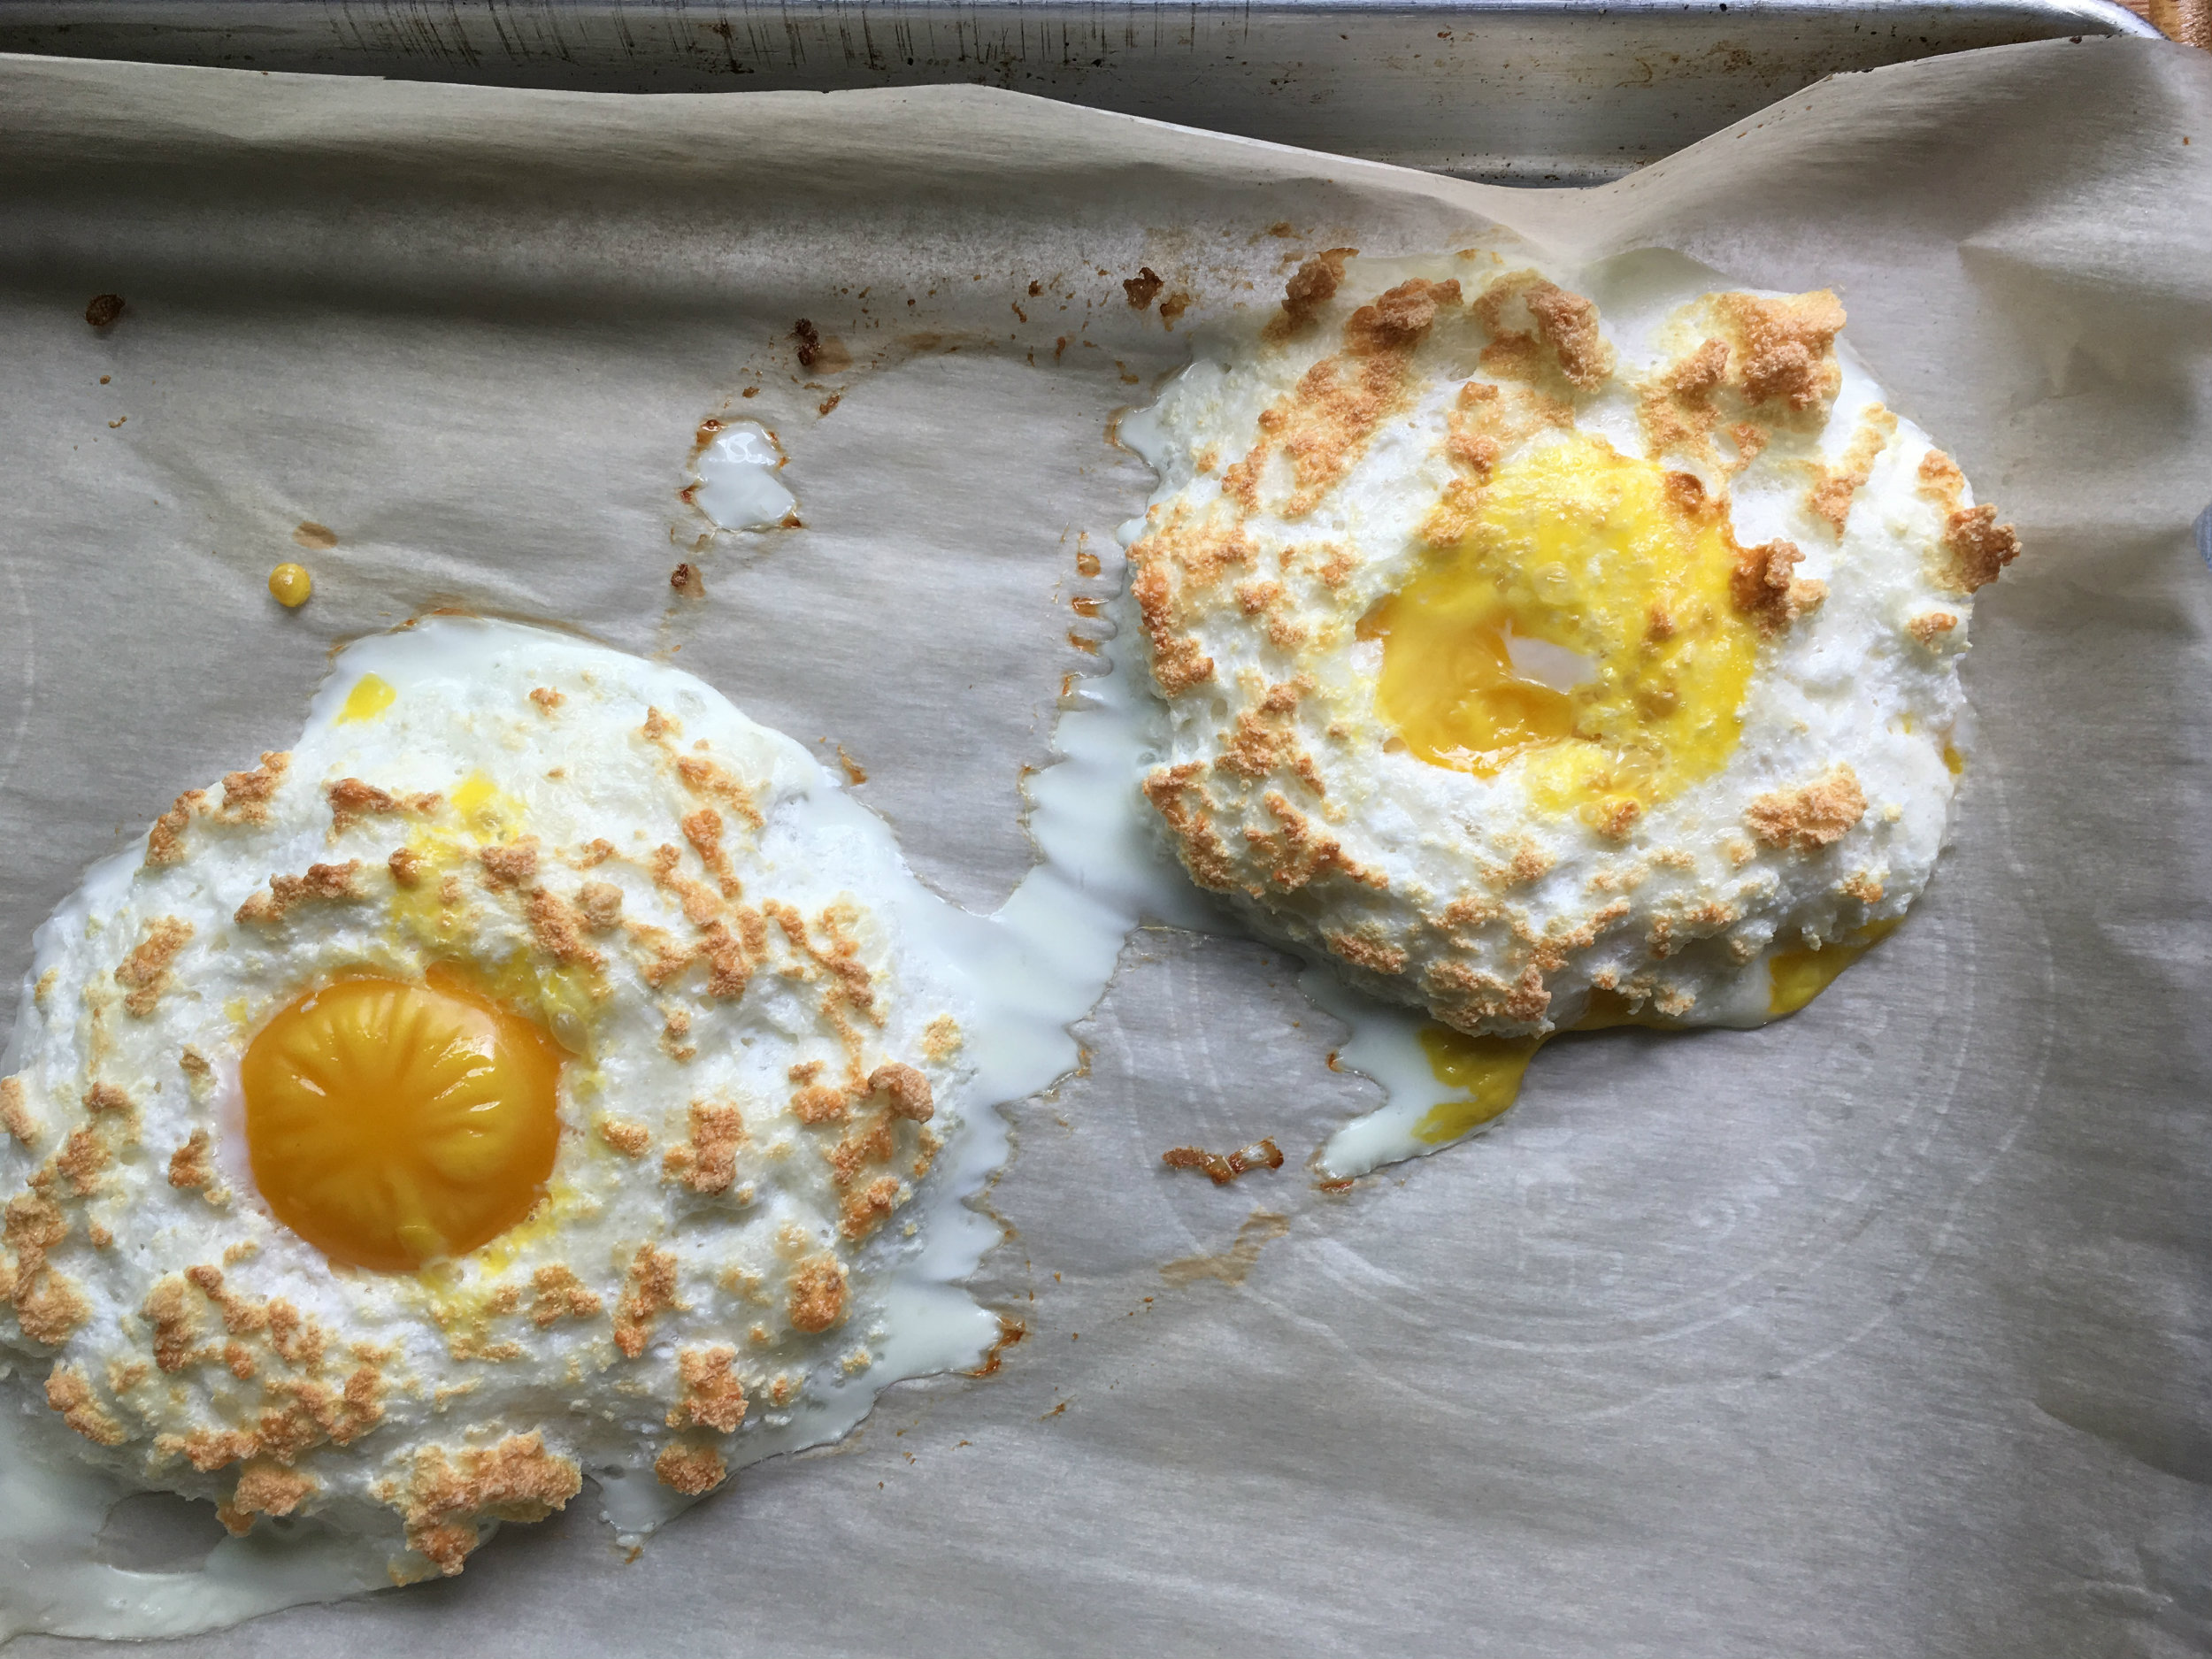
Place eggs on the side, put 2 pieces of bread in the toaster and make toast.

MAYO:

  • 1 Egg Yolk
  • 2 Garlic Cloves
  • 1.5 White Wine Vinegar
  • 3/8C Extra Virgin Olive Oil
  • 3/8C Canola Oil
  • 1/2t Salt
  • 1T Dijon
  1. Place all the ingredients in a high thinner cup. I used a measuring cup.
  2. Wait about 1 minute for the oil to float to the top.
  3. Insert the immersion blender into the mixture slowly, make sure not mix anything around too much.
  4. Pulse the blender until you start seeing mayo form.
  5. Once you see the majority of the mixture has emulsified, keep the blender on, and slowly lift the blender up and down until it’s a unified mixture.

The Final Construction

  1. Put mayo on one side of both pieces of toast.
  2. Place Lettuce mixture on the mayo side of the toast (incase you couldn’t figure that out)
  3. Then place the Roasted Mushroom mixture on top of the lettuce.
  4. Then finally place the cloudy egg to top it off.
  5. Take a fancy photo, and post it to Instagram with the hashtag #foryourfoulmouth.

Start Giving A Scrap!

We’ve all been there; we get the bill for our groceries and ask ourselves, where does it all go? The food looks so good and bountiful when we put it in the cart, but somehow it never seems like enough.

The fact is, we don’t use as much of it as we could.

Here are some stats that may baffle you

In the U.S.:

  • 40% of food is wasted
  • 90% of food is thrown away too soon
  • 20% of the food we buy never gets eaten

And this isn’t just a problem in the U.S., in my home country of Canada:

  • $31 billion of food annually wasted
  • 47% of that is from consumers

So, while I’m hardly ready to pull out my guitar and starting singing kumbaya, preach extremes like backyard composting, or the 100 mile diet. I am going to start posting more recipes made from parts of the food you wouldn’t think to keep. Also, I’m going to start indicating ‘scraps’ that should be kept for future recipes.

The first of these recipes is an important one, vegetable stock. There have been a few recipes that called for it that I wanted to post, but decided not to. The reason for this is I knew I was going to write this post eventually, and it would be redundant if I already had another recipe up with the steps for veg stock in it.

So the way I make my veg stock, it cost me next to nothing. The reason for this is whenever I cut green onions, onions, celery, carrots, garlic, or chives, I always put the cut away into a plastic bag in my freezer. Likewise, when the stock is done, I pour it into ice cube  trays, freeze it, then store the cubes in zip lock bags.

That being said, I use these cubes all the time. Just about any savoury recipe that calls for water, can often be replaced with stock for a much better result.

Ingredients:

  • Onions (Scraps or whole with skin and roots)
  • Carrots (Scraps or whole with whole with leaves)
  • Celery (Scraps or whole with leaves)
  • Water
  1. As mentioned above, I keep a bag in my freezer, and whenever I cut Onions, Celery or Carrots I put the scraps in the bag. I’ll also put in Garlic, Green Onions and Chive scraps but it isn’t necessary. As a general rule, you want the veg mixture to be a Onion, Celery and Carrot mixture of 2:1:1. So if you don’t have enough scraps for one of the veg, simply roughly chop up a fresh veg to make up the difference.
  2. Put vegetables in a big stock pot, and fill pot with water until it covers the veg.
  3. Bring stock pot up to a boil, then reduce heat to a simmer.
  4. Let the water simmer until vegetables are fork tender.
  5. Strain out liquid into a bowl, and let cool. Discard Vegetable remains.
  6. Pour veg stock into ice cube trays and freeze.
  7. Transfer each cube of Vegetable stock into a plastic bag and store in the freezer.
  8. Make something awesome with the Vegetable stock. Each cube is approximately 1 Fl oz (or two table spoons).
  9. Take a fancy photo, and post it to Instagram with the hashtag #foryourfoulmouth
Sources:
http://www.secondharvest.ca/hunger-facts
https://www.savethefood.com/

What I Think of When I Hear Oil & Water

So let’s be real: there are over 500 different pastas, and probably hundreds of different sauces. Take any pasta dish and simply switch one of those two things, and you have an entirely new dish. It’s probably the most modular cuisine on the face of the planet. Hell, pasta is basically the food equivalent of IKEA!

That is why pasta is one of my favourite foods. Italian food is so honest in a lot of ways. It is one of the few cuisines that aren’t drastically different between classes. This is contrary to a lot of other western foods, like British food. For example, a swanky restaurant in England, you would be hard pressed to find fish and chips, even though it’s a staple in most restaurants. Meanwhile, If you order spaghetti from a high end Italian restaurant, or a casual family diner the recipe is going to be very similar. Obviously, if the respective restaurants are true to their price points, one will use higher quality ingredients, fresher non-prefab products, and put more time and love into the product but the dishes are similar in concept.

That being said, Spaghetti Aglio e Olio is something I love to make. Fresh made pasta tastes like nothing else, and is simple to do. You can use store bought dried pasta, but I really recommend trying it fresh. The less ingredients a recipe has, the more important the quality of the ingredients are. What amazes me is watching the starch from the noodles bind with the oil and the water to make a mind-blowing, amazing sauce!

So before I get into the recipe, here are some facts you should know about pasta dough.

There are very few problems you can have with pasta dough that ‘resting’ the dough won’t fix. To do that, cover with plastic wrap, or a moist tea towel, and let sit for 10 mins. If the problem persists, wait an hour. More than likely, it will be fine.

Pasta dough is very much like a muscle. If you’re rough with it, the dough will become stiff and hard to work with.  if you’re too gentle nothing will happen at all. You want to be firm, but not aggressive so it will stay nice and soft. If you find that after rolling it, it quickly recoils back to the original shape, it means the dough is too ‘tense’, and need a ten minute rest.

Kneading the dough is the exception to the above. You want to be aggressive when kneading.

The dough becoming too dry is one of the few things that is very difficult to fix, and it’s easier to start over. A sign of this is crumbles apart.
This recipe is for one portion. So multiply it by the number of people you want to serve!

Pasta Dough Ingredients:

  • 1/4 cup Semolina Flour
  • 1/4 cup All Purpose Flour
  • 1 egg
  • 1/2 T of olive Oil
  • 1 pinch of salt

‘Sauce’ ingredients

  • 3-5 Cloves of Garlic
  • 1/4 Cup of Olive Oil
  • 1/4 Cup of reserved pasta water
  • 1.5 t red chilli flakes

First let’s make the Noodles:

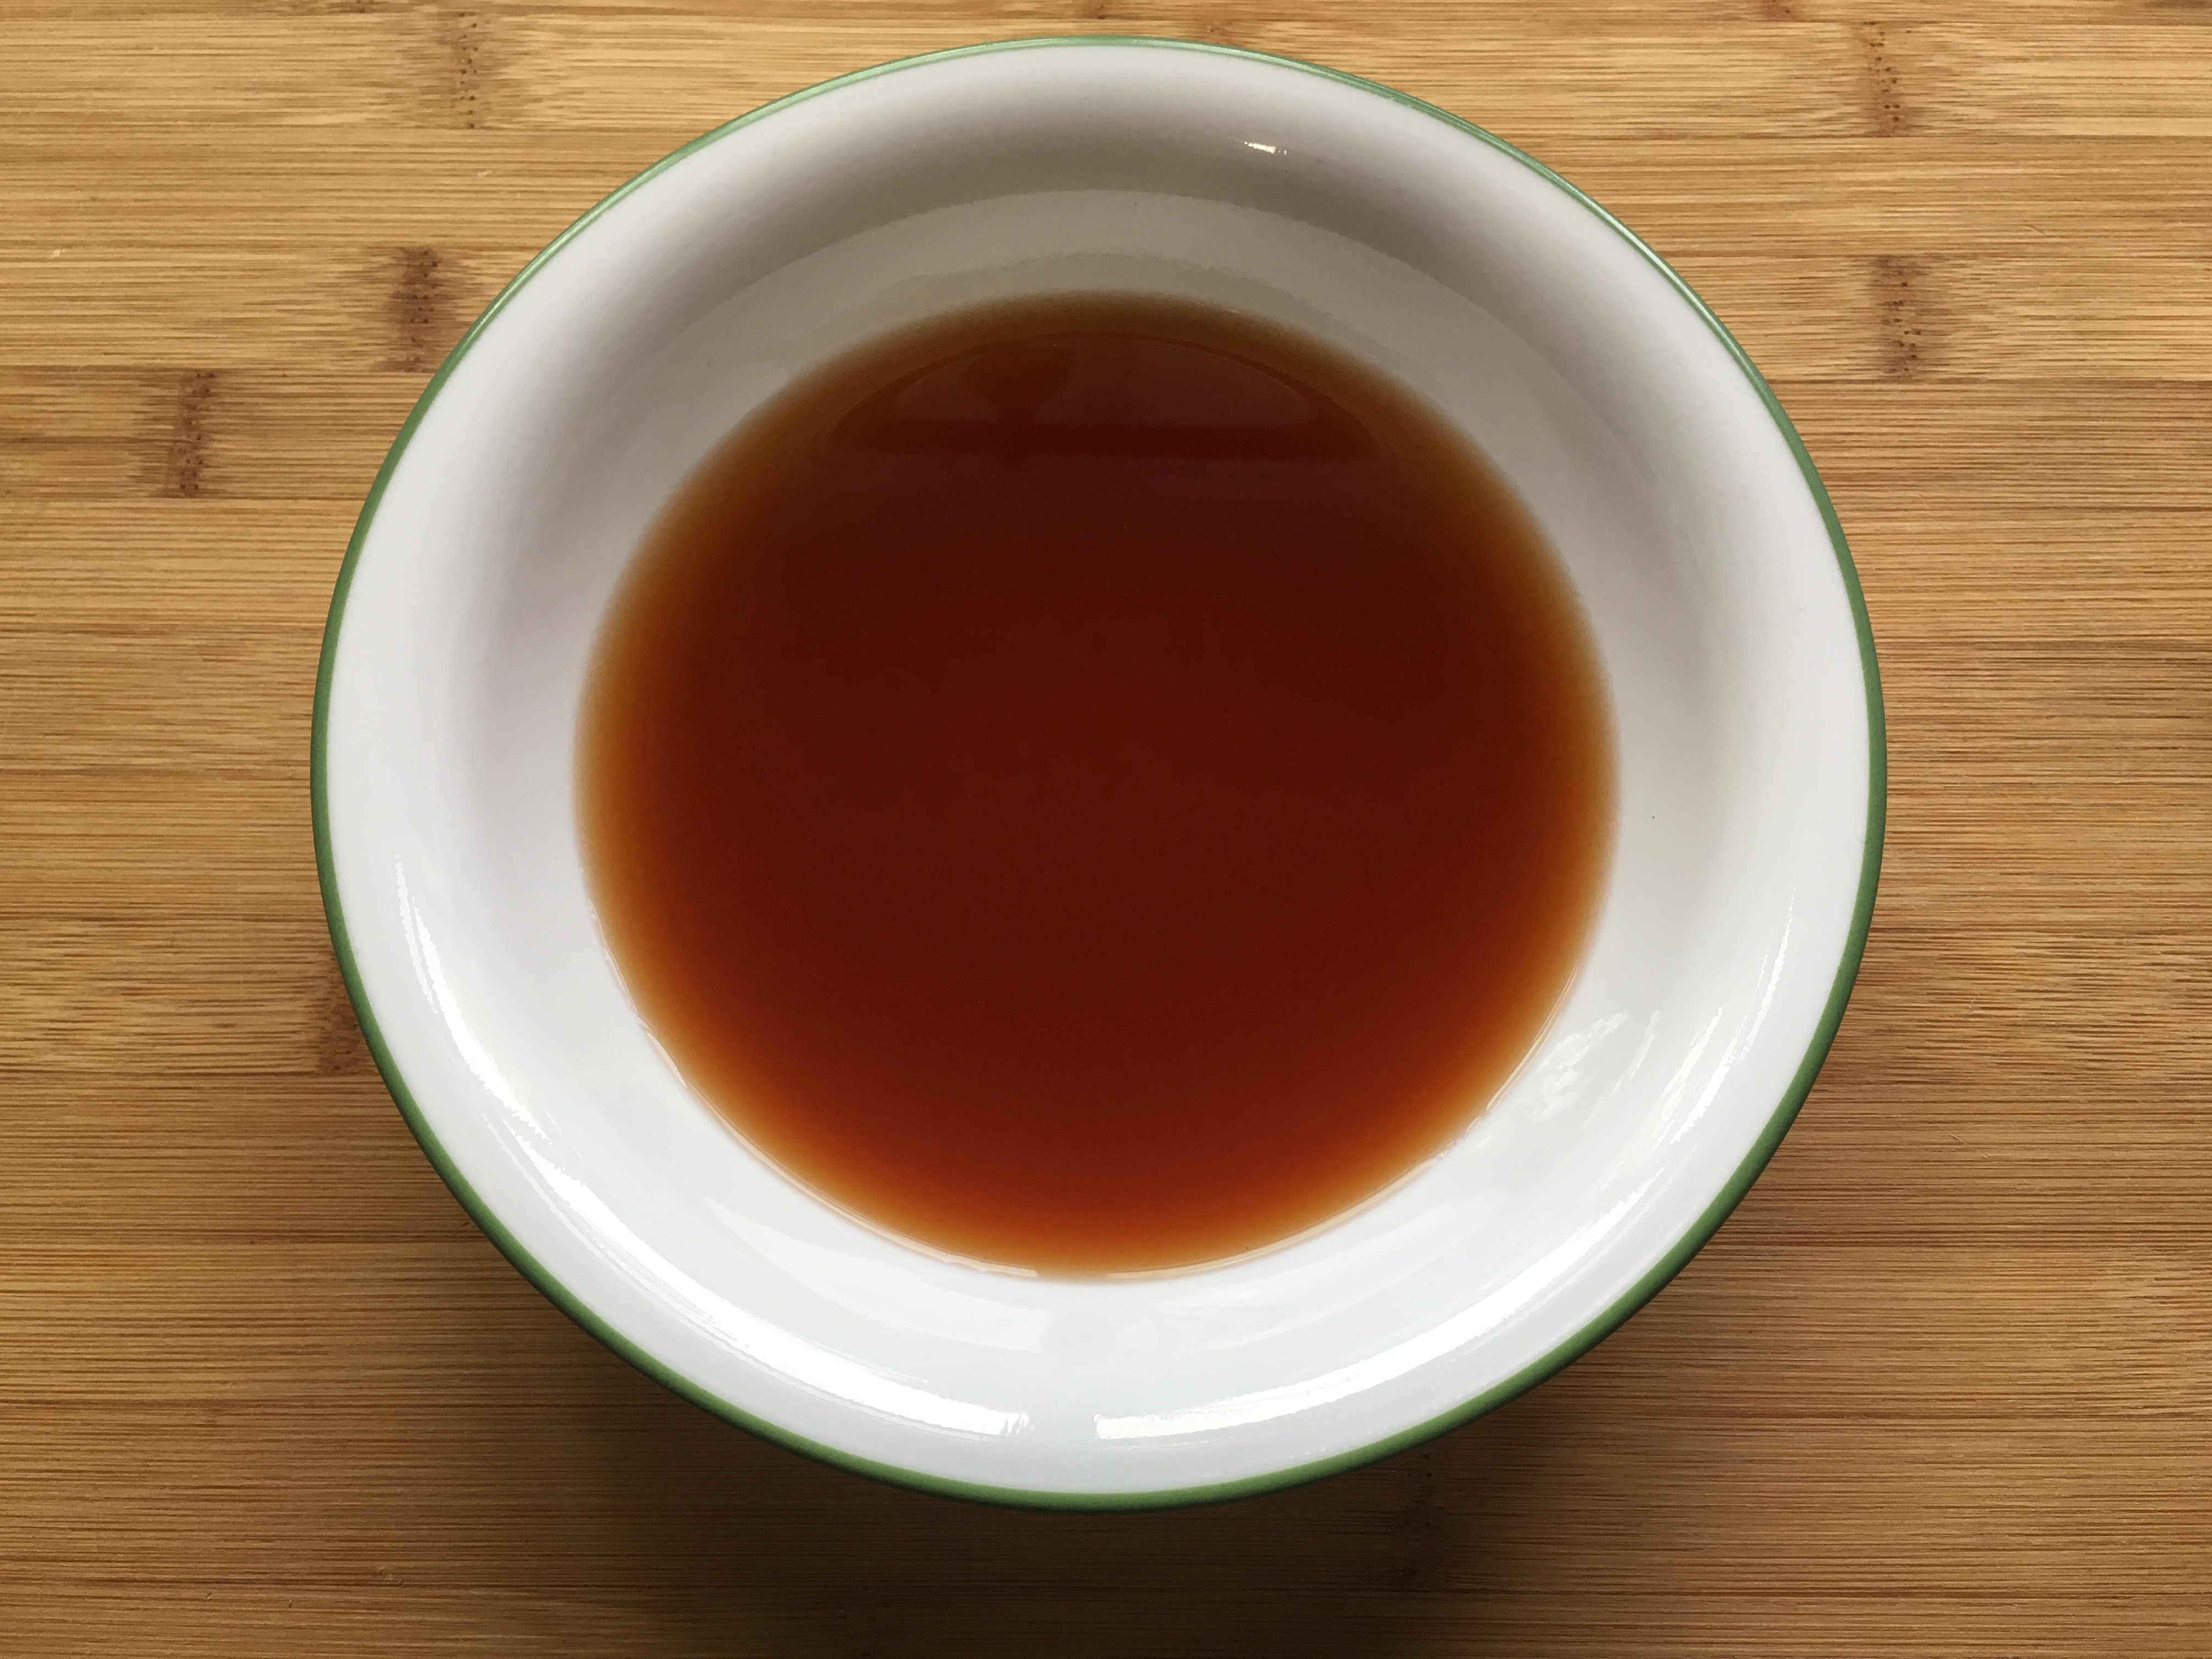
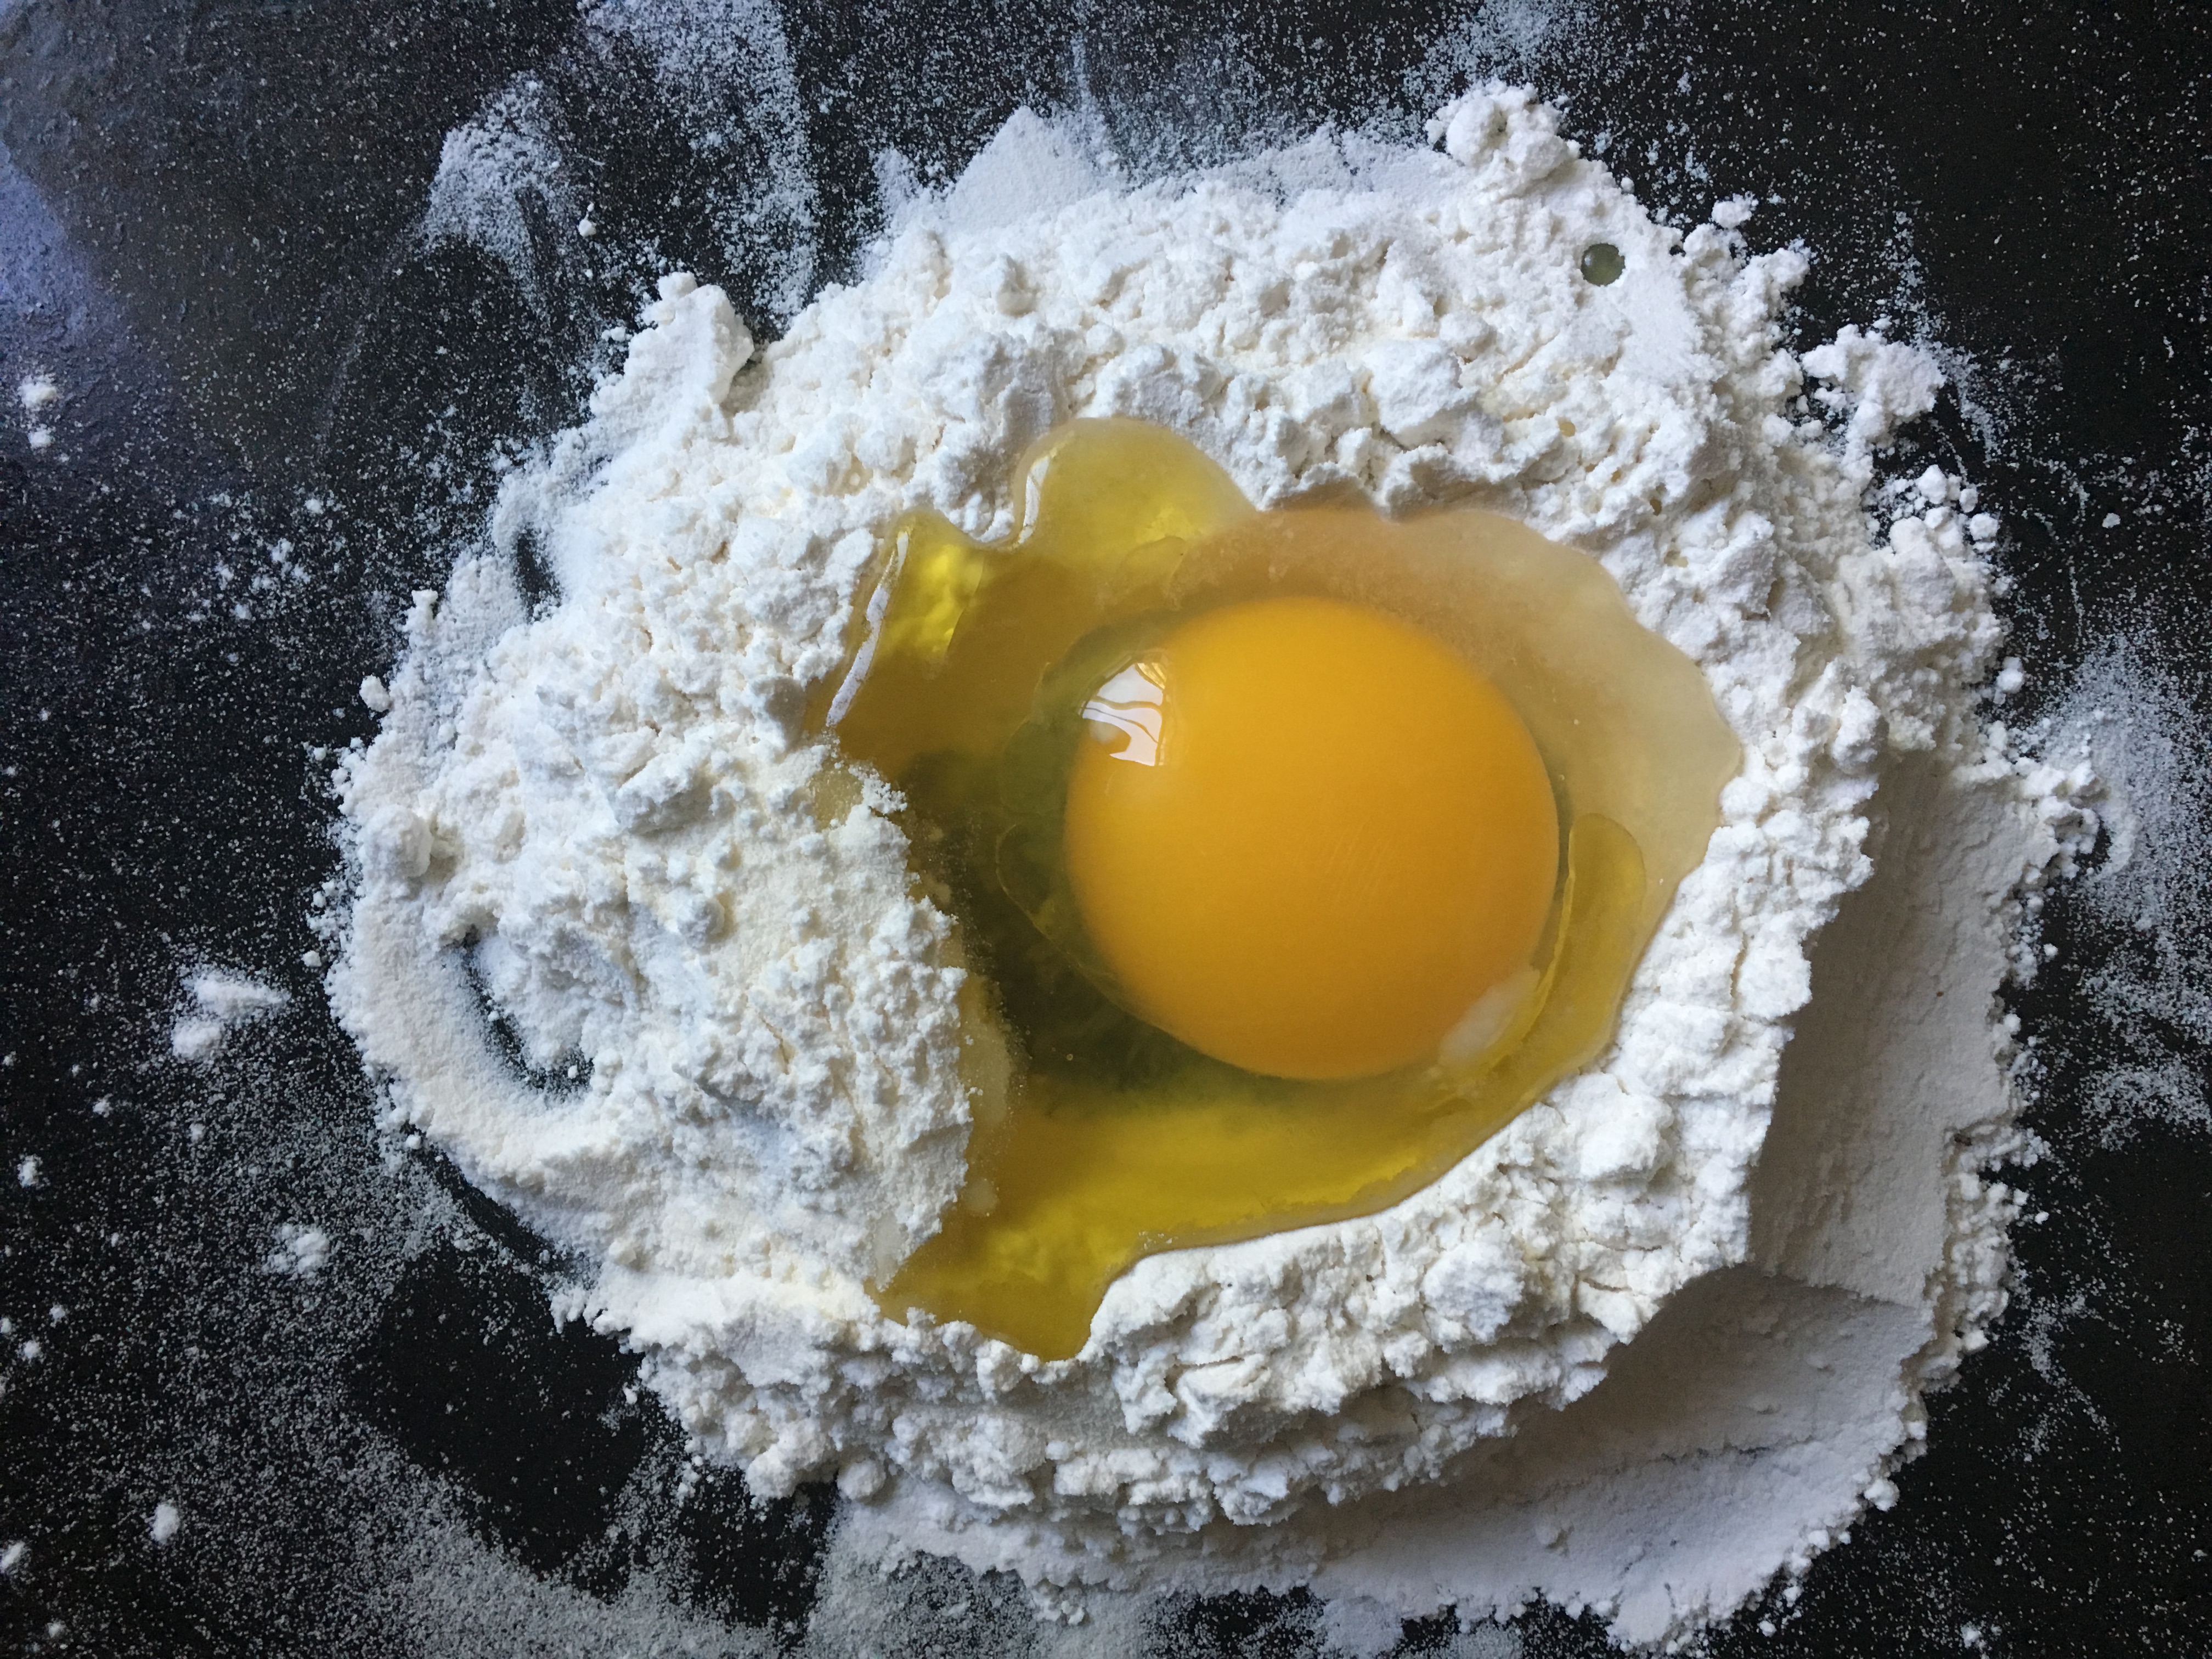
  1. Mix both flours together, then pour into a mound on a baking sheet. Push the centre of the mound down, so it resembles a volcano.
  2. Pour the egg(s), oil and salt into the centre of the mound of flour.
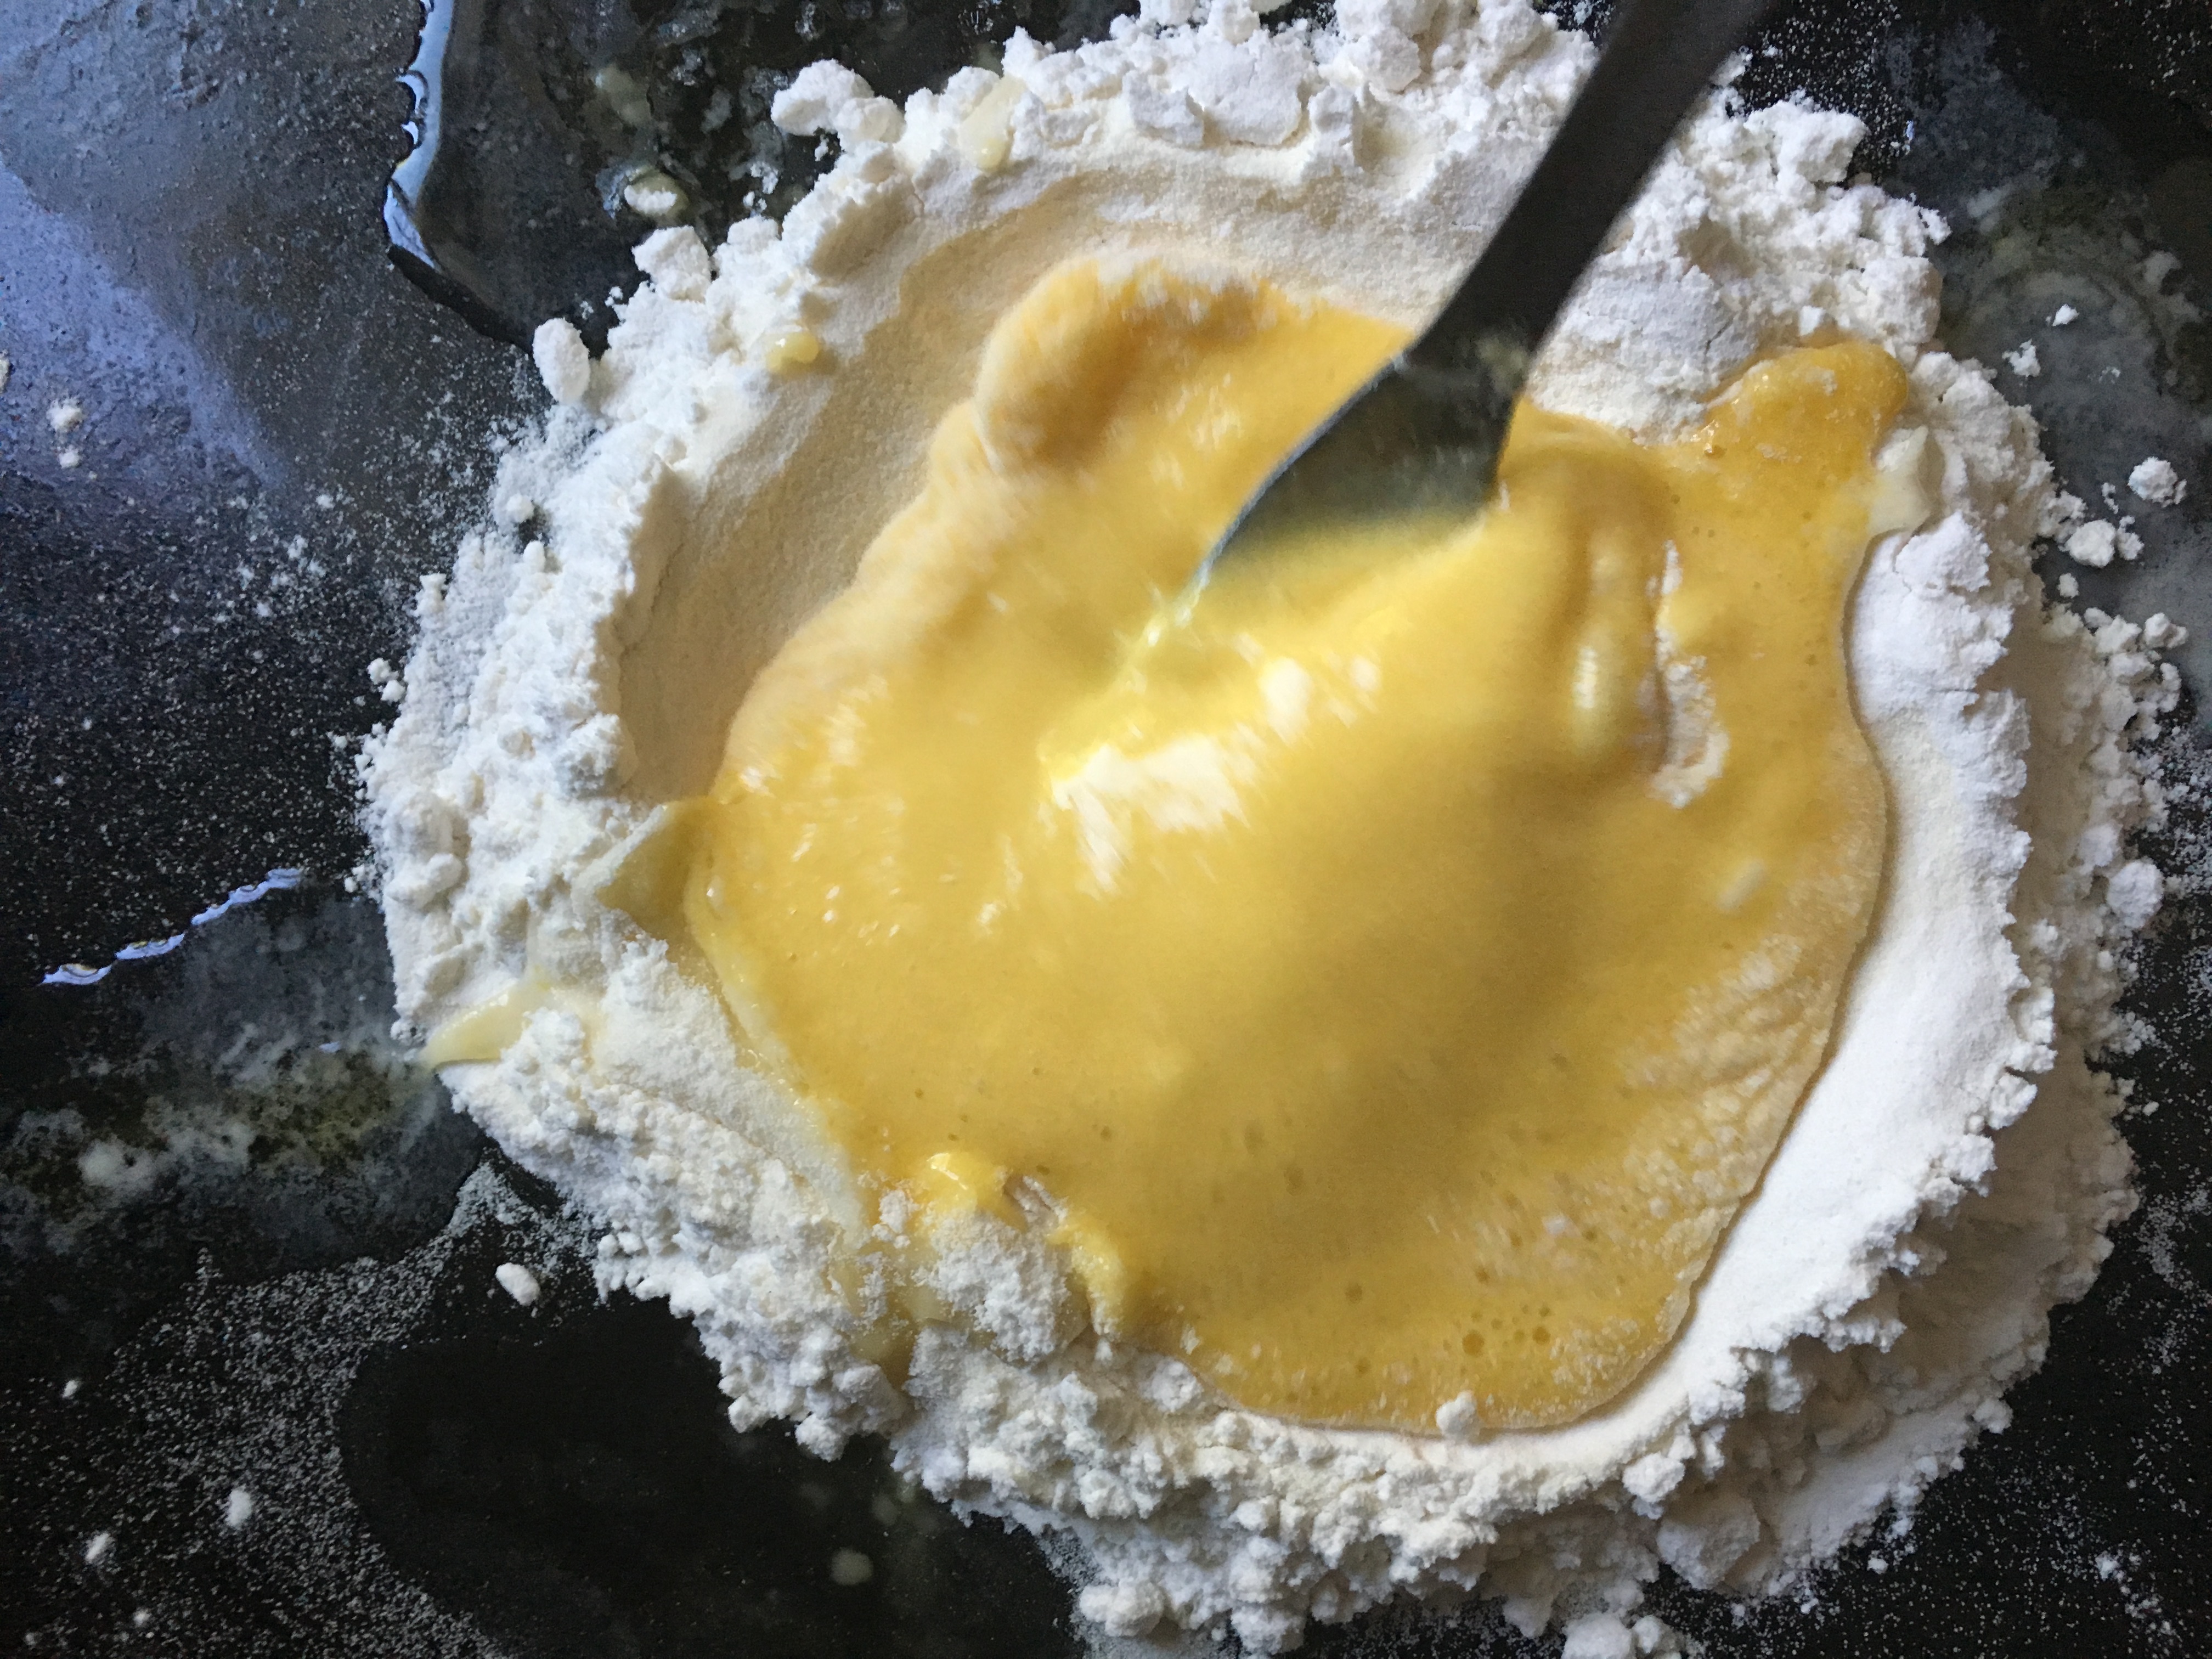
  3. Using a fork, beat the liquid together, as you do it, you should see the flour become incorporated into the egg mixture. If the flour ‘springs a leak’, just block it with some of the flour from around the mound.
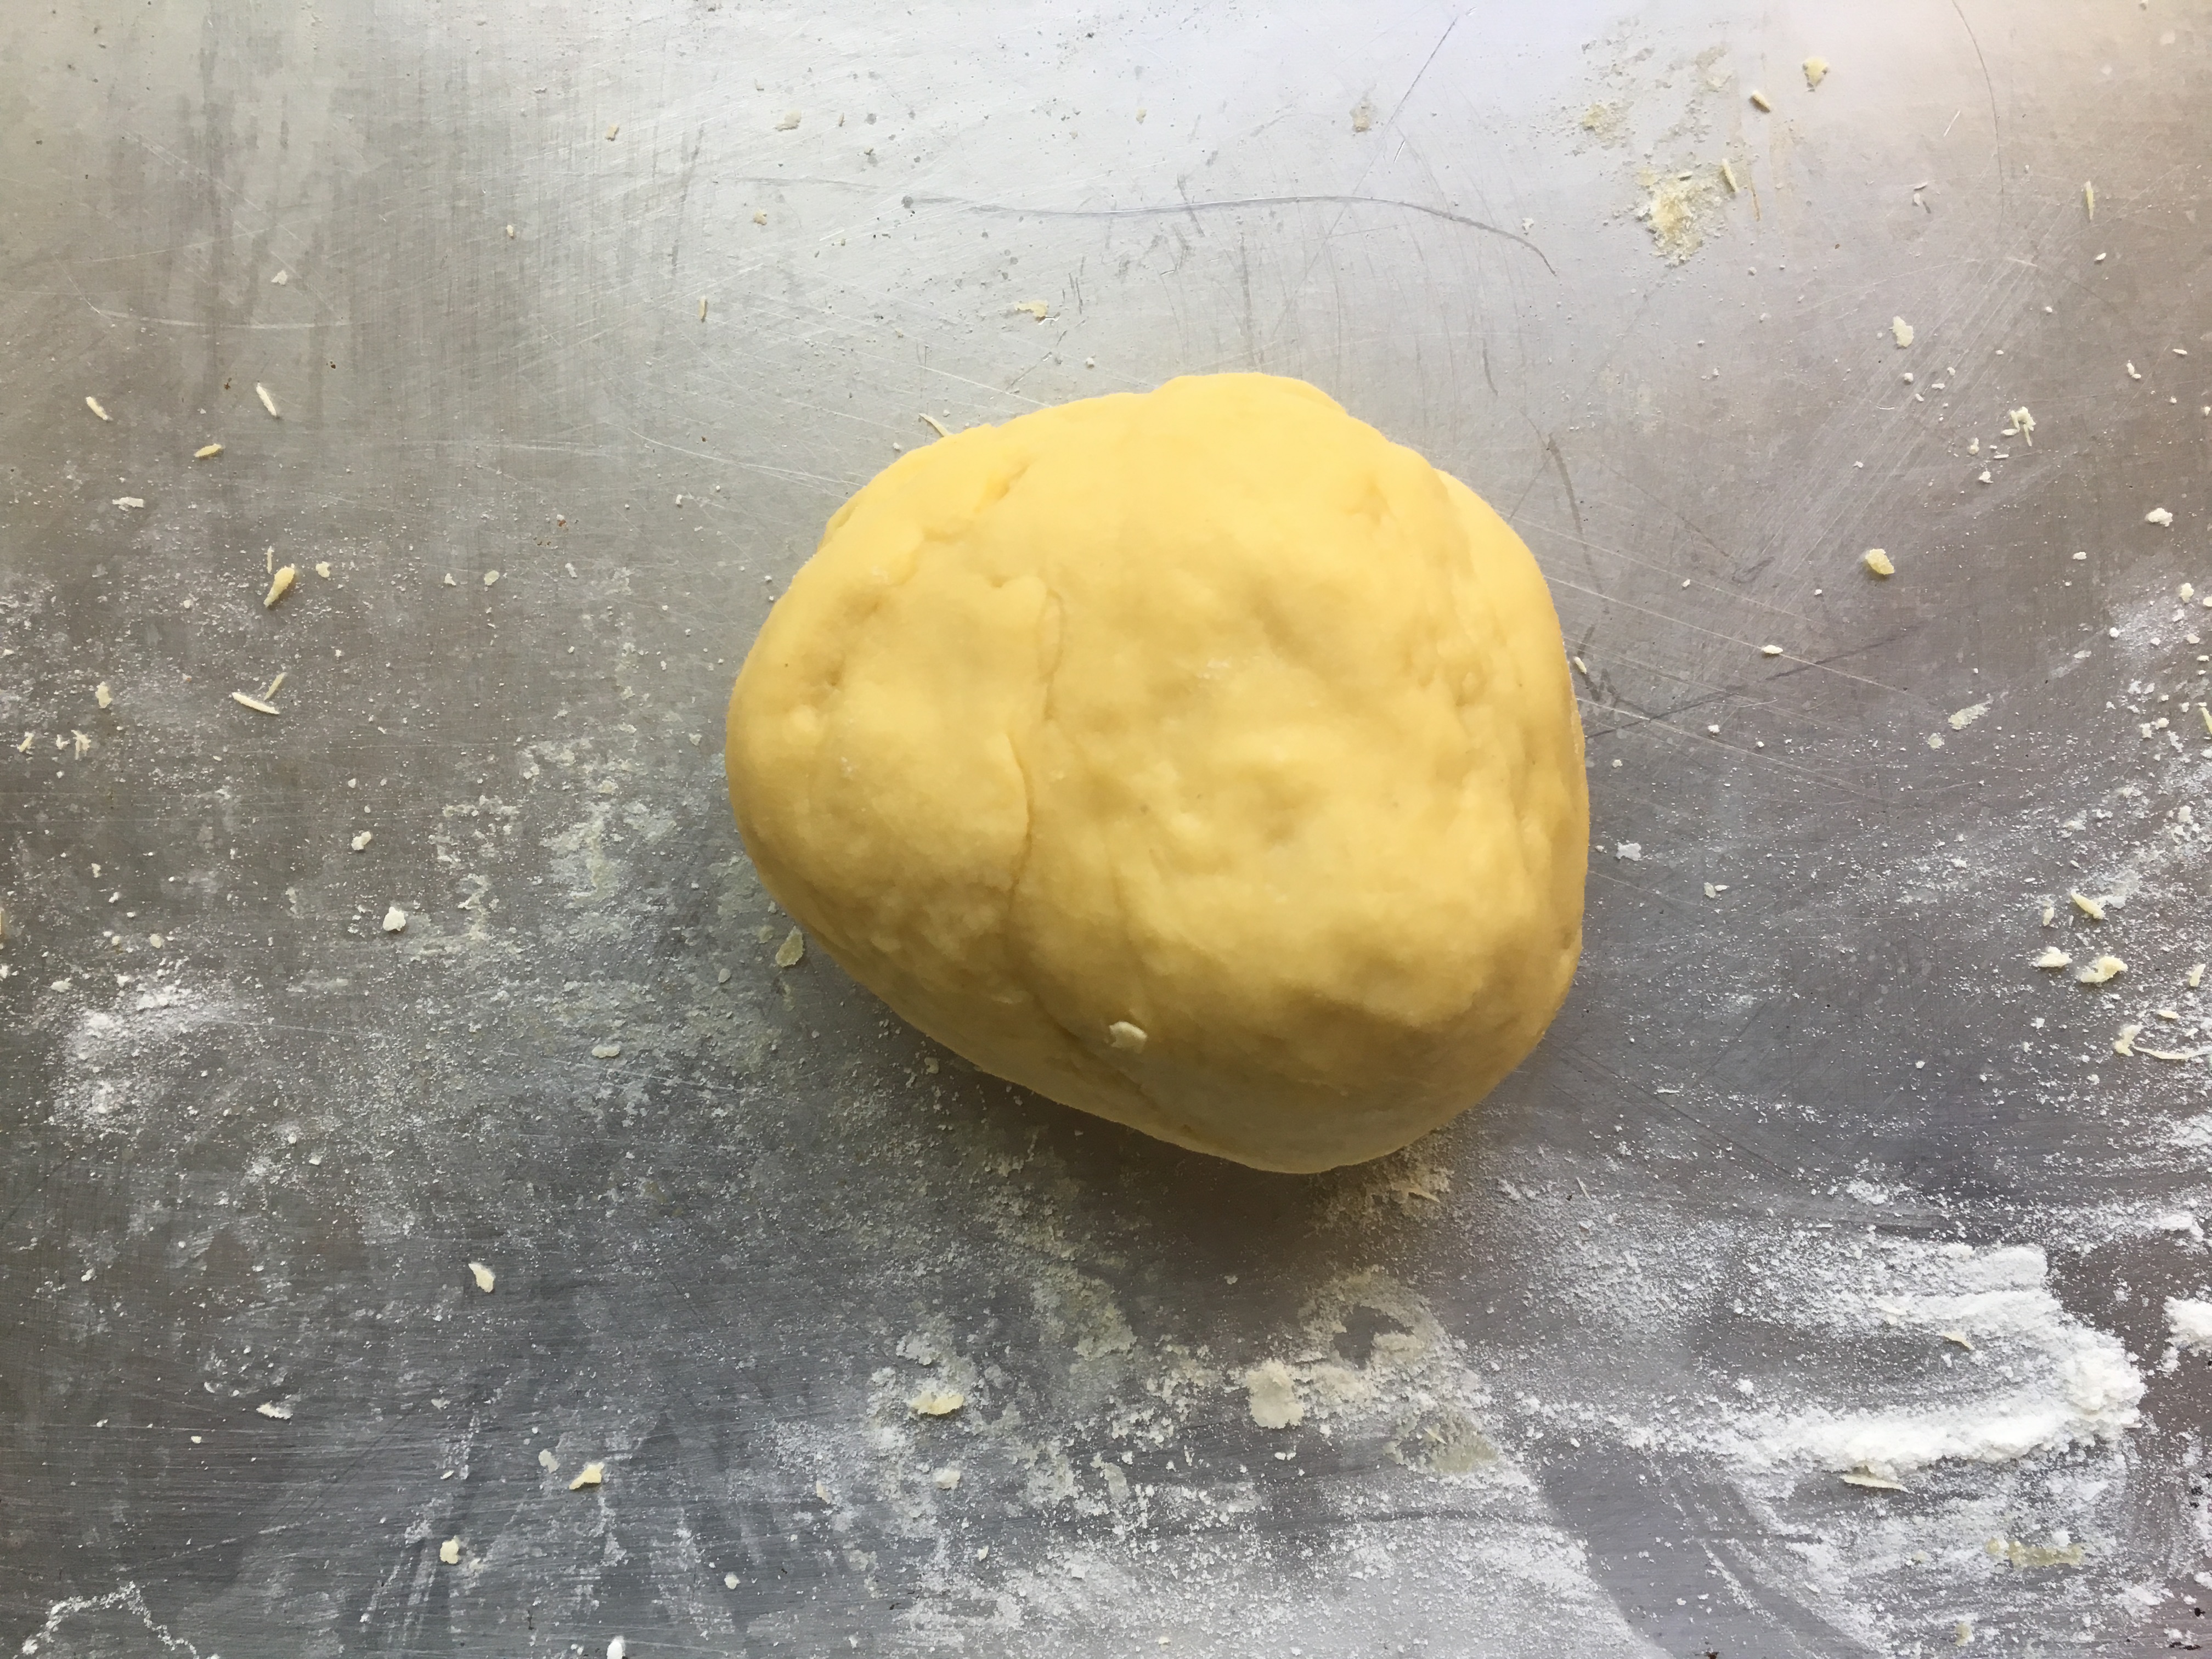
  4. Once the mixture has become solid ball of dough, start kneading it. The best way to do this, is to fold be dough in half, sticky side on the inside of the fold.  Then put both palms on top of the dough, and push down and forward on it. Repeat the motion again until you notice that the dough has become elastic, and tense. A good sign it’s done is when it ‘recoils’ after you knead it. You can’t ‘over knead’ pasta dough, so if your not sure, do it a few more times. I should also note, that when I am pushing down on the dough, I lift my body up so I’m on my tip toes, this uses my body weight to my advantage. If it’s too sticky, lightly and evenly sprinkle the excess flour on the dough. If there is none left, you can take some fresh flour, but do so sparingly.
  5. Wrap the dough in plastic wrap tightly. I find the best way to do this is to wrap the wrap around the dough and twisting the ends of the plastic wrap. It should look like a giant wrapped candy.
  6. Let rest for twenty minutes. If you’re making this in advance, you can leave it in the fridge for a week.
  7.  If you don’t have a pasta machine, I strongly suggest you get one. They run about $40 CAD. They tend to be one trick ponies, but what they do, they do very well. If you don’t have one, then you can use a rolling pin, or a cylindrical wine bottle; whichever is closer. You want to create gluten (a protein that holds the noodles together) and so it is the correct size. to do this:
    • If you’re using a Pasta Machine:
      1. Remove your Dough from the plastic and set your Pasta machine to the widest setting where the rollers are farthest apart
      2. Fold the dough to go through the machine perpendicular to the rollers, or so the fold goes through the rollers first. This will allow any trapped air
        to escape. Run the Dough through the machine 4 to 5 times until the dough feels elastic. Every time you run it though the machine, you’re creating more gluten. You’ll notice the outside of the dough starts to feel more ‘dry’ after a couple of runs though the machine.
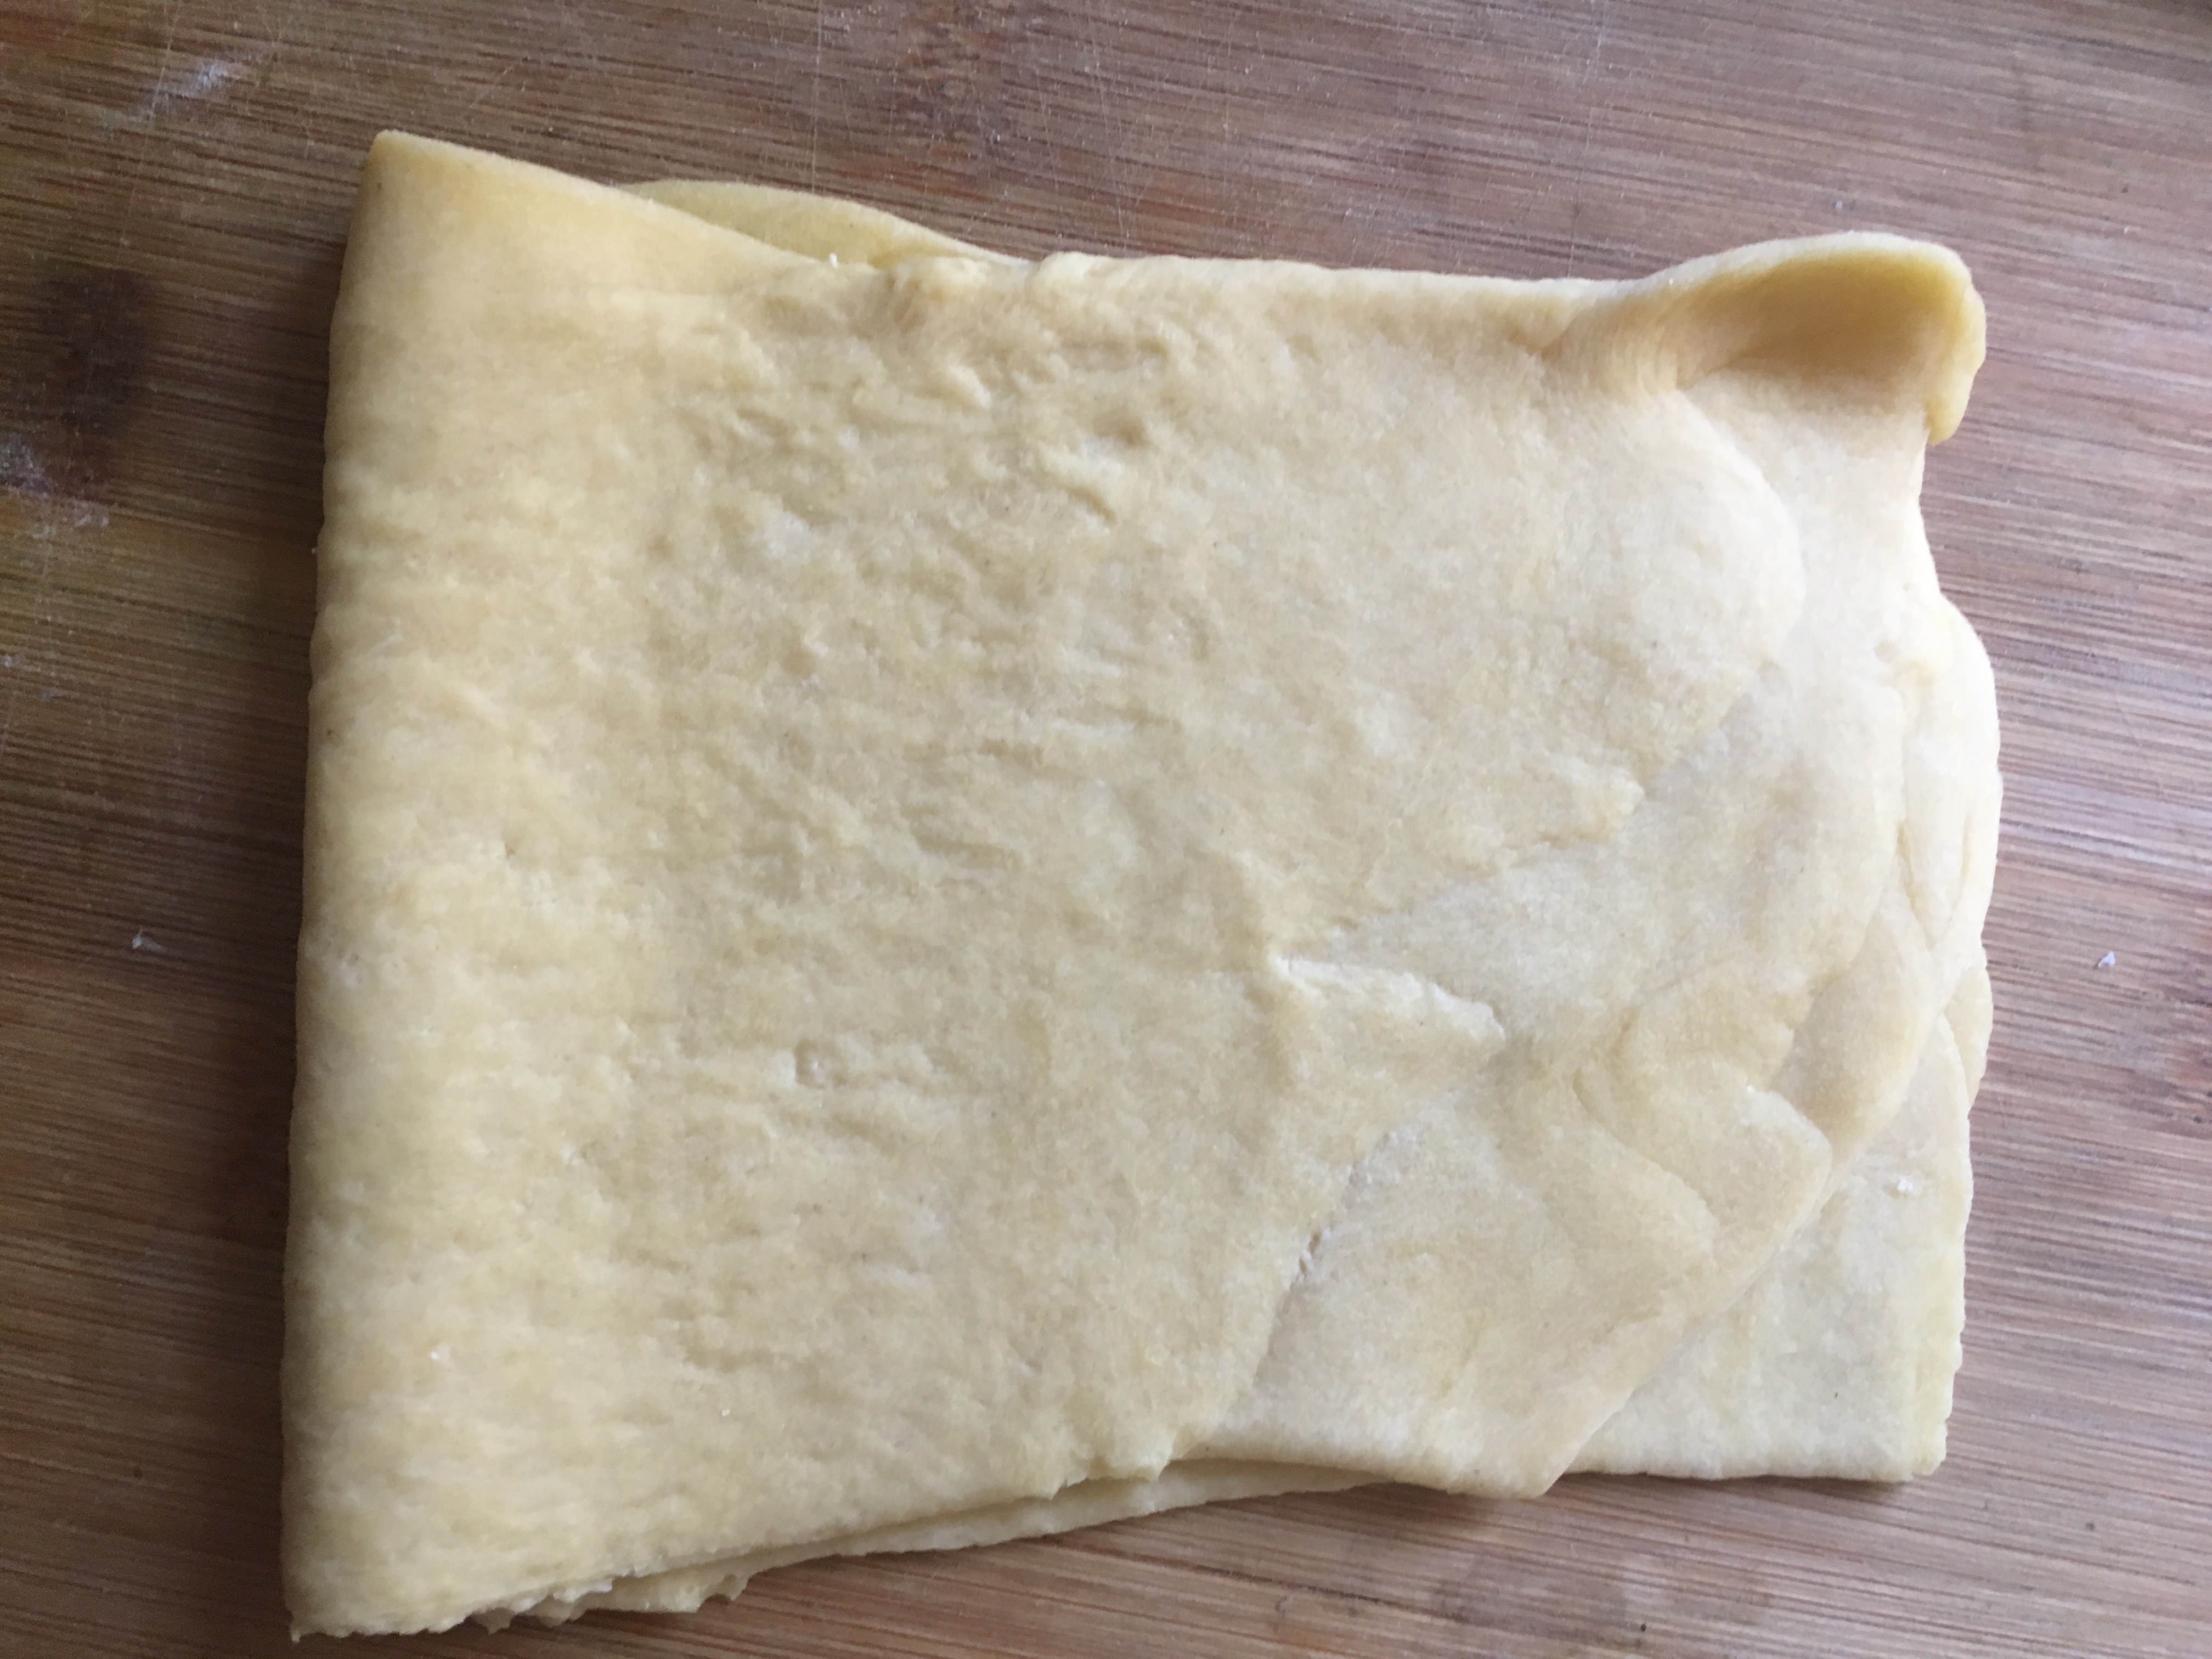
      3. If the dough is 1/8″ thick, move on to the next step, or else lower the setting on the machine by one, and repeat the above step
    • If you’re using a rolling pin:
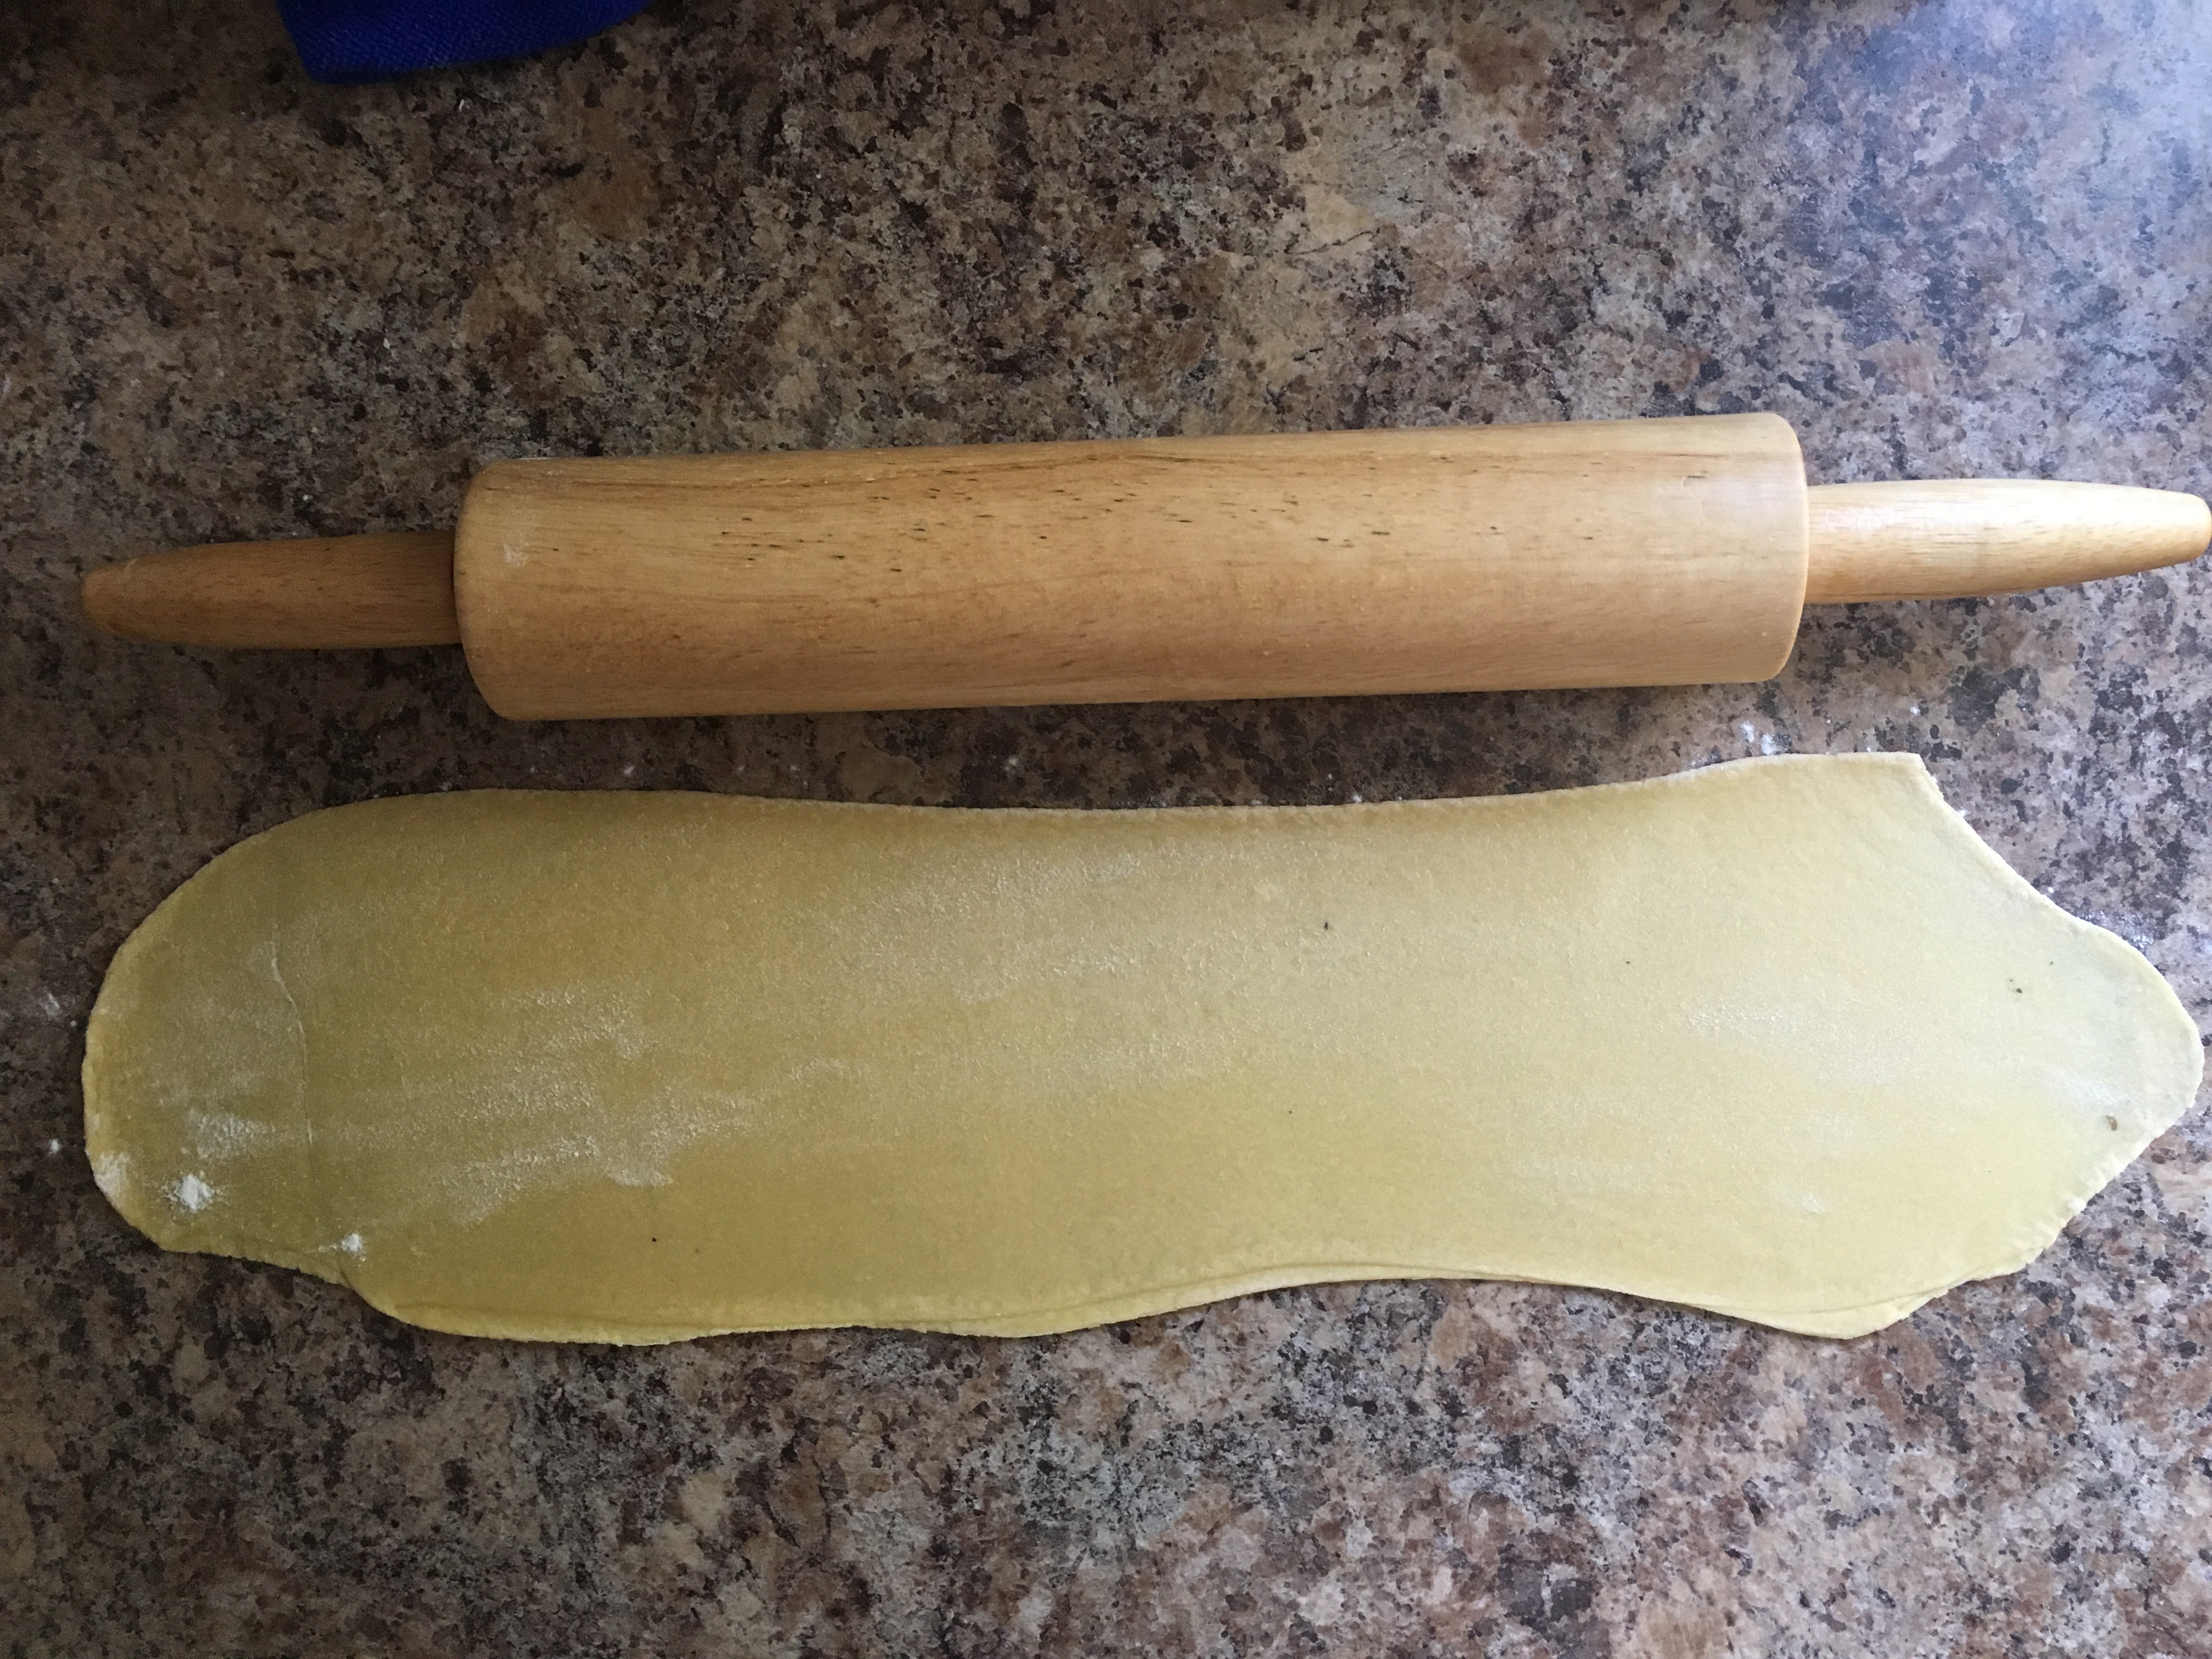
      1. Remove the dough from the plastic and roll it up into a log. Cut the log into 1.5-2″ rounds.
      2. Roll each round out one at a time, keep the unrolled dough on a plate under a damp tea towel, and the rolled dough lightly dusted in flour stacked gently on top of each other.
      3. To roll out each round, place it on a lightly floured surface. you want to be very gentle with your dough, at least at first. Start at the centre of the disk, roll outwards, then repeat in the opposite direction turn the dough 90 degrees.
      4. If the dough is 1/8″, flour the dough, place under tea-towel, and move on to the next step, or repeat processes with the next round.
  8. Once your dough is rolled out, let it sit out for about ten minutes, then put it either In a zip lock, or cover with plastic wrap.
    • If you’re using a Pasta Machine:
      1. simply cut the pasta dough to the length you want the noodles
      2. Run the pasta through the spaghetti cutter attachment
    • If you’re not using a Pasta Machine:
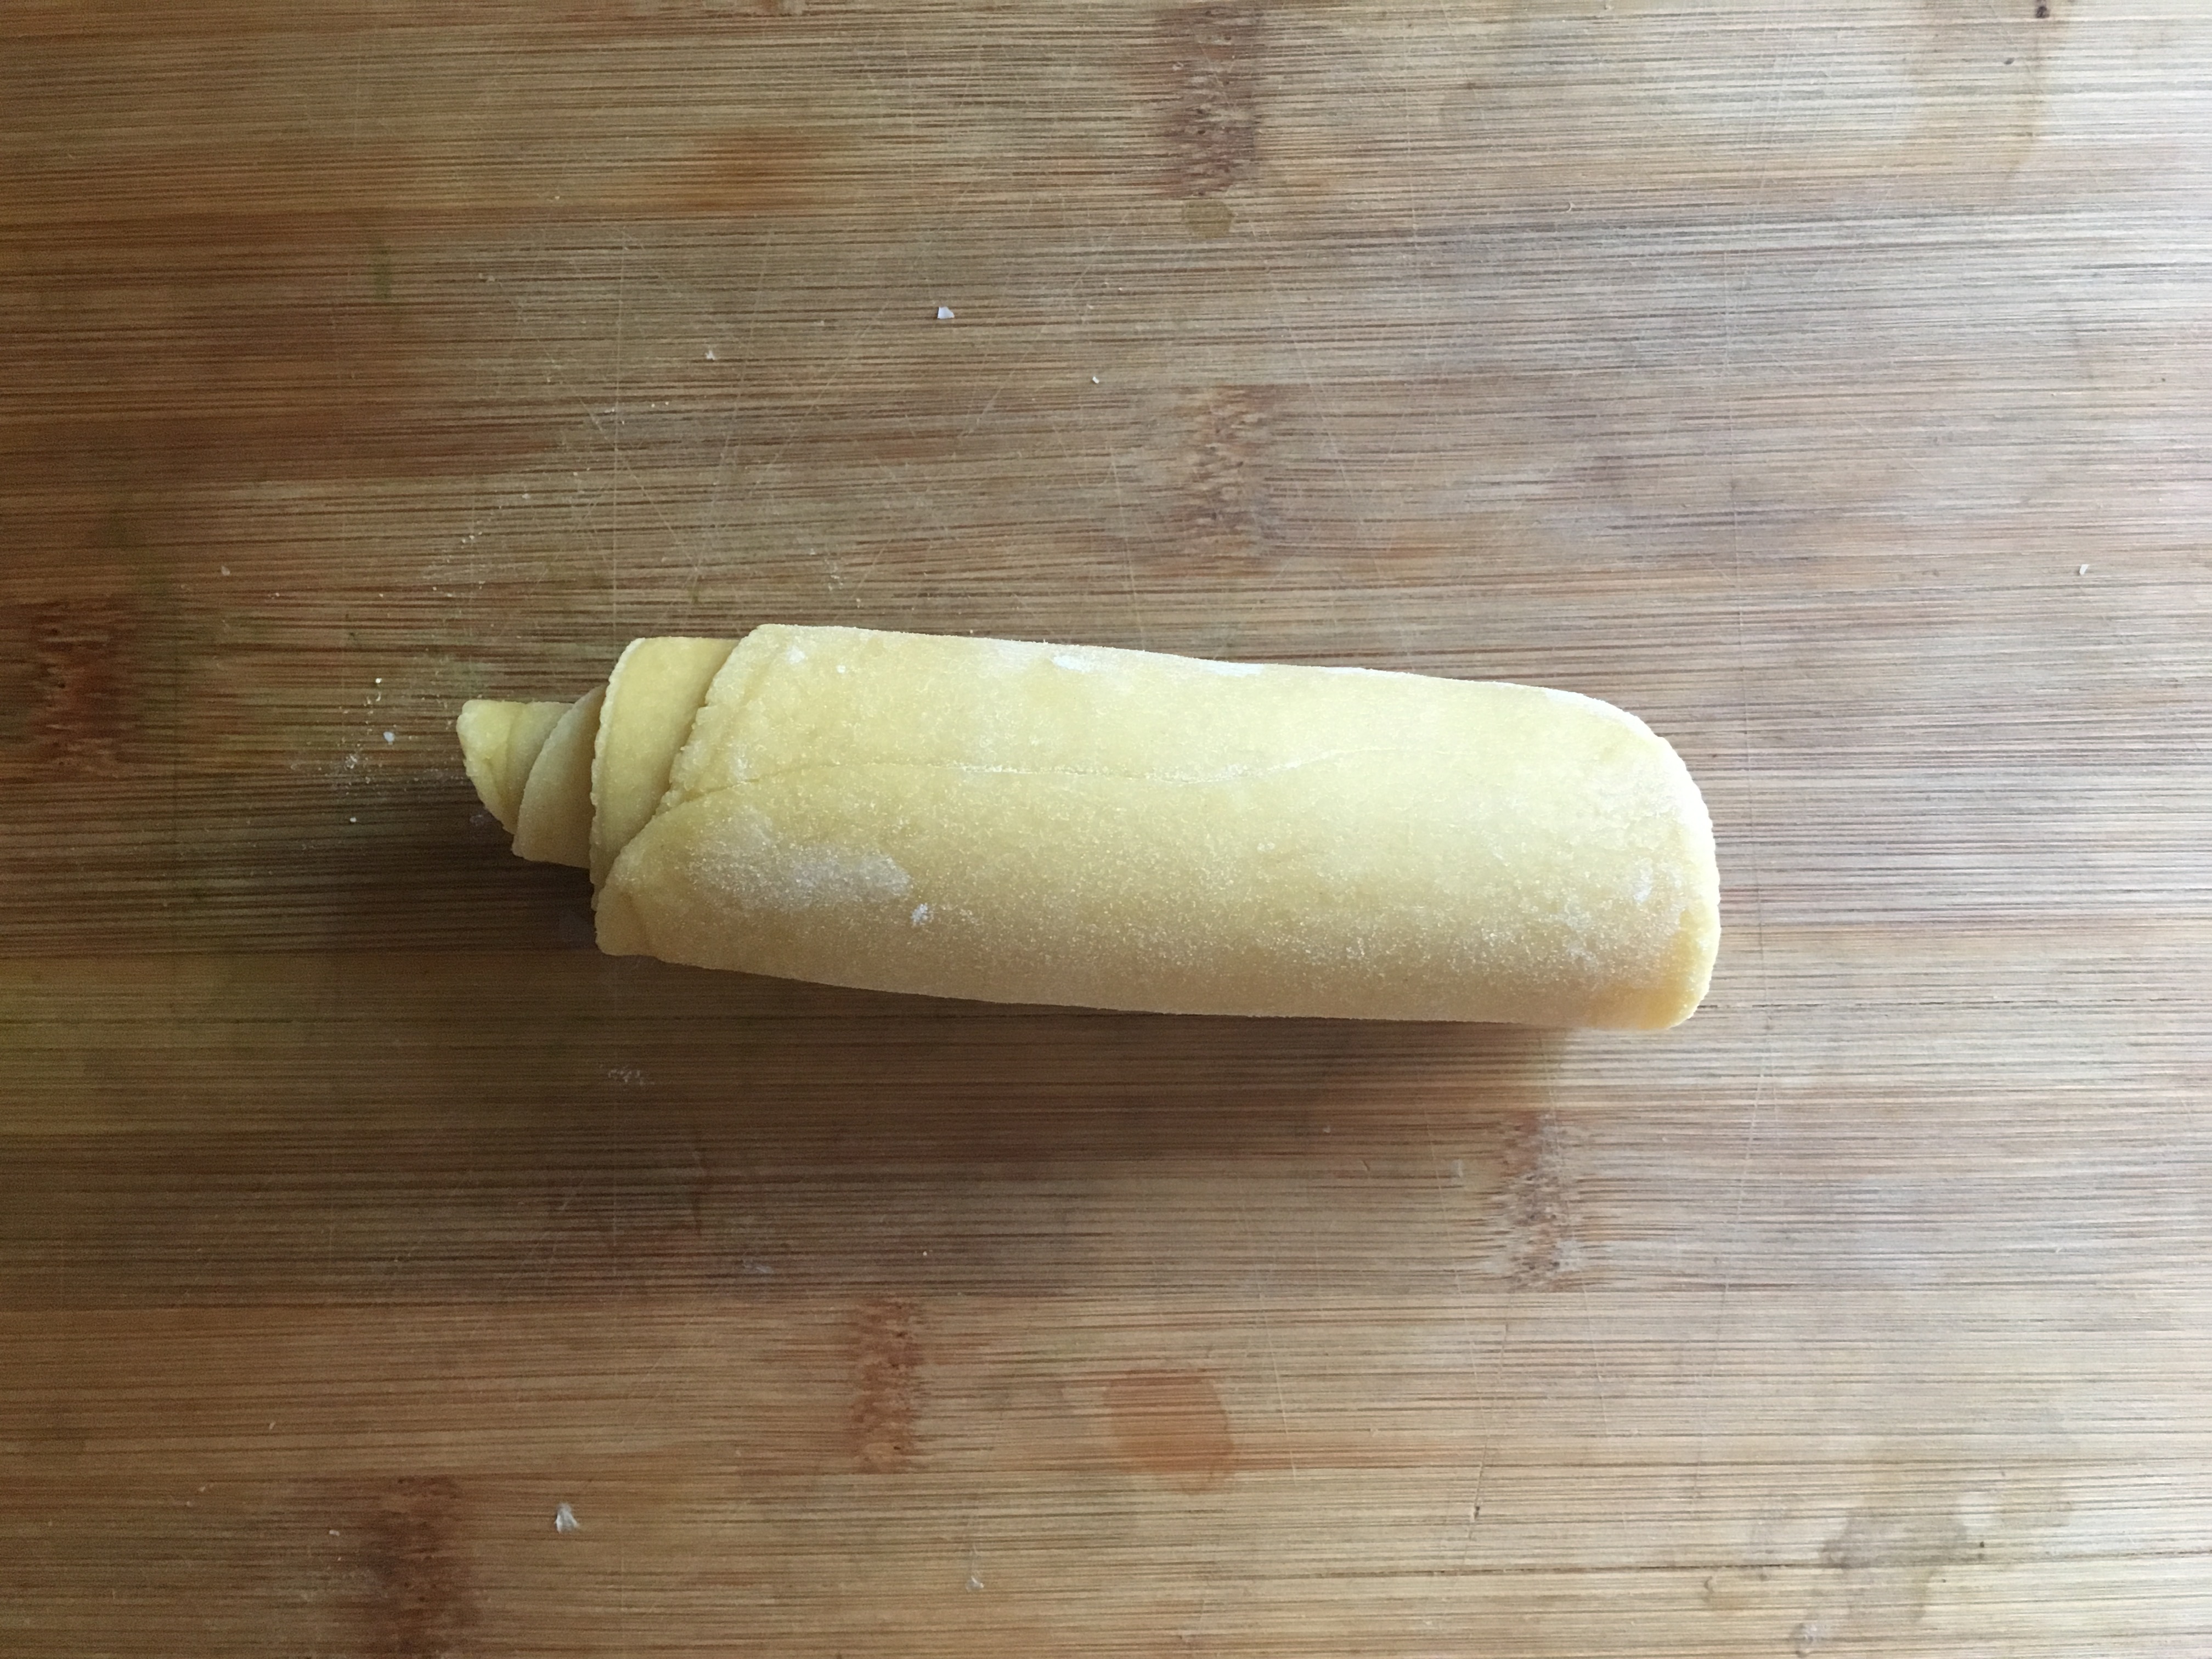
      1. Gently roll the floured dough into a log
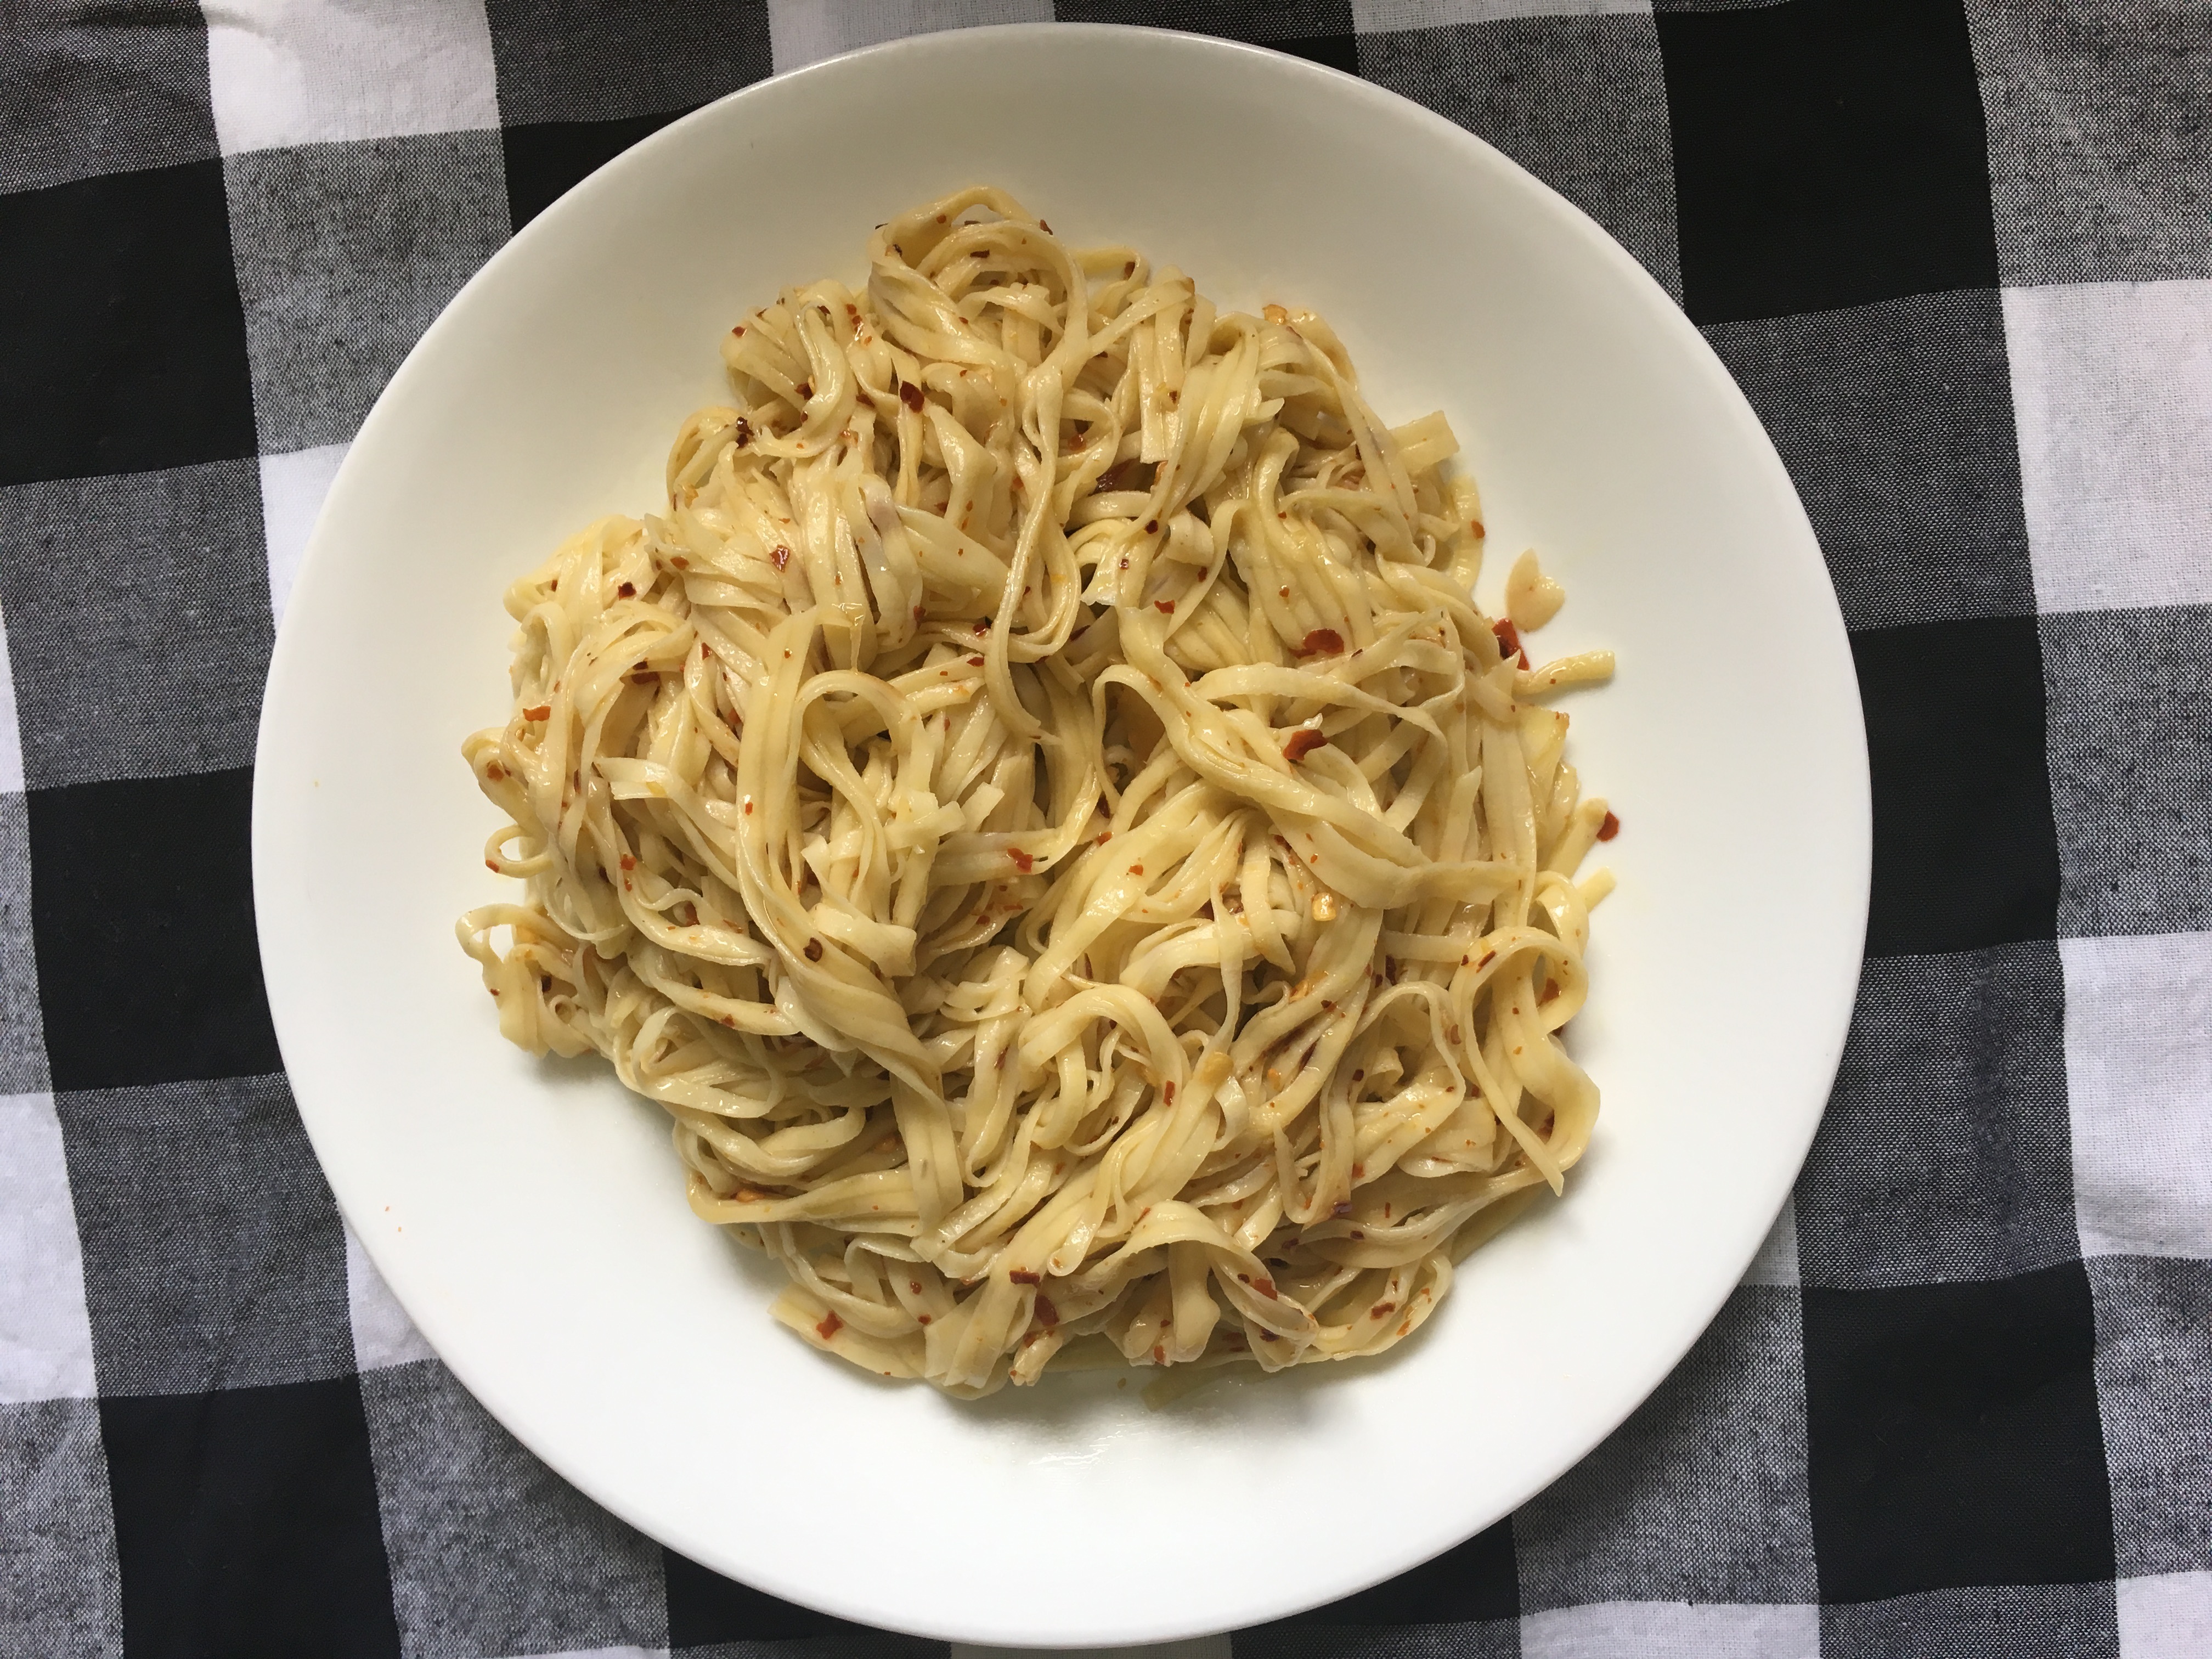
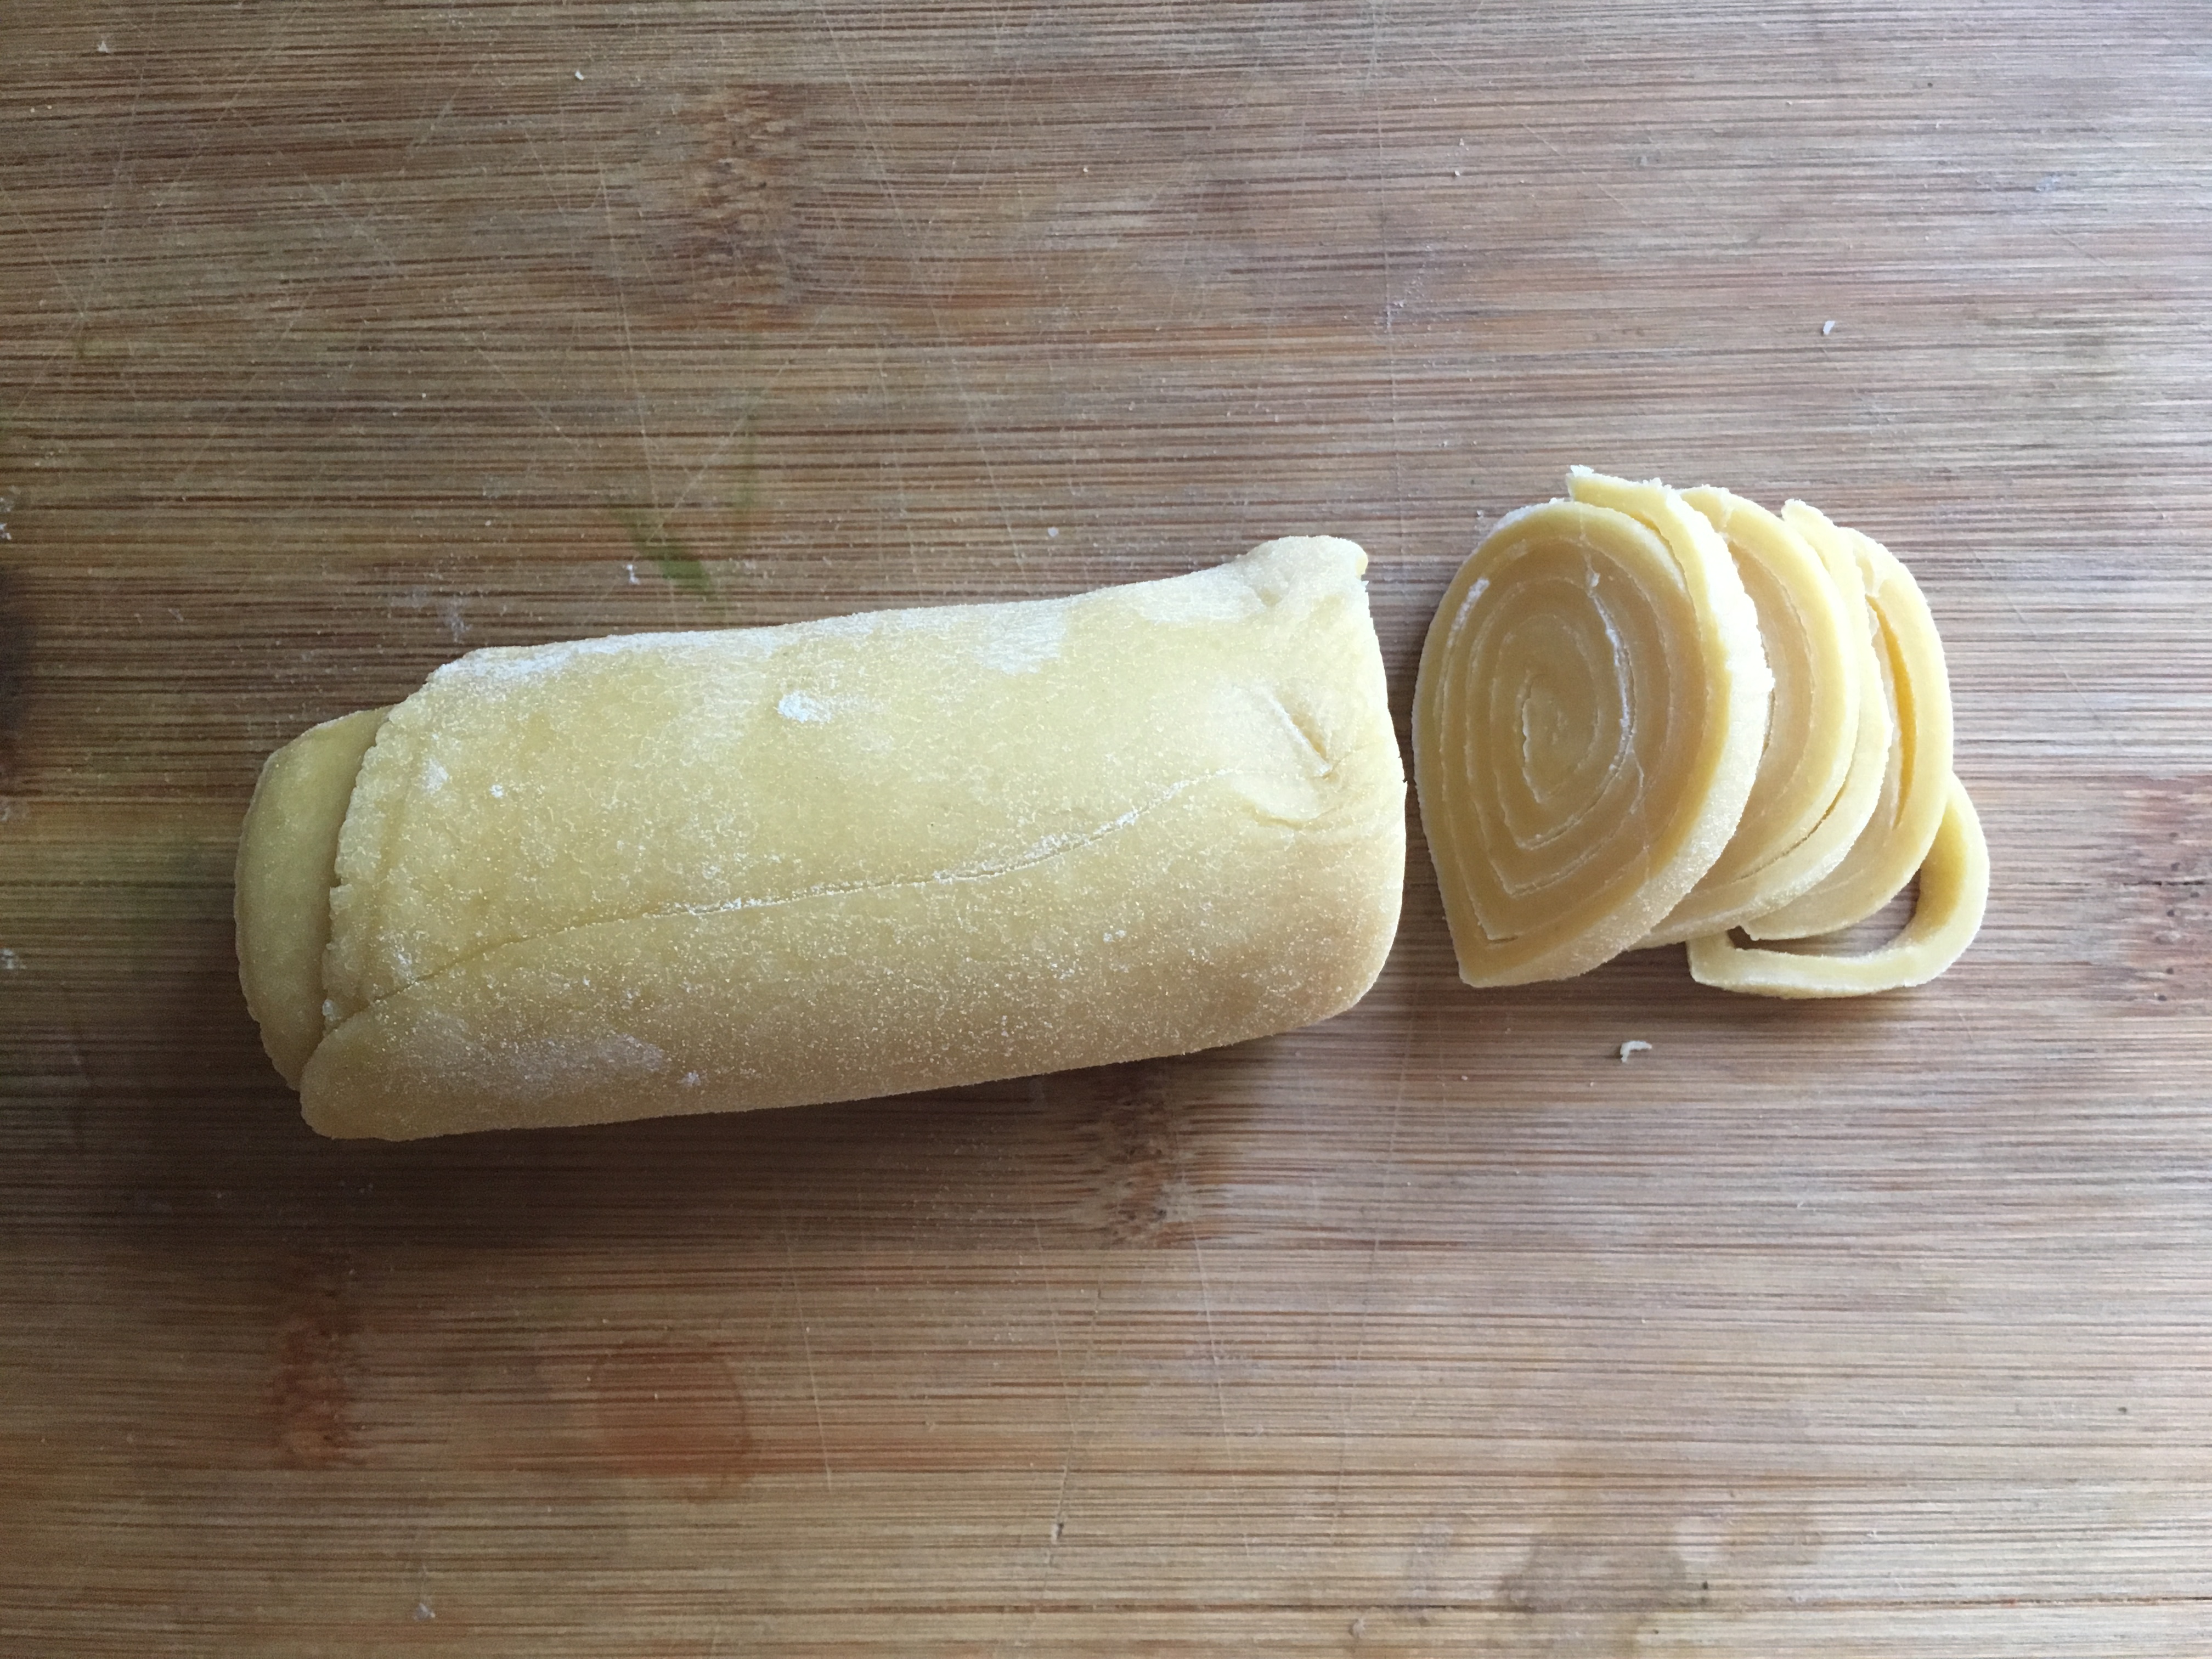
      2. cut the log width wise, each cut should be the same width you want the noodles. Unroll each cut piece of dough into your noodles.
  9. Portion your noodles in servings.
  10. Then wrap each portion into a circle and leave out for 20 minutes.
  11. Place each portion in a plastic bag to store until you’re ready to cook. It will keep in the freezer for a year, the fridge for a month, or on the shelf for a week.

Let’s make the final dish:

  1. Fill a pot on high heat with salted water. How much salt you need depends on how much water there is. The rule of thumb is the water should ‘taste of the sea’. Personally, if I’m using fresh pasta dough, I use less water; about an inch higher then the noodles should be fine. I say this because fresh noodles cook so fast that ultimately less starch is released into the water. In this recipe, you want the pasta water to be as starchy as possible, so by using less water, you get a higher concentration of starch.
  2. While the water is boiling, bias cut your garlic into rounds.
  3. Once the water has boiled, put the olive oil in a pan on medium heat and add the garlic right away. If you’re using store bought dried pasta, place it into the boiling water now, if you’re going fresh, wait for the garlic to get soft and slightly turn brown, This is the perfect time to throw in your fresh noodles.
  4. Once your garlic is golden brown and delicious, add an the now starchy water from used to cook the noodles. The amount should be equal to the amount of olive oil you used. Pour it in carefully, because you don’t want the oil to splash you.
  5. Mix in your crushed chilli and cooked noodles, no need to dry them, and especially don’t rinse them.
  6. Take a fancy photo, and post it to Instagram with the hashtag #foryourfoulmouth

Broccoli.

Some things in life are amazing because they are so easy; like a simple meal and good weather. Since Spring is two thirds over, and summer is almost here, I wanted to cook something that represented those two things well. As much as I love spring, I like to think of it this way: going from winter to spring is like moving out of a rundown apartment. Spring to Summer is like finally unpacking all your stuff!

The first thing that gets unpacked is Broccoli! Its season starts in June and runs though to October. So while it may not be summer yet,  broccoli is a great way to not only celebrate it being a little closer, but in a few months it’s also a great way to grieve it being over. So in the spirit of keeping good weather and a good easy meal, I would share this recipe.

I originally saw this recipe sarcastically mentioned by Chef Gordon Ramsey. He was making a point about how good ingredients stand on their own. He used this as an example of how broccoli, water and salt could make a fantastic soup when done properly. His recipe involved boiling the broccoli then pureeing it. It looked and sounded delicious, however; it got me wondering… a lot of flavour and colour is leached out of vegetables when you boil them. While Chef Ramsey incorporated the leftover boiling water to regain what was lost, he didn’t use all of it. He also isn’t one for giving measurements. So I thought I would try my own method, but steam the broccoli. This not only leaches less flavour from the broccoli, but also enhances the colour.

So for my take on this you will need:

Ingredients:

  • 1.14kg Broccoli
  • 2 tsp Salt
  • 4 cups Water
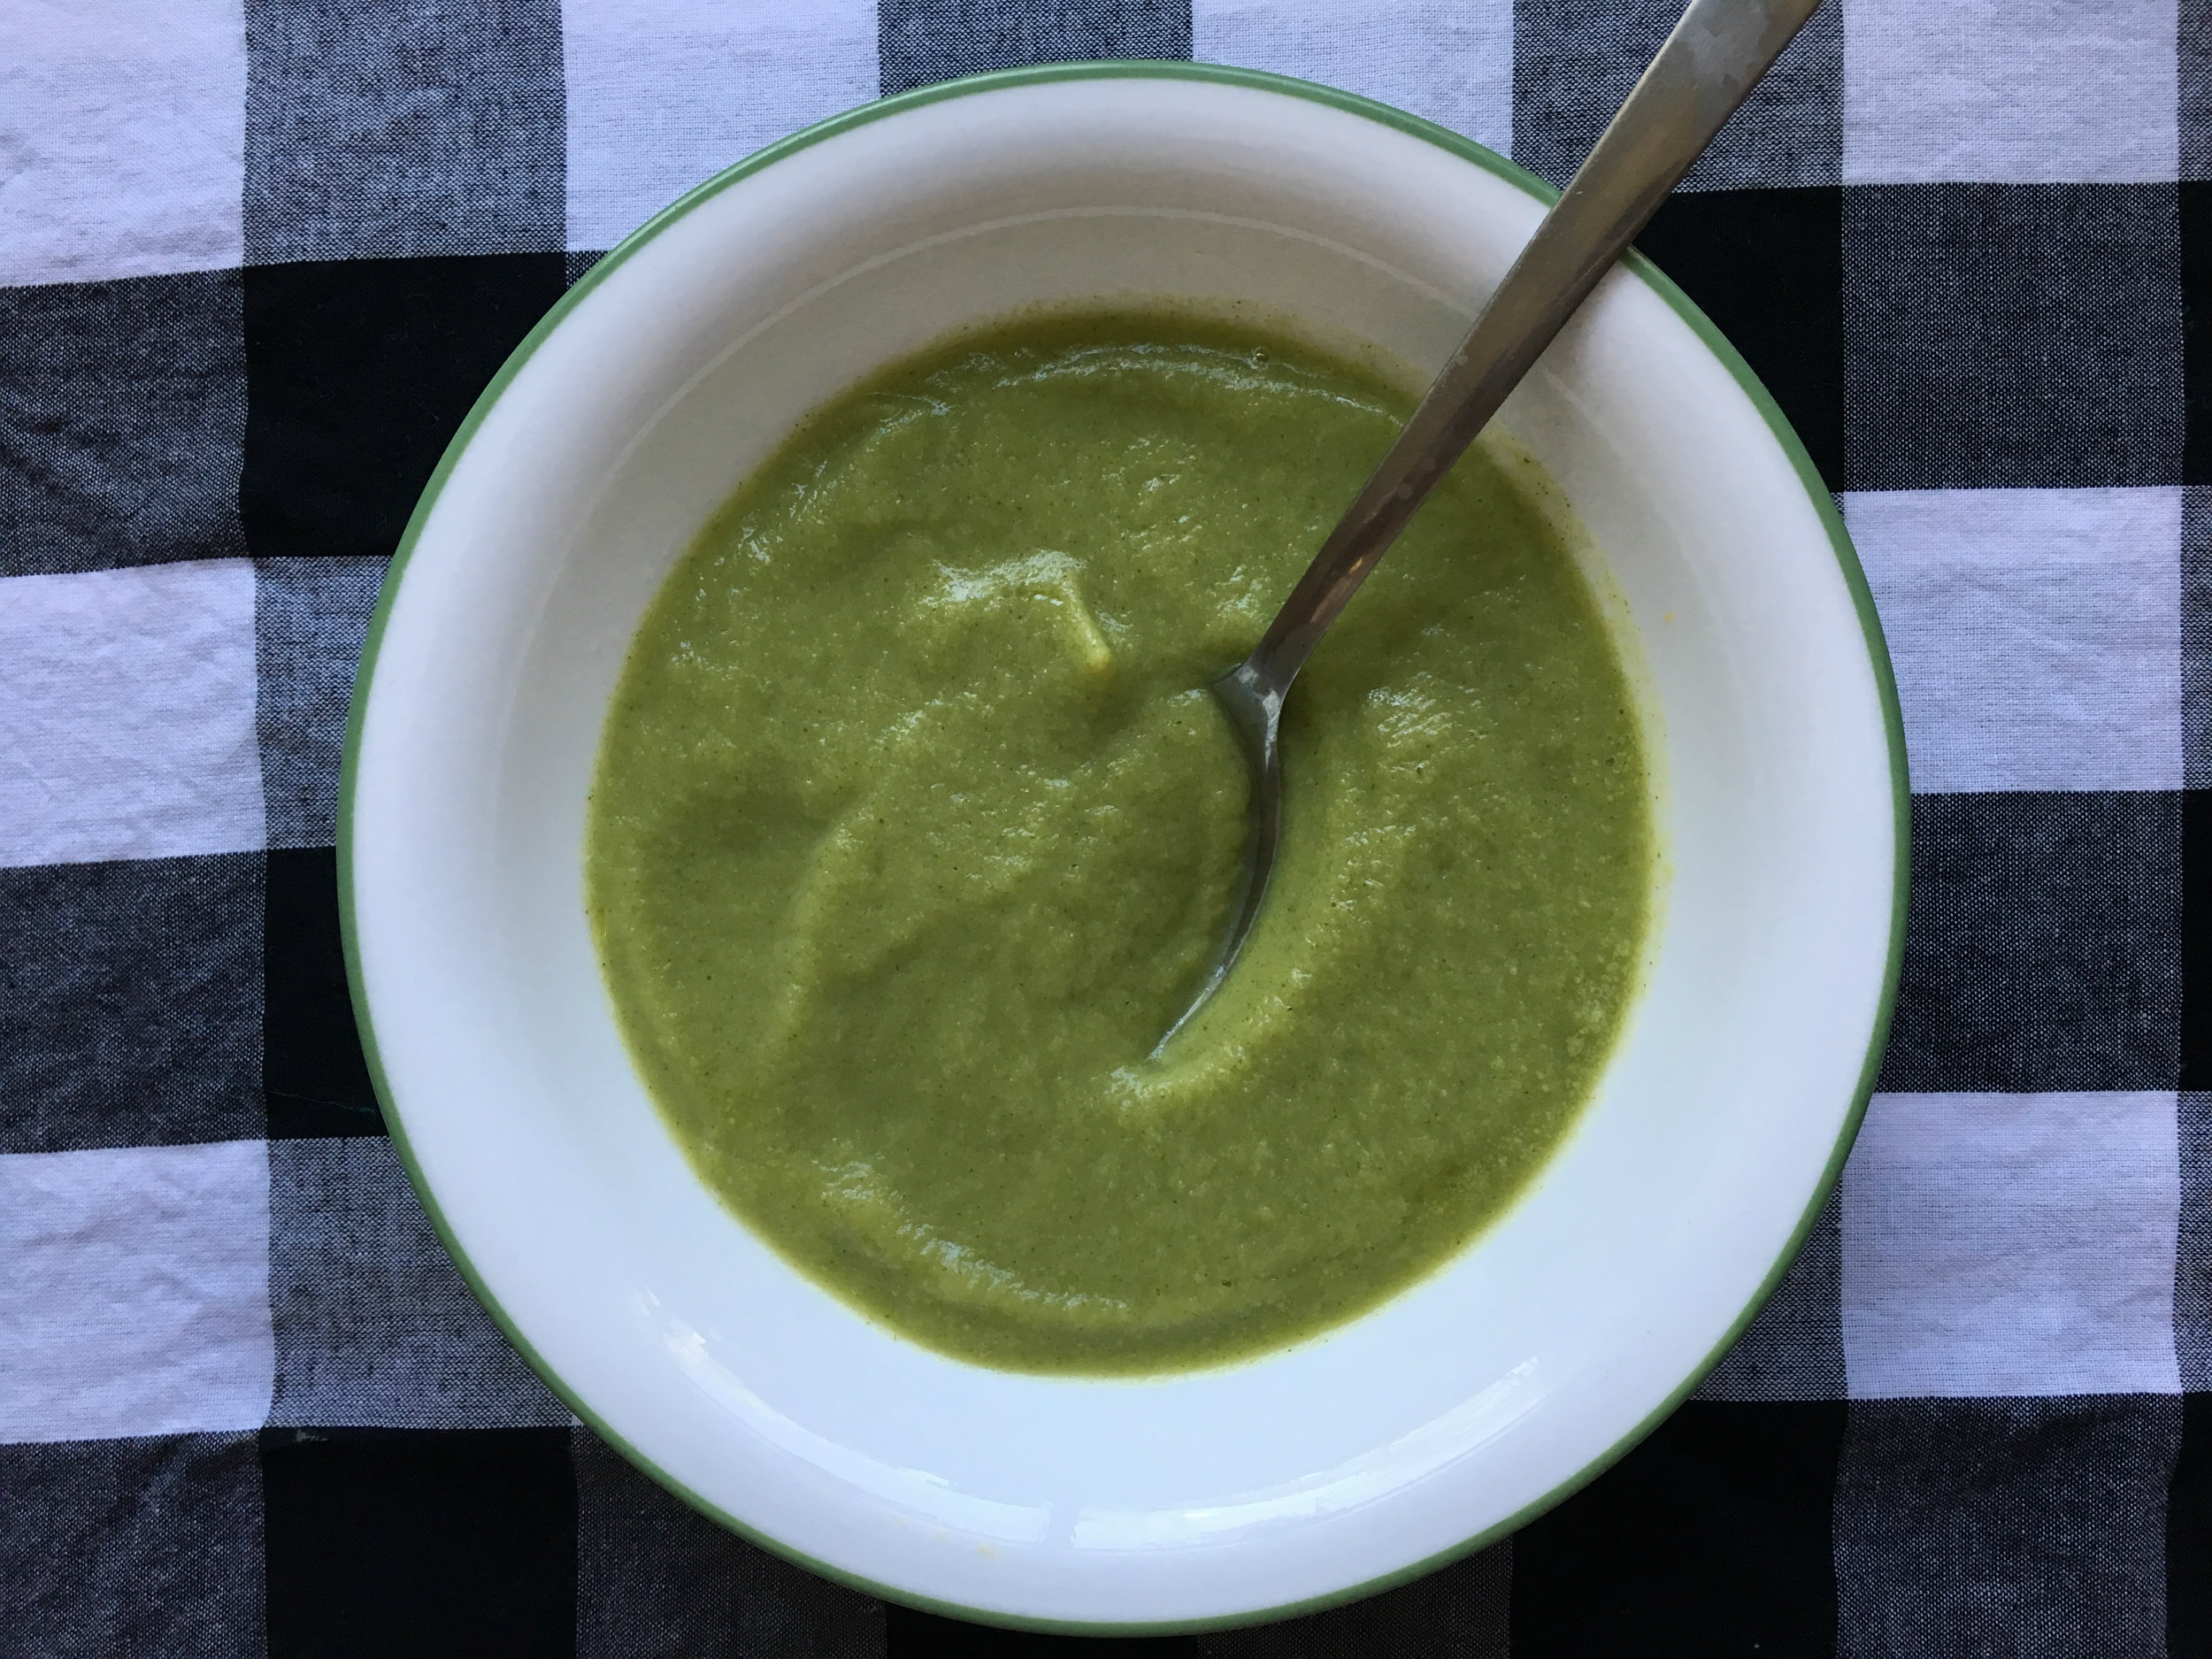
  1. Wash and dry your broccoli throughly. Broccoli grows in dirt, and who wants to eat dirt?
  2. Cut the broccoli in to florets, and discard the stems*
  3. Place 4 cups of water and a steamer basket into a pot. The water level should not be higher than the basket. My pot came with a basket that sits on top of the pot.
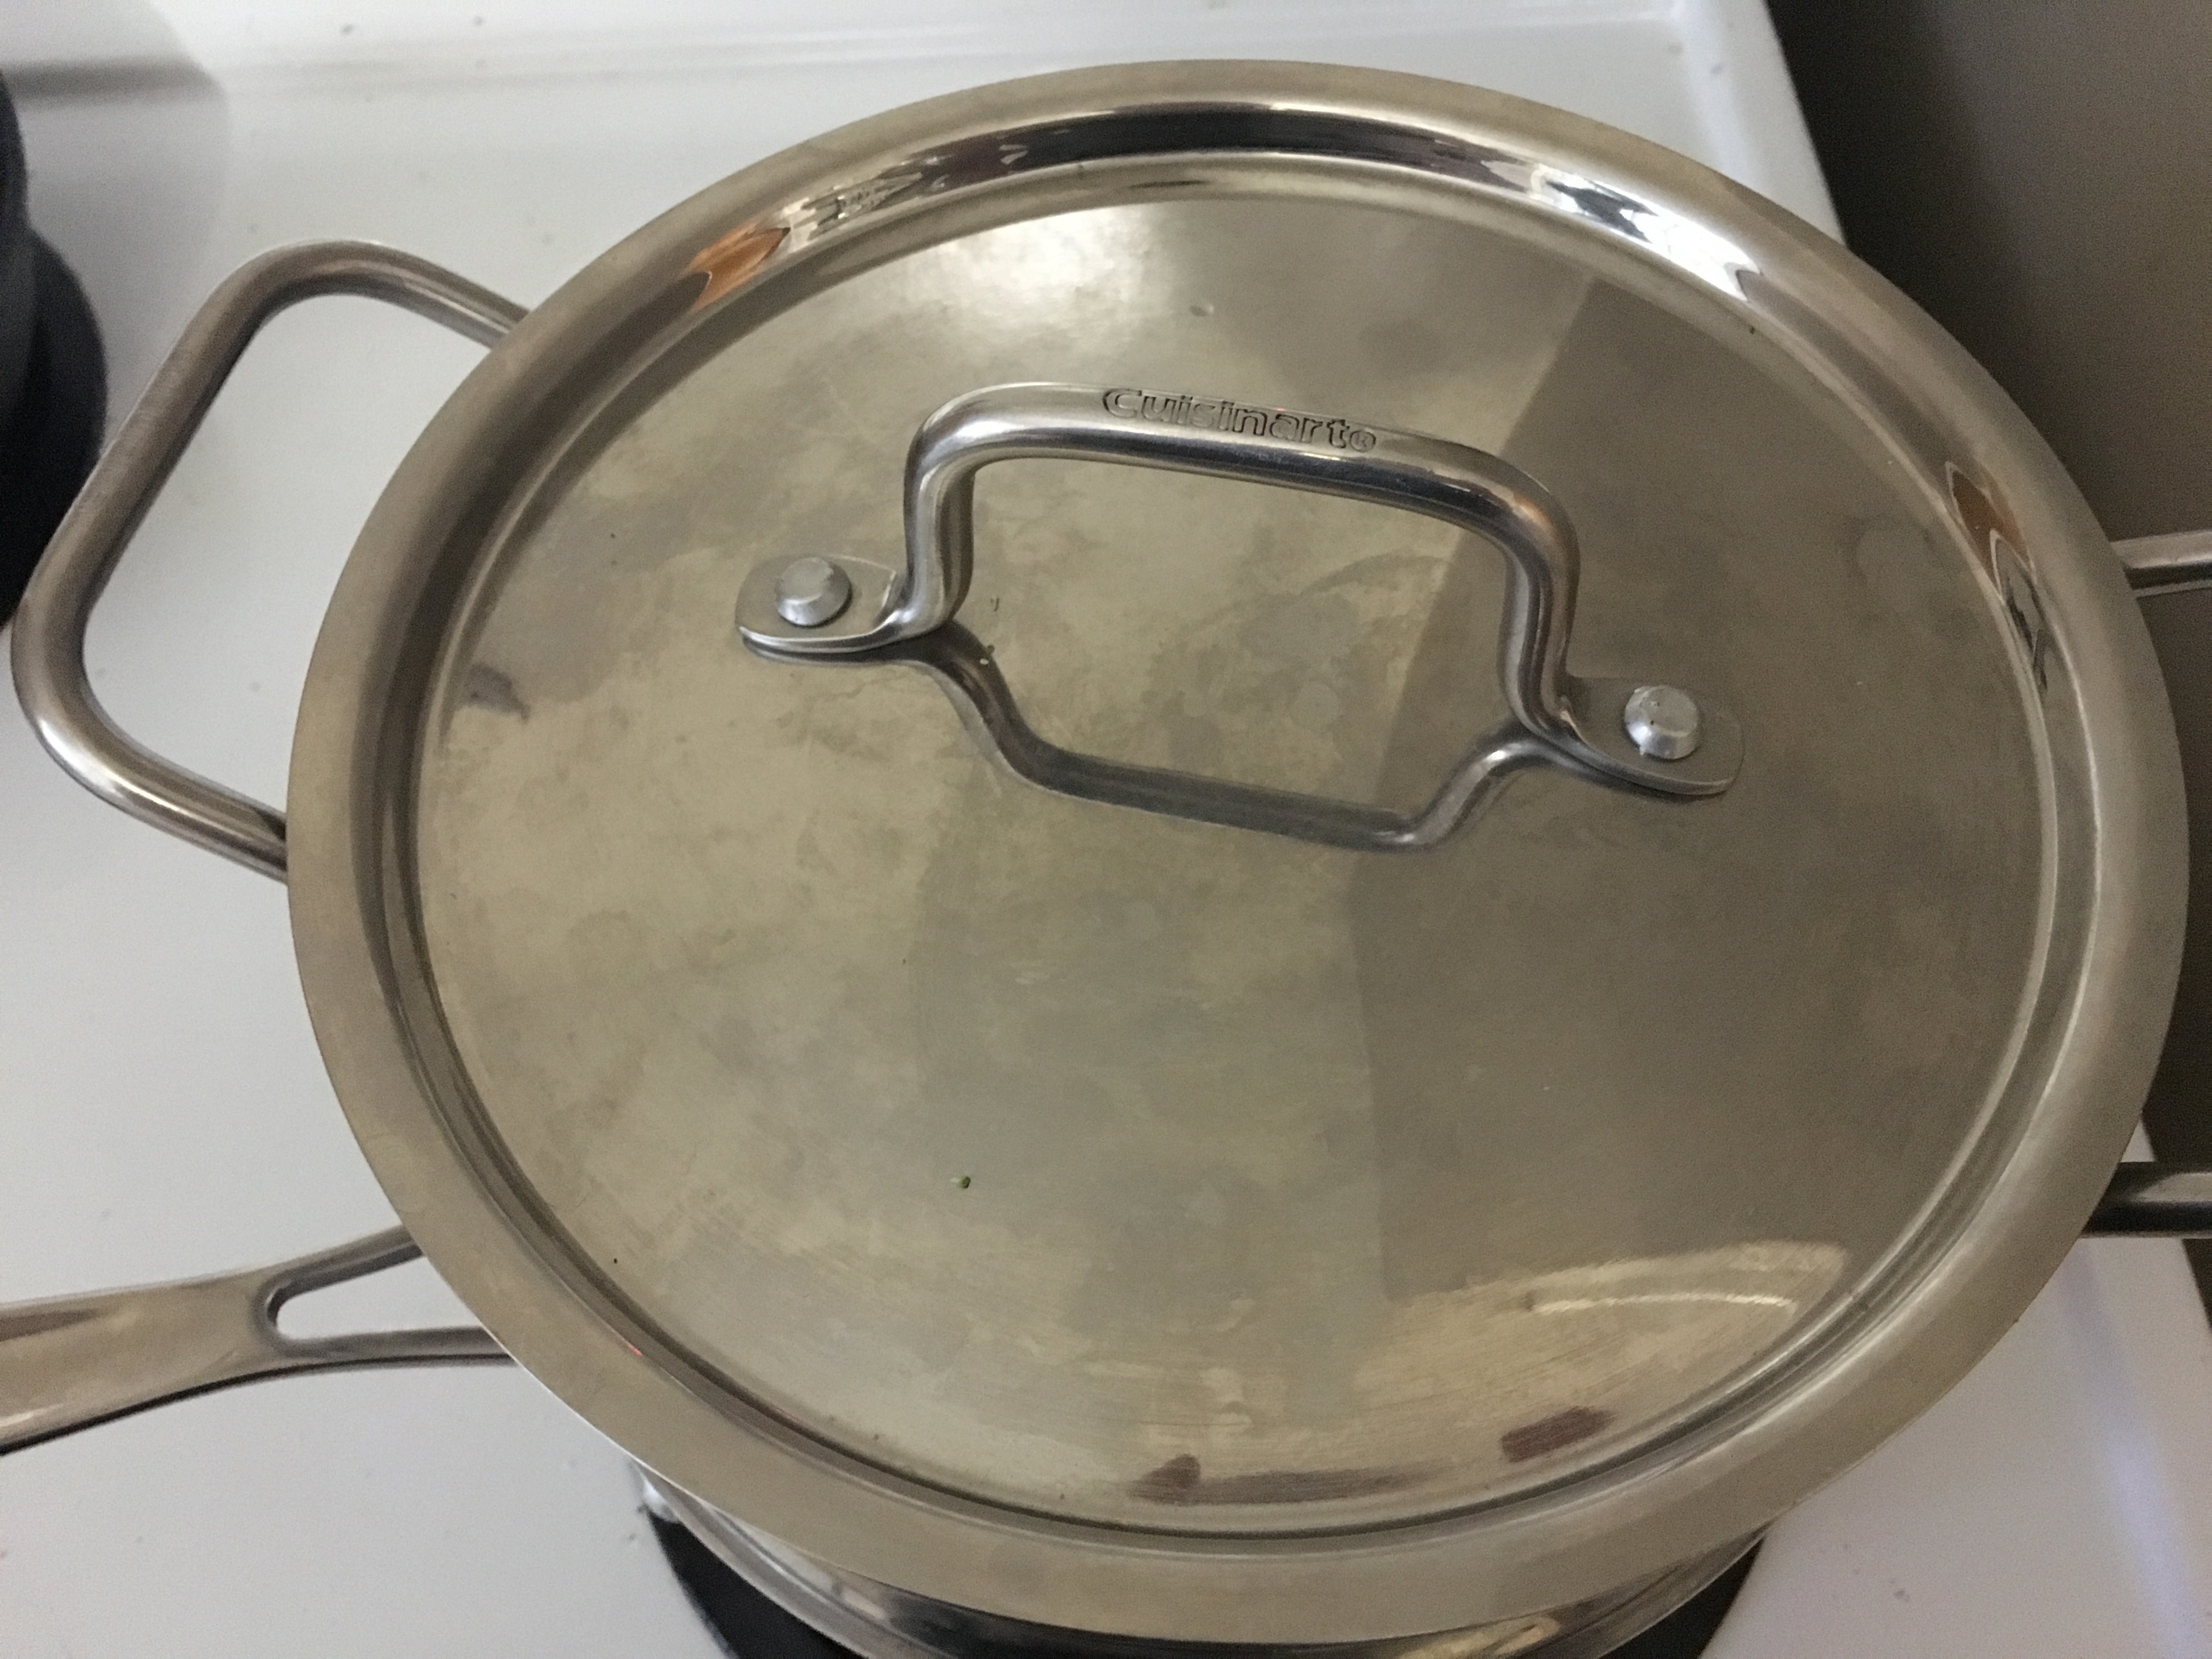
  4. Put the pot on high heat, and wait for a good head of steam to form. Put your broccoli in the basket, and place the lid on.
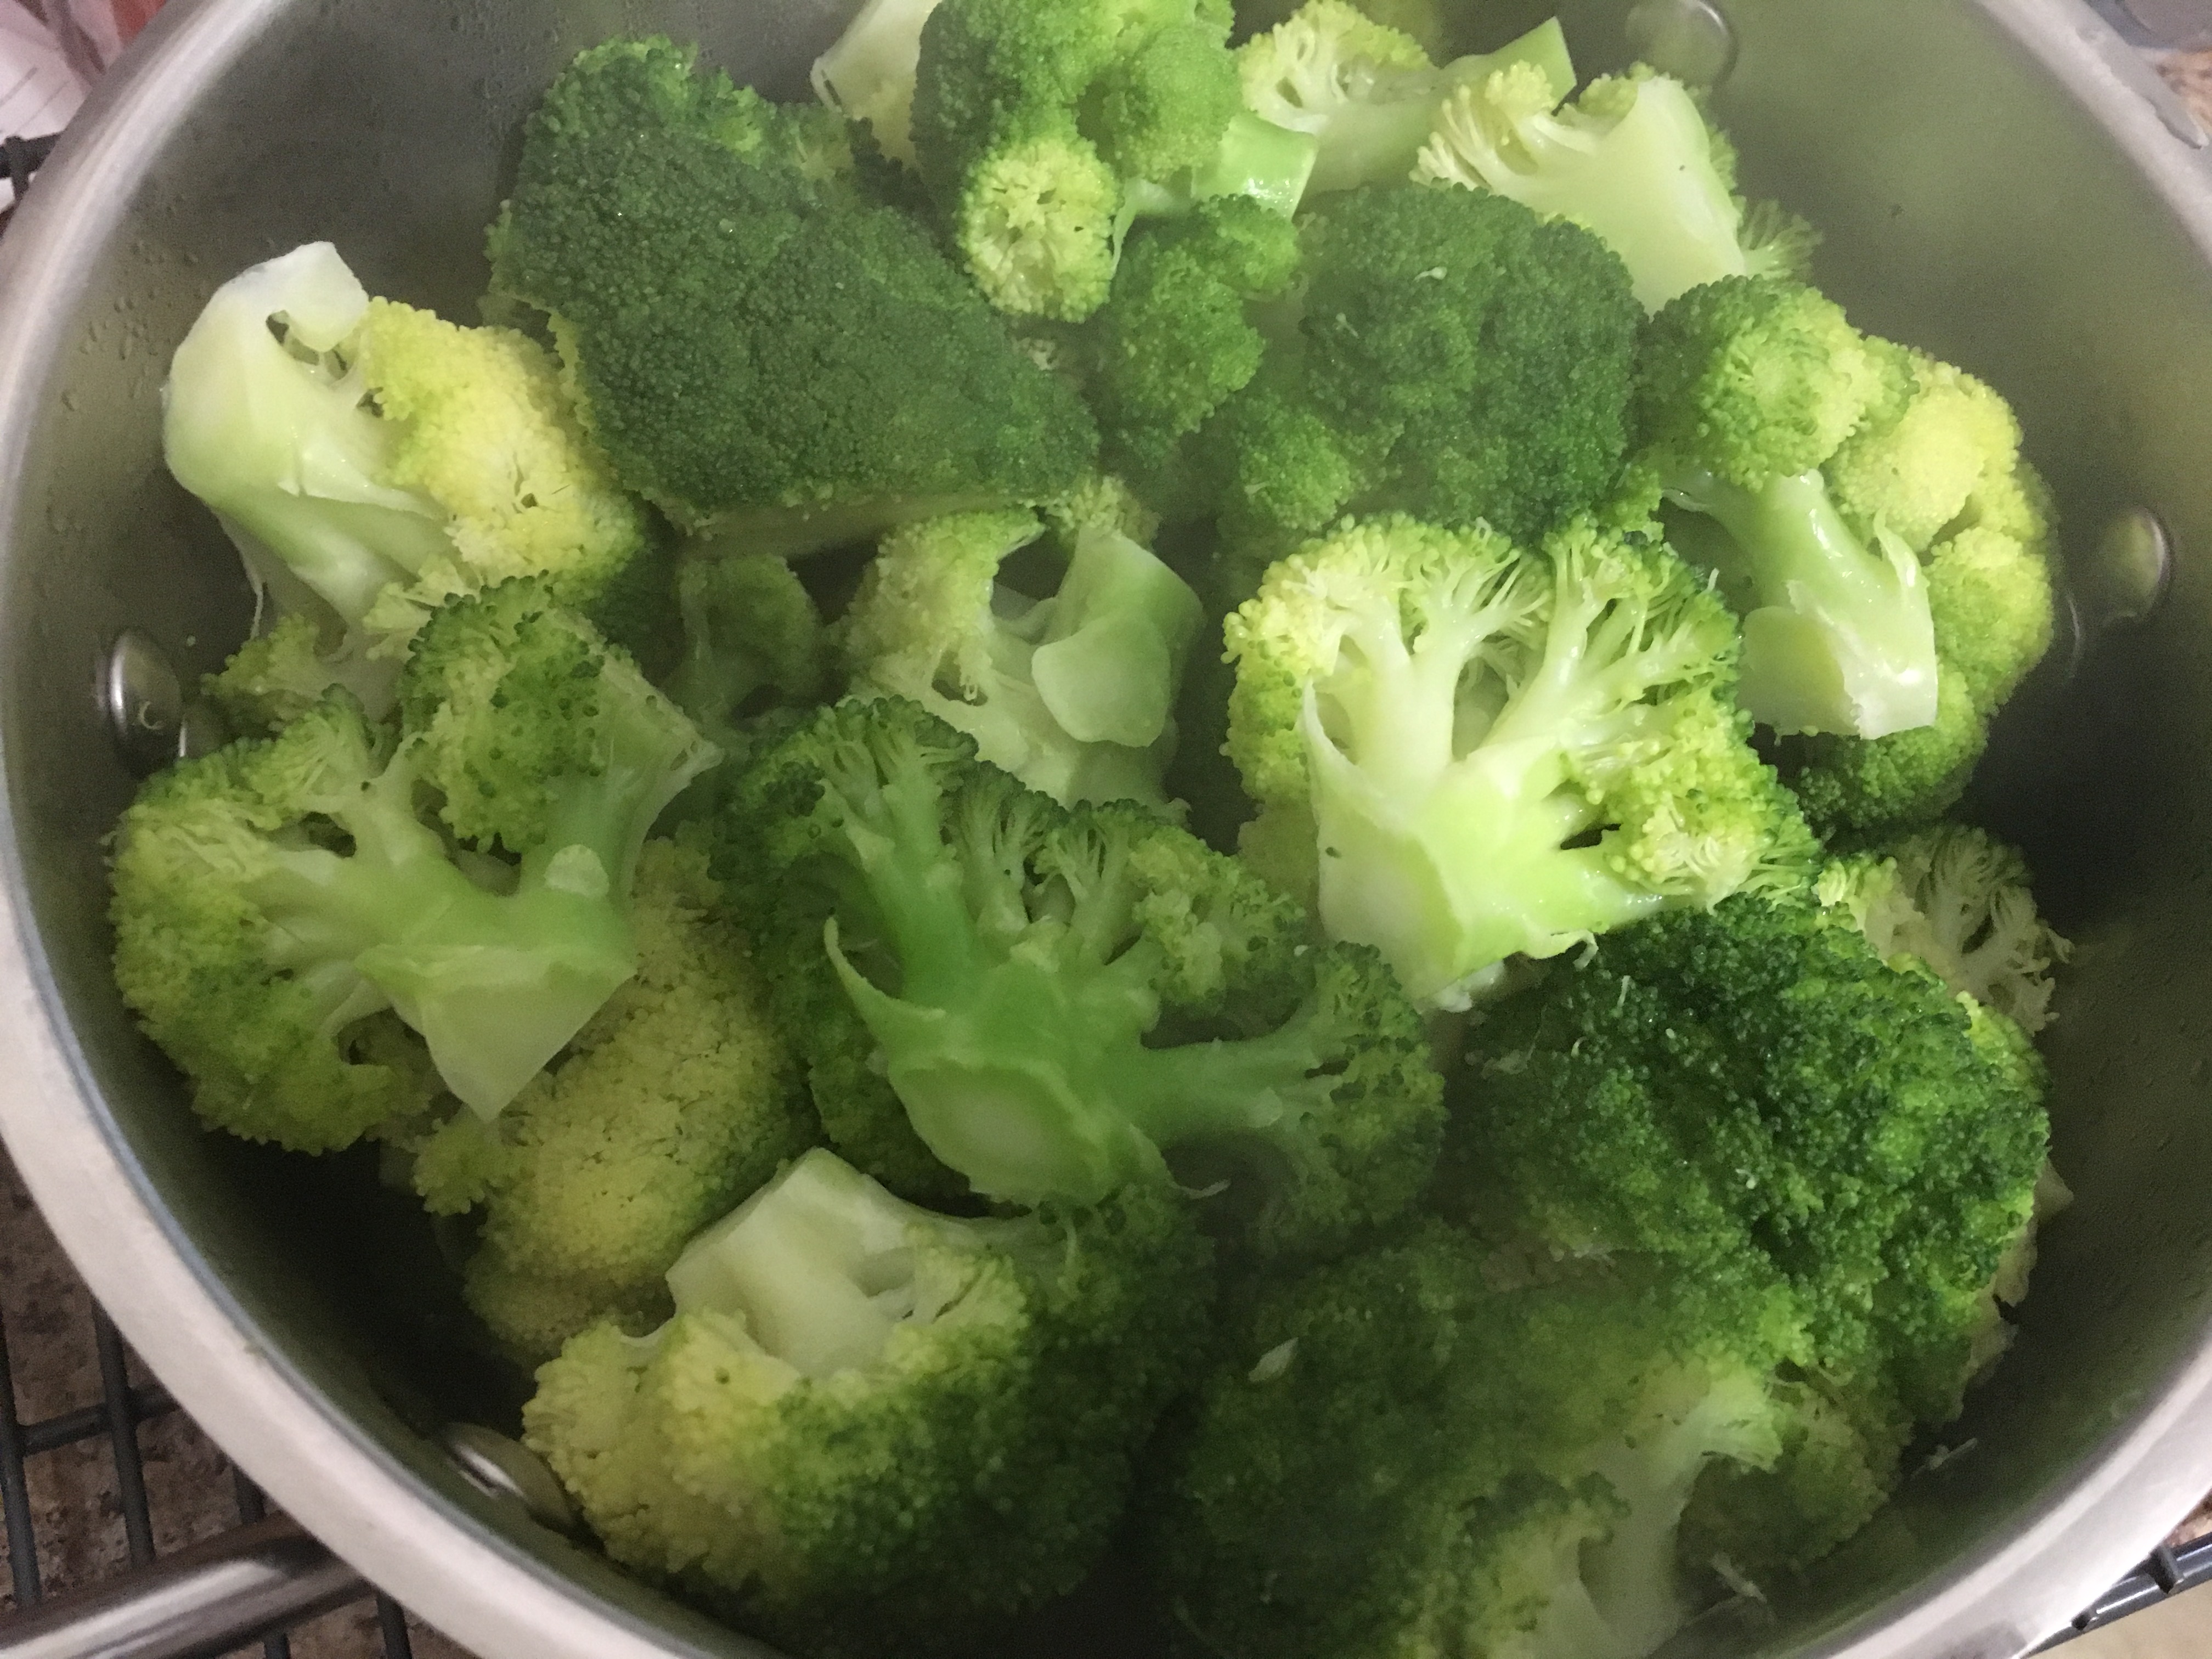
  5. Wait 3 minutes, and check to see if your broccoli has turned bright green, and is fork tender. Reserve steaming water for later
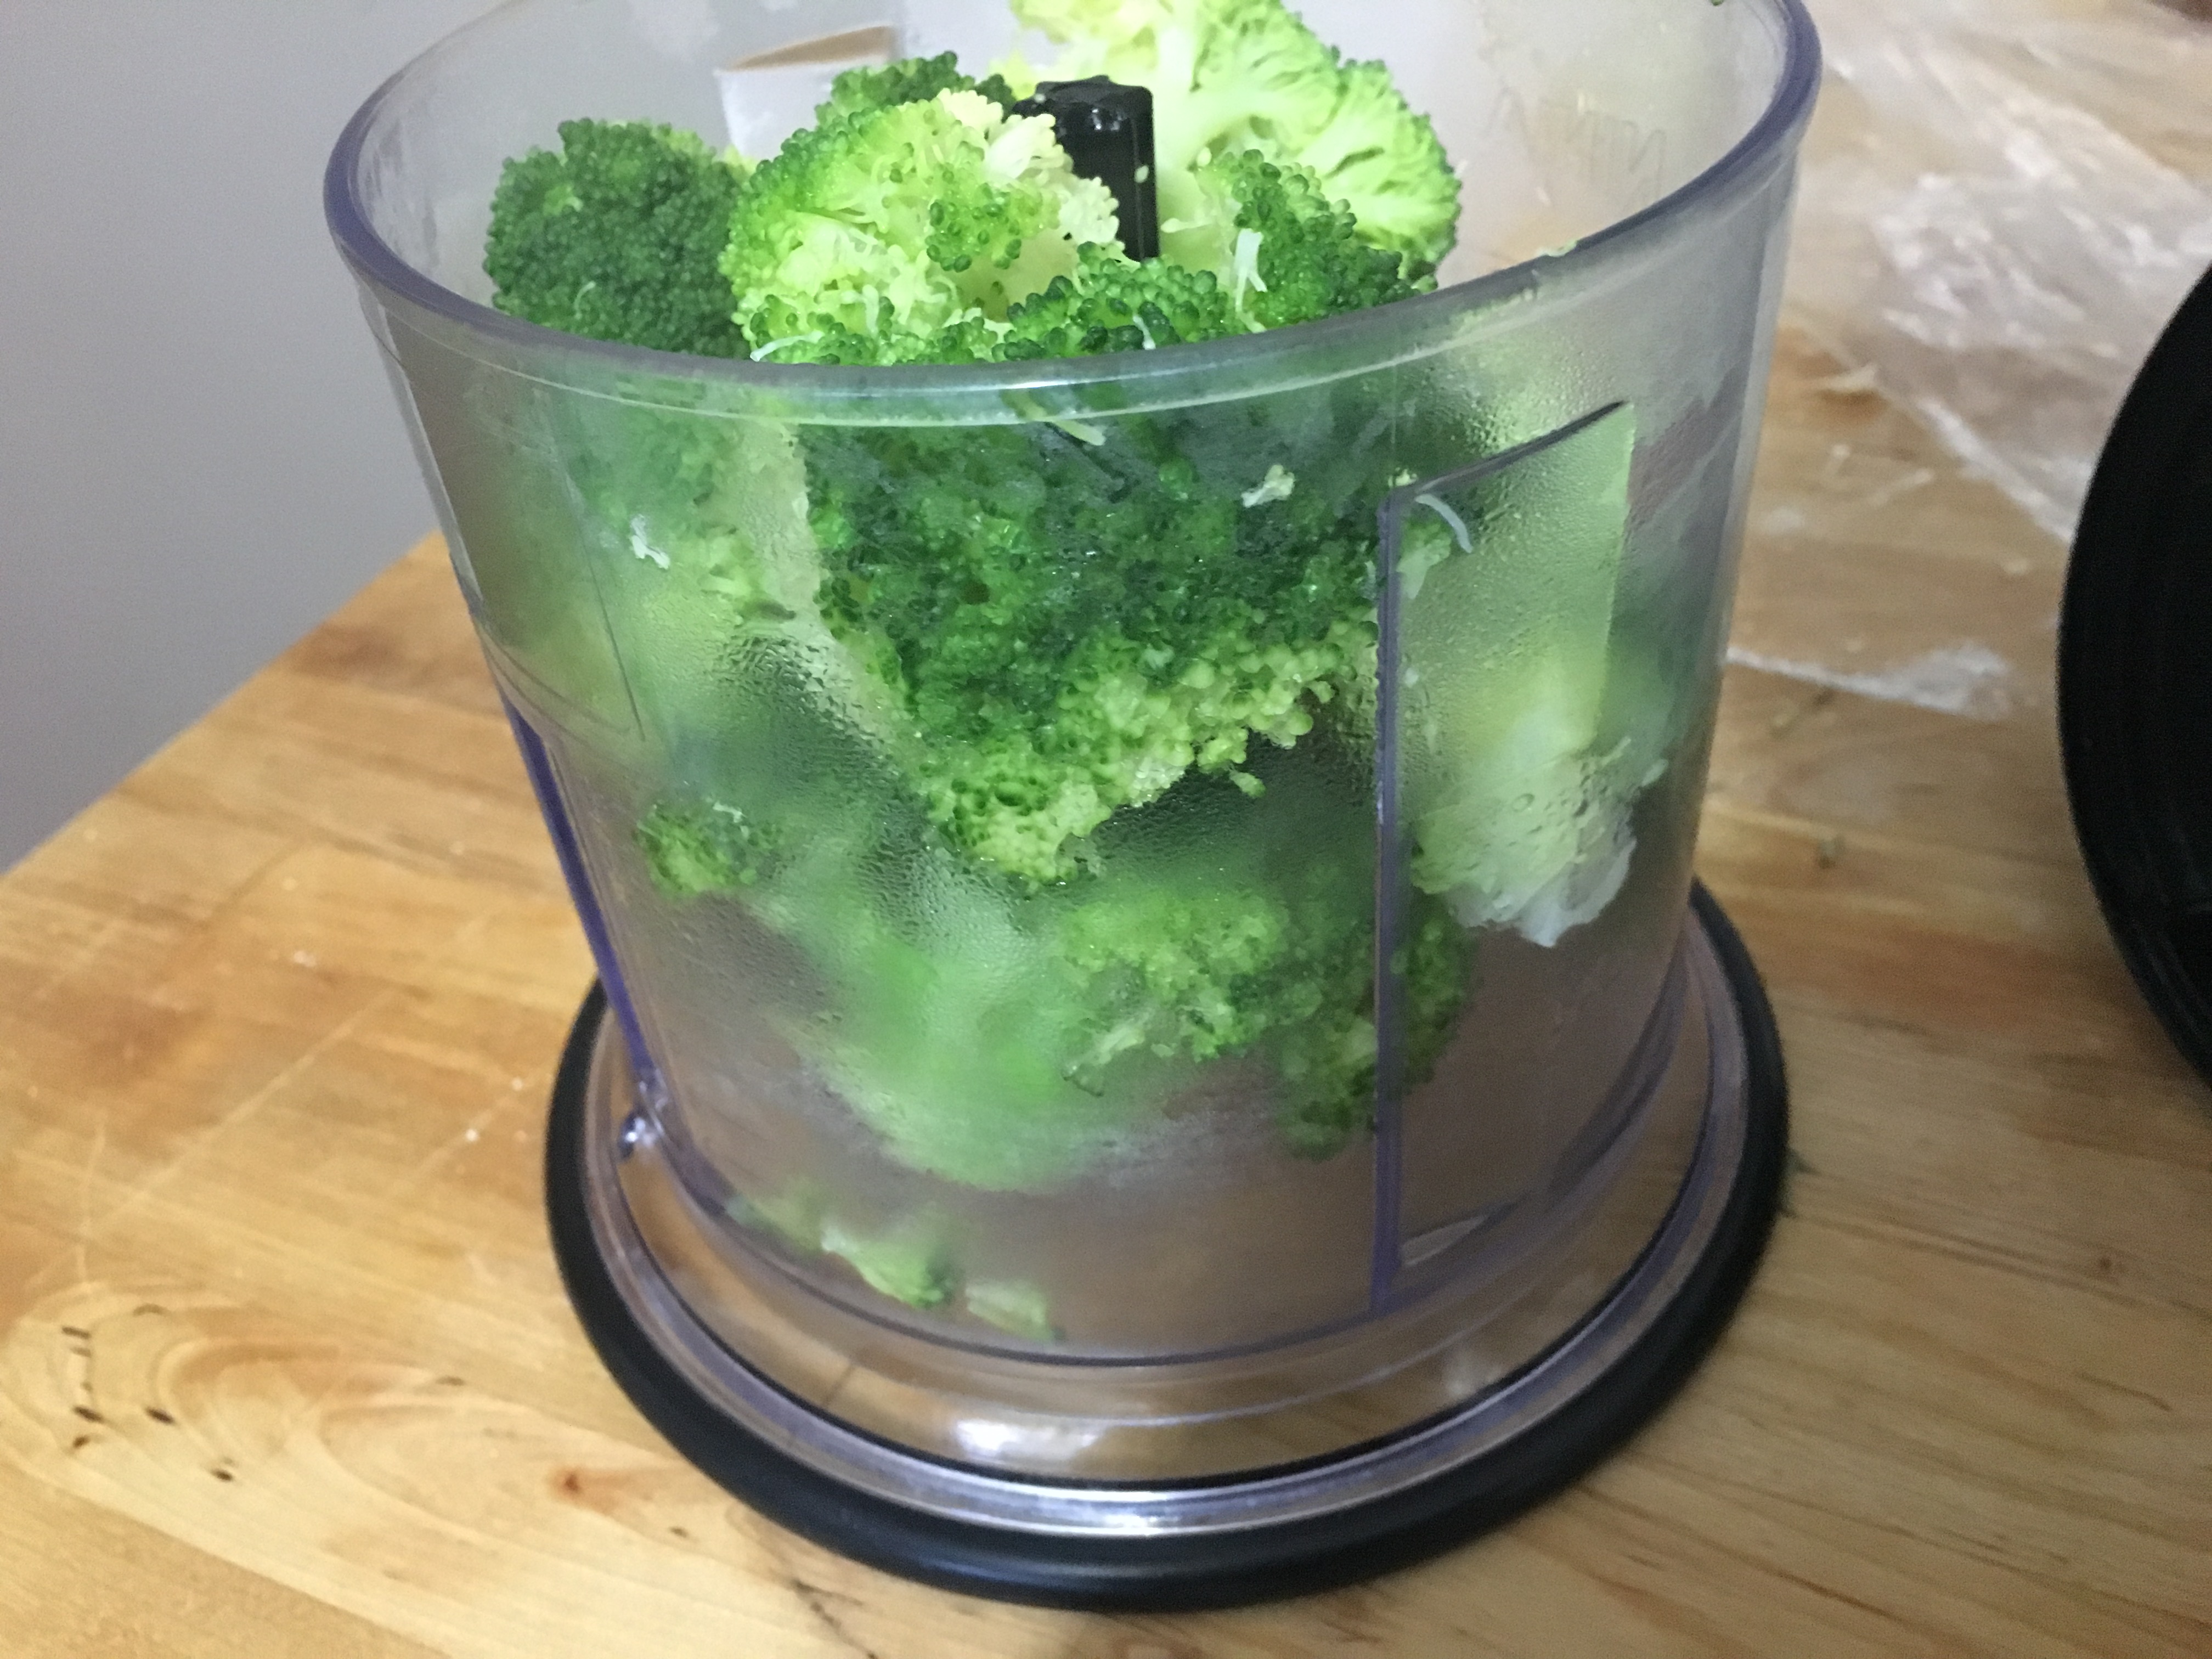
  6. Place the cooked broccoli into a food processor, and pulse until the broccoli pieces are the size of small bread crumbs. I didn’t have a big enough food processor, so I did mine in batches. Put the broccoli in a pitcher, and switch to a immersion blender for the rest of the recipe.
  7. Measure how much of the reserved water you have leftover, and add fresh water until the two combined are approximately 3 cups. In my case I had 2 1/4 cups after steaming, so I added another cup. Add this to your broccoli and blend until smooth.
  8. As the mixture gets thicker add another cup of fresh water. This will take a while. In my case it took somewhere between 5-10 minutes. You’ll know it’s smooth enough when you taste it and it has no ‘grainy’ taste.
  9. Put puree back into a pot on low to medium heat
  10. Once The soup has throughly heated, place in a bowls and serve
  11. Take a fancy photo, and post it to Instagram with the hashtag #foryourfoulmouth
*In hindsight I realized I could have added the stocks to the water I used to steam the broccoli. Since I was adding it to the soup in the end, this would have added more flavour to the end product.

What to Do In a Jam

Spring is when some of the best produce is made; including peas, root veg, asparagus, rhubarb, and oddly enough, strawberries. Doesn’t that last one just stick out like a sore thumb?

I love Strawberries, these little guys are not only sweet, but confusing as hell. For example, they aren’t berries, they aren’t even fruits! They are in the same family of plants as roses, and the fleshy part of the ‘berry’ is what botanist call a fleshy receptacle, which is a fancy word for a swollen part of the vine that holds seeds. Which I think technically makes them a vegetable, however I couldn’t find anything that confirms they are. That being said, the ‘seeds’ on the outside, are actually little fruits! Which make the whole strawberry an aggregate accessory fruit. When you think about it, accessories can make the outfit, and accessories to murder still go to jail, so what’s the difference!

All that aside, let’s start making some jam.

I’m using rhubarb from my local farmers market, and frozen strawberries… which might sound odd, but here is the fact of the matter: the weather has given my area little to no strawberries. The weather in Peru must be beautiful this time of year because the package of frozen strawberries I bought were from there, and they were perfect.

Fruit and vegetables get all their taste and nutrients from the vine/ground they grow in/on. When you buy fruit and vegetables from the grocery store, the product is picked early, so it will ripen as it travels; giving it a longer shelf life. This means the quality of the product suffers. Buying local is a great way to get a better product because it has a shorter travel distance, and therefore get more time in the soil. Because of the afformentioned weather here, the strawberries are subpar and non existent in the farmers’ market. So, I’m going for the frozen strawberries. Firstly,  they are picked right when they are ripe, and then flash frozen. Secondly, they are brought in from where the weather has been kinder to them. So it’s the best choice for me now.
This Jam came out beautifully, the classic mixture of strawberries and rhubarb is popular for a reason, and the added hint of caramel was a nice addition. That being said, the recipe given below is what I did, but if I were to do it again, I would definitely cut the Pectin in half, and replace more of the regular sugar with the Browned sugar.

Browned Sugar:

  • 283g (10oz) of granulated sugar.
  • This is essentially caramel that acts more like sugar. It has that sweet aromatic flavour of caramel, but remains crystallized like sugar.

Jam:

  • 600g Frozen sliced strawberries (yes frozen, read above for why)
  • 200g of Rhubarb
  • 254g Browned Sugar
  • 293g Sugar
  • 57g Pectin
  • 1.5 T Vinegar
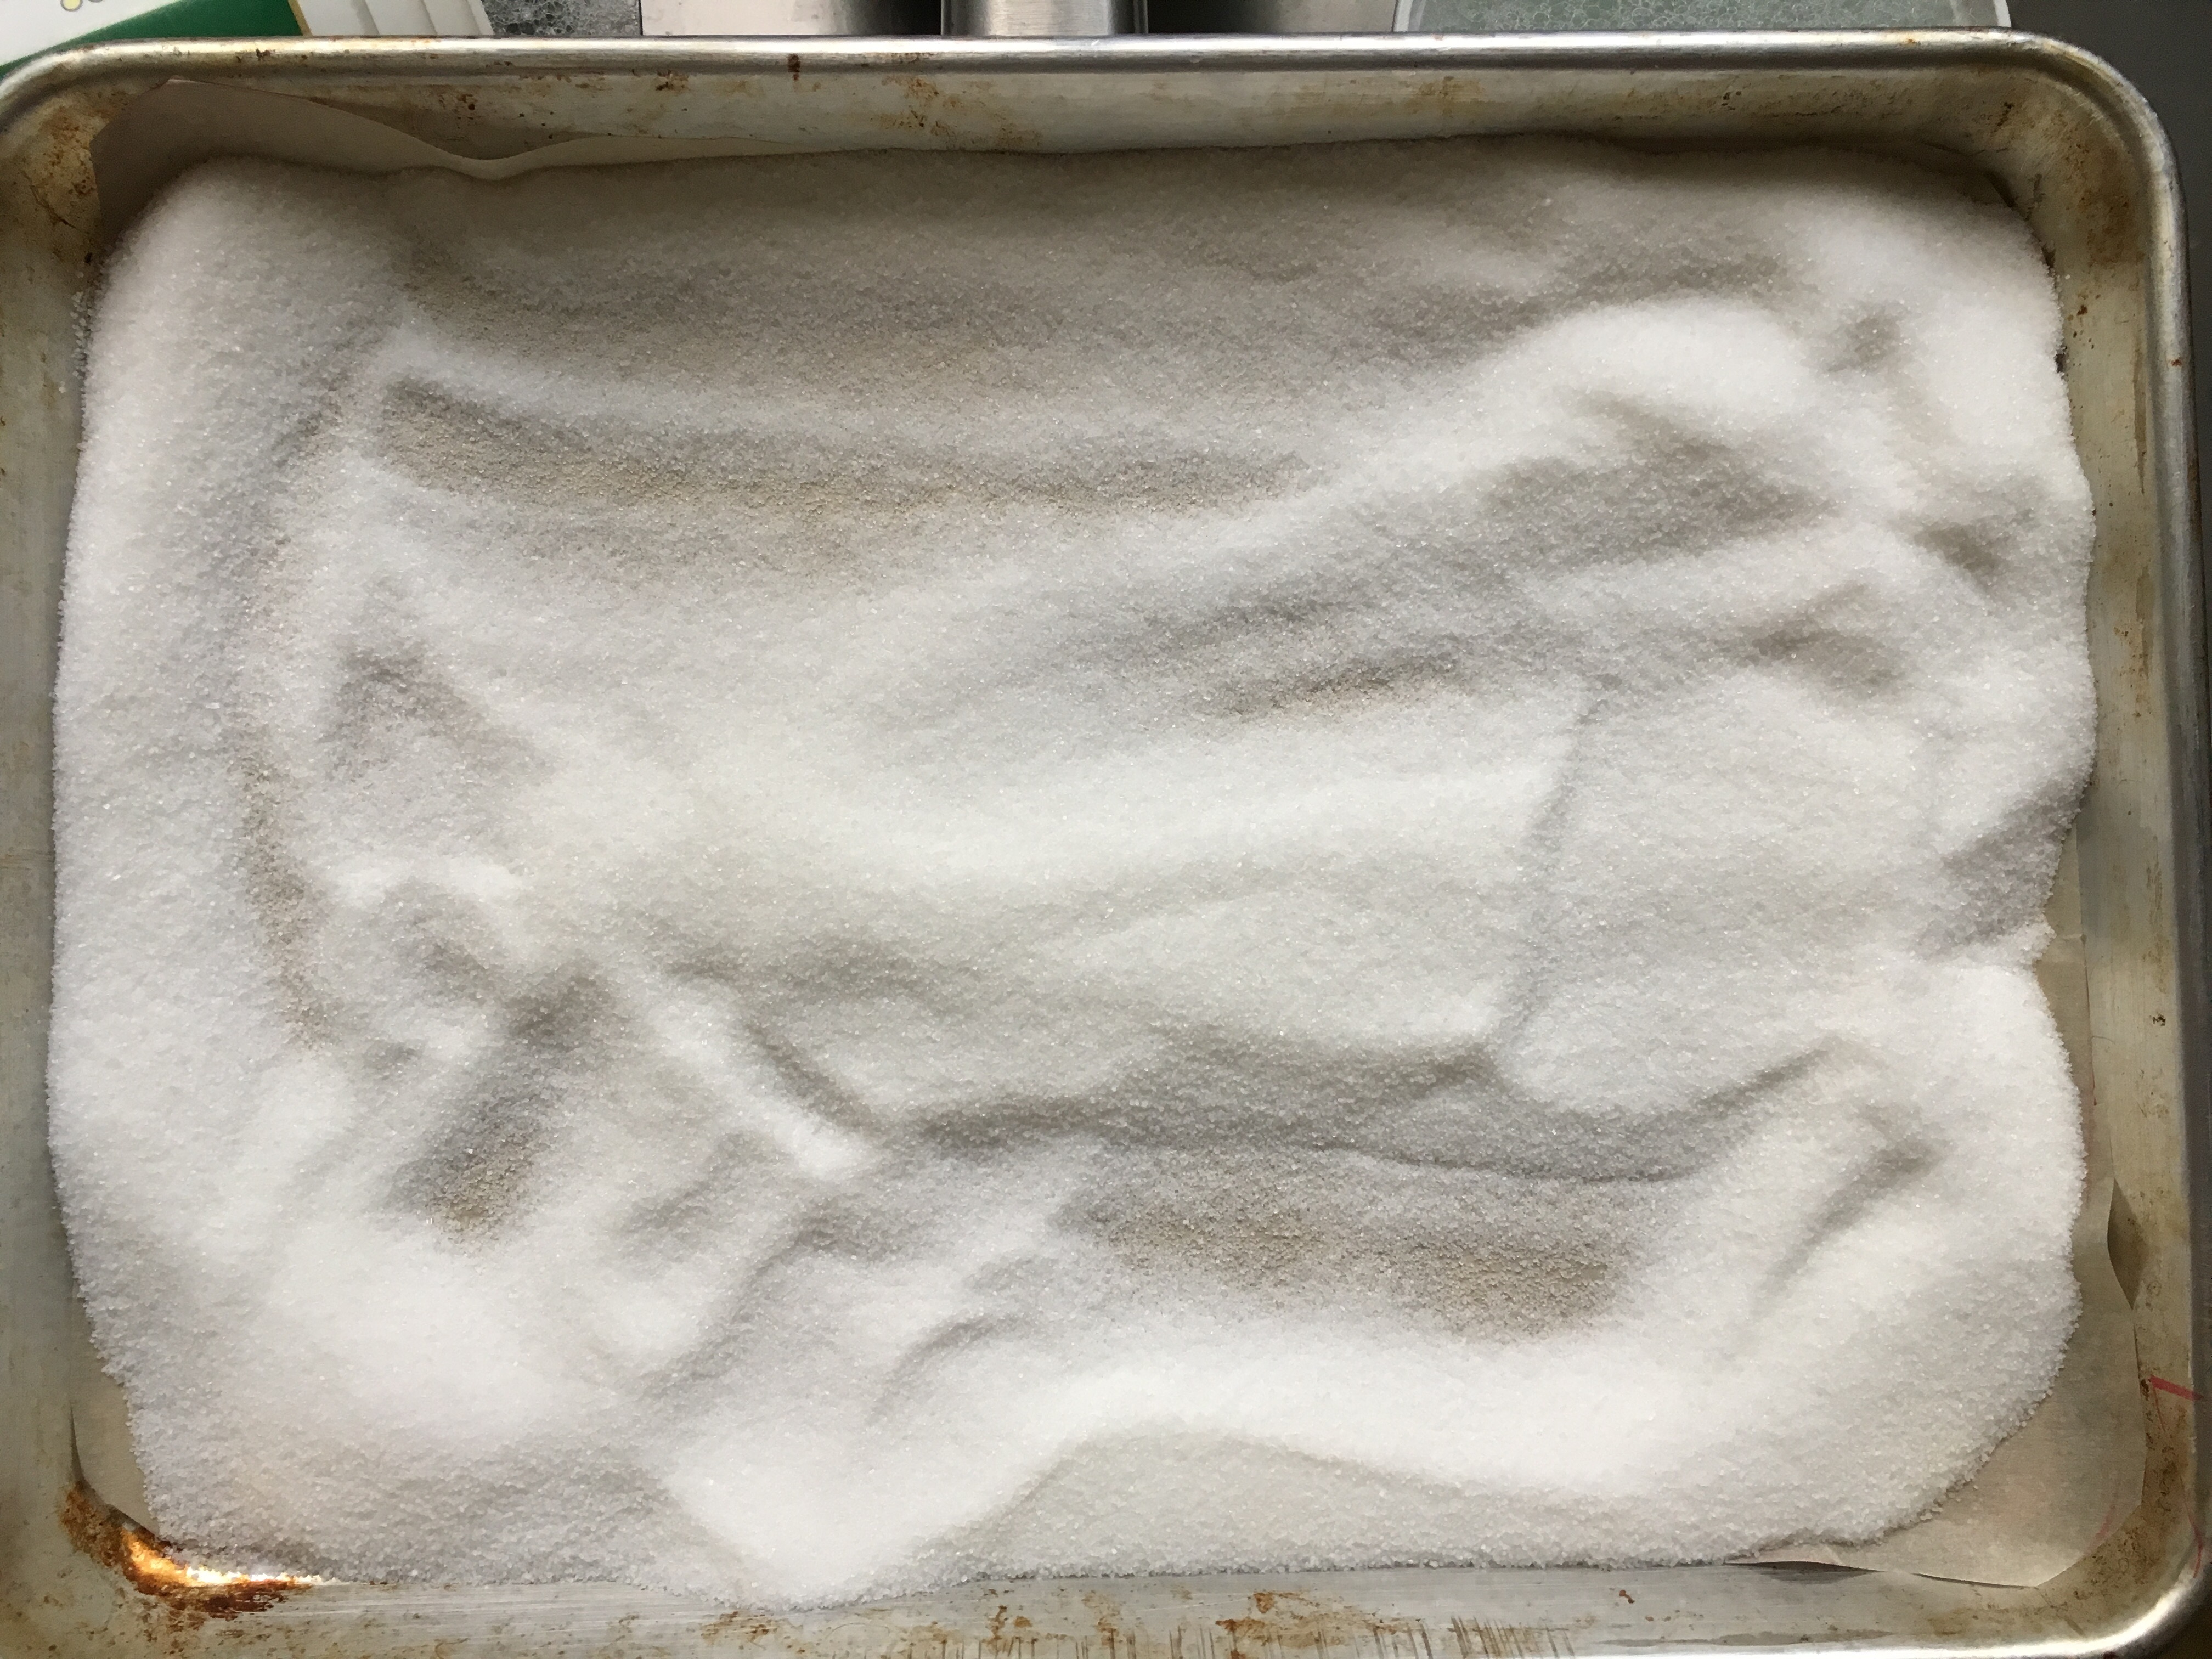
  1. Place a piece of parchment paper on a sheet pan, and layer 283g of sugar evenly over the sheet pan.
  2. Place pan into a 270 degree convection oven (300 degree, if not convection).
  3. After half an hour, use a spatula to move sugar around, and break up any clumps forming. Rotate pan 180 degrees.
  4. Keep repeating step 3 until sugar is golden brown and delicious
    Let sugar cool, if lots of clumps form, use a food processor to restore to granules

Now that we have the Browned Sugar, let’s start our jam!

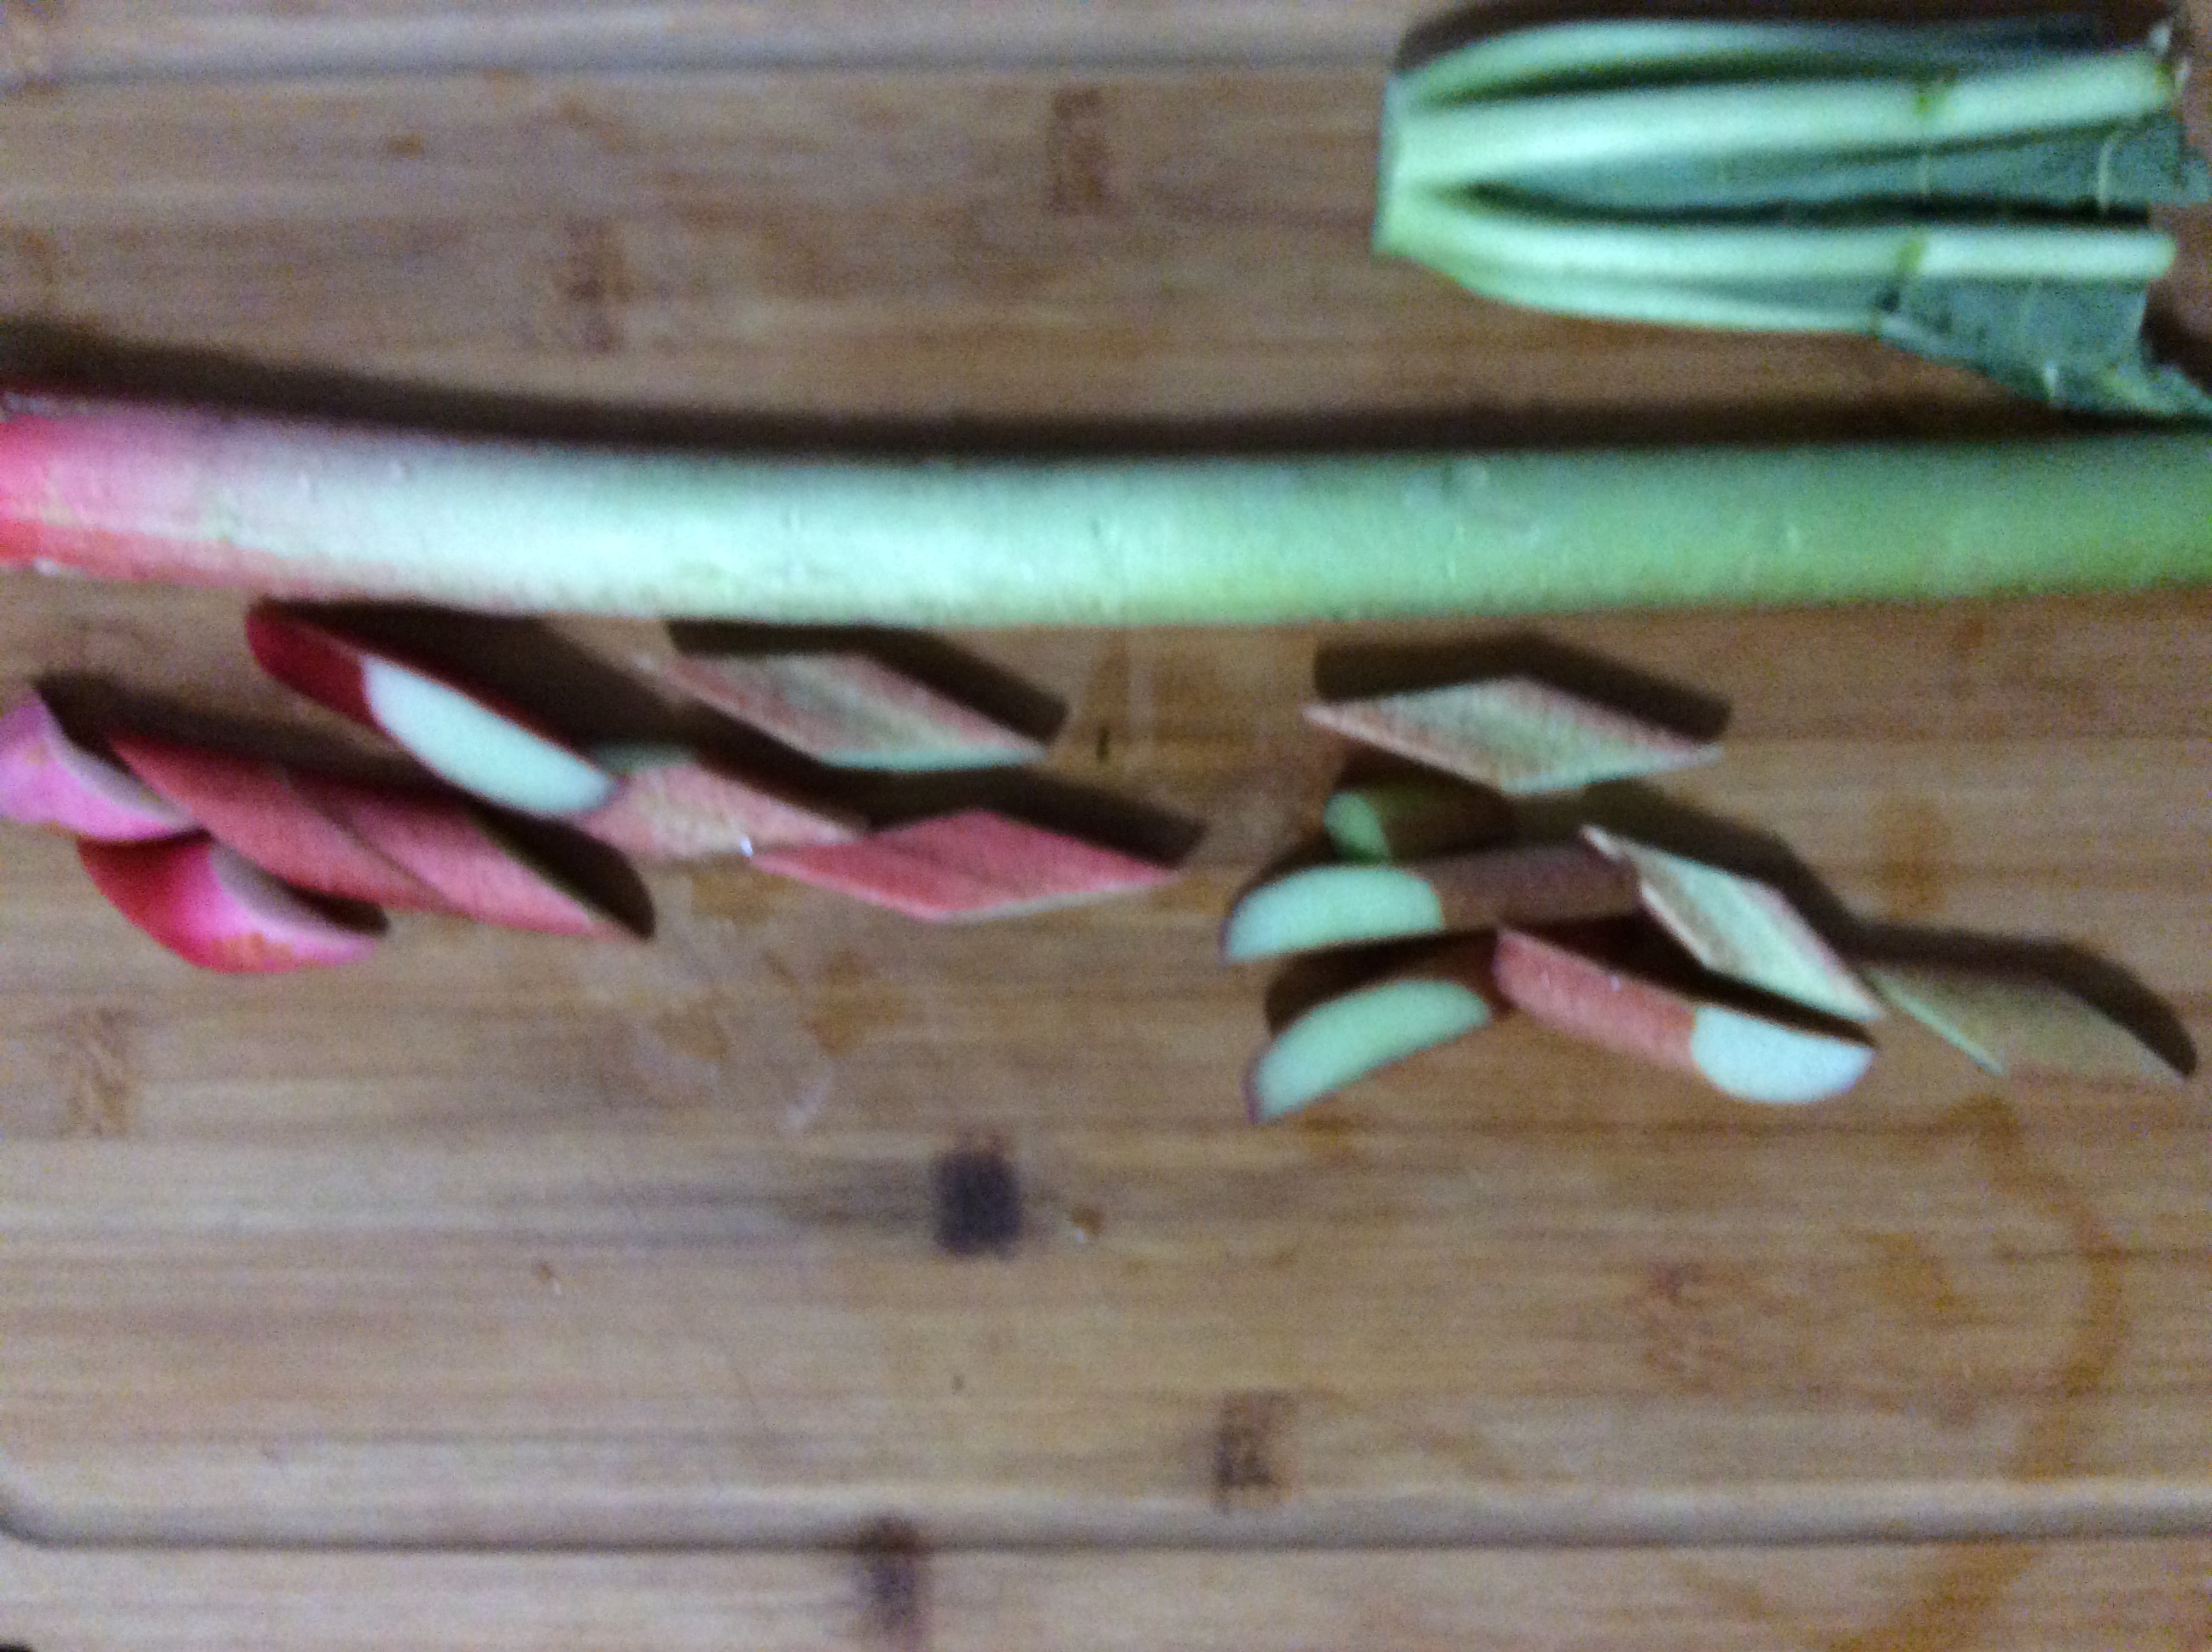
  1. Wash the rhubarb, trim off the leaves and branches, then cut it into 1″ bias slices.
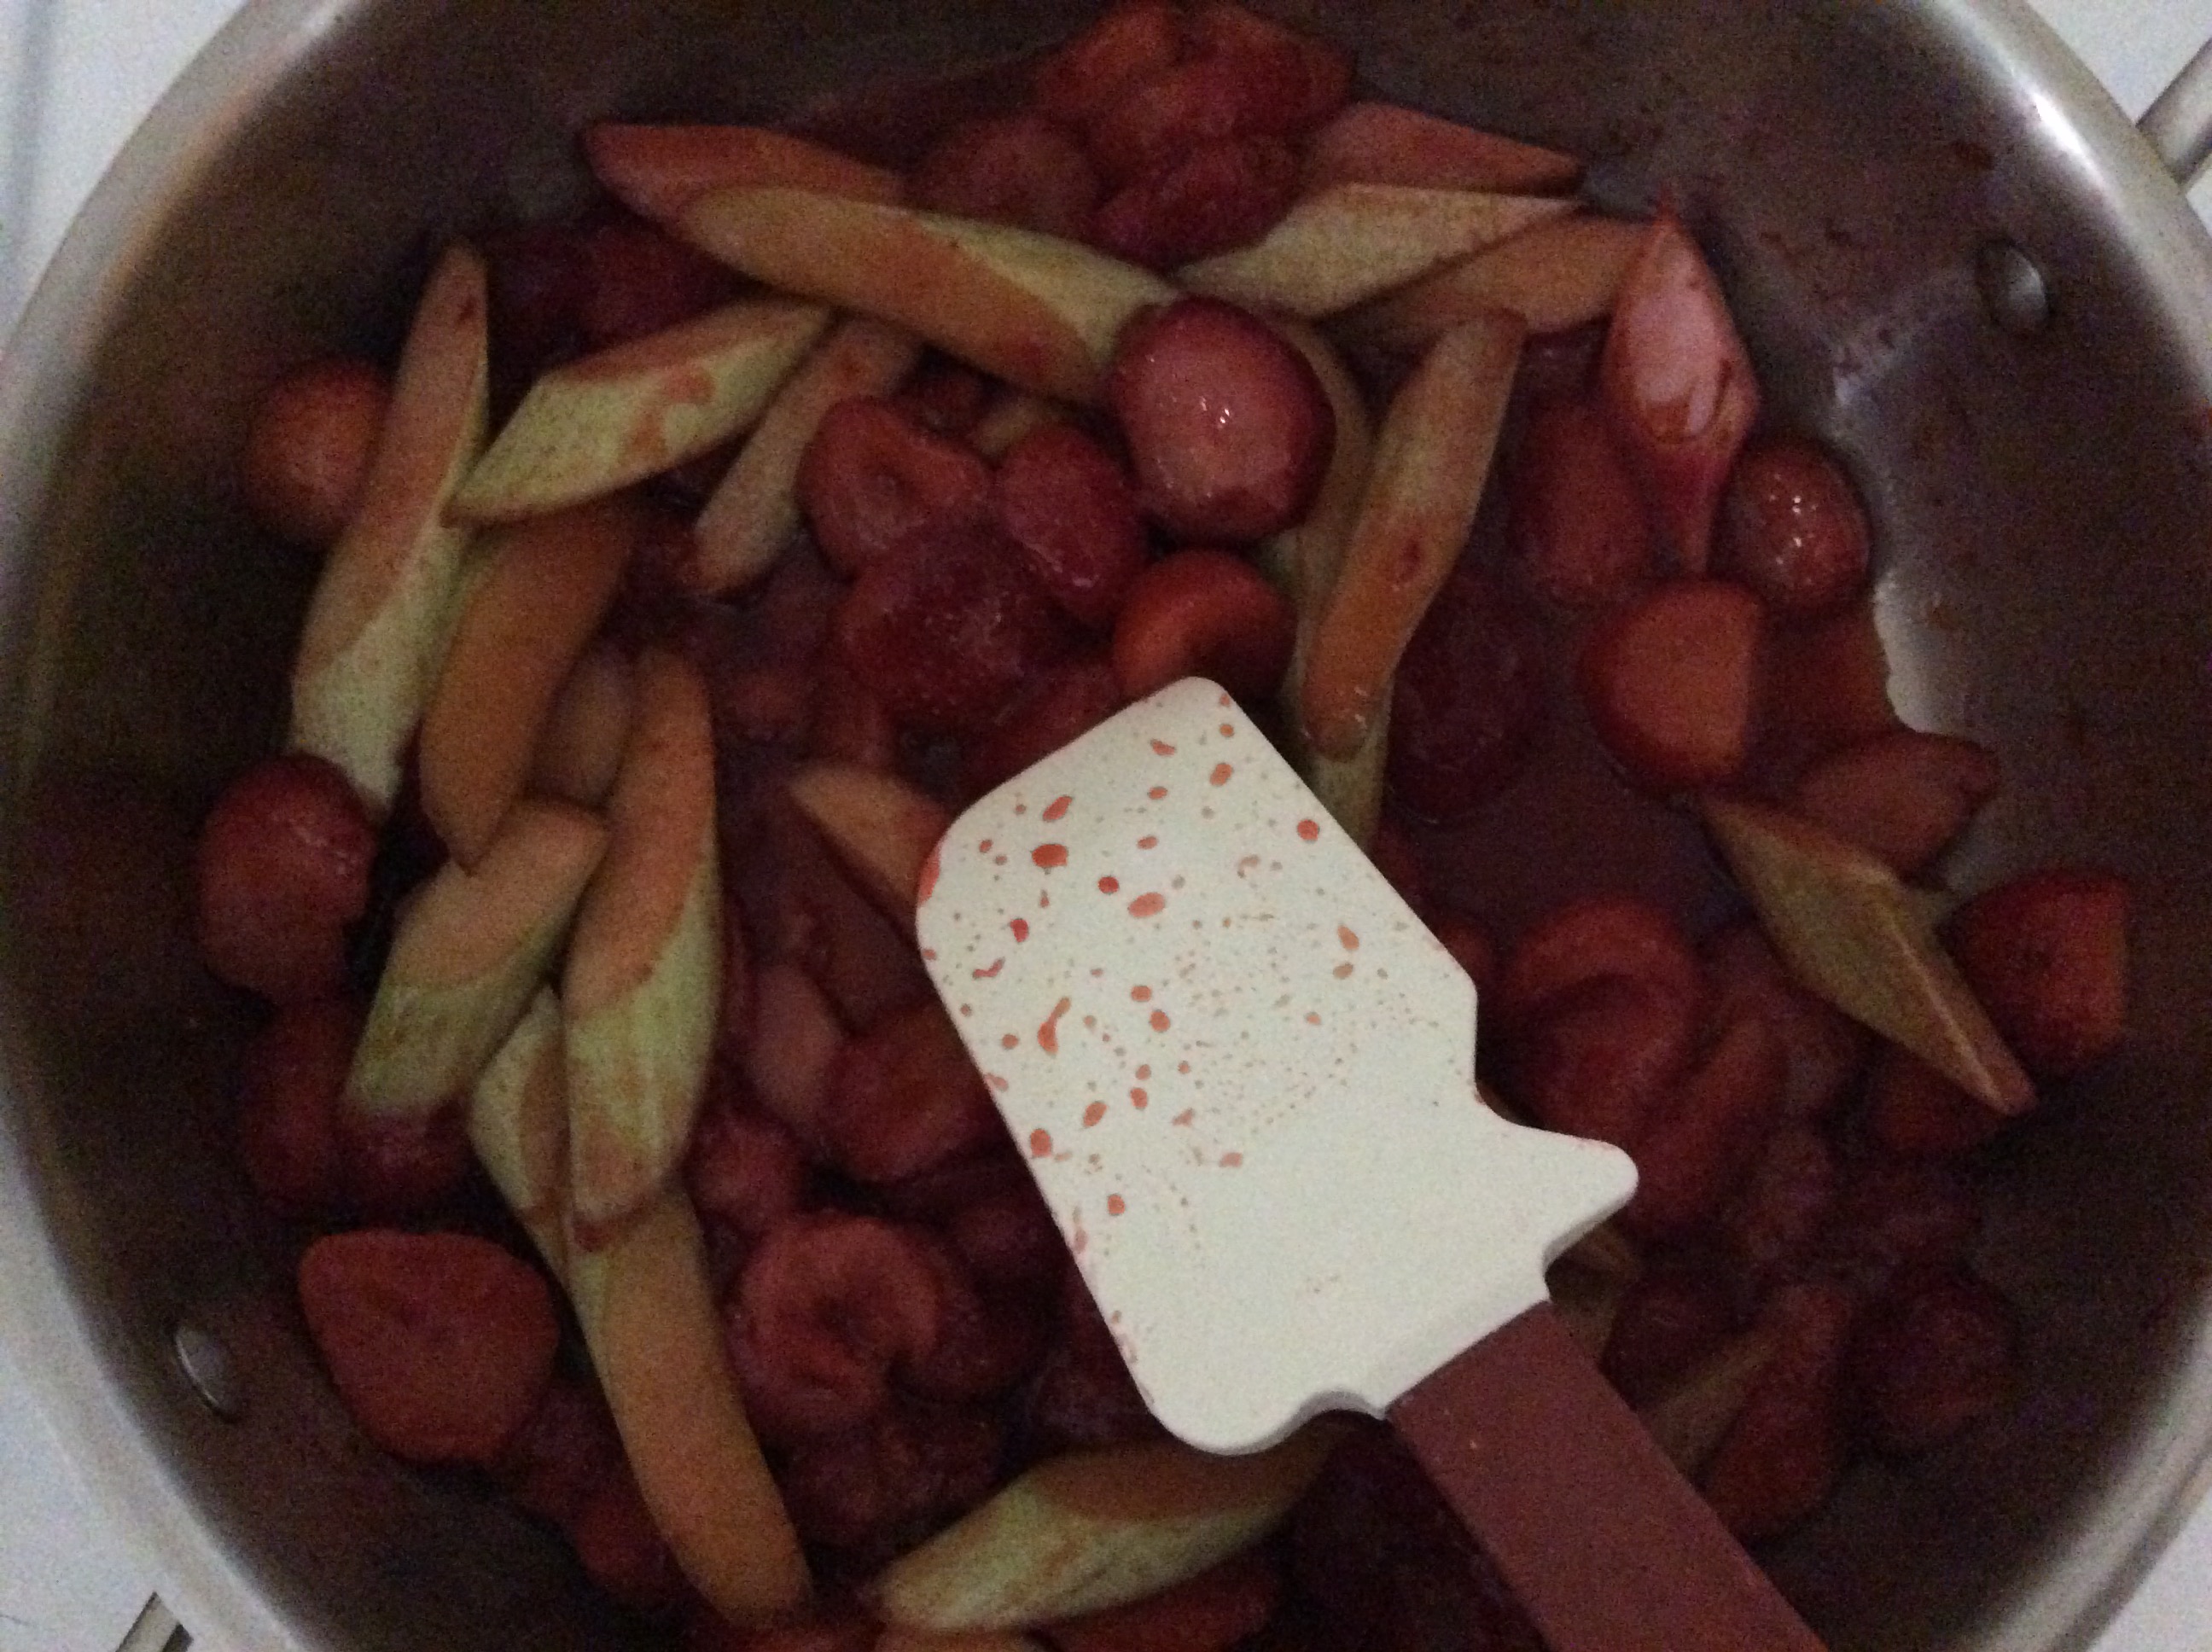
  2. Place the Strawberries and the Rhubarb into a pan on low heat. Mix it occasionally until there is enough liquid to mostly cover the rhubarb and Strawberries, then place the lid on the pan.
  3. Keep lid on pan until the rhubarb becomes becomes really soft.
  4. Remove the lid, and turn up heat to high until the mixtures comes to a rapid boil.
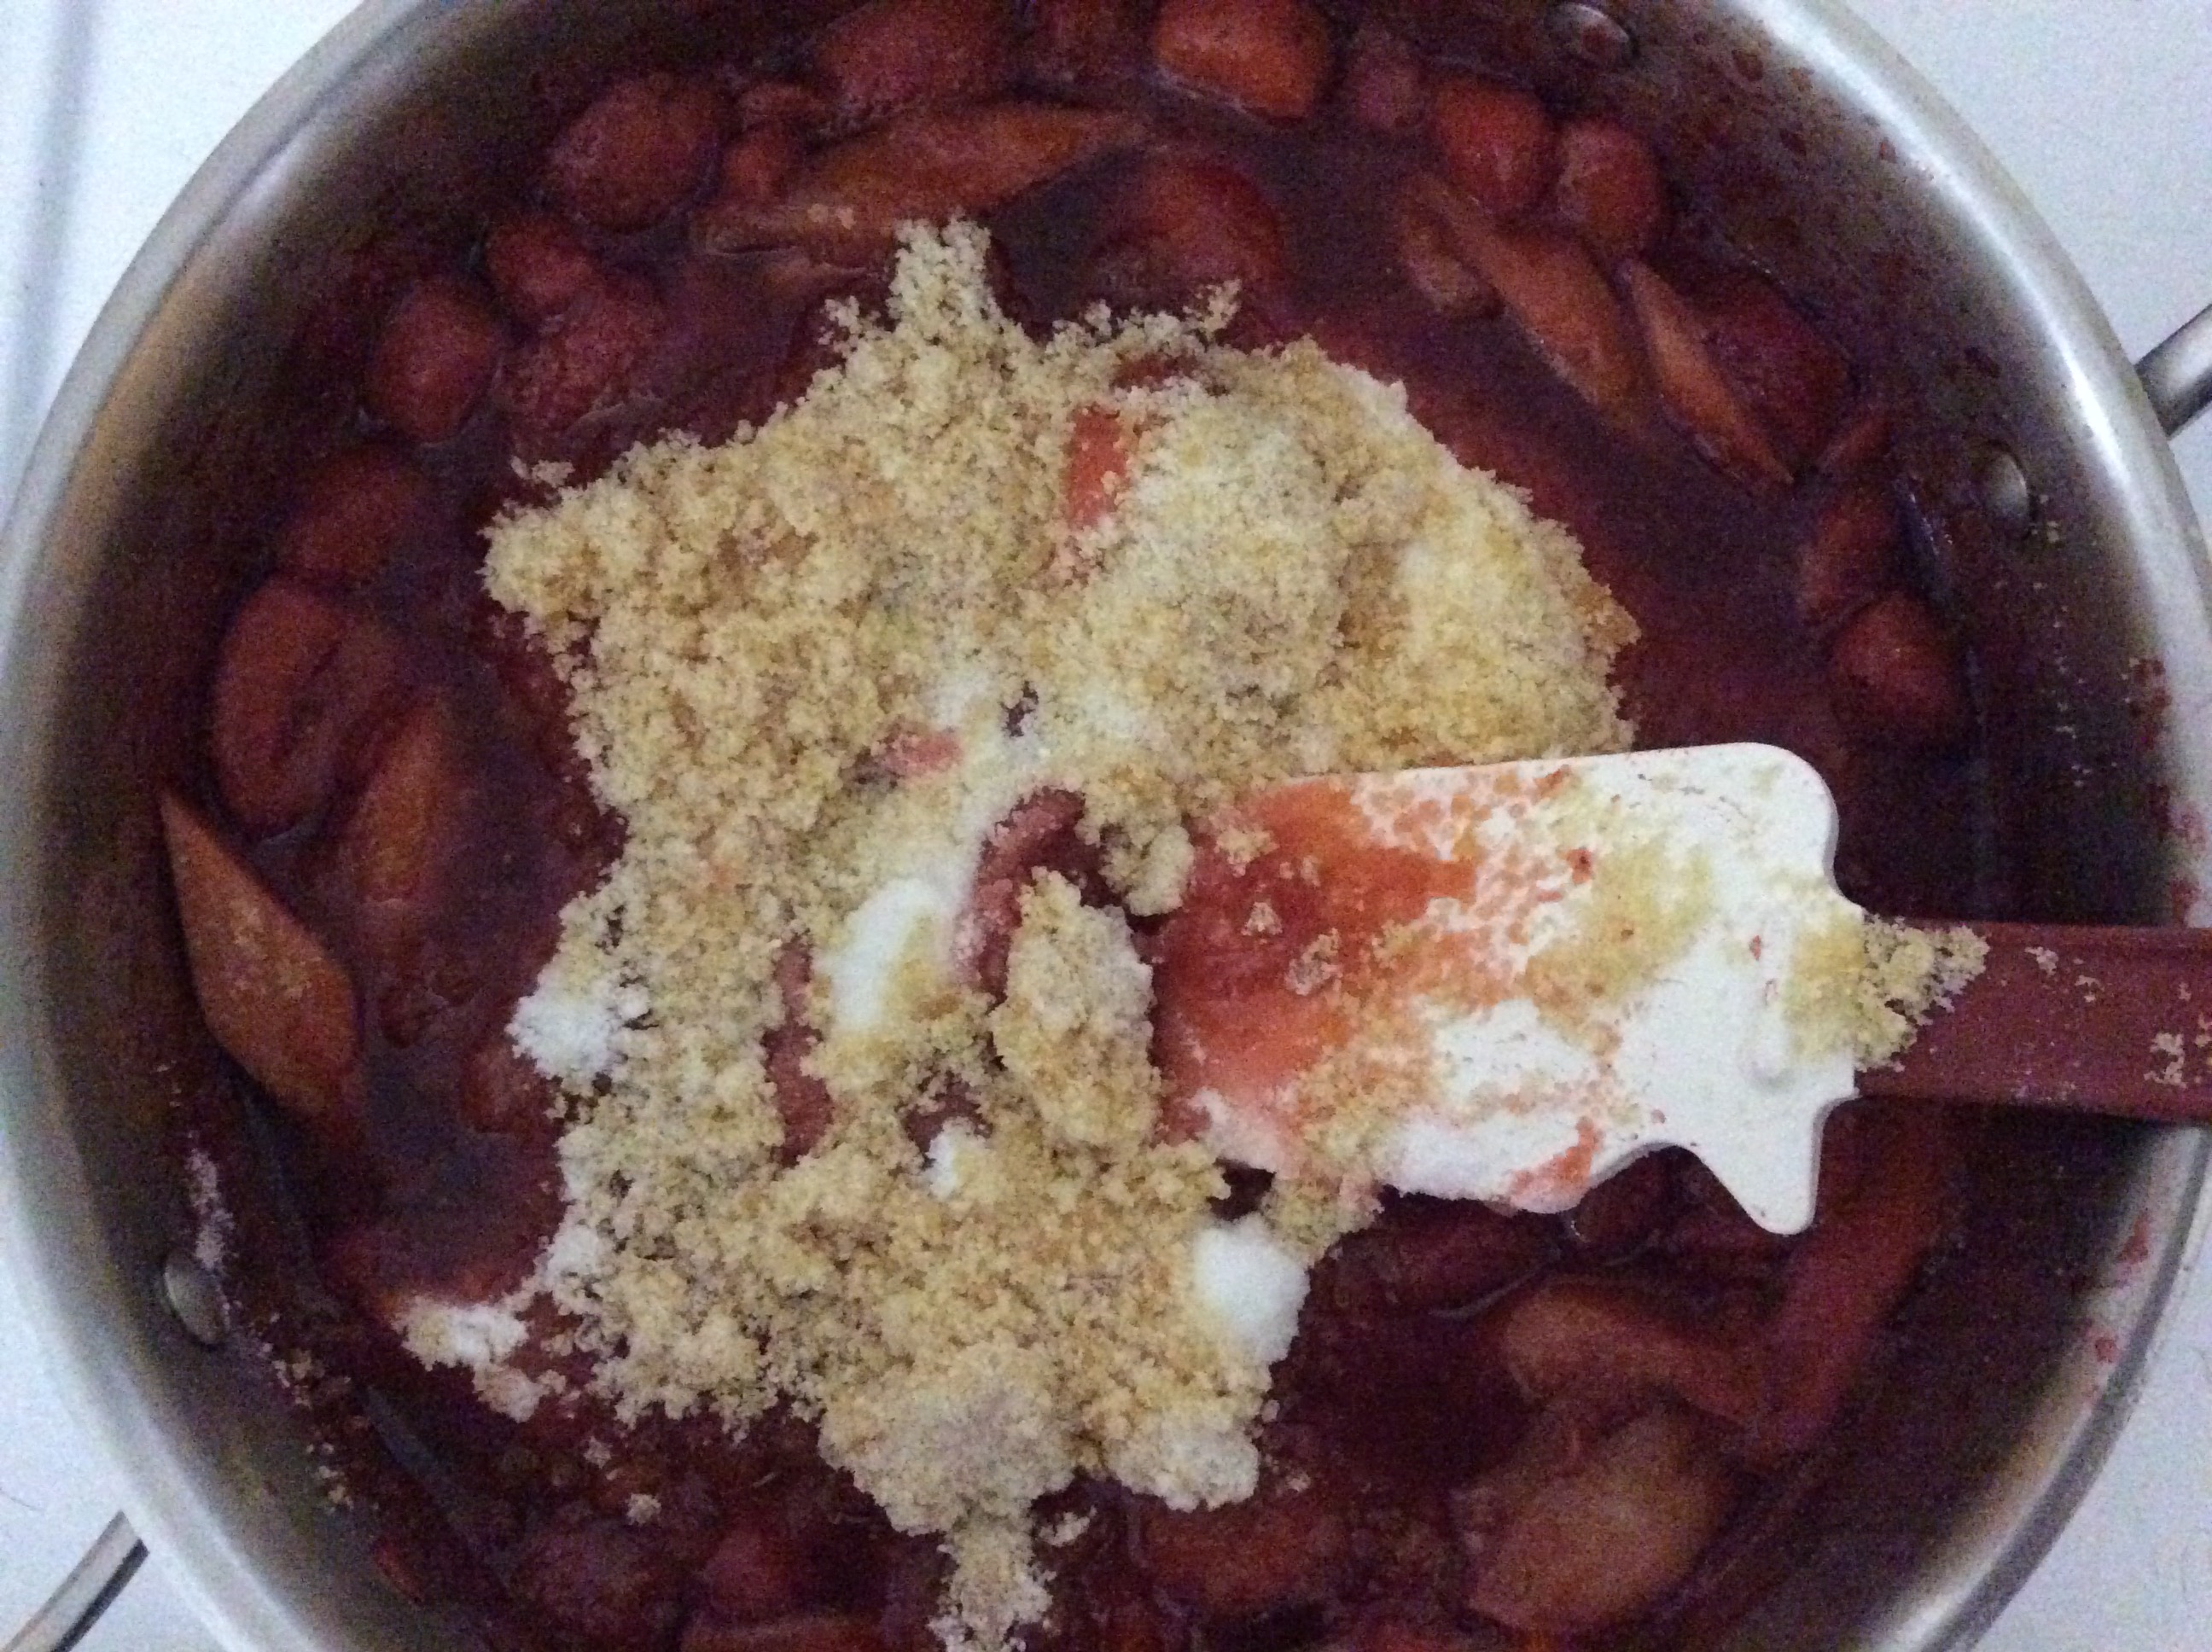
  5. Add Sugar, Browned Sugar, pectin, and Vinegar and mix until incorporated.
  6. Leave mixture on high for 5-10 minutes mixing continuously, then lower heat to medium and make sure mixture stays at a medium boil.
  7. Keep mixing so that it doesn’t burn on the bottom of the pan, and wait until the mixture get viscous. If  the boil starts to become roaring, lower the temperature.
  8. Take a spoon and use it to put a drop of the mixture into ice water. If the drop disintegrates  in the water, leave the mixture to boil longer, if it holds a ball like shape, it’s ready to remove from the heat.
  9. Let mixture cool, then transfer to storage container and put in the fridge
  10. Take a fancy photo, and post it to Instagram with the hashtag #foryourfoulmouth
Sources:
http://harvestontario.com/whatinseason
https://youtu.be/LybfPwCzs3g  
https://www.theguardian.com/science/blog/20 13/oct/03/science-magic-jam-making didn’t use any information directly from here, but it helped me make my recipe

Less Is More… More Or Less: My Opinion On “Gourmet” Cooking

Gourmet used to mean something was made with care, and with the highest standards. Something weird has happened; it’s changed over the last little while. It now means mediocre food with boat loads of lifeless processed toppings and ingredients. So while having a paragraph of 20 items listed under a menu item might feel like you’re getting a bang for your buck, I ask an important question: Since when did more start meaning better?

No one would say “more aids, that’s better!” or even something that is generally considered good in a culinary sense, like salt. We never associate ‘an abundance of salt’ with being positive!

So while I couldn’t care less if food is “gourmet,”  I do care that it’s flavourful and delicious. I believe something as simple as a salad can become amazing with only a handful of ingredients, properly prepared and picked for the flavour, texture and general contribution to the overall dish. It’s more “haute-cuisine” than anything you’d see in a “gourmet” eatery.

While the mise en place for this may look a little long for a salad, there are only 5 components.

Greens, garlic parm sourdough croutons, marinated Heirloom tomatoes, red onions and white balsamic vinaigrette.

Imagine seeing that on a menu. Doesn’t it just give you the imagery of crunchy croutons and spinach that just compliments the softness of other ingredients? The sweetness, bitterness, and tanginess from the onions, mixed greens, and vinaigrette mixing with the explosion of flavour that skinless marinated tomatoes will give you?

Give it a try! Mother’s Day is soon, and I’m sure your mom will love this. I know mine will!  Let me know what both of you think!

Peeled Marinated Heirloom Tomatoes

  • 1 Pint Cherry Heirloom Tomatos
  • 7 Grams Fresh Basil
  • 1 Lemon
  • 1 teaspoon Salt
  • 1/2 teaspoon Pepper
  • 5 teaspoon of diced sweet onions
  • 1 Cup Extra Virgin Olive Oil

White Balsamic Vinaigrette:

    Grainy Dijon mustard

  • 1 Large Sweet Onion
  • 3 cloves garlic whole, skin removed.
  • 1 Tablespoon Grainy Mustard
  • 3/4 Cup Strained Marinade from Tomatoes
  • 3/4 Cup Canola
  • 2 Basil Leafs
  • 1/2 Cup White Balsamic Vinegar

Sour Dough Croutons:

  • Slice of Sough dough Bread (Mine was 116g)
  • 2 Tablespoons Canola Oil
  • 11g Parmesan (freshly grated, the stuff in the bottle will not work)
  • Salt and Pepper to taste

Final Ingrdients:

  • Spinach to taste
  • Arugula to taste
  • Red onion 3/8″ x 1/2″ to taste

The Marinated Tomatoes are the star of the show here, and being the diva ingredient they are, they need the most alone time, so let’s start with these:

  1. Wash the heirloom Tomatoes. These things spend most of their life on a truck, in open containers. Would you want to lick someone who spent that much time in the back of a truck? Exactly, wash them!
  2. Cut little crosses on the bottom of each Tomato. Do your best to cut the skin, and not into the flesh of your tomato. A Pearing knife, or small serrated knife will work well.
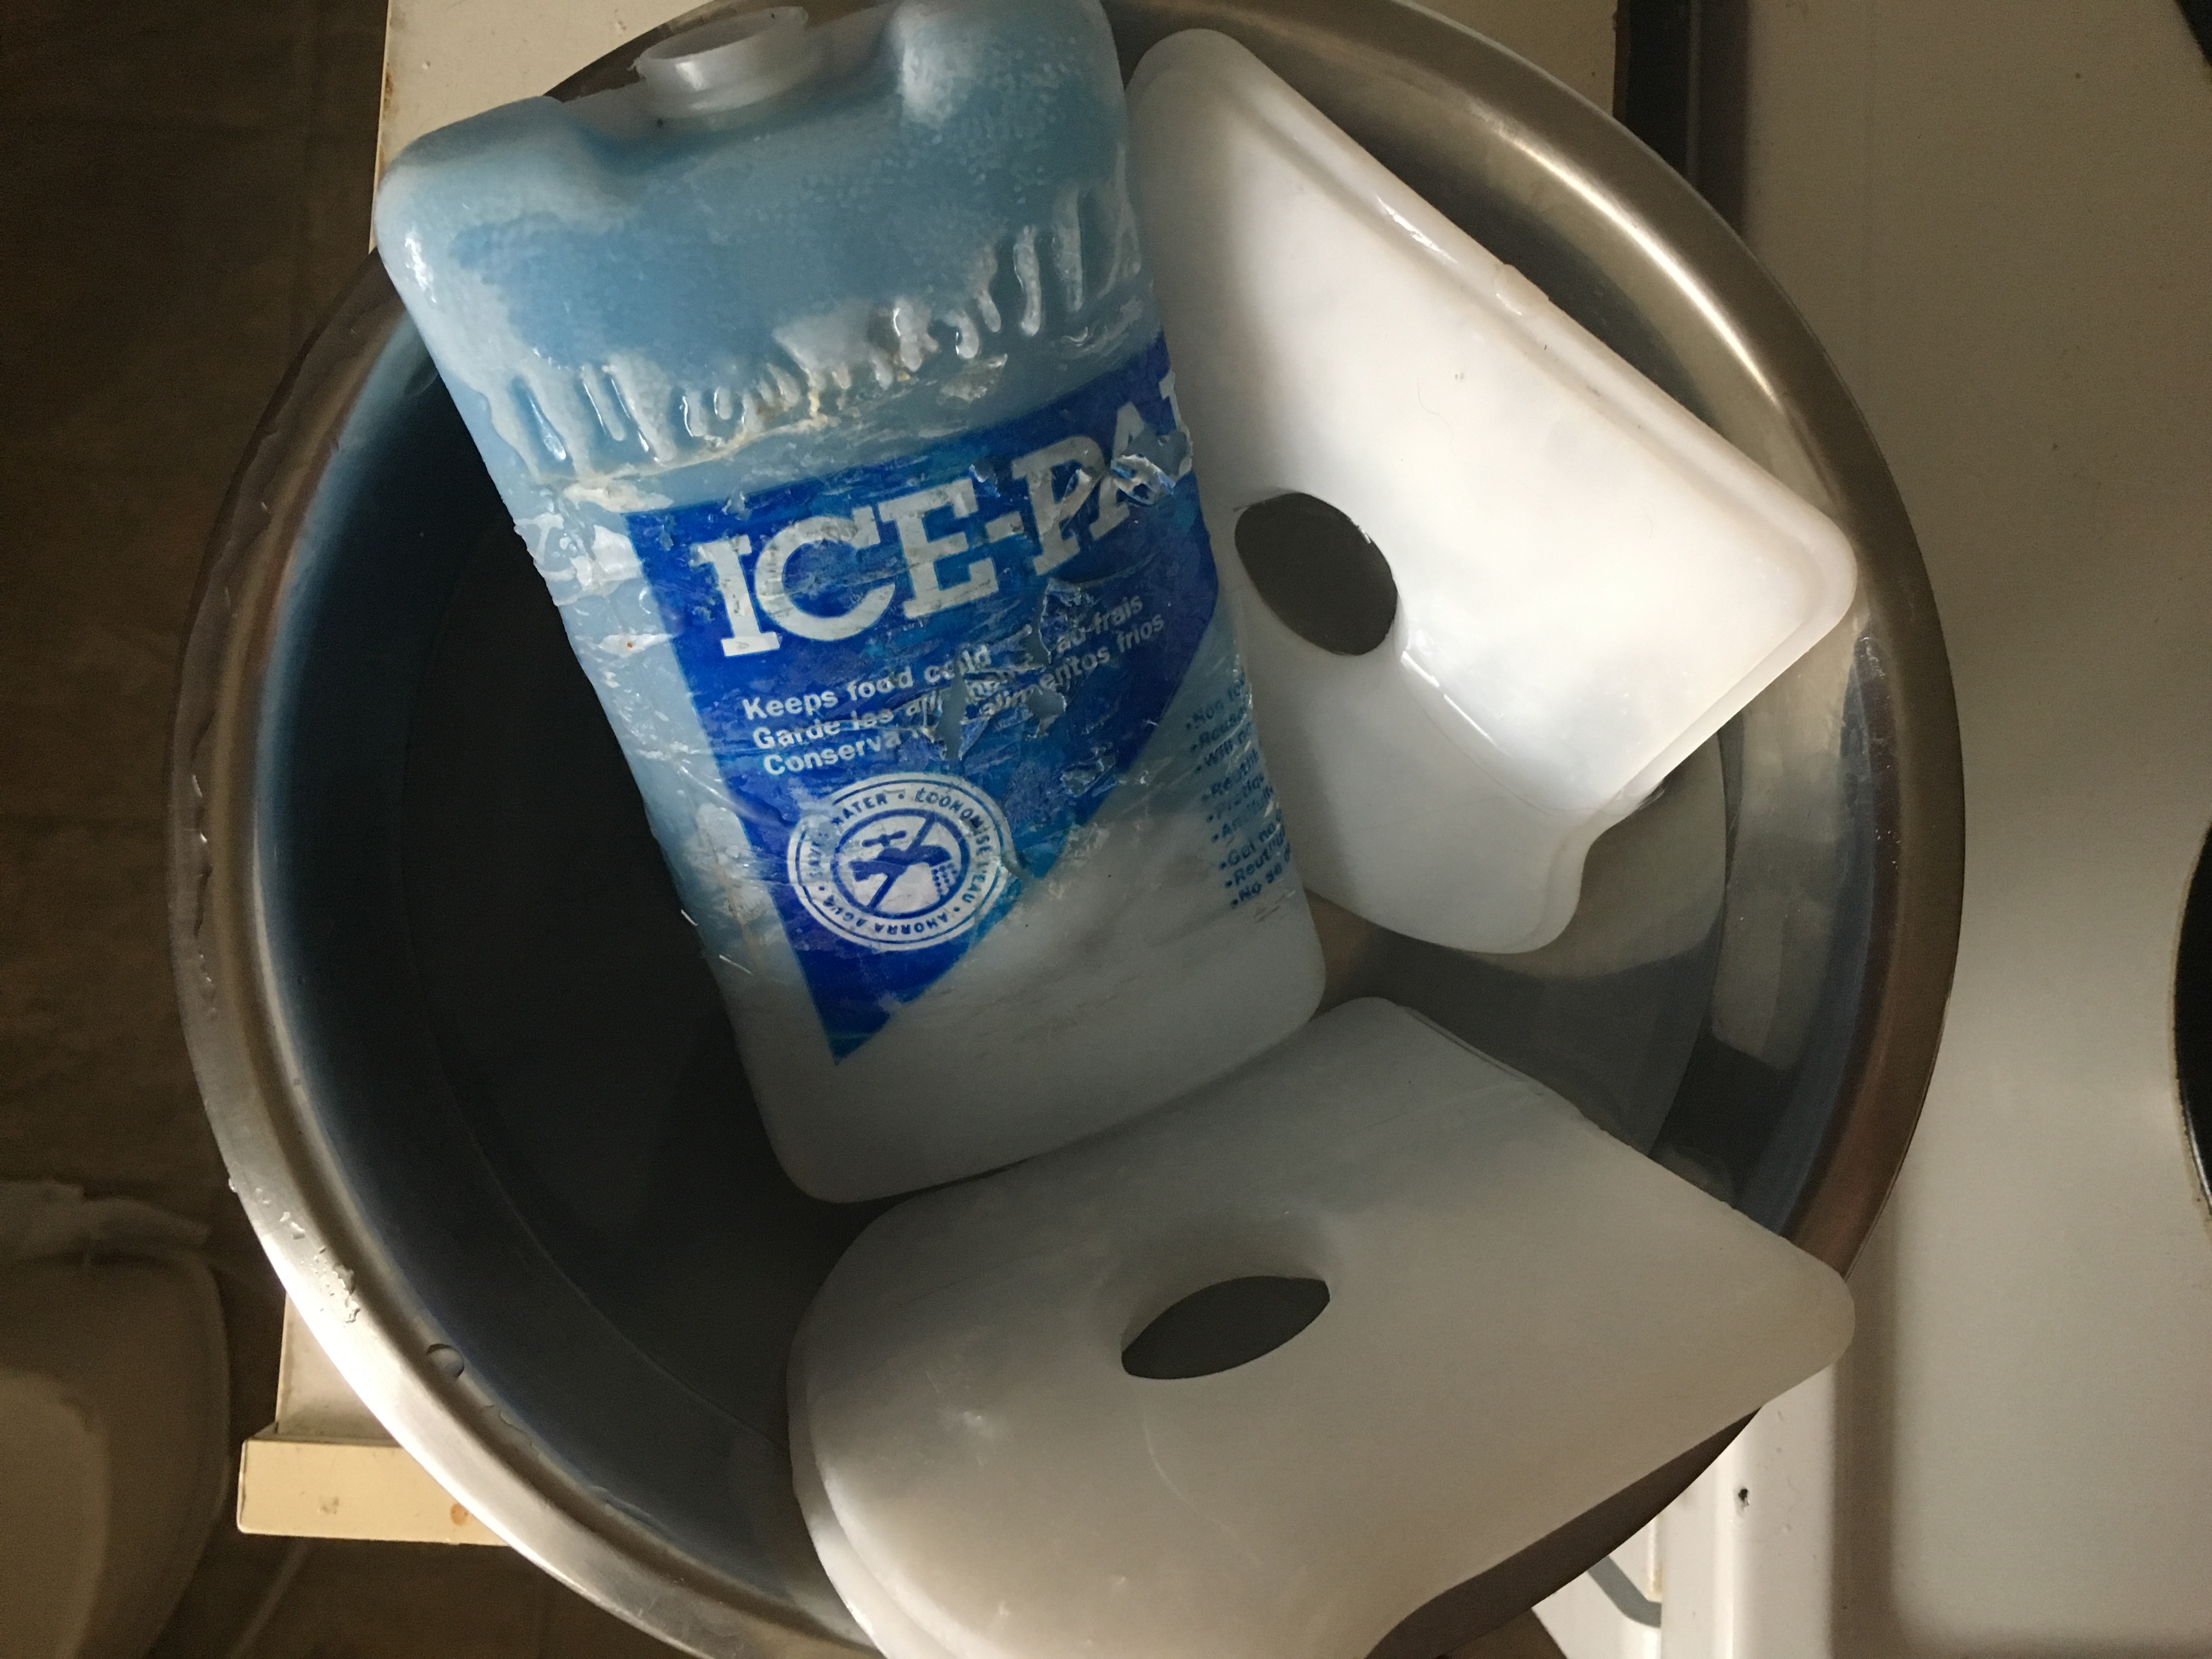
  3. Fill up a big bowl with ice water. I didn’t have ice, so I used ice packs, which worked well.
  4. Bring a big pot o’water to a boil, then put your Tomatoes in the pot.
  5. Using a slotted spoon, move the Tomatoes around until you see the skin near the ‘cross cuts’ starting to peel away. Quickly take the Tomatoes out of the boiling water, and place them into the ice water. The whole process should take about 30 seconds from when you put them in, to when you remove them. We don’t want these Tomatoes to cook, we just want the skin to loosen. The ice water stops the cooking, and shocks the skin.
  6. After a few minutes of the Tomatoes cooling down, gently peel the skins from each Tomatoe. Discard the skin, and place the ‘naked’ Tomatoes aside.
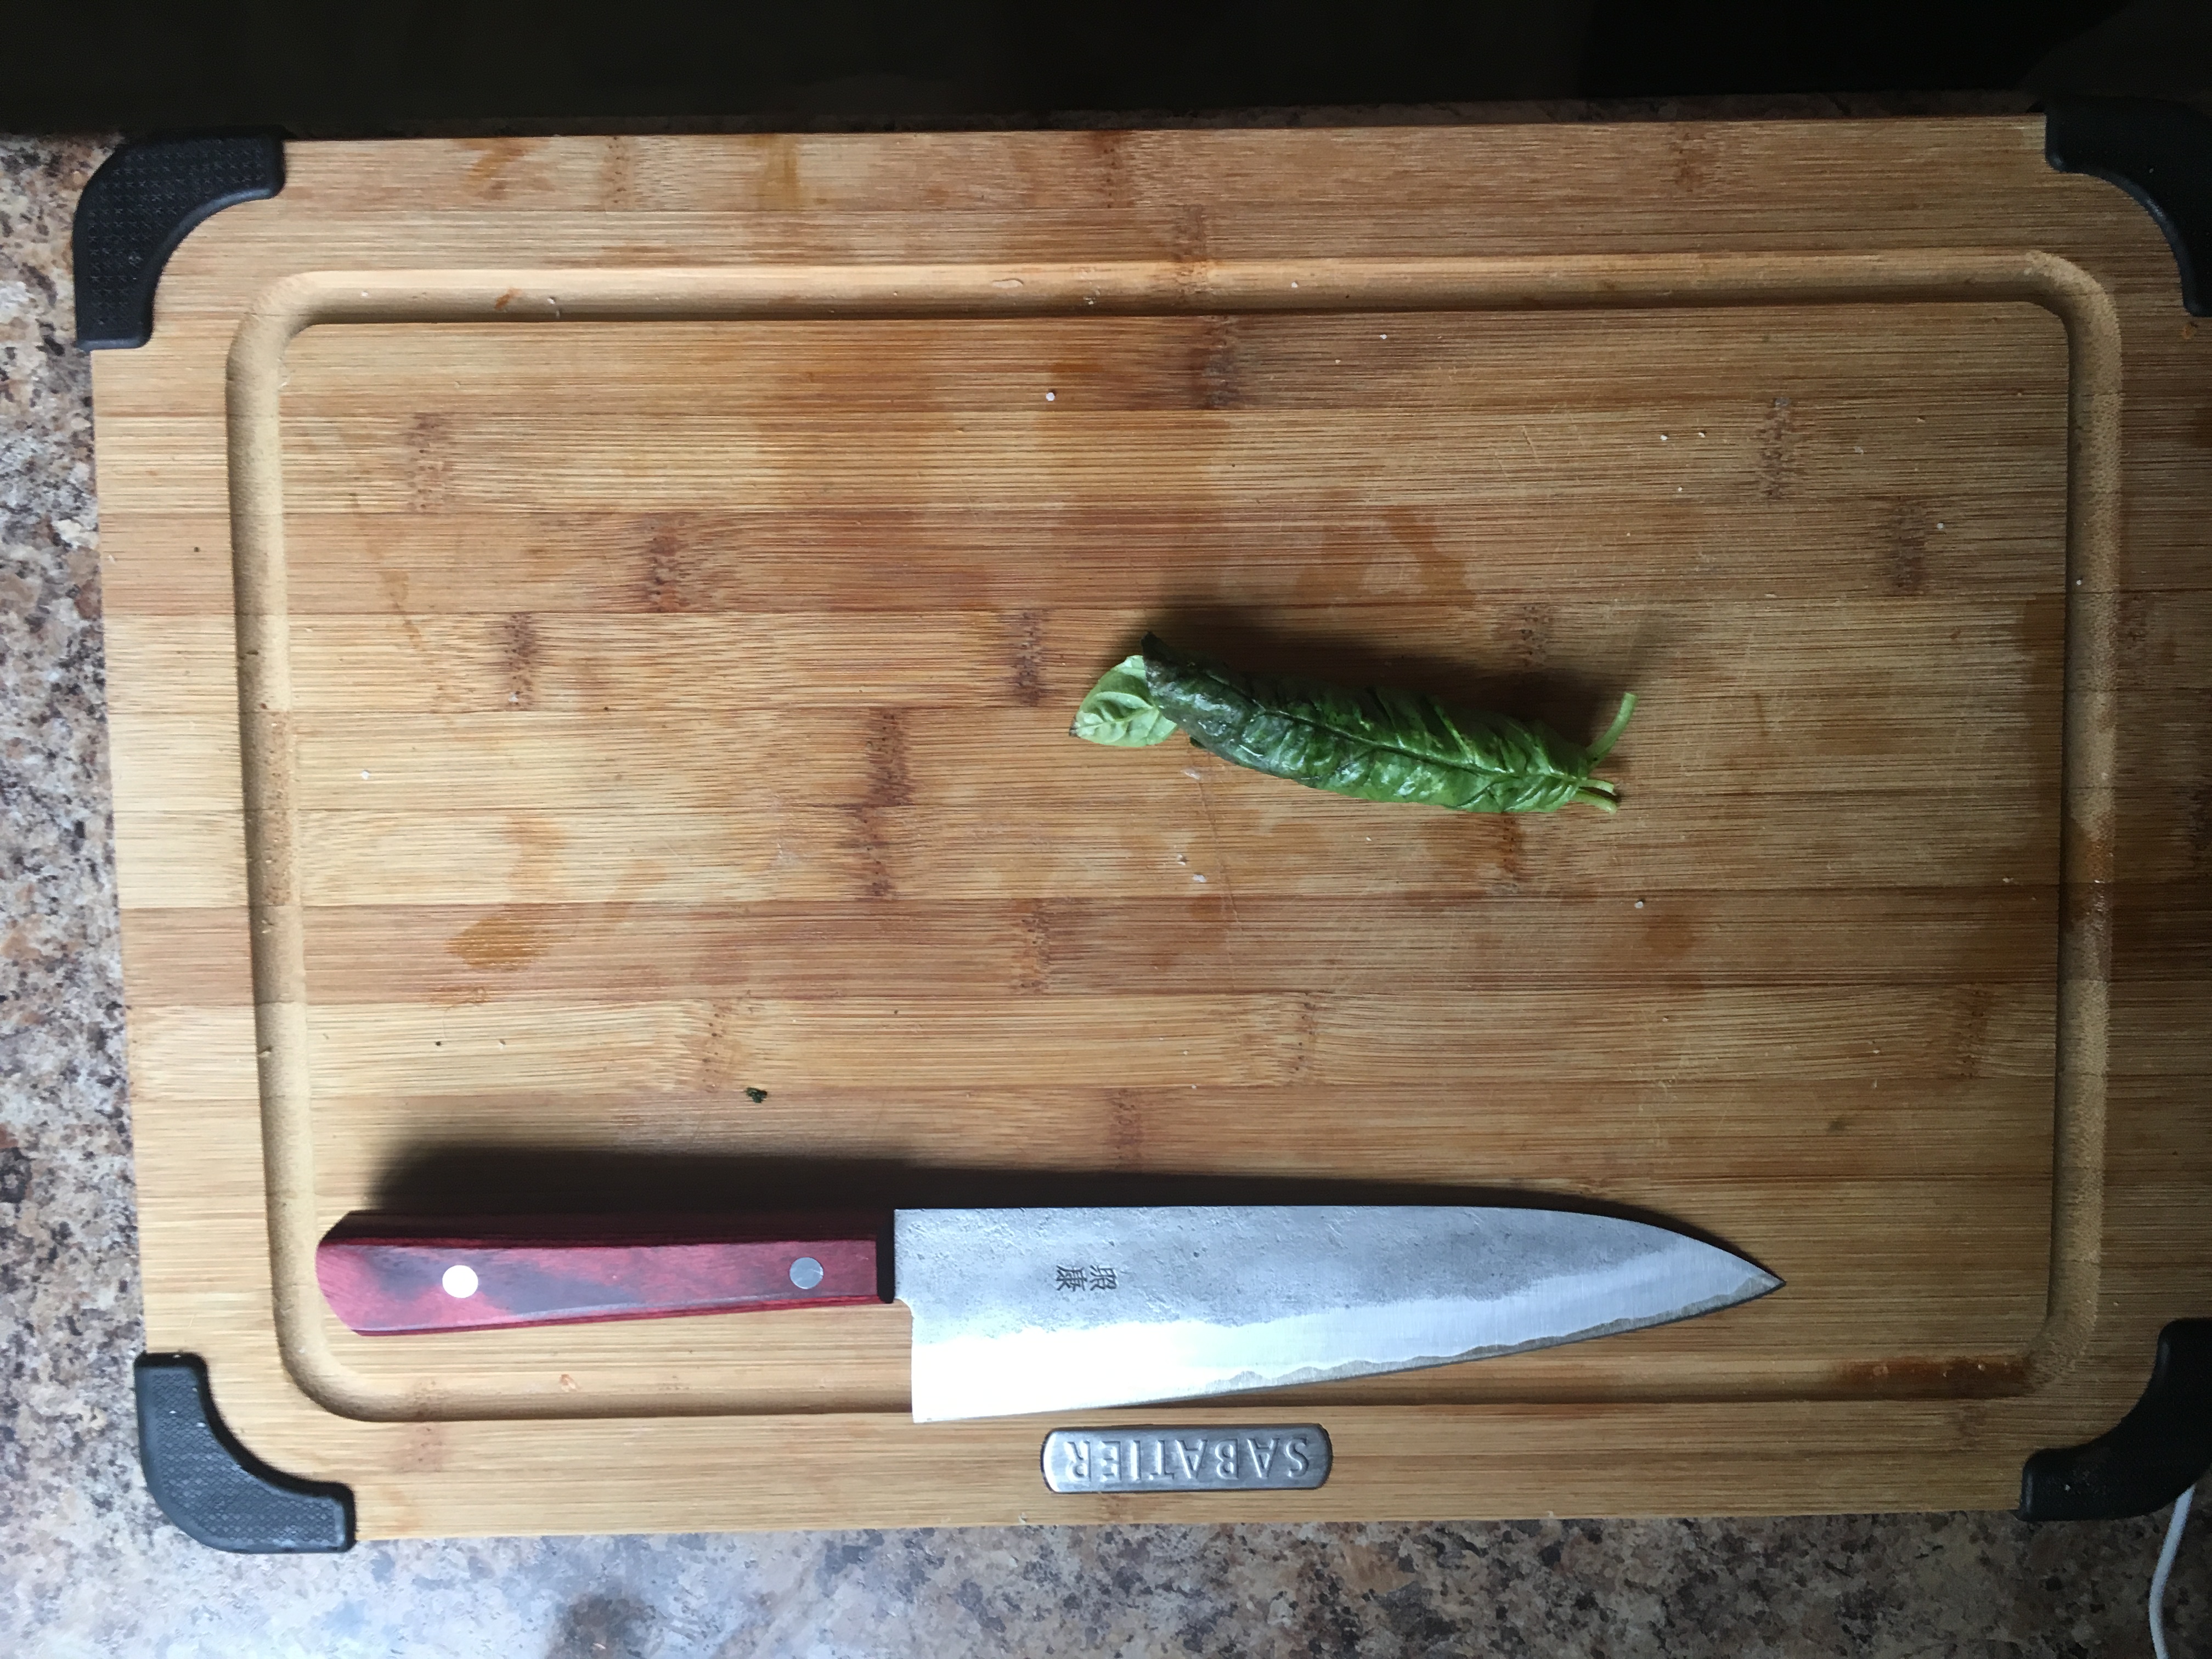
  7. Roll all the Basil together, then cut them as thinly as possible. You should end up with little strips of basil. Place basil into a mixing bowl big enough to hold the Tomatoes.
  8. Juice the lemon, and Zest half of it. Place both of these items into the same bowl as the Basil.
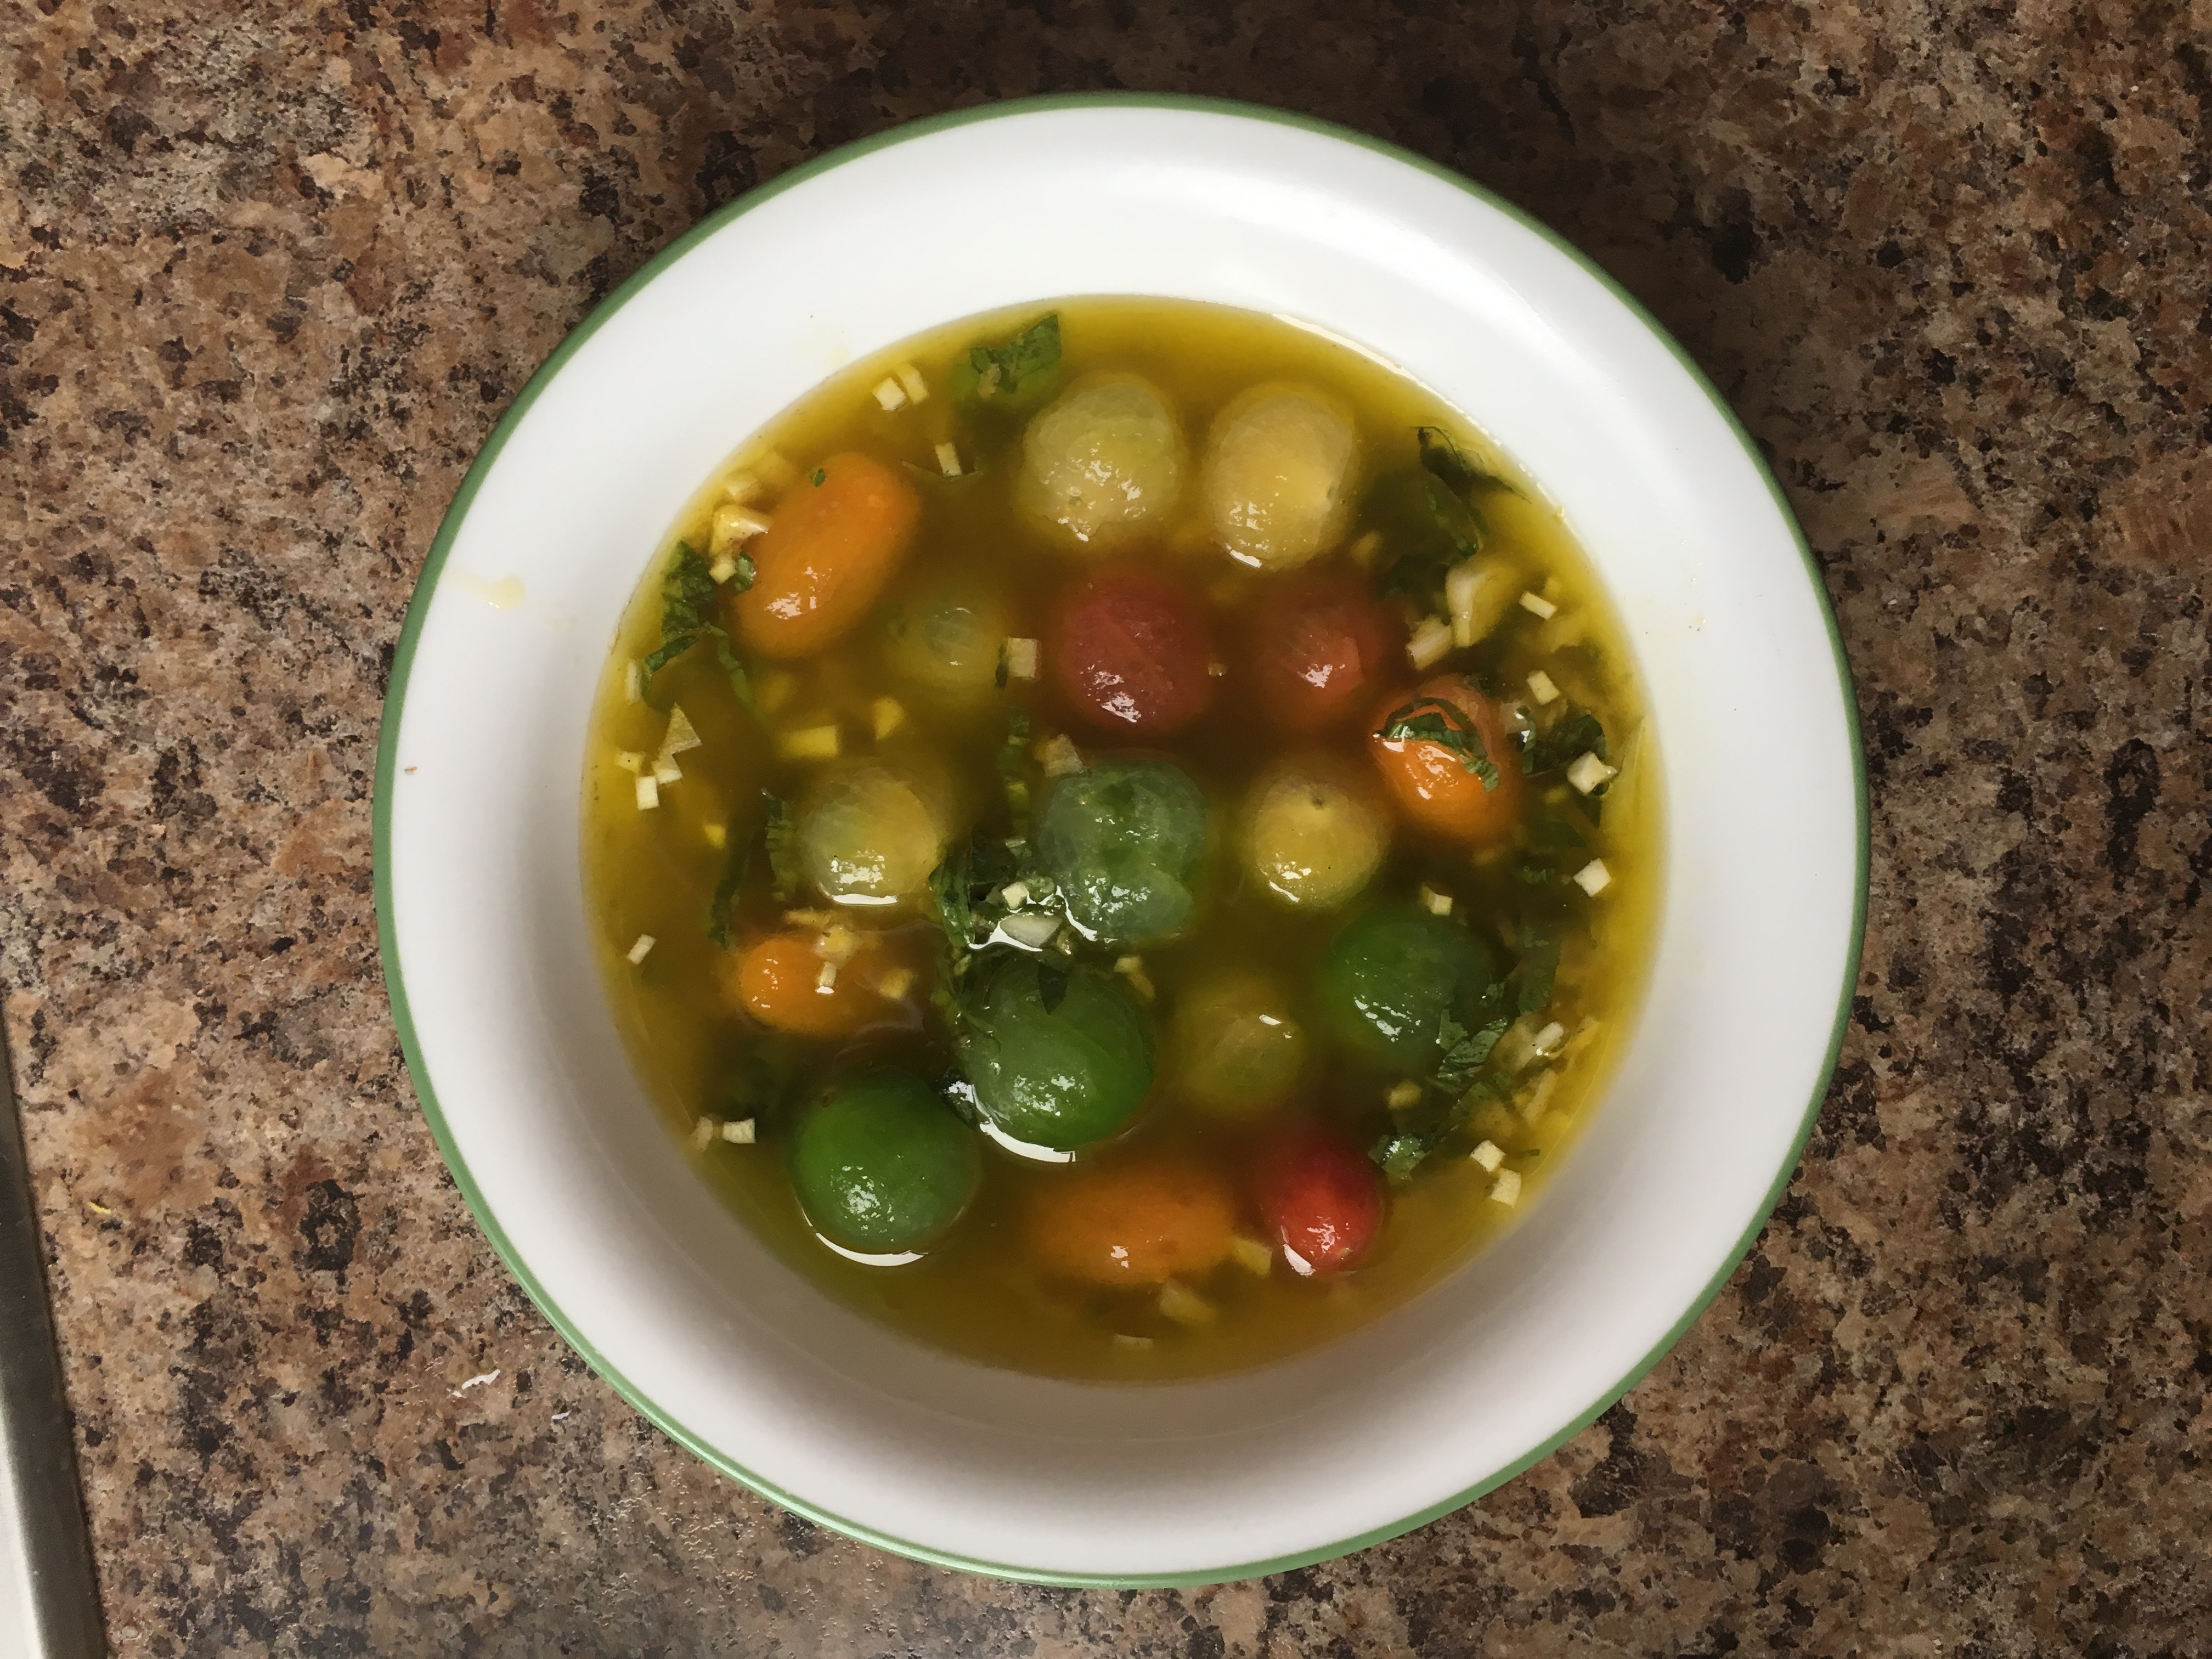
  9. Into the same bowl as the Lemon and the Basil, whisk together the Olive Oil, Salt, pepper, and diced Onions.
  10. Place the Naked Tomatoes into the mixing bowl, and gently mix until they are covered. Place in fridge for a minimum of 2 hours, but no longer than 12 hours.
  11. Remove the Naked Tomatoes from the marinade, and place covered in a clean bowl or Tupperware. Let them sit in the fridge over night. The excess oil will drop off, so you’re left with an end product that isn’t too greasy, and is just perfect. Meanwhile, save the marinade for your White Balsamic Vinaigrette.

Next, let’s work on the Sour Dough Croutons:

  1. Pre-heat your convection oven to 400 degrees Fahrenheit, or your non-convection oven to 425 degrees Fahrenheit.
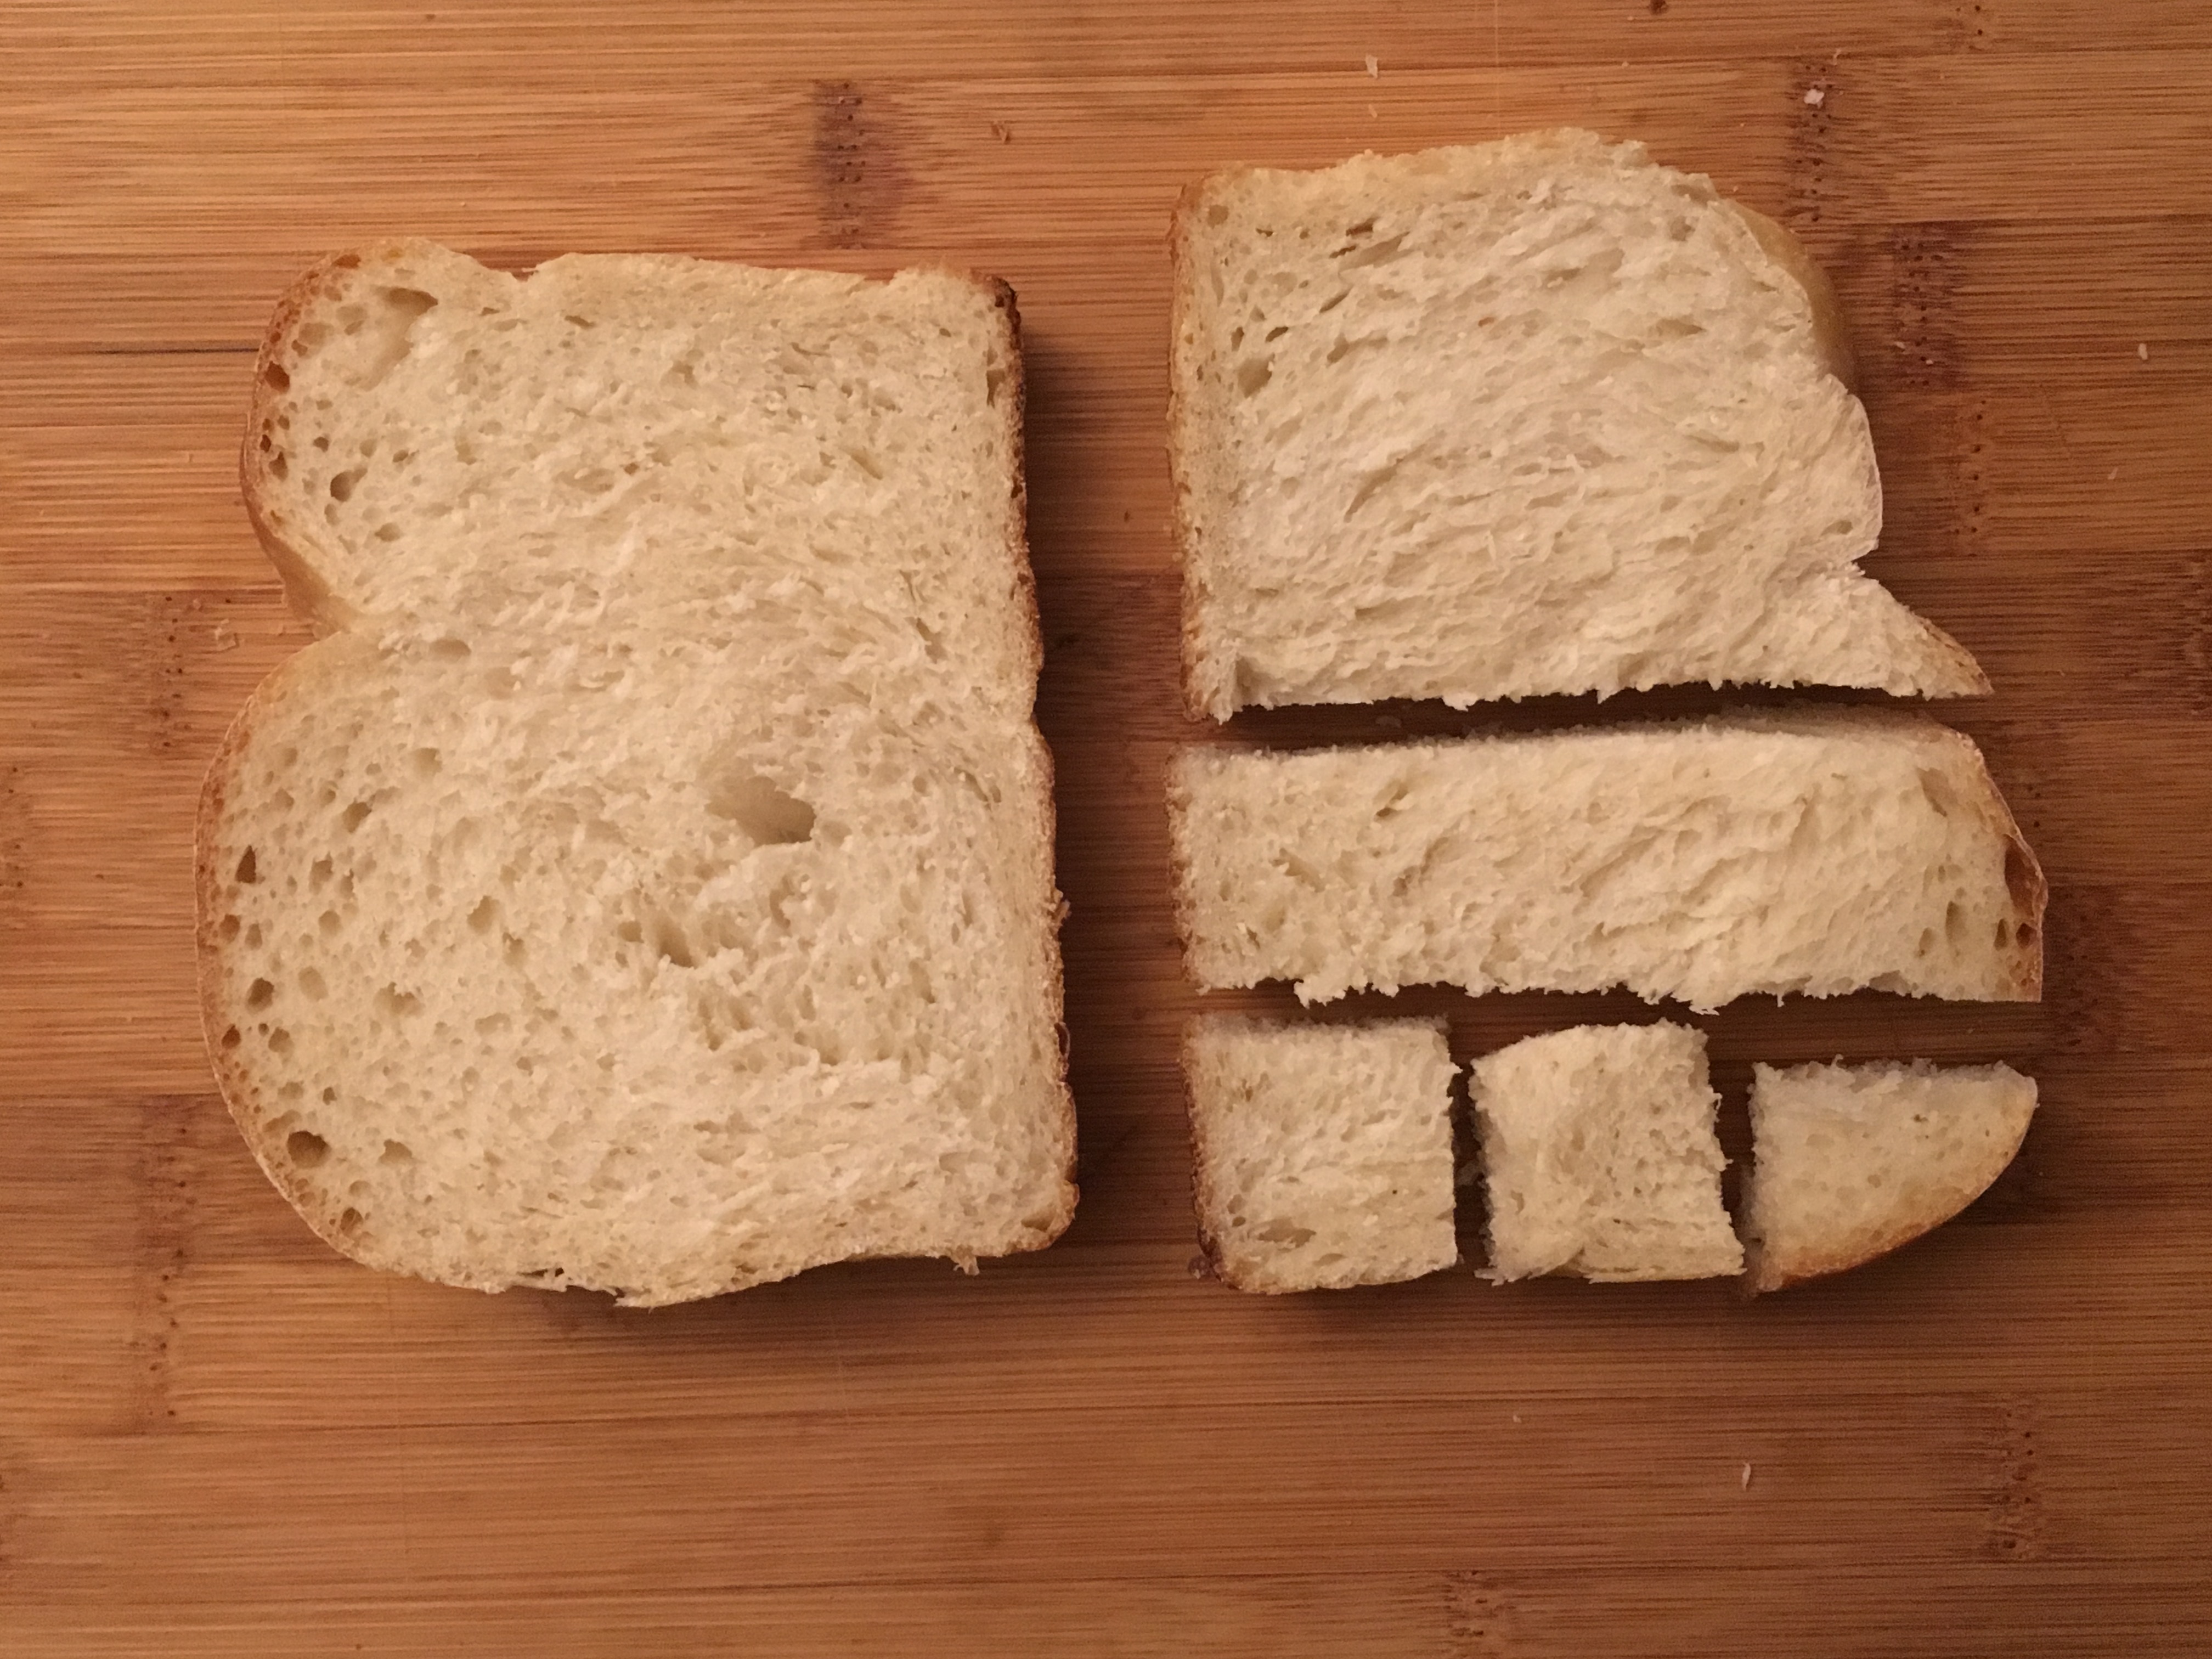
  2. Take some 1/2″ slices of Sough Dough Bread. I used two, and cut them into 1/2″ cubes, then put them into a large mixing bowl.
  3. Next mix in canola oil, and mix until every price of bread is evenly coated. Next cover with Pepper and mix again, you want beautiful black specks covering the bread evenly.
  4. Mix in your grated Parmesan. Only do a little at a time, it absorbs oil very fast, so doing it this way will prevent it from clumping together.
  5. Taste a piece of your seasoned bread. Parmesan is very salty, so don’t add the salt until you’ve tasted it at this stage. Remember, cooking these will remove the moisture making it saltier. So you’re better off adding less than you think you’ll need. Once you’ve accounted for all that, add salt to taste.
  6. Put the seasoned bread on a parchment lined baking sheet. And place in the oven for 5 to 10 minutes. You’re looking for a nice colour to form, and that will vary depending on different factors. So don’t walk away.
  7. Lower your oven temp to 200 degrees Fahrenheit in a convection oven, or 175 degrees Fahrenheit in a non convection oven. If you’re using the latter, I’d suggest leaving your oven door open a for about 5 minutes. Do this for about 10 minutes, or until the croutons are nice and crunchy.
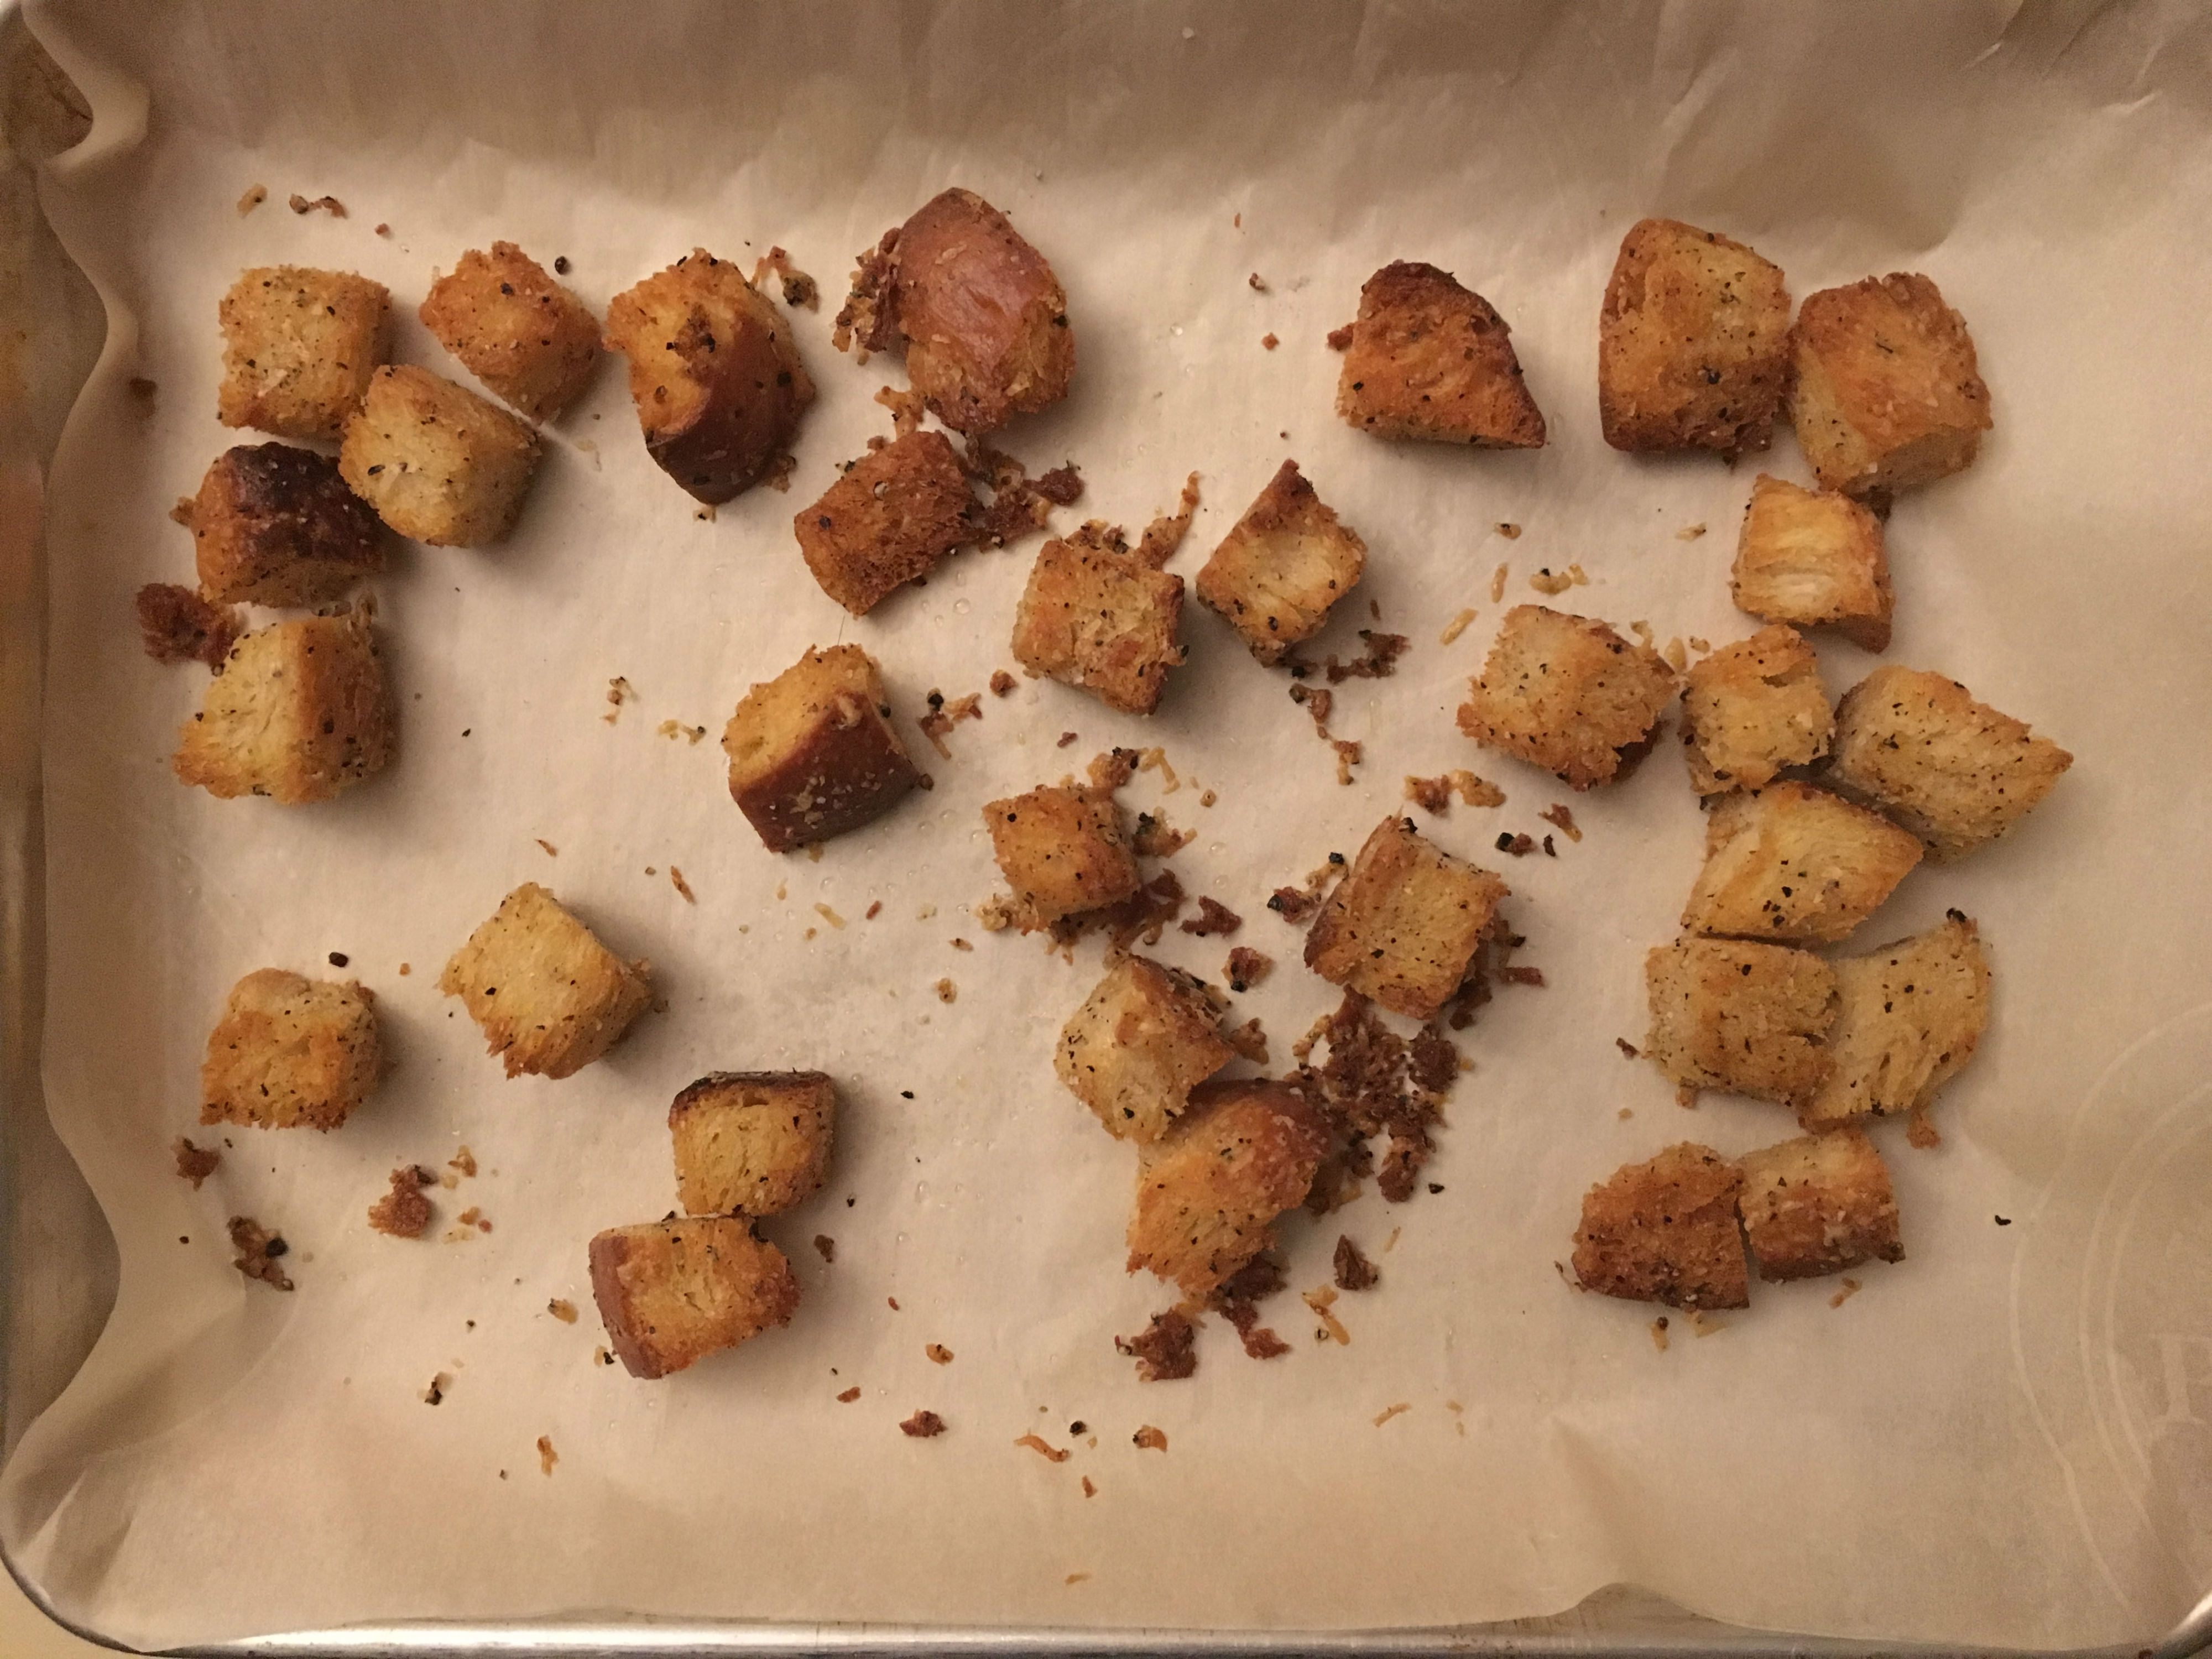
  8. Remove from baking sheet, and let cool on the side until needed.

Finally, the White Balsamic Vinaigrette! This stuff is amazingly good. If you don’t have White Balsamic, you can use any decent tasting Vinegar, as long as it’s not syrupy. So Regular Balsamic isn’t a good idea.

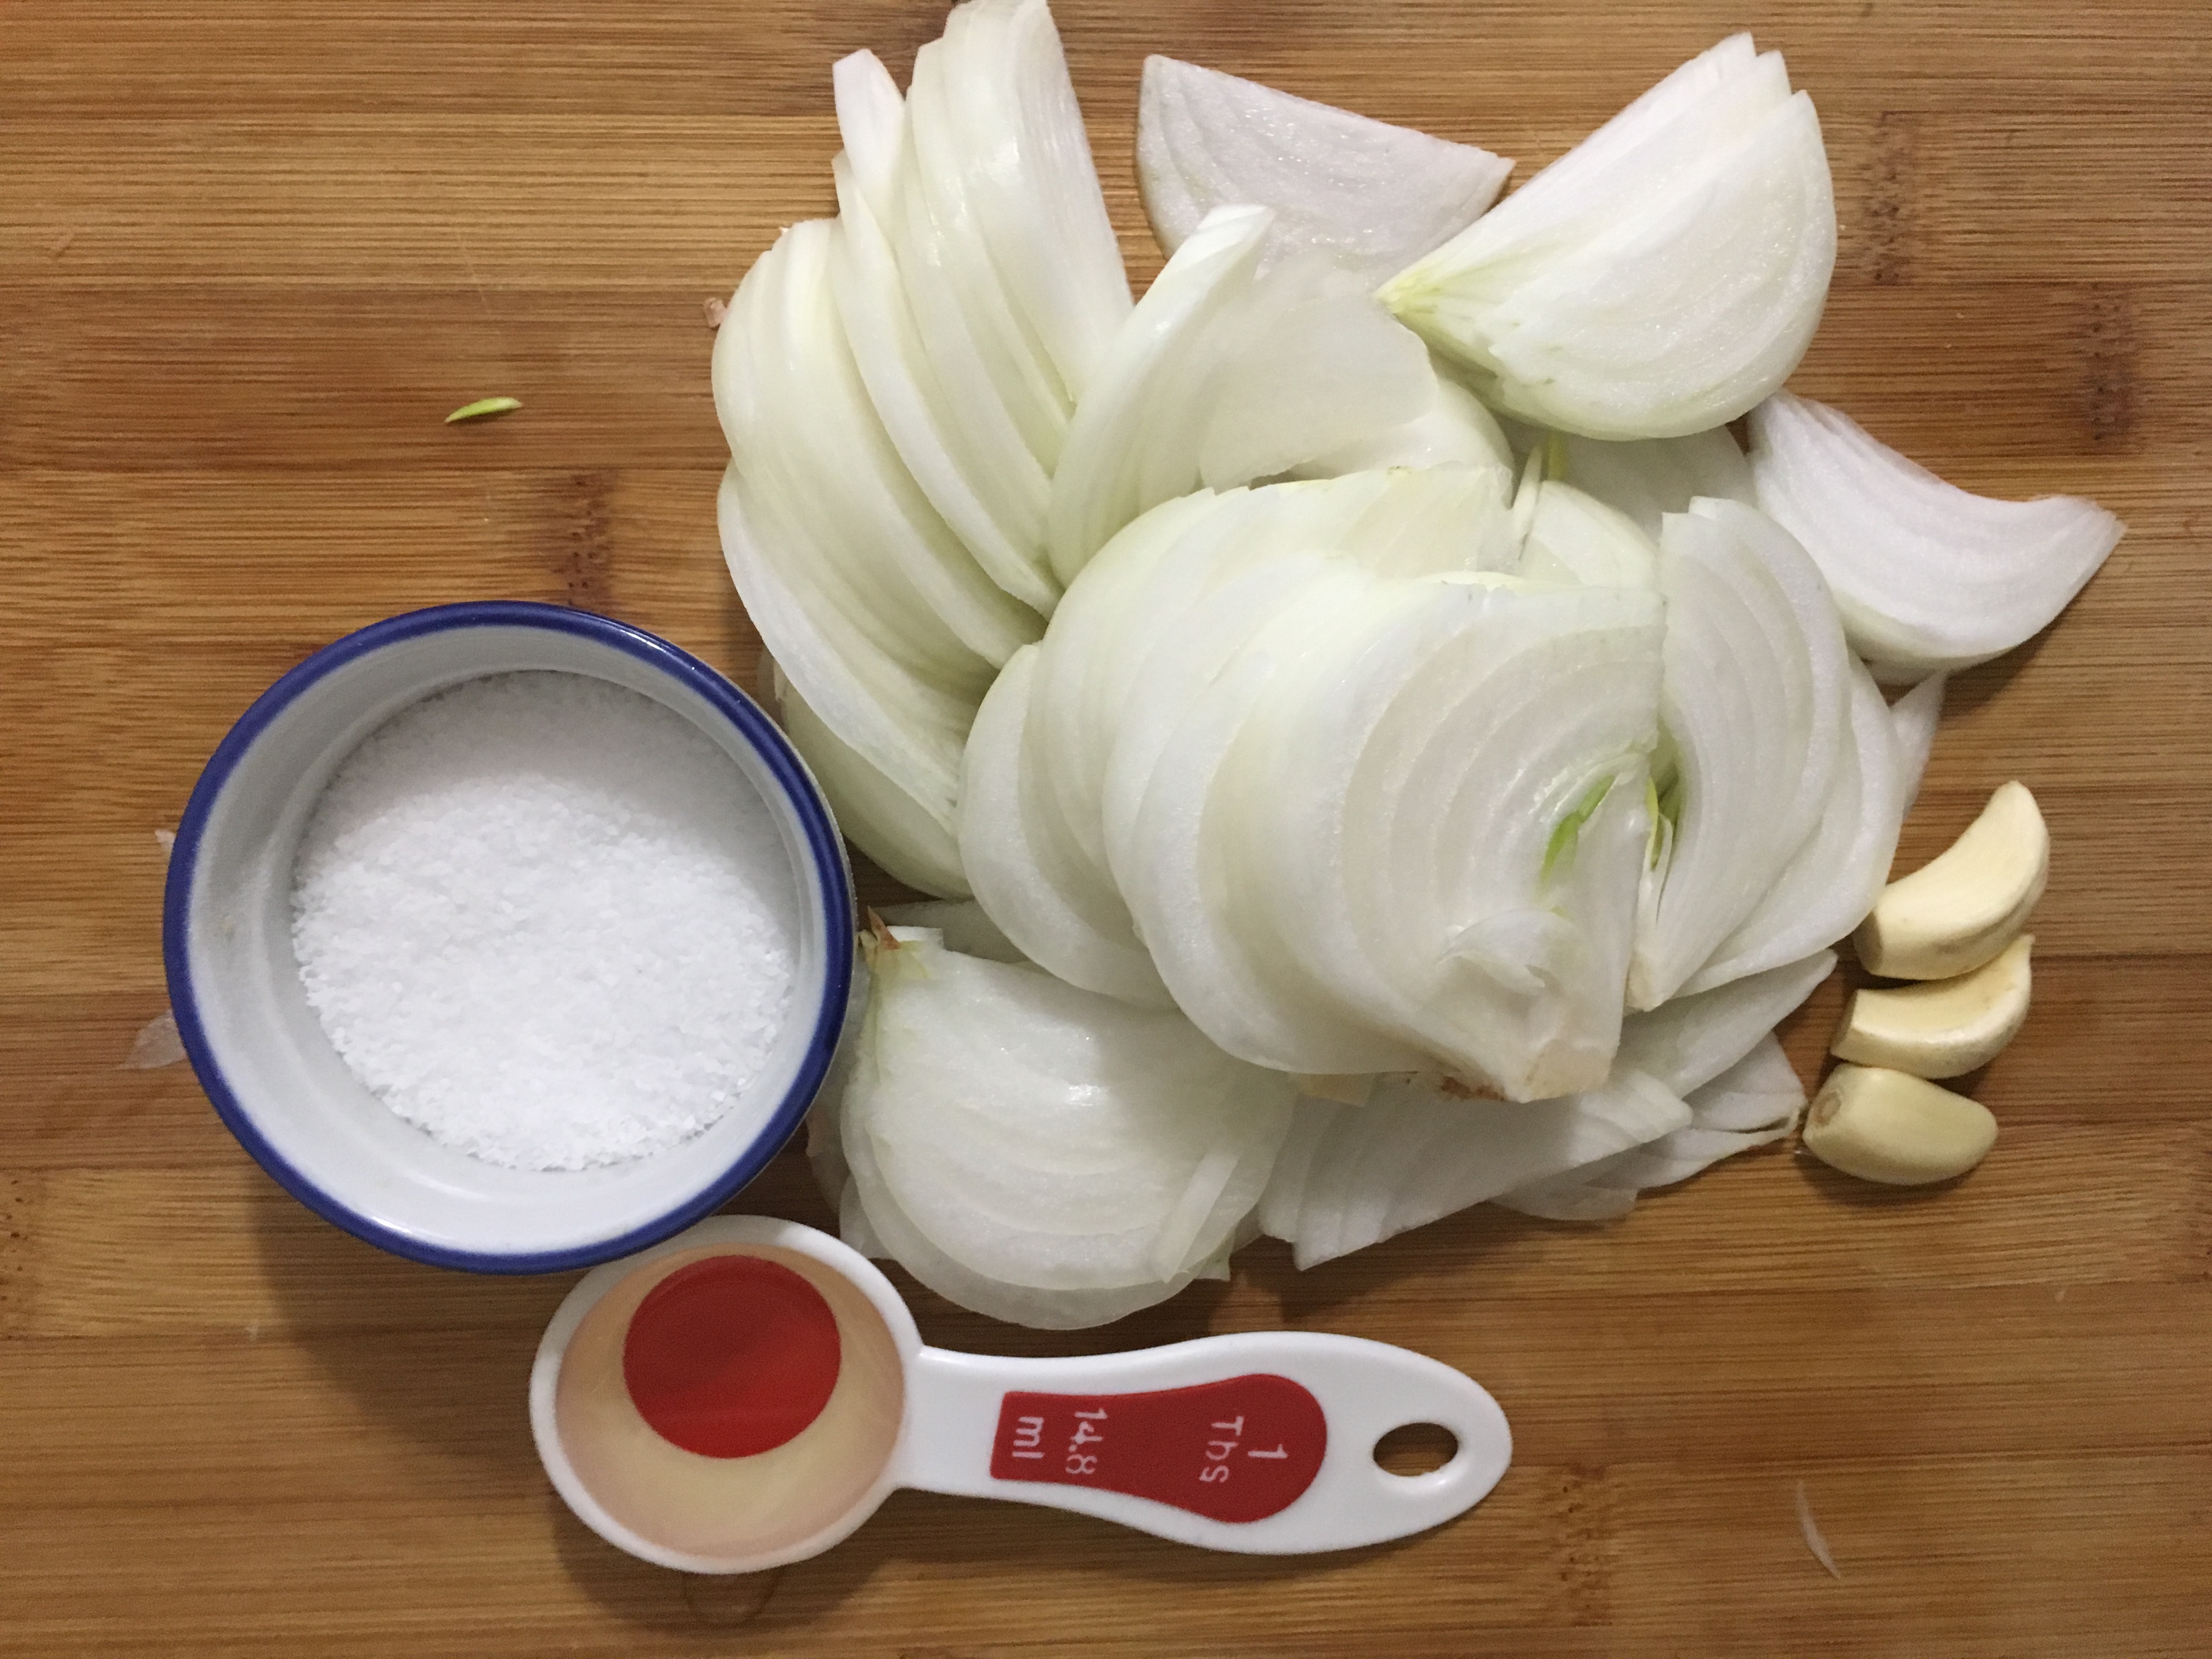
  1. Remove skin from the onion and garlic, and slice Onion into 1/4″ rounds.
  2. Put a cast iron pan on high, with enough oil to cover the bottom of the pan. Once it’s nice and hot, place the in the onions and garlic and sauté for 1 minute.
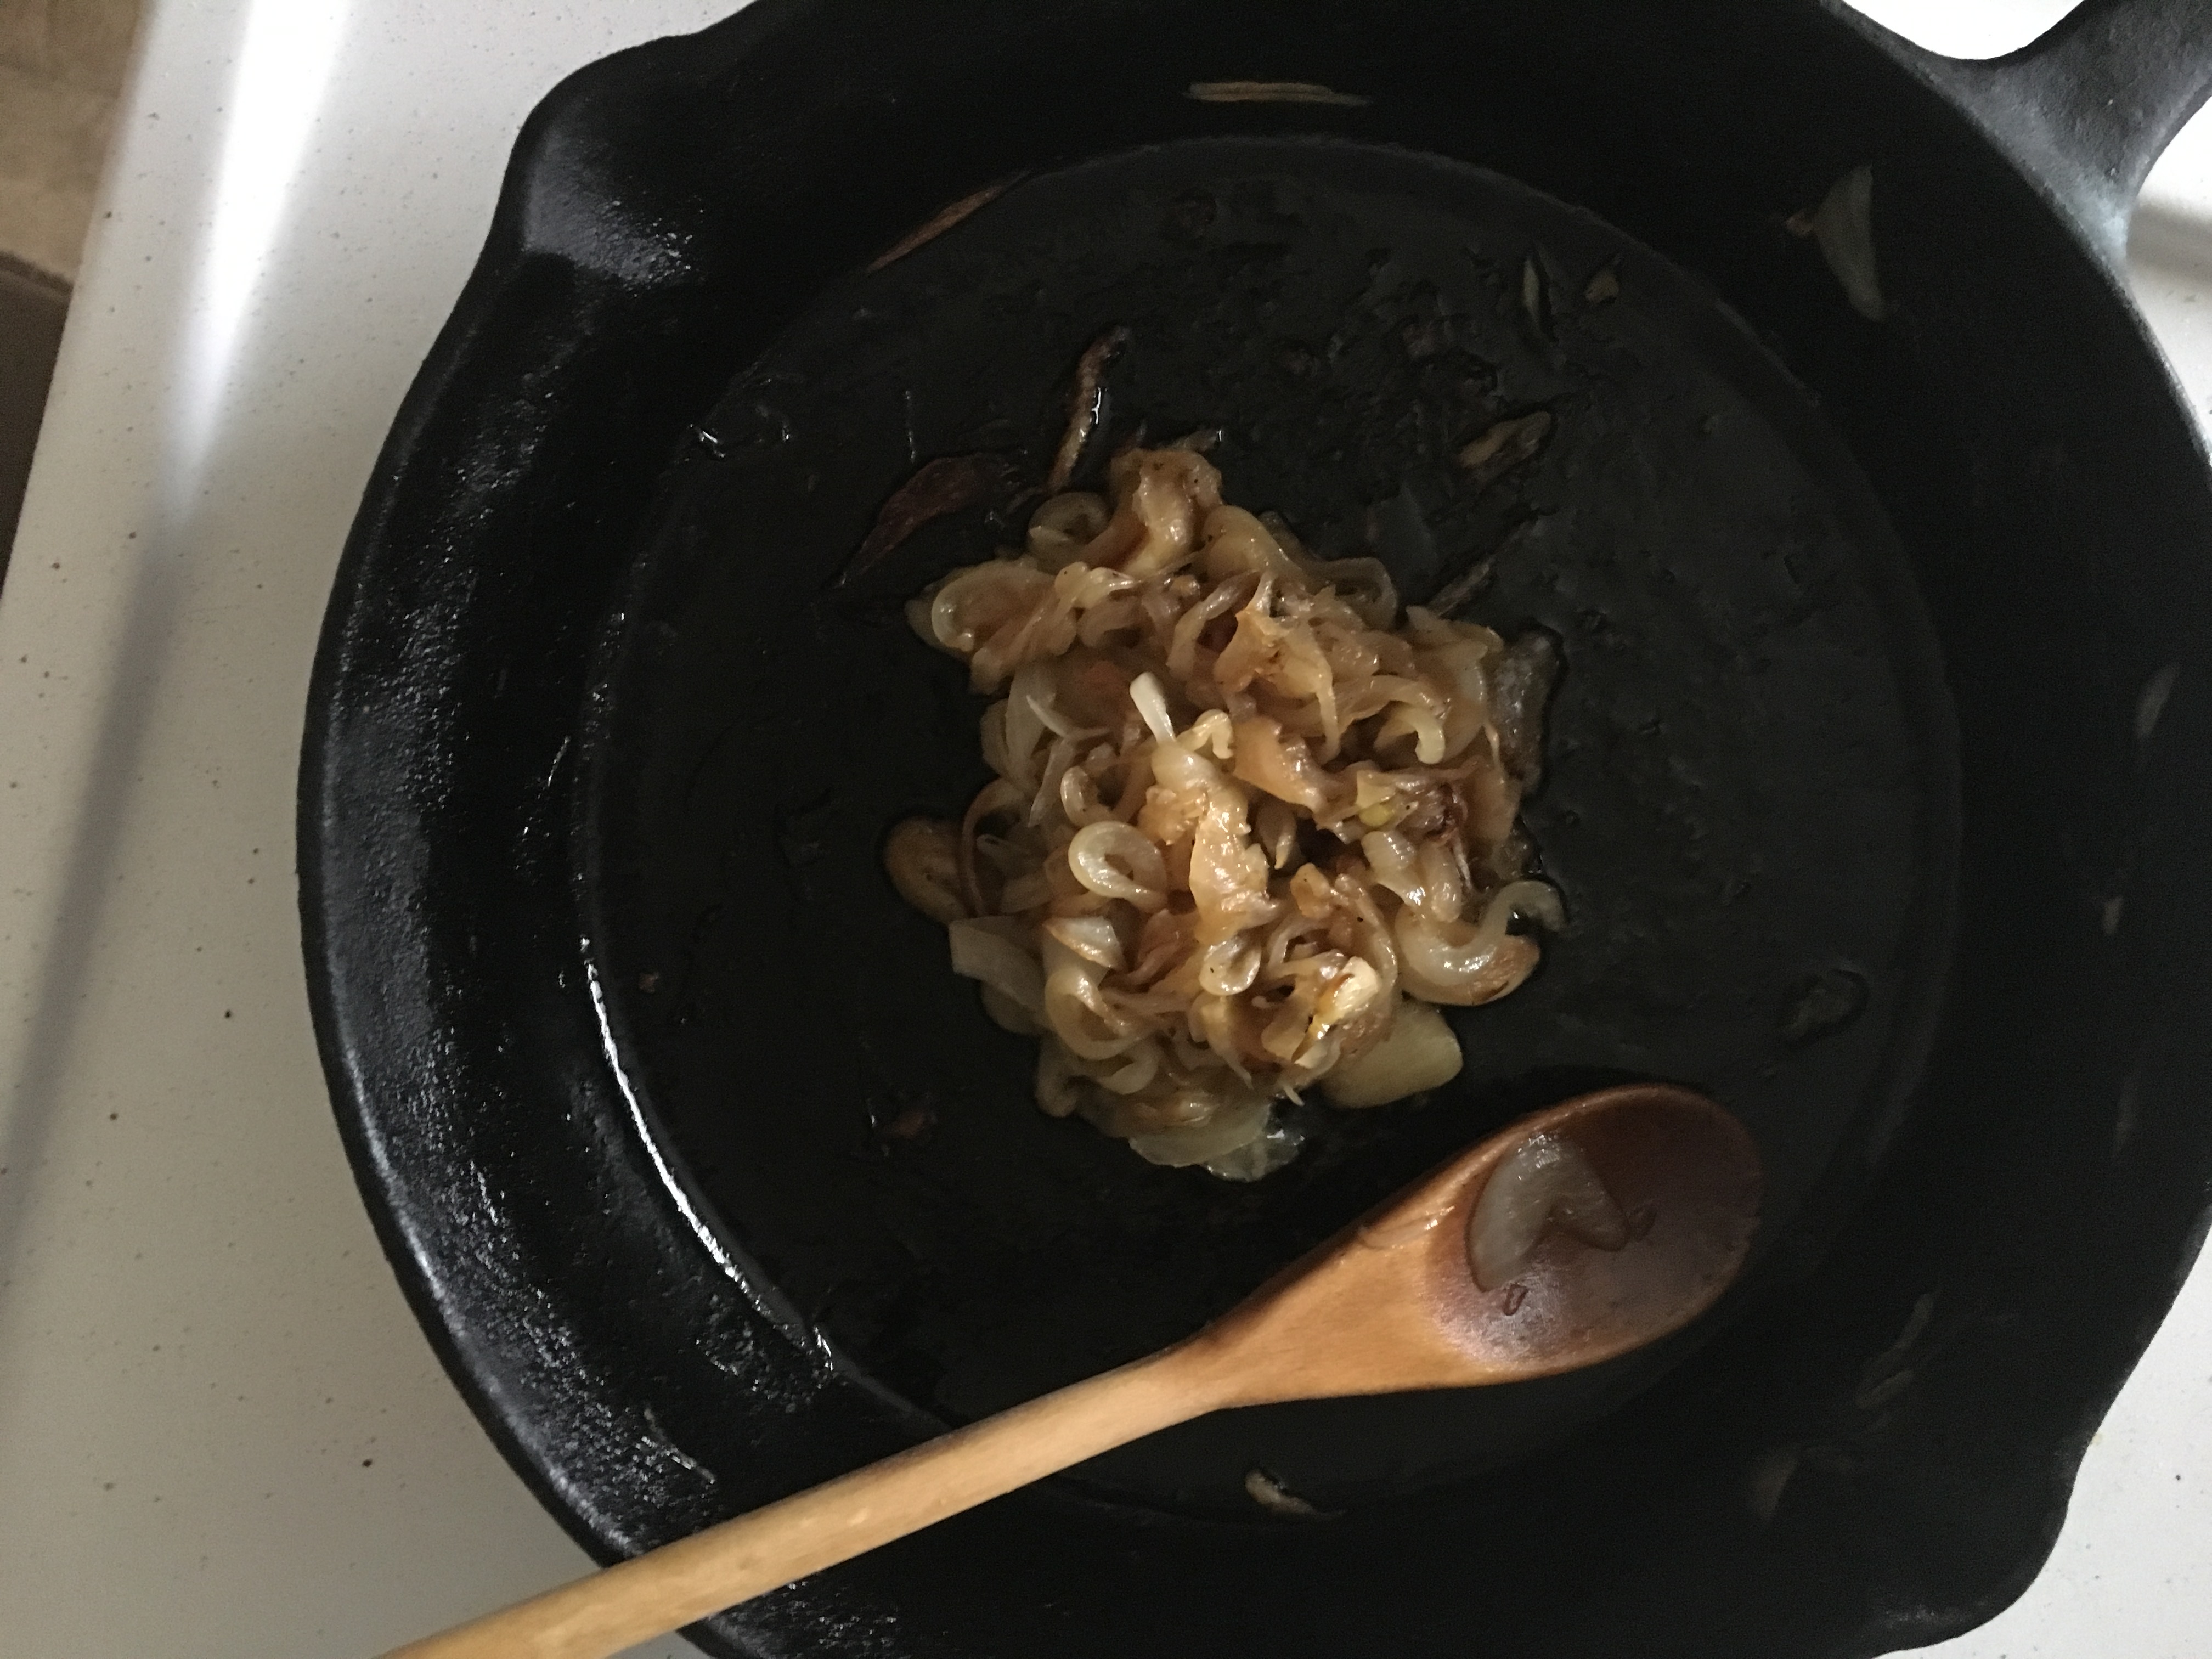
  3. Lower the temperature down to medium low. Stir occasionally, until the onions and garlic become golden and caramelized. This is going into a dressing, so I bring them down into a paste.
  4. Place a moist tea cloth down on the counter, and make a doughnut shape. Place a big mixing bowl in the hole of the ‘doughnut’.
  5. Using a Whisk or an immersion blender, mix all the White Balsamic Vinaigrette ingredients together, except the Canola oil, salt and the marinade from the Tomatoes. Continue until throughly incorporated.
  6. Slowly add in the Canola Oil. A few drops at a time at first, then as the mixture starts to emulsify, a little faster. Once all the oil is mixed in, repeat process with Marinade mixture.
  7. Add salt to taste. Remember, only Salt it a little at this stage. You’re going to serve it cold, so do the final seasoning after it’s been chilled. Which remind me….
  8. Place into clean container, and chill in fridge for a minimum of 2-3 hours.
    Taste and adjust for seasoning

Finally, let’s make the final product. I didn’t give measurement for the mixed greens. It’s a salad; use your best judgment. I personally love Arugula, so I put more of it then most people do, but here is how you should construct it.

  1. Wash your spinach and mixed greens. I don’t care if the bag says ‘pre-washed’. This week alone, I found a moth in a bag labeled pre-washed and last week I found a lady bug. Seriously, it’s for your mom, and you know she’d wash it for you.
  2. Mix the greens together in a large salad bowl along with the onion and croutons.
  3. The Tomatoes are fragile, so mix them in last, along with the dressing.
  4. Take a fancy photo, and post it to Instagram with the hashtag #foryourfoulmouth

I Haddock a Big Hankering

I was in the mood for some fish tacos, which was perfect because Cinco de Mayo was just around the corner! This dish, I originally assumed, started it’s life as tex-mex. In actuality it’s originally from Baja-California, Mexico and was originally called Tacos de Pescad, or Codnoscenti. It was basically a traditional taco, with battered fish in place of the pork/beef. From what I can tell, since then it has been given an English name and adopted by pub and resto bar menus across America and Canada. It’s my assumption that it’s northern migration was what lead it to evolve into what we know today here north of the mexican border. There is something about the mix of crispy, savoury, and sweet, with a Mexican twist, that’s just unparalleled.

Apple Slaw, Rum Battered Haddock, and Homemade Corn Taco shells were the main things I wanted to experiment with. As stated above, I feel this is known more as pub fair than authentic Mexican cuisine, so I wasn’t too worried about ingredients usaly found in Mexico. However, since there is something wrong with my brain, I also felt that home-making the corn tortilla and the mayo for the slaw was non-negotiable. This is a long recipe, but nothing is overly complicated about it. I urge any new cooks to try making it. Most of it can be made in advance, which means you can make this over a day or two, and not have to try so many new things at once.

I don’t know how other food blogs manage to have long stories before they get to their recipes, so let’s get right into the guts of this.

Corn Taco Shells:

  • 1 cup Massa
  • Juice and zest from 1/2 lime
  • 1 to 1 1/2 cups of hot tap water
  • Salt to taste

Apple Slaw and Dressing:

  • 1 Egg yolk
  • 3/4 canola oil
  • 1 Tablespoon Dijon mustard
  • 3 Tablespoons White Wine Vinegar
  • Salt/pepper to taste
  • 1 Honey Crisp Apple
  • 2 Jalapeño Peppers
  • 1 Small Stock of Celery
  • 3 Heirloom Carrots
  • 1 Yellow Onion

Pico de Gallo:

  • 1 Hot House Tomato
  • 1 Yellow Onion
  • 3 cloves Garlic
  • 1/2 a Lime
  • Salt and pepper to taste

Crispy Haddock and Seasoning:

  • 1 Tablespoon Chili Powder
  • 2 1/2 teaspoon Paprika
  • 1 1/4 teaspoon Cumin
  • 1/8 teaspoon Cayenne
  • 1 1/4 teaspoon Onion Powder
  • 1 1/4 teaspoon Garlic Powder
  • 2 Pieces of Haddock
  • 1 Cup Bread Flour
  • 2 Tablespoons Corn Starch
  • 2 teaspoons Baking Powder
  • Rum to colour
  • Water To Consistency
  • Salt and pepper

First, let’s make the Tortilla that we will make into a Taco shell

  1. In a big mixing bowl add the Massa, 2 pinches salt, and the lime’s zest and juice.
  2. While lightly, but continuously, mixing with a spatula, slowly add about 1/3 of the hot water. The mixture should should start to clump together. At this point, you can start working the dough with your hand while you slowly add little bits of water. Once the dough can form a ball that doesn’t crumble you can discard the remaining water. The final dough ball should be soft, and feel a bit moist to the touch. if it feels a dry put it back in the bowl and work in more hot water. a little too moist is better then too dry. Really it should feel like Play-Doh. If you never used play-doh, let your mom know she failed you. This is officially part of the recipe, so you have to do it, or it won’t work.
  3. Place ball under a damp towel, or in plastic wrap for twenty minutes. this will give the Masa time to evenly distribute the liquid. this can also be left in the fridge for a day or two covered in plastic.
  4. Massa Dough right After Formed
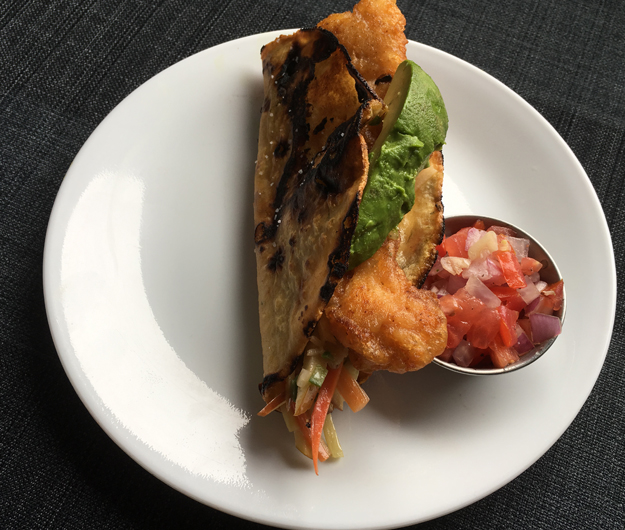
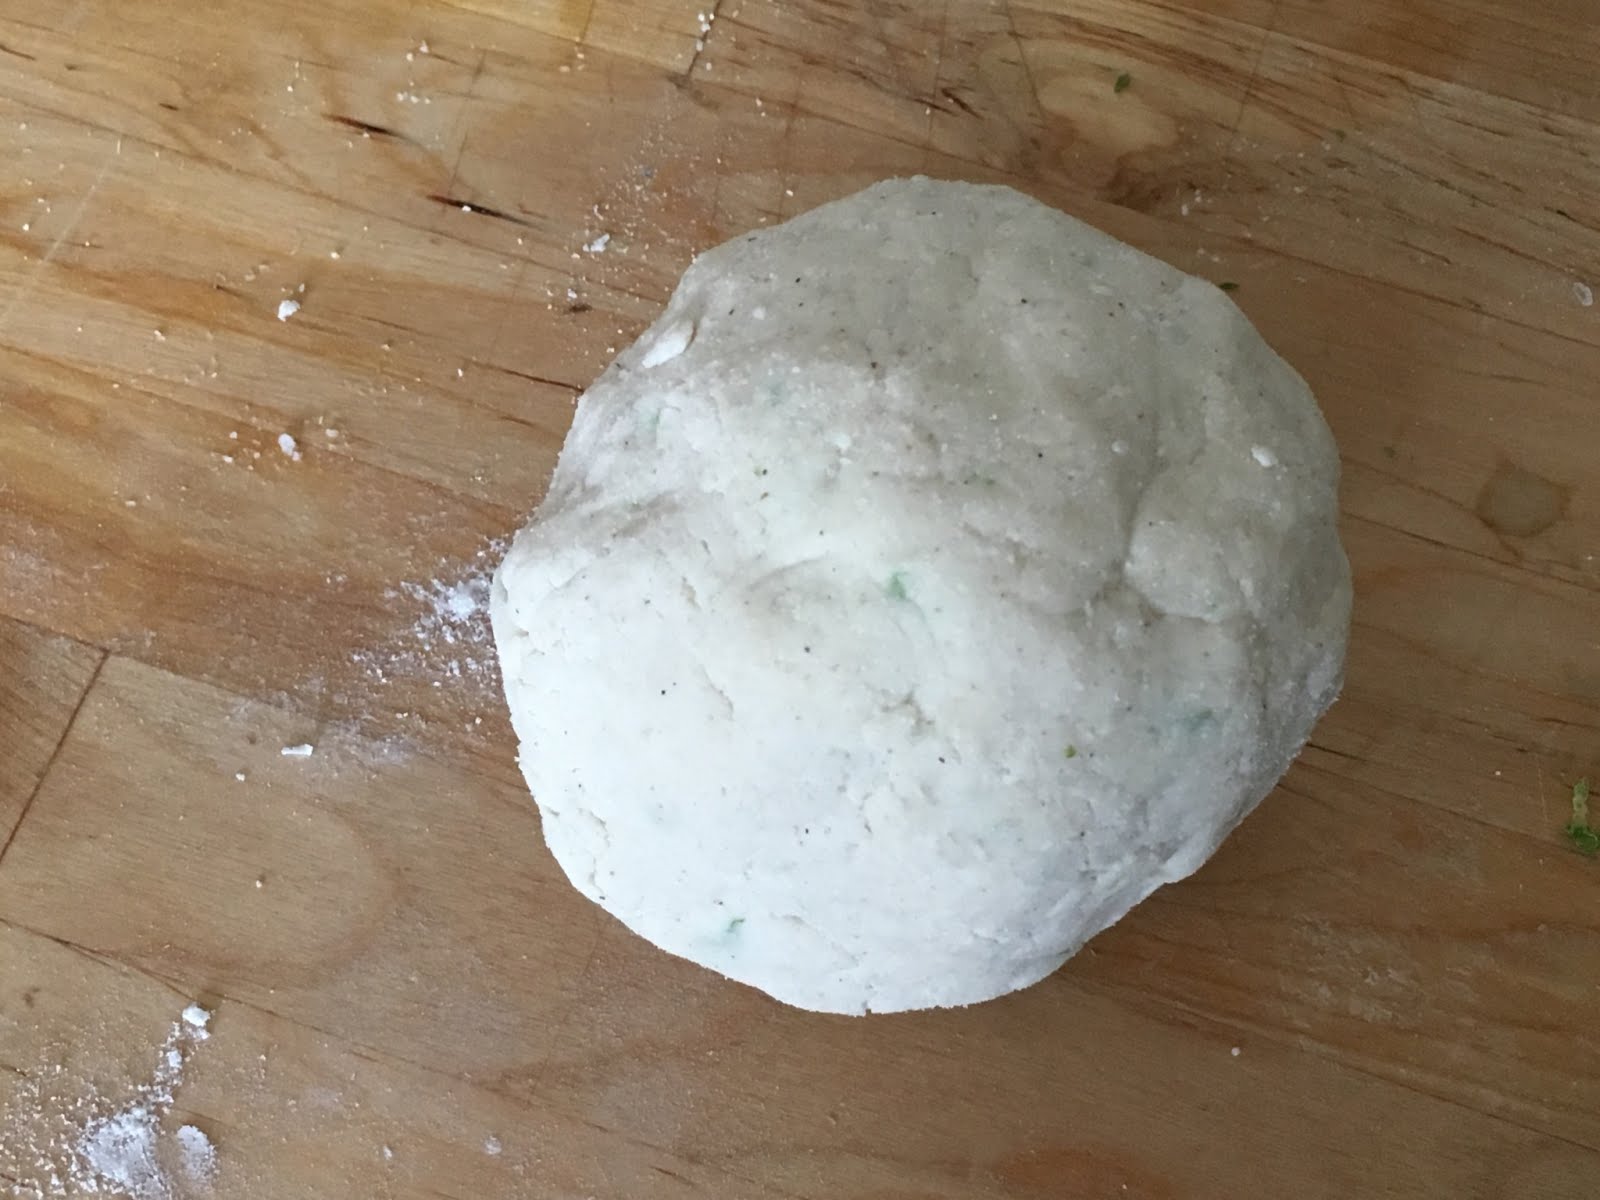
Divide the ball into 4, and roll each section into its own ball. Cover all of them with plastic wrap.
  5. If you have a Tortilla press, follow the directions that came with it to make your dough into tortillas, then skip to step 13.
  6. Masa disk on sheet of 2
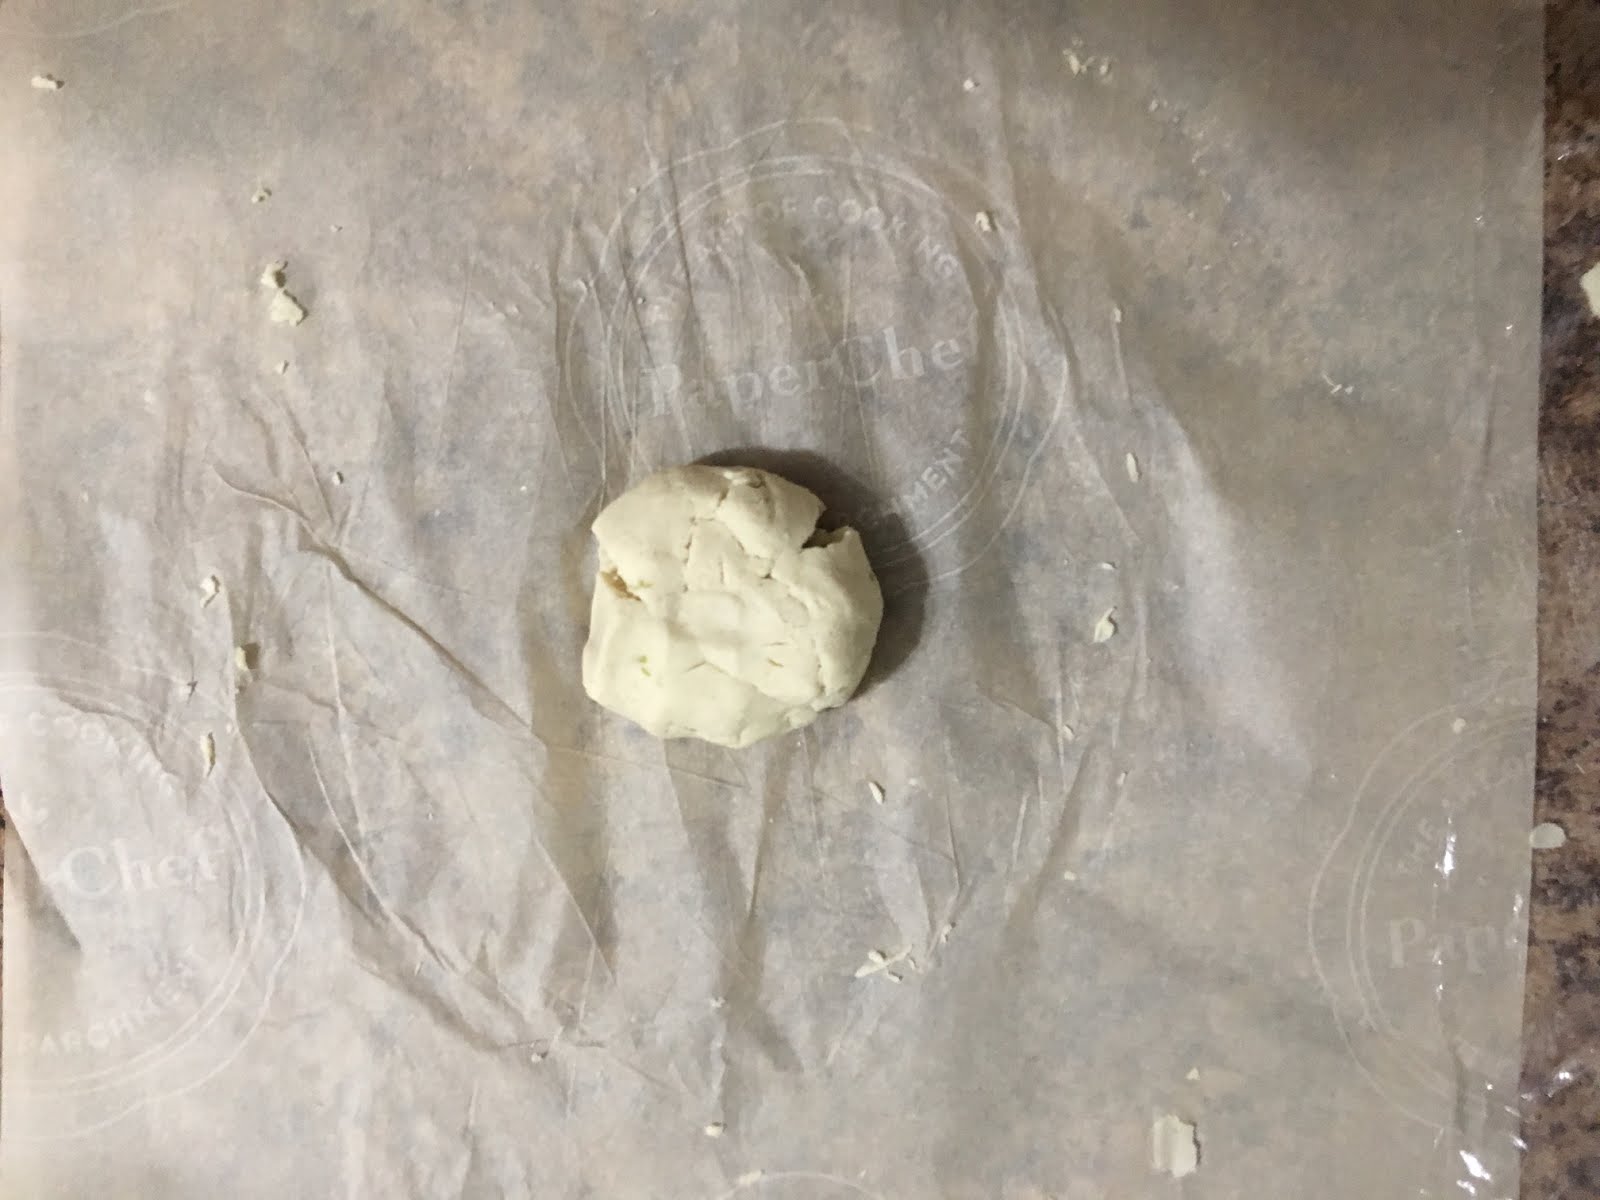
I personally don’t believe in buying things I will use twice a year, unless its a matter of safety or necessity. So I don’t own a tortilla press, however I have come up with a way to make perfect tortillas. Lay out a 1.5′ sheet of Parchment, and put your 1 dough ball in the centre.
  7. Push the dough ball with your palm so it’s a disk shape then cover with a 1.5′ sheet of plastic wrap
  8. Massa rolled out slightly bigger than my bowl
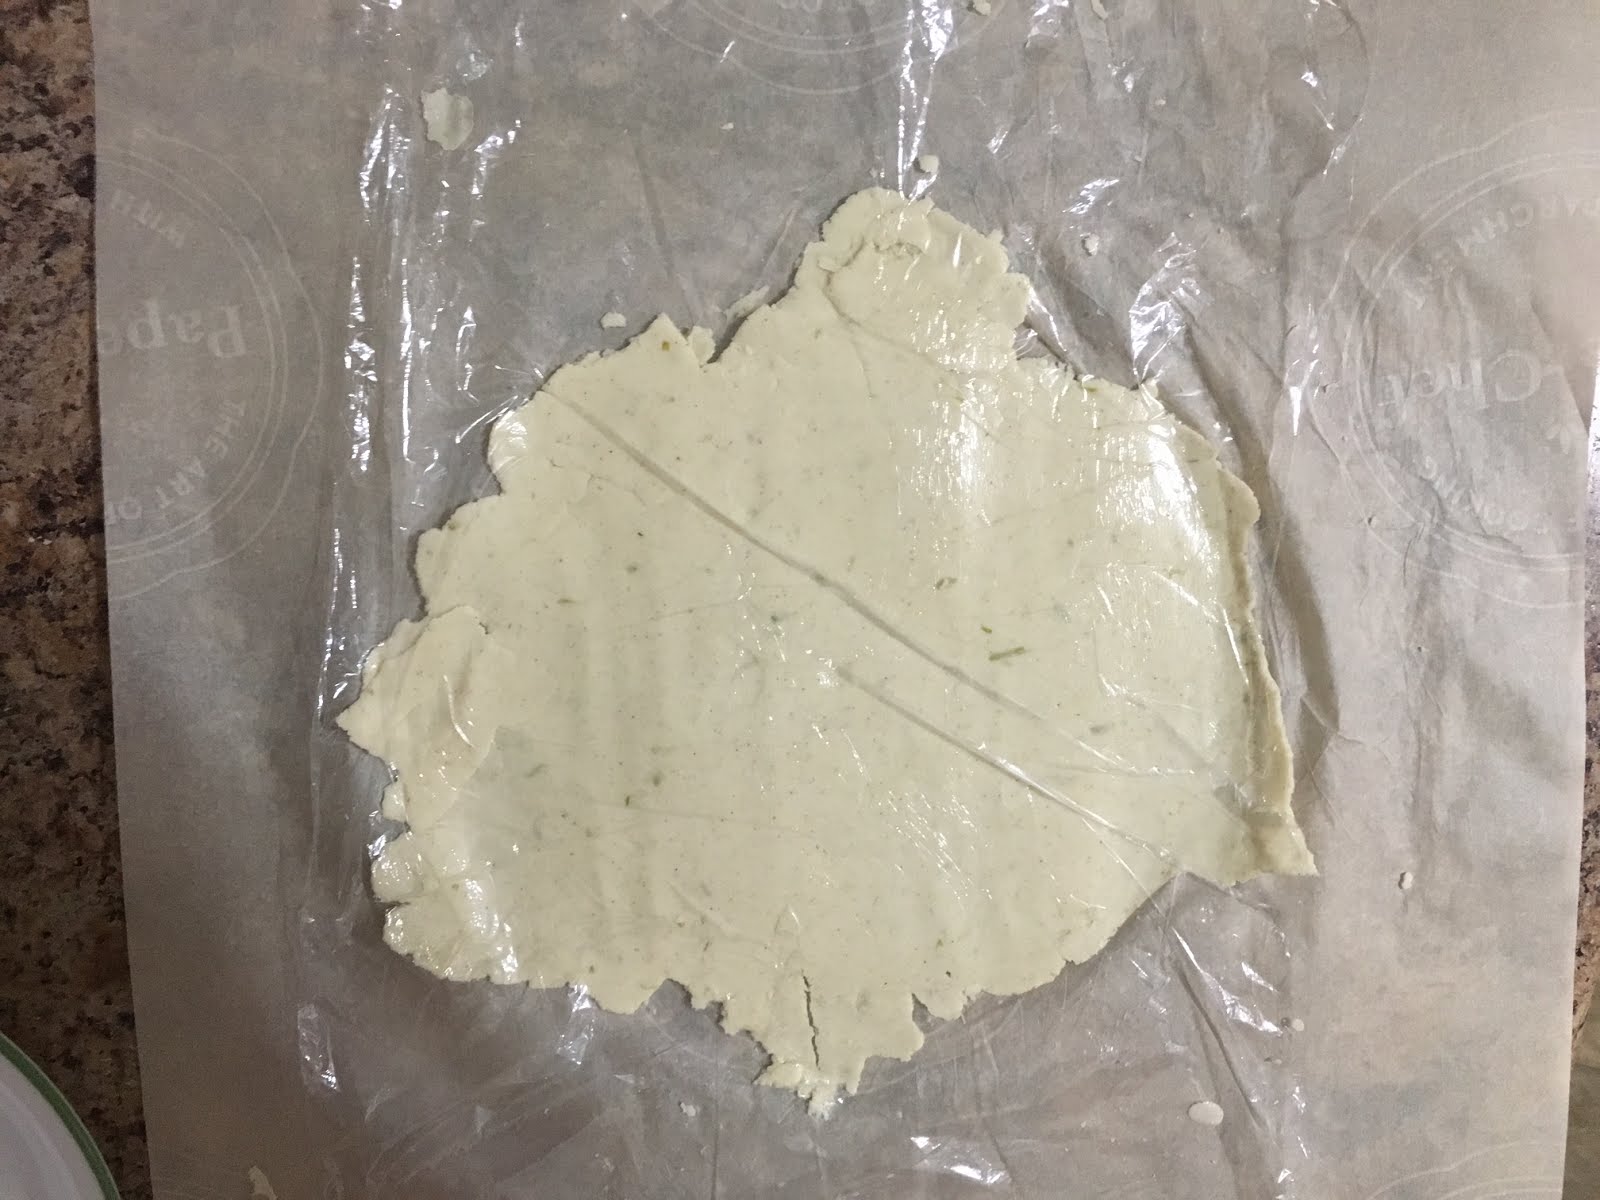
Use a rolling pin to roll the dough ball just until it’s wider than a soup bowl. Make sure to roll back and forth and side to side. FYI: At first your plastic wrap may cling to the dough causing it to curl upward. Simply lift the plastic wrap off the dough, gently place the dough down and put the plastic back. If the parchment becomes wrinkled, simply pull its corners.
  9. Using a bowl to get my tortilla the perfect shape
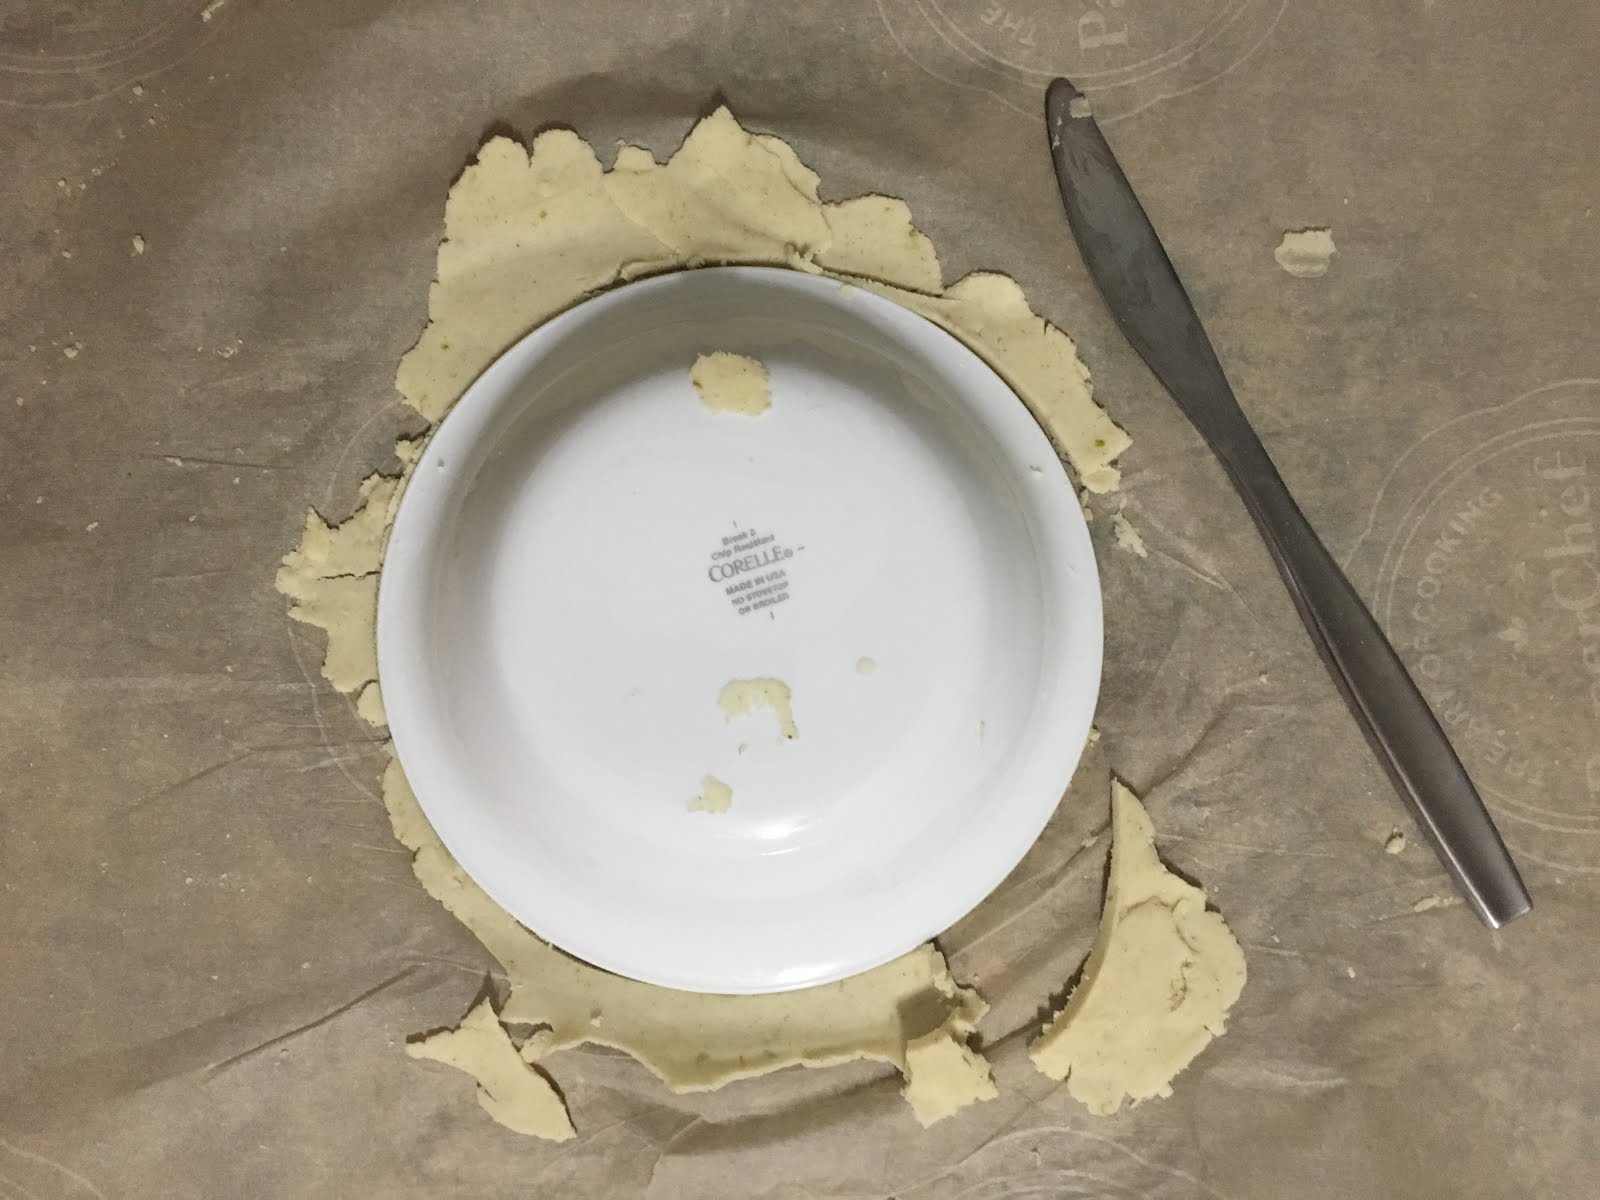
Gently remove your plastic wrap and place a bowl upside down on your dough, using a butter knife cut around the rim of your bowl, this will give you perfectly shaped tortillas. Use the scrap pieces to fill any cuts, are place the rest to the side. There is no gluten in Masa, so you don’t have to worry about over working it.
  10. The Masa after second rolling. It finally looks like a Tortilla
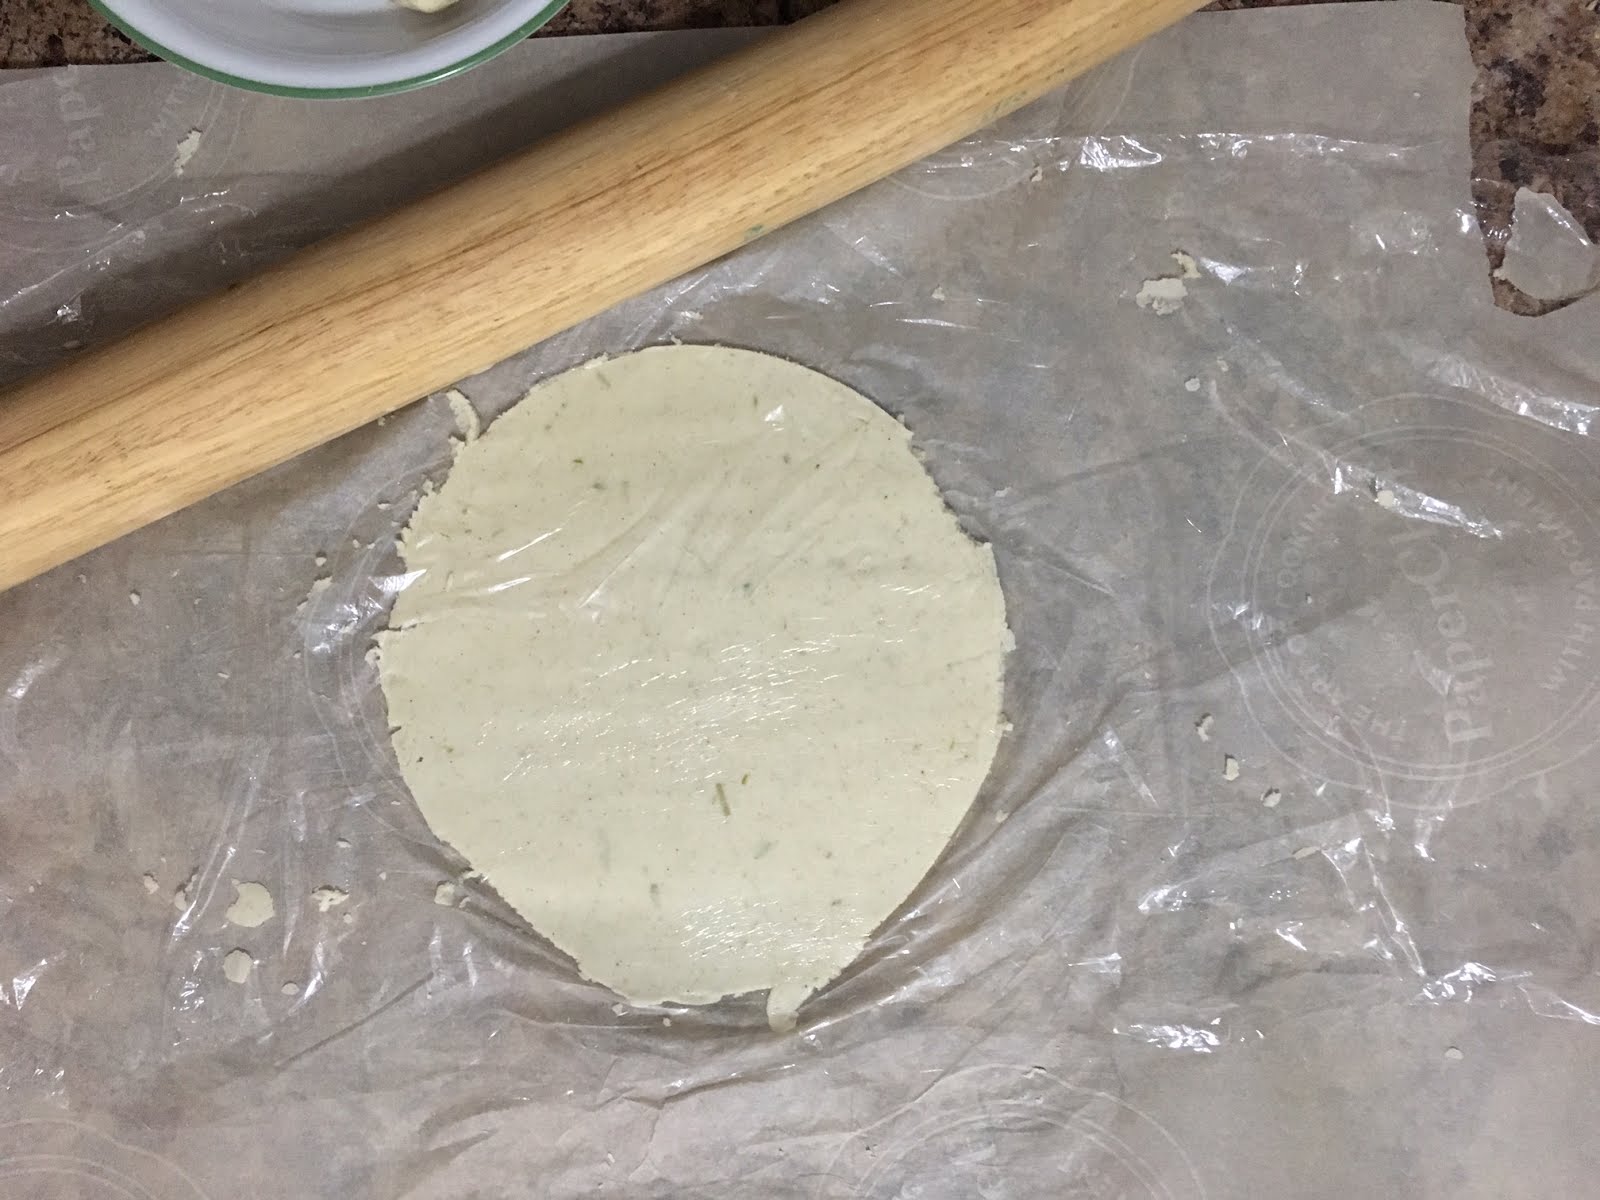
Place the plastic wrap back on top of the dough and use rolling pin thing out the tortilla to about 1/6″
  11. Repeat step 9.
  12. My pile of Tortilla dough waiting to be cooked
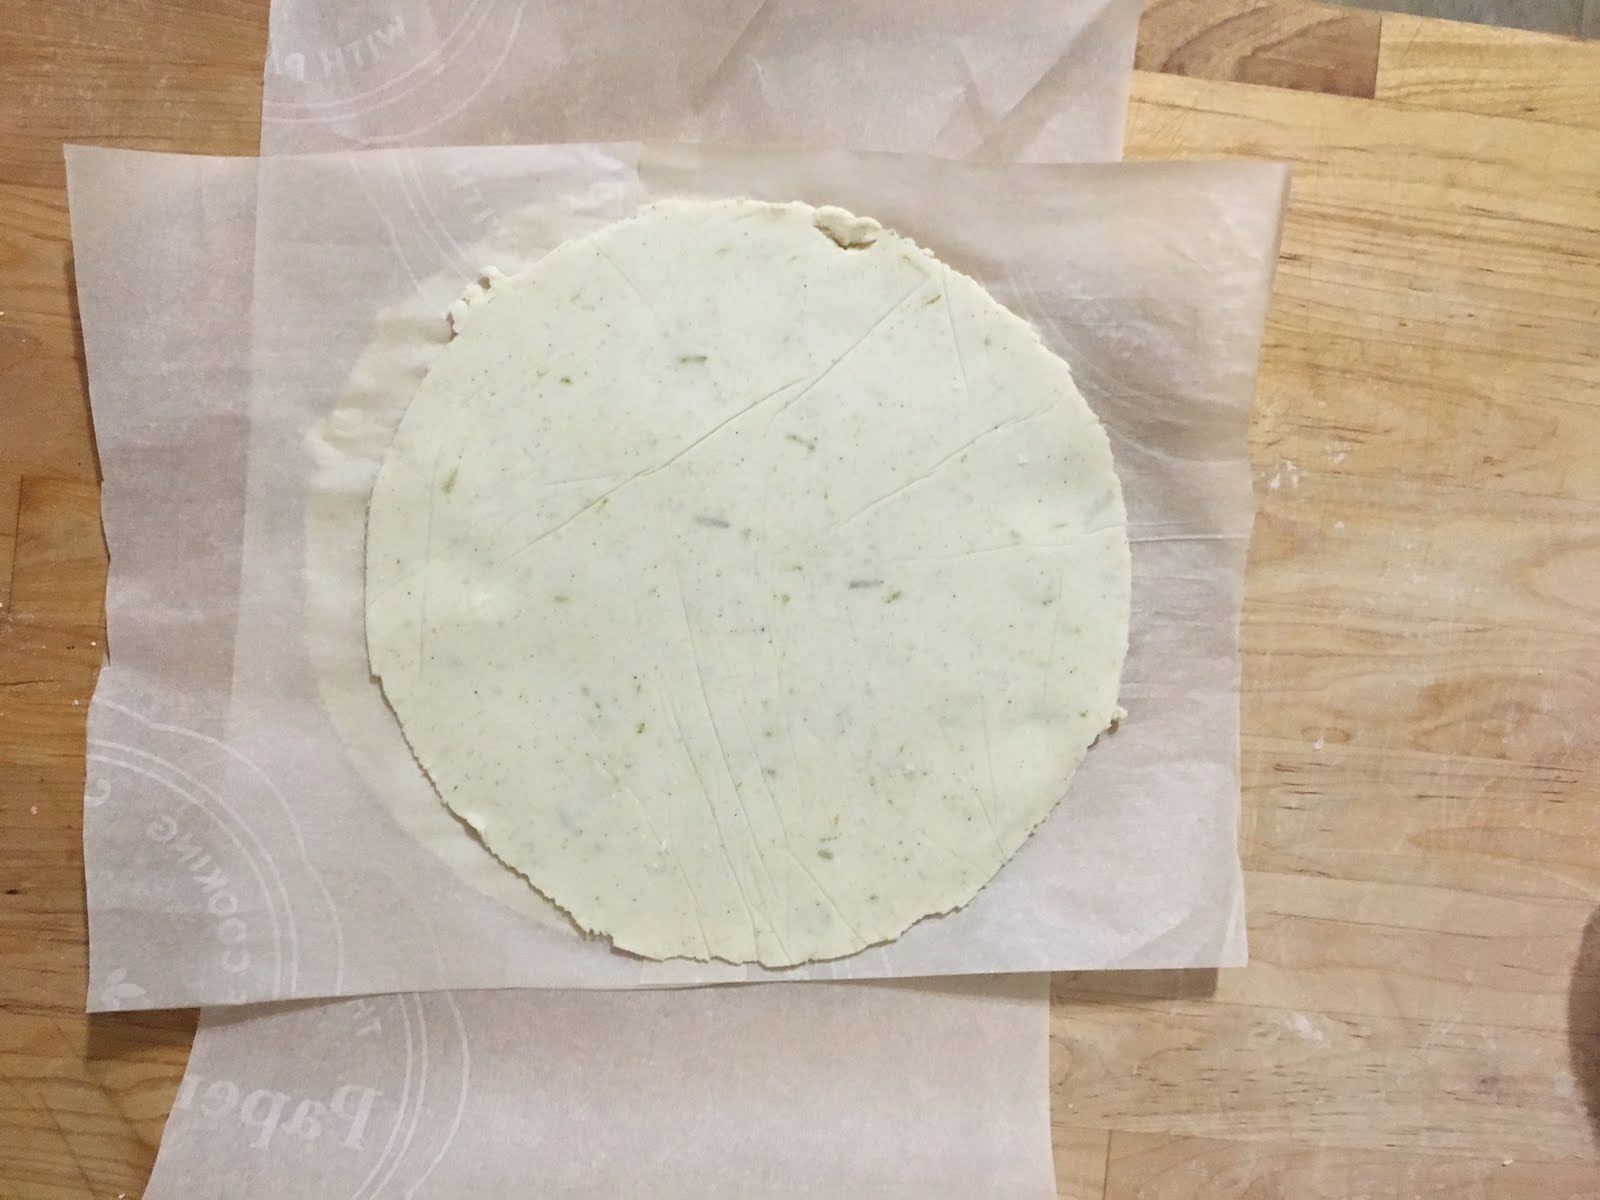
Slowly peel the tortilla off the parchment, and place on the side till you’re ready to cook them. I place all the tortillas on top of each other with a piece of parchment paper to separate them. Cover with plastic wrap, or damp cloth.
  13. Repeat steps 6 – 12 until all the dough balls are gone.
  14. Finally It's a tortilla! you want those beautiful spots on them. Sadly only the first side will have them that perfect.
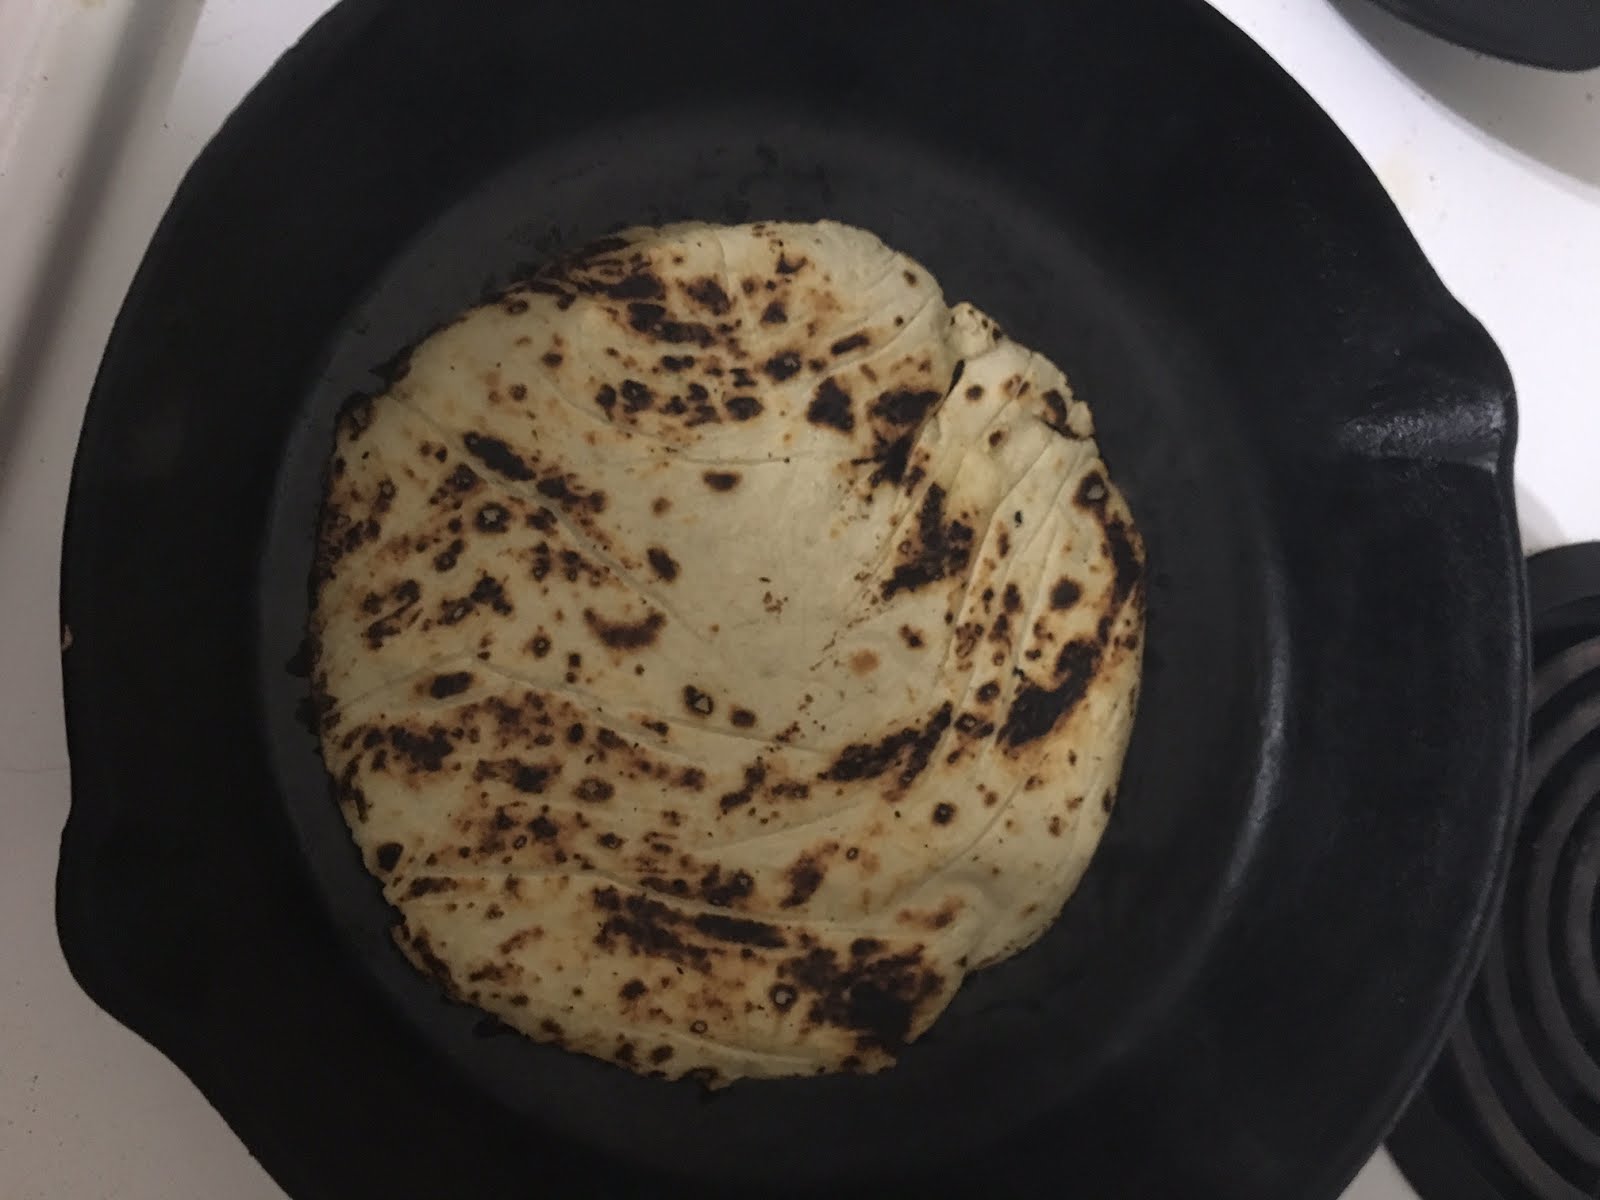
Cook each tortilla one at a time on a non greased cast iron pan set to high heat. If you don’t have cast iron, you can use a stainless steel pan, but you will have to wait longer in between cooking each tortilla for the stainless to regain its heat. It should take about 30-40 seconds on the first side, and about 20 seconds on the other side. They may puff up, thats a good thing, it means they are well rolled.
  15. Let cool for about 5 minutes, and then place in zip -loc bag until you’re ready to fry them.
  16. Heat up a pot with filled with 1/4″ of canola oil. You’re looking to reach around 400 degrees Fahrenheit, or about 200 degrees Celsius.
  17. I use the corner of the pot to hold the tortilla in shape.
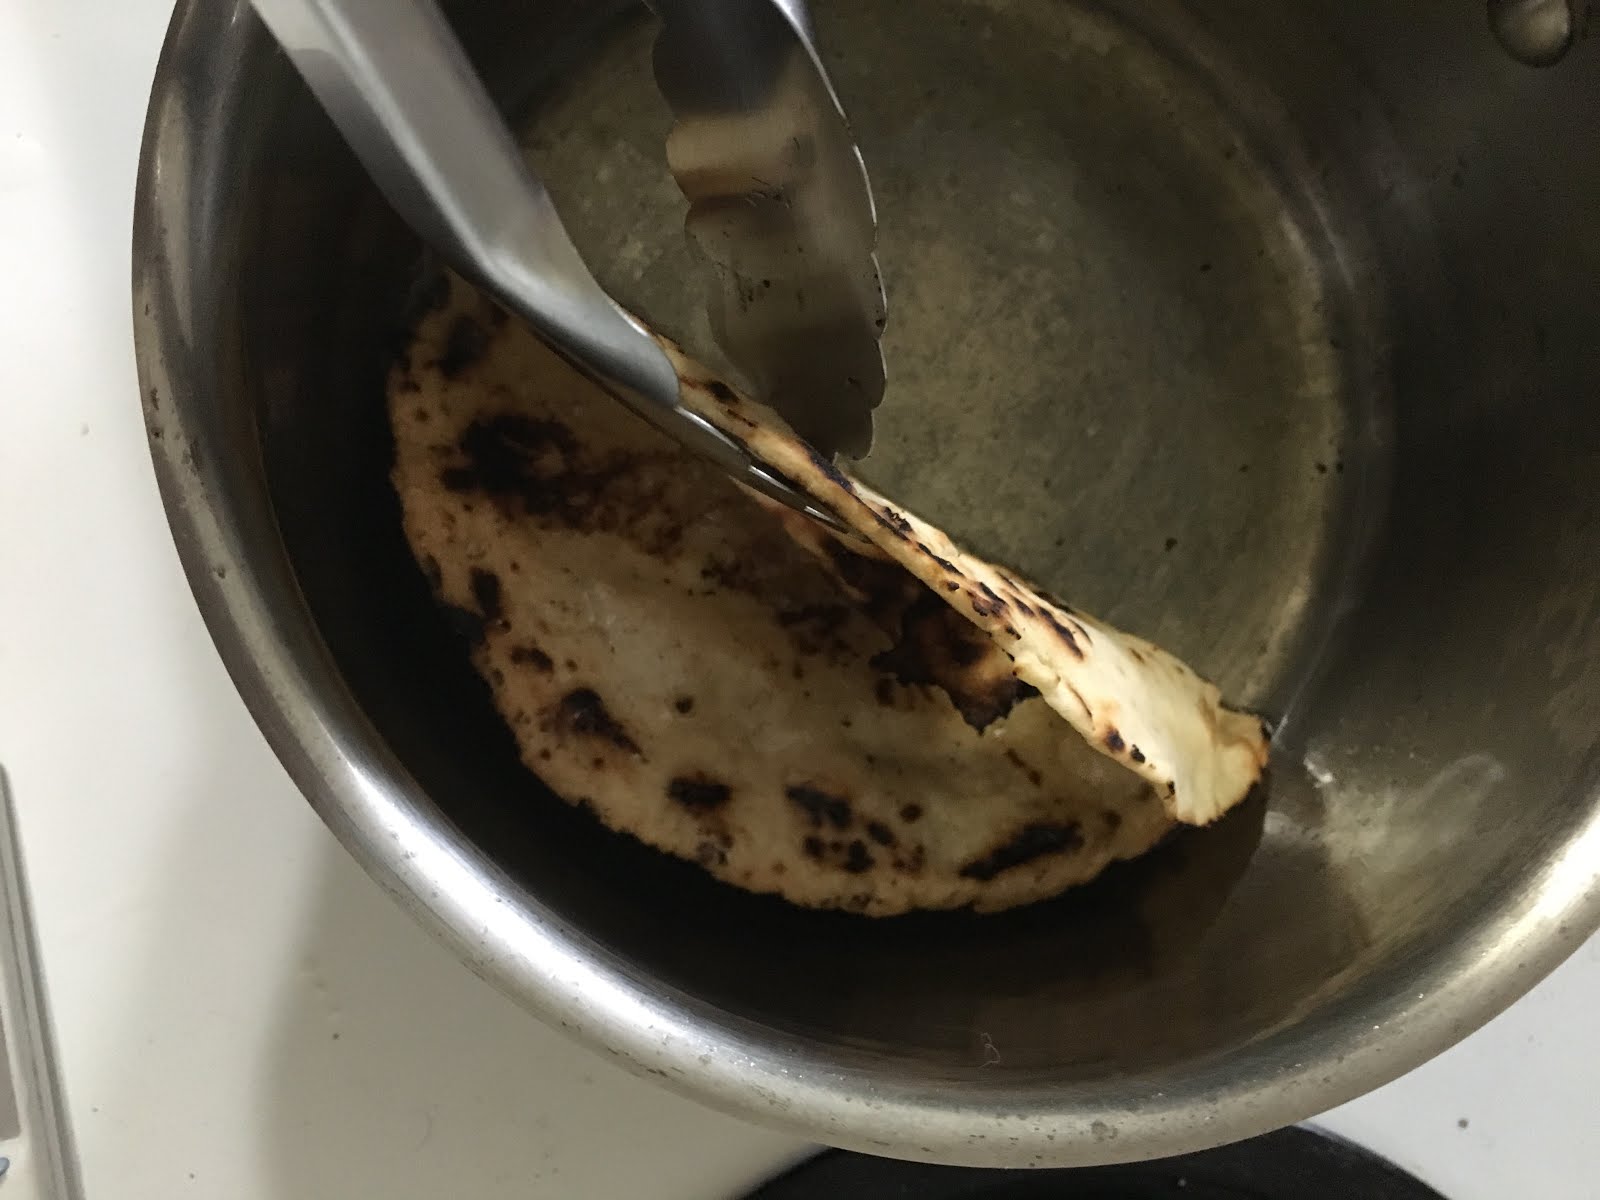
Using tongs, pick up a cooked tortilla, and lower it into the oil so that only half of it is frying. Using the a wooden spoon push down any big bubbles that form.
  18. Using the tongs, tun the tortilla 180 degrees, and fold so it’s shaped like a taco shell.
  19. Corn Tortillas are just amazing. The Subtle addition of Lime just makes them out of this world.
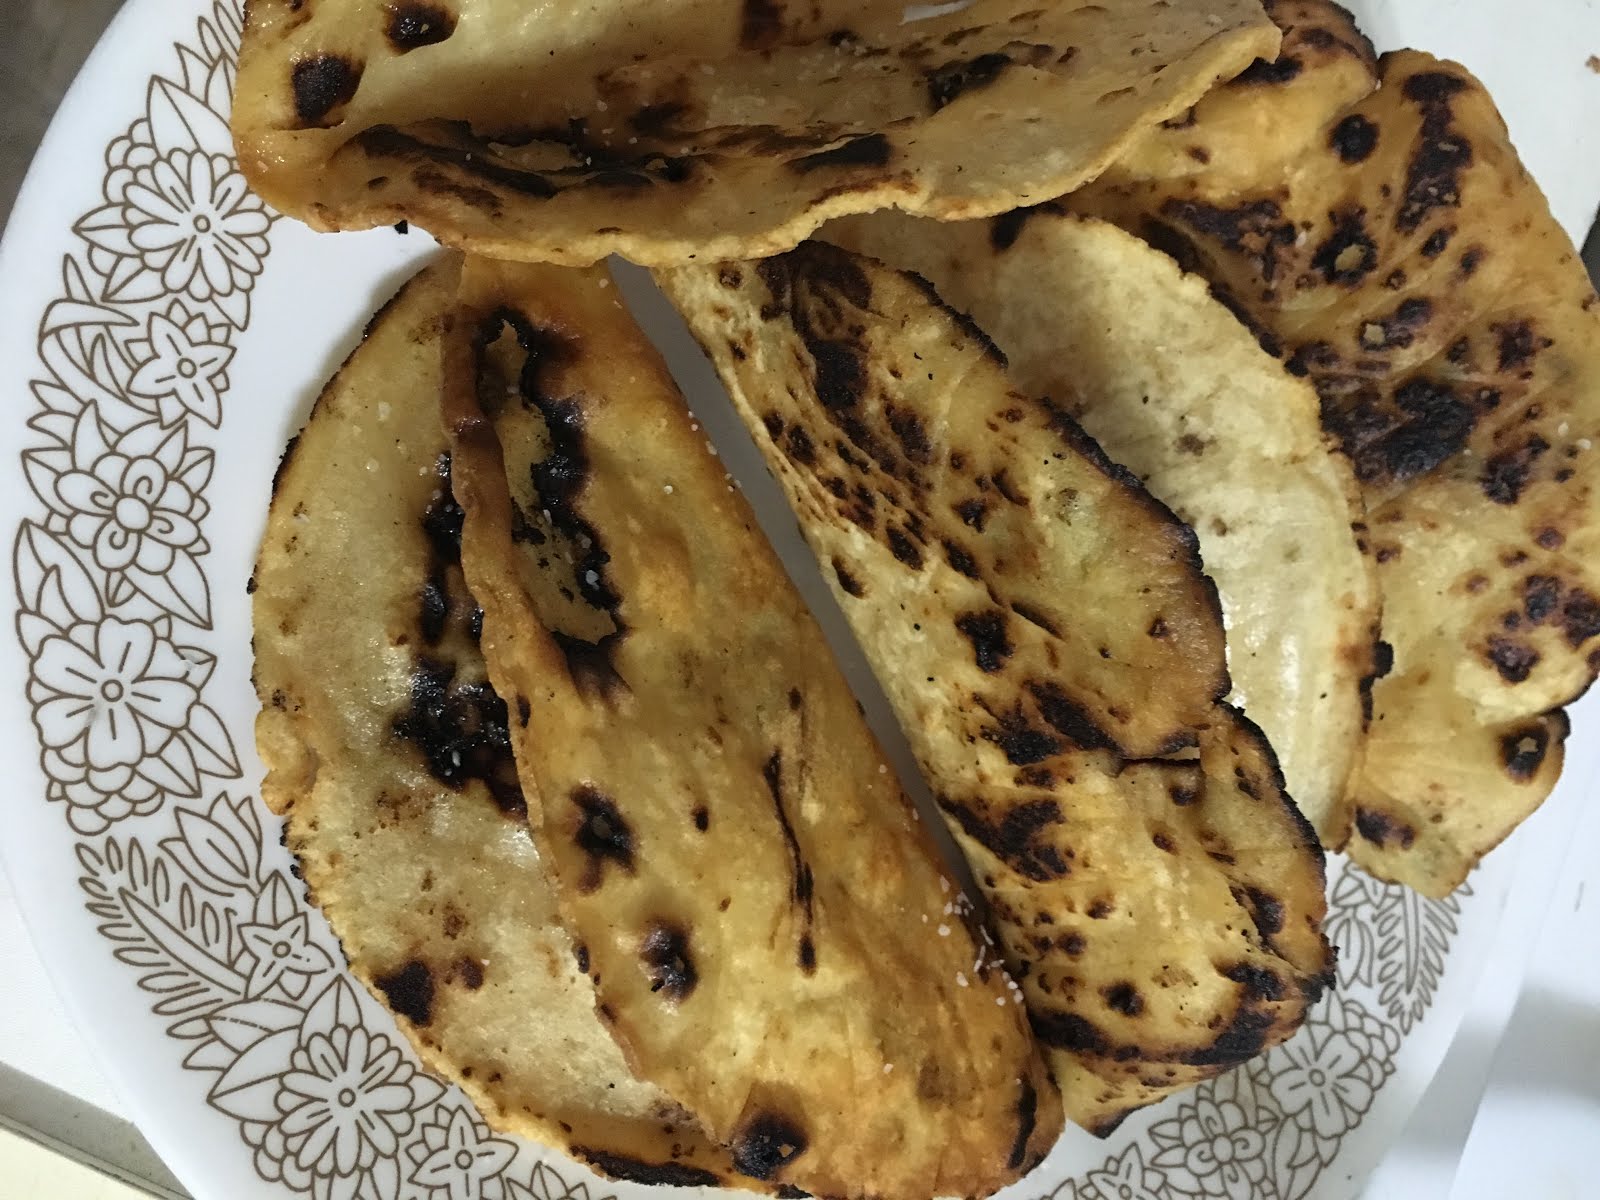
Once the shell holds its shape, move to the side and sprinkle with salt.

Next, the Pico de Gallo

  1. Dice up the Hot House Tomato and Red Onion into a 1/8″ cubes
  2. Cut the garlic into a Fine dice
  3. Juice Lime and set aside
  4. Mix the Tomatoes, Onions, Garlic in a large bowl
  5. Add Lime Juice, Salt and Pepper a little at a time until you’re happy with the taste. You want this to be slightly on the stronger side, because the other ingredients will slowly release liquid and water down the intensity.
  6. Put in fridge to chill, minimum an hour, ideally overnight.

Let’s not forget the Apple Slaw

  1. Place a damp tea towel in a circle shape on the counter, and place large mixing bowl on top. This will hold the bowl still while you’re working.
  2. Add Egg yolk, Dijon mustard and White Wine Vinegar into the large bowl, and whisk until you have a mixture that’s a solid colour.
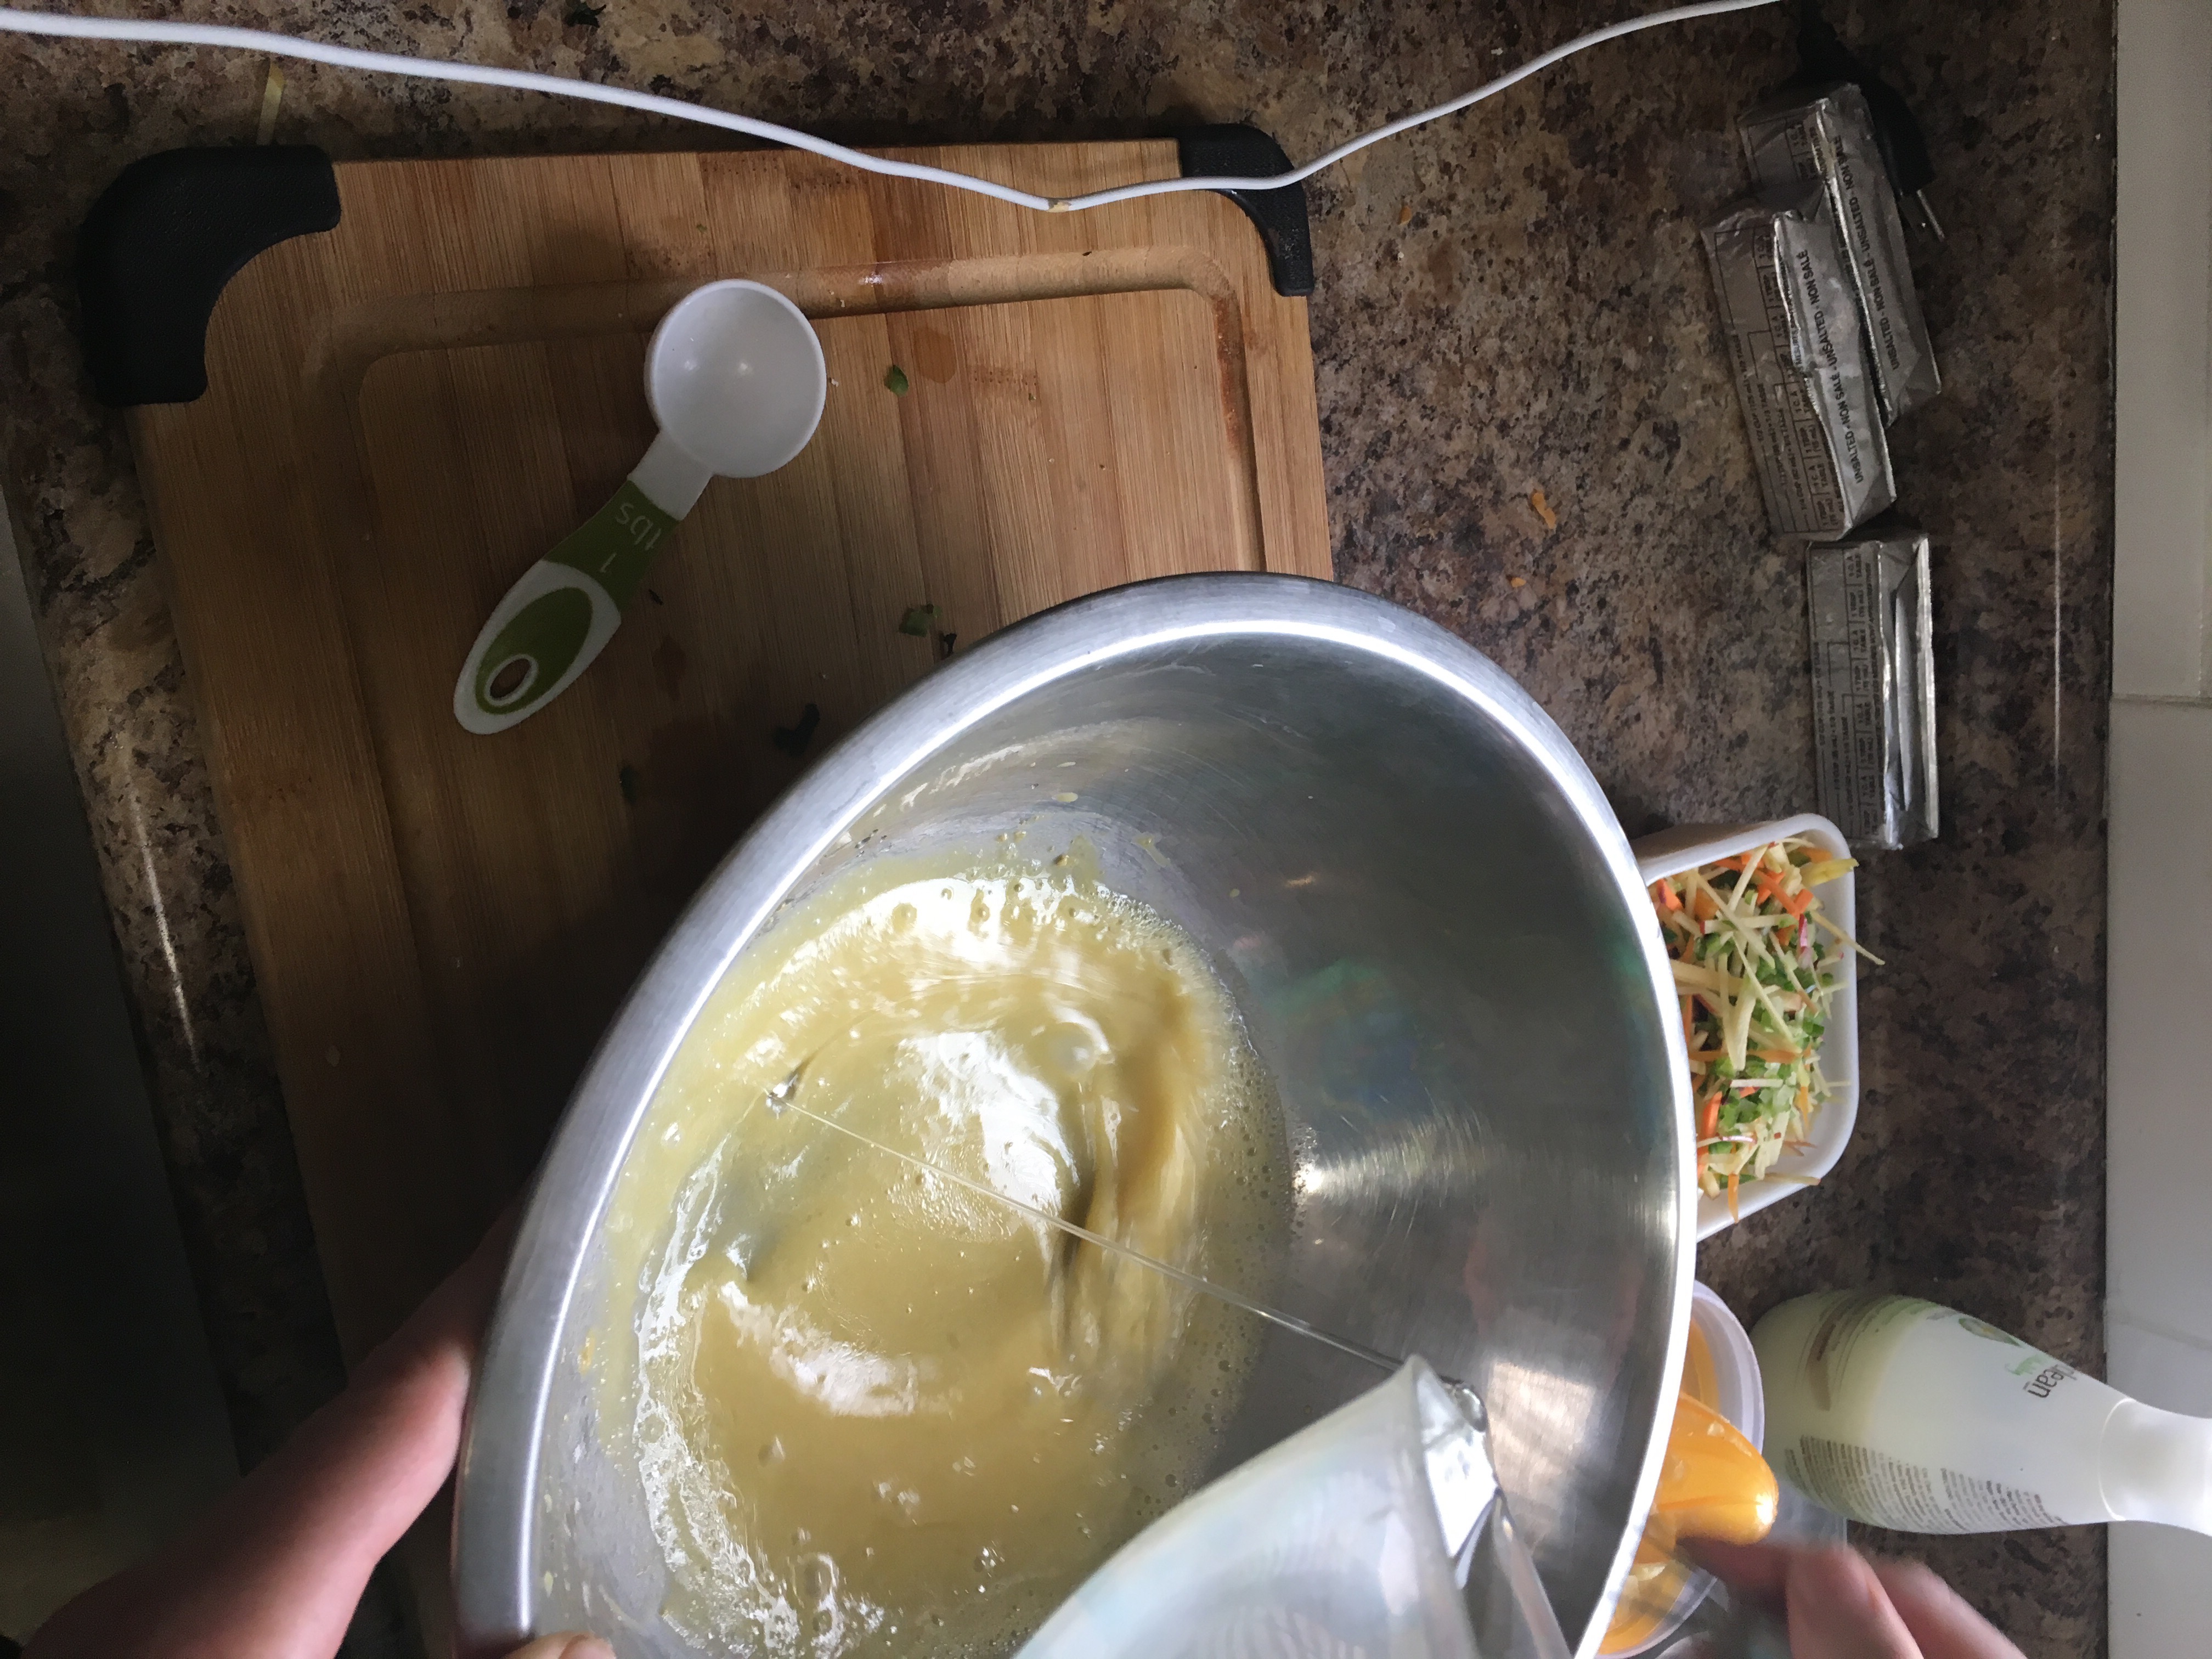
  3. Slowly add Canola Oil into mixture while whisking. The oil should emulsify into the mixture so you have a solid consistent dressing. You don’t want the mixture to break, so you’re better off adding it too slowly, than too fast.
  4. Hot House Tomato Sliced into rounds, then sticks then diced
    When about 3/4 of the oil is added, stop and add salt and pepper to taste. You will season again at the end, but this will better distribute the seasoning, and give you a bench mark of what it should taste like when you do your final seasoning.
  5. Add the rest of the oil while whisking just as before
  6. Once all the oil is added, taste and adjust for final seasoning.
  7. Put dressing into fridge until needed
  8. Apple Sliced the same way as the Tomato for the Pico de Gallo
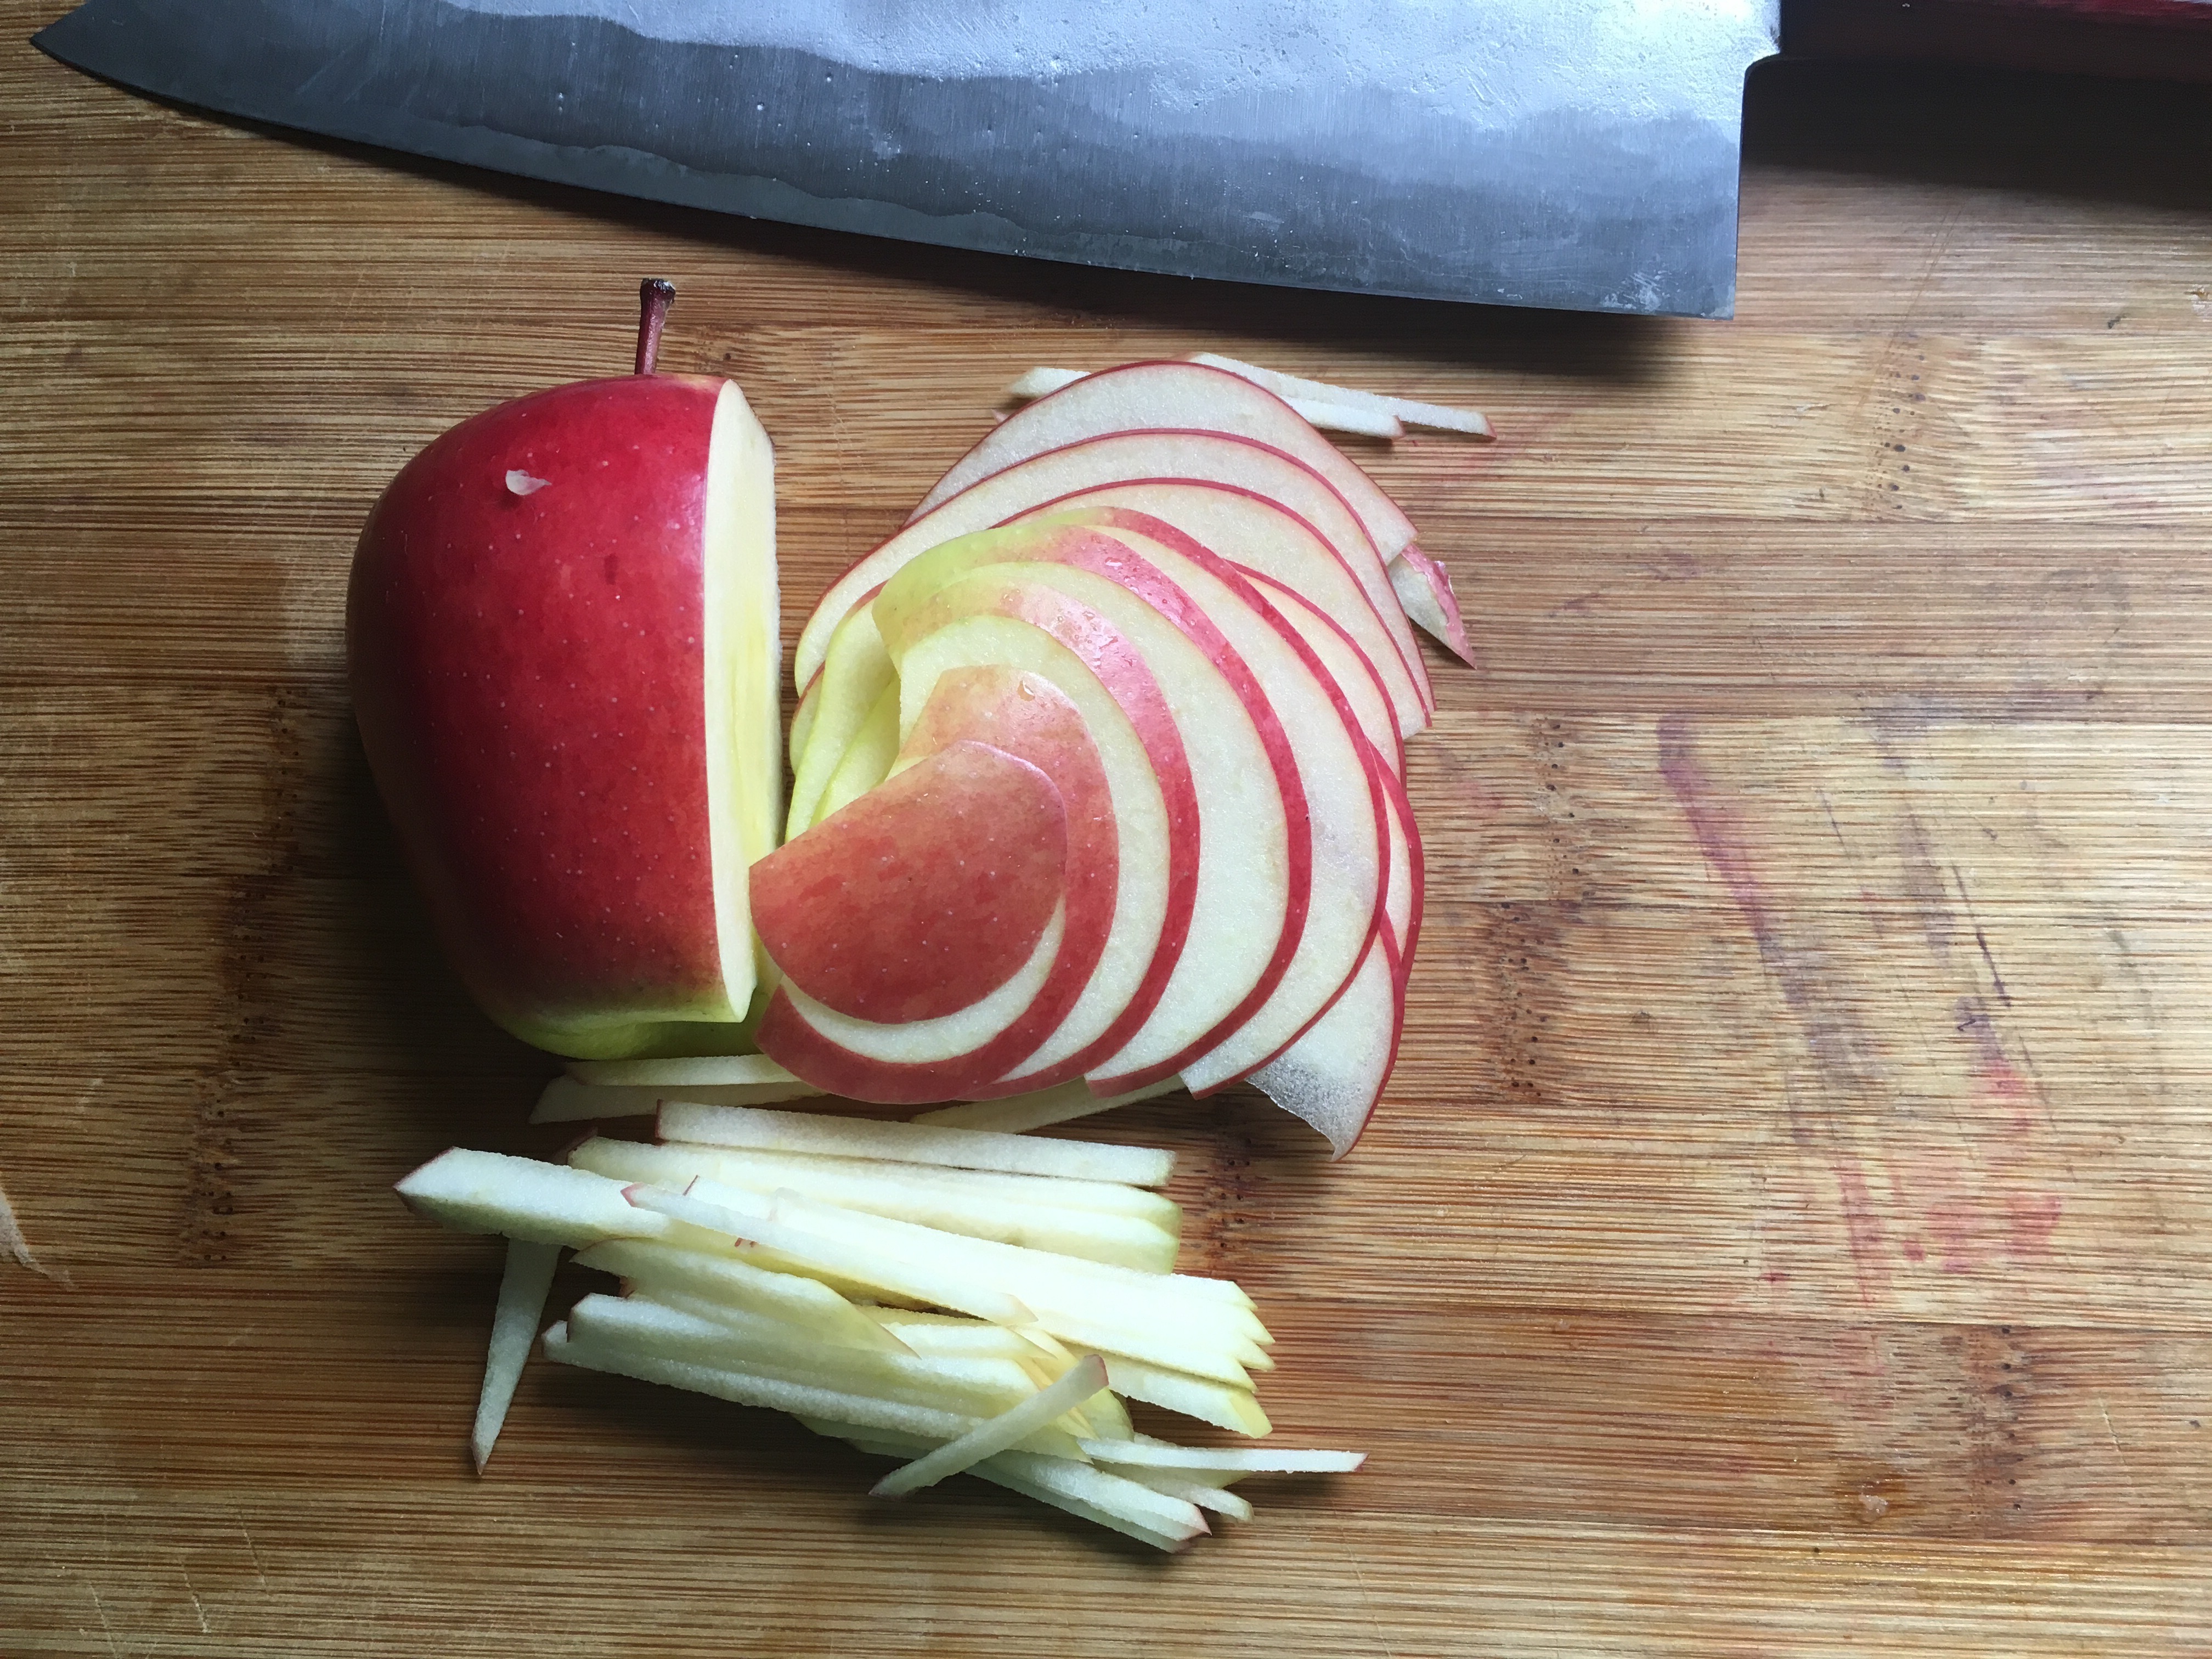
Apple Sliced the same way as the Tomato for the Pico de Gallo, into 1/8″ rounds, then cut into sticks. The apple should have a little bit of peel on both ends.
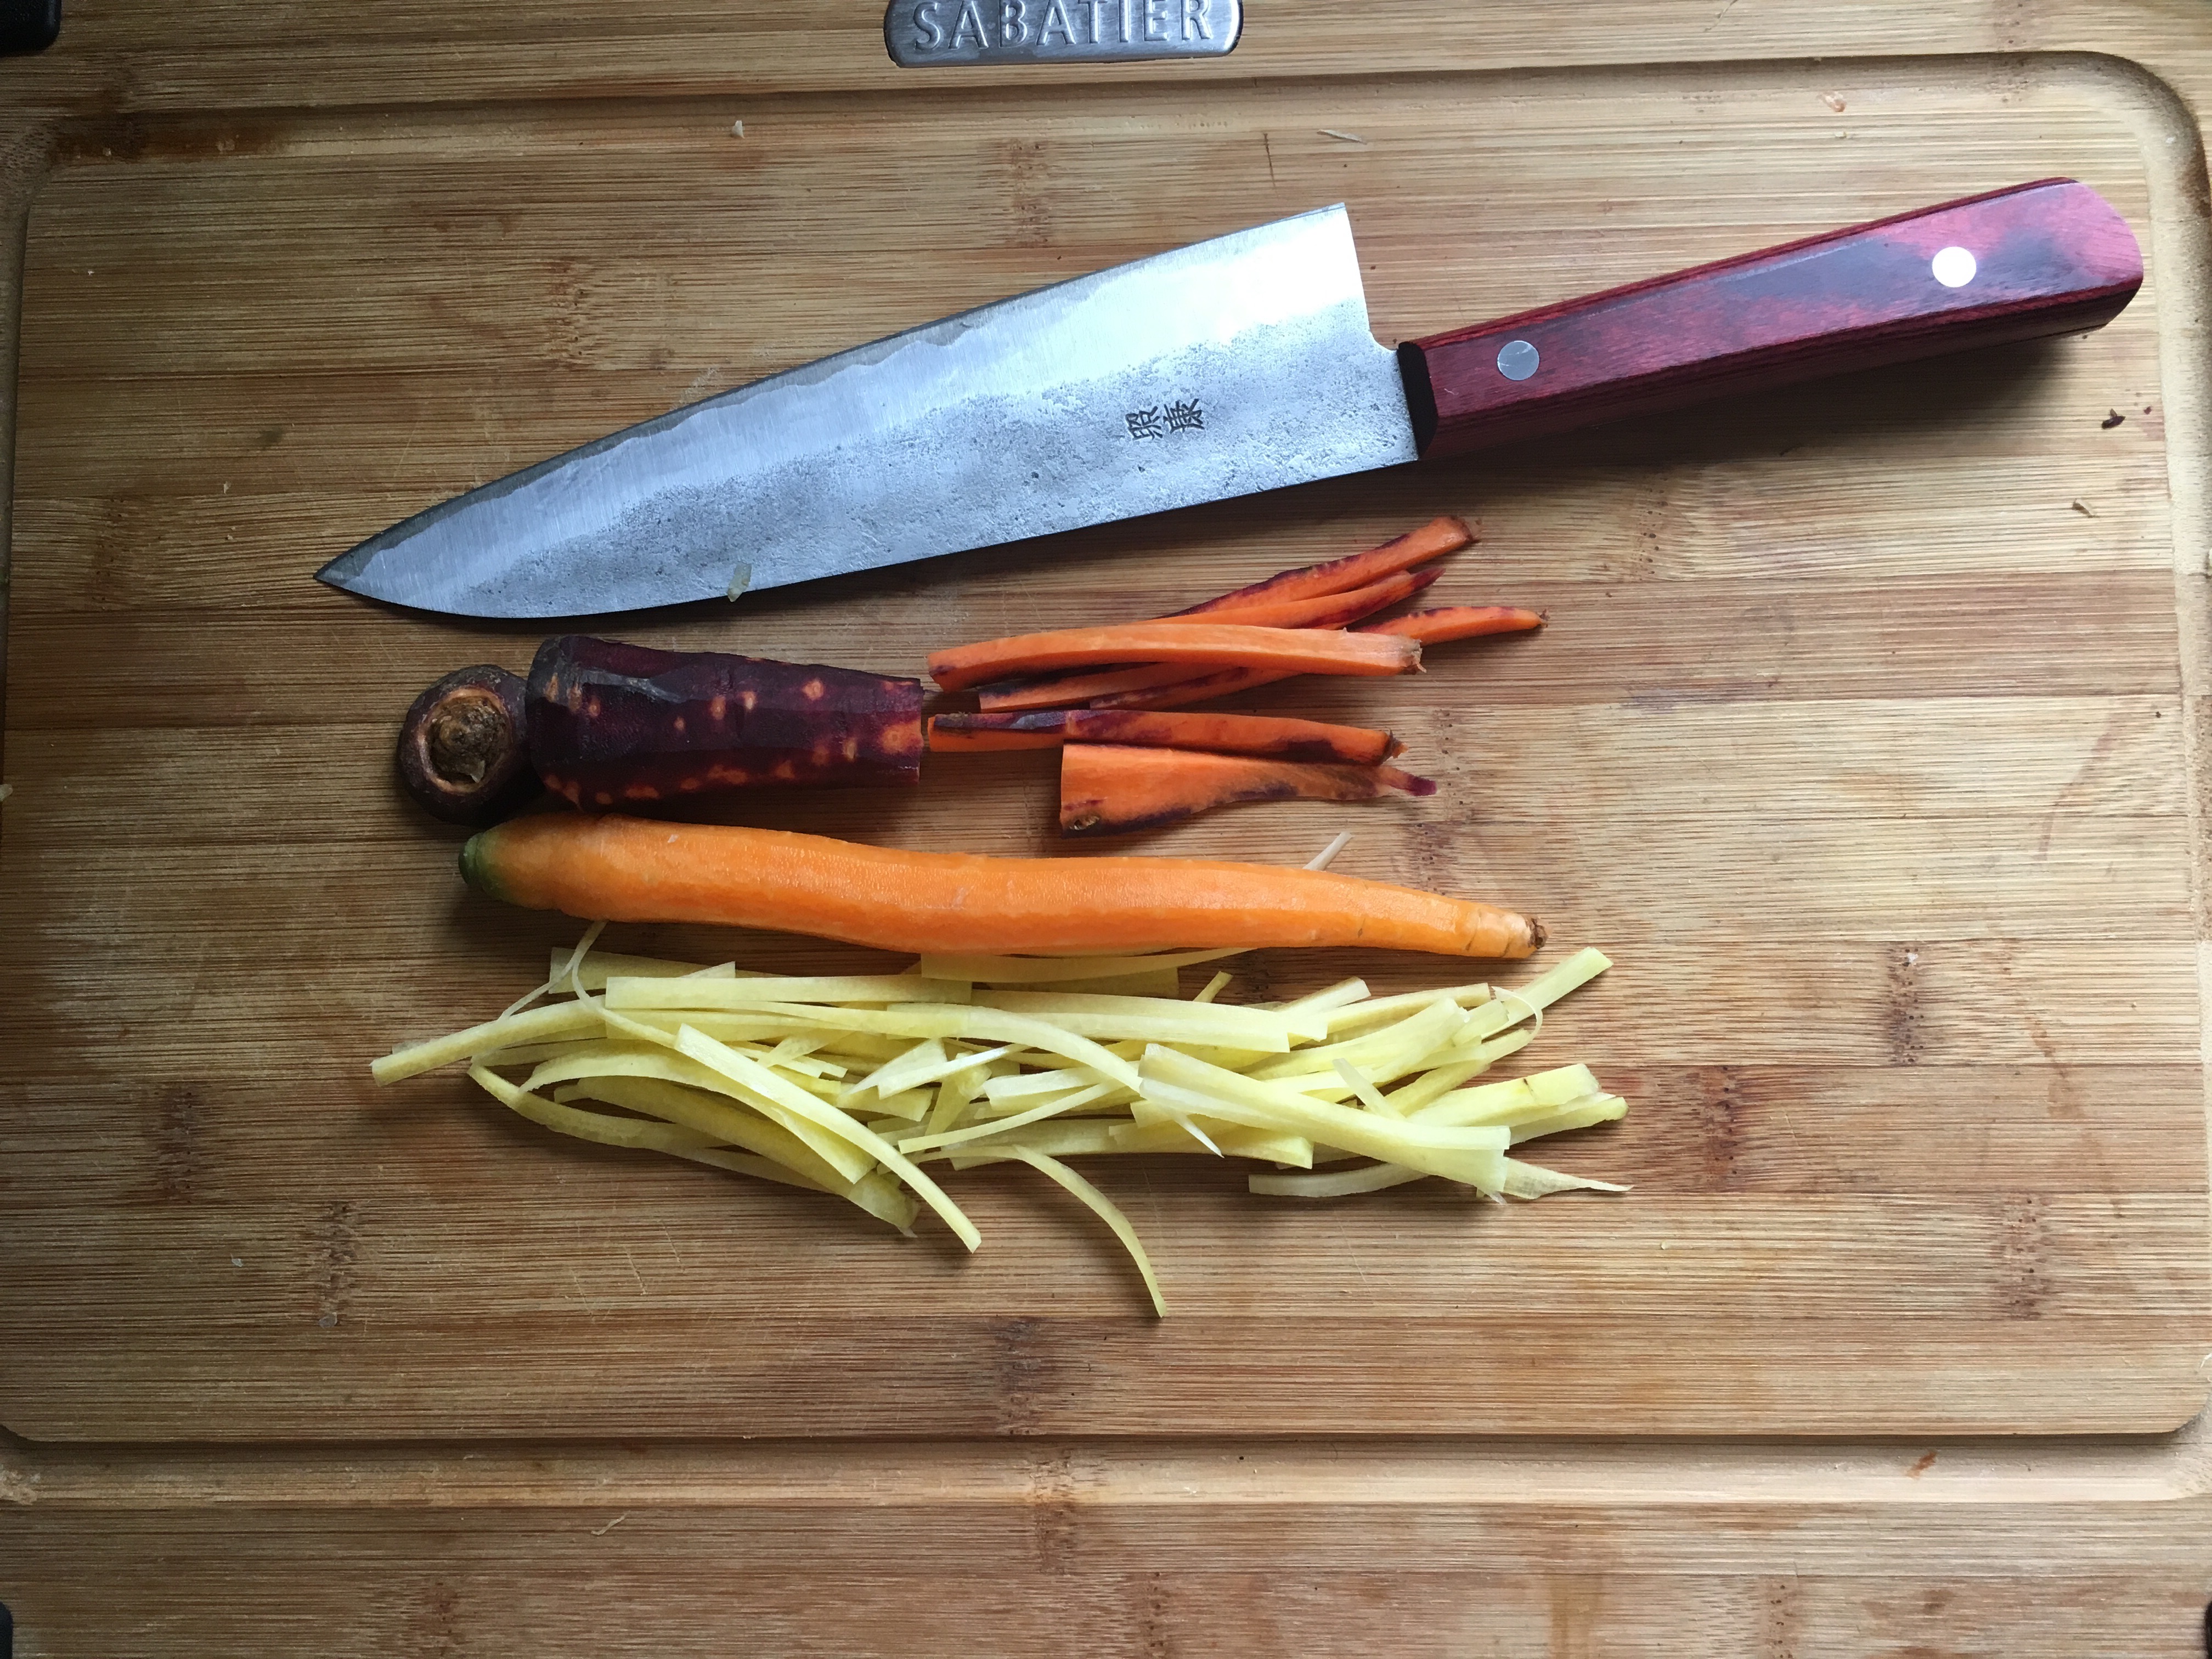
  9. Cut Carrots into 1/8″ by 3″ sticks by cutting them into half, then each half cut into strips, then each strip into sticks
  10. Mince Celery as thin as possible. They should be almost transparent.
  11. Jalapeño's get their heat from their seeds, So make sure to remove them if you don't want it too hot. 
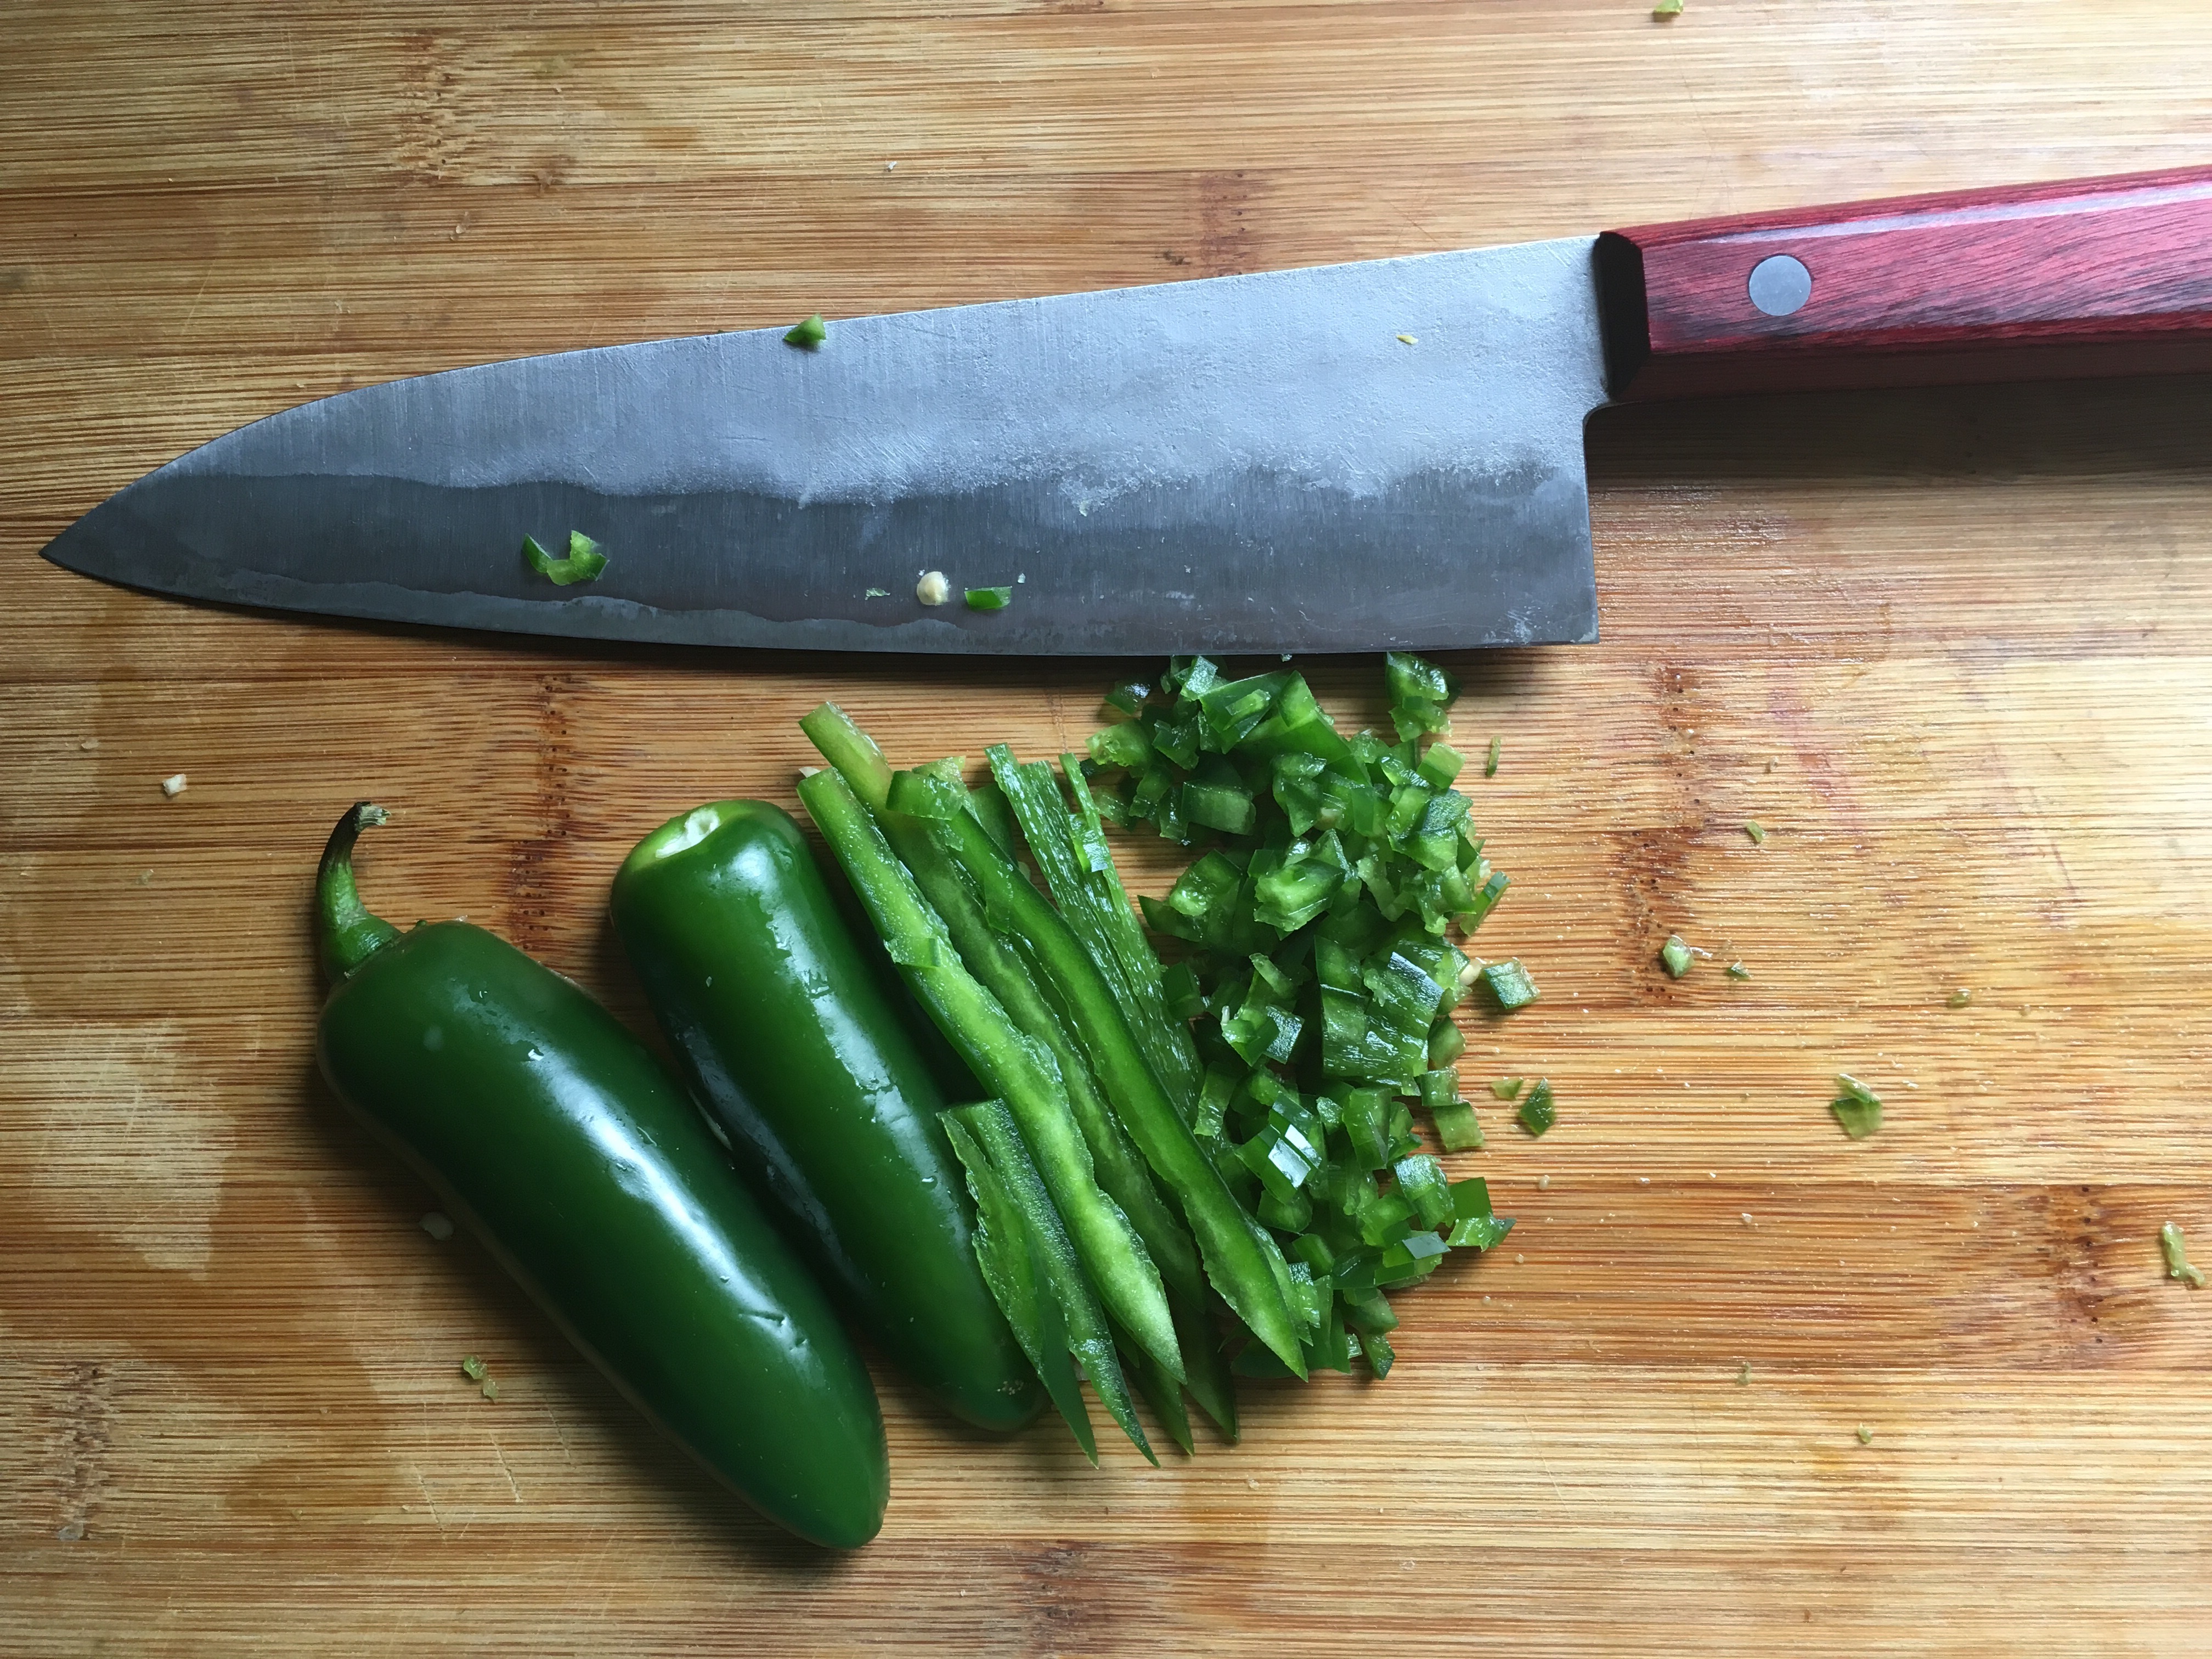
Dice the Yellow Onion and Jalapeño into 1/4″. Make sure to discard the seeds from the Jalapeño.
  12. Mix all the ingredients except the dressing into a mixing bowl, then add the dressing desired amount of dressing to the bowl. Place slaw covered in the fridge overnight. This will allow the dressing to break down the toughness, and give the flavours a chance to meld.

Finally. The last Mise En Place you will need, the Crispy Fish. Everything else could be done the day before, but this is the best when it done right before eating.

  1. Mix together Chili powder, paprika,  Cumin, Cayenne, Onion Powde and Garlic Powder into a small bowl.
  2. Cut the Haddock into strips, 1/2″ by 3″ and lay out on a cutting board or baking sheet.
  3. The Measurements are all approximate. As you can see the one on the far left was a thinner piece, so I cut it wider to make up for it.
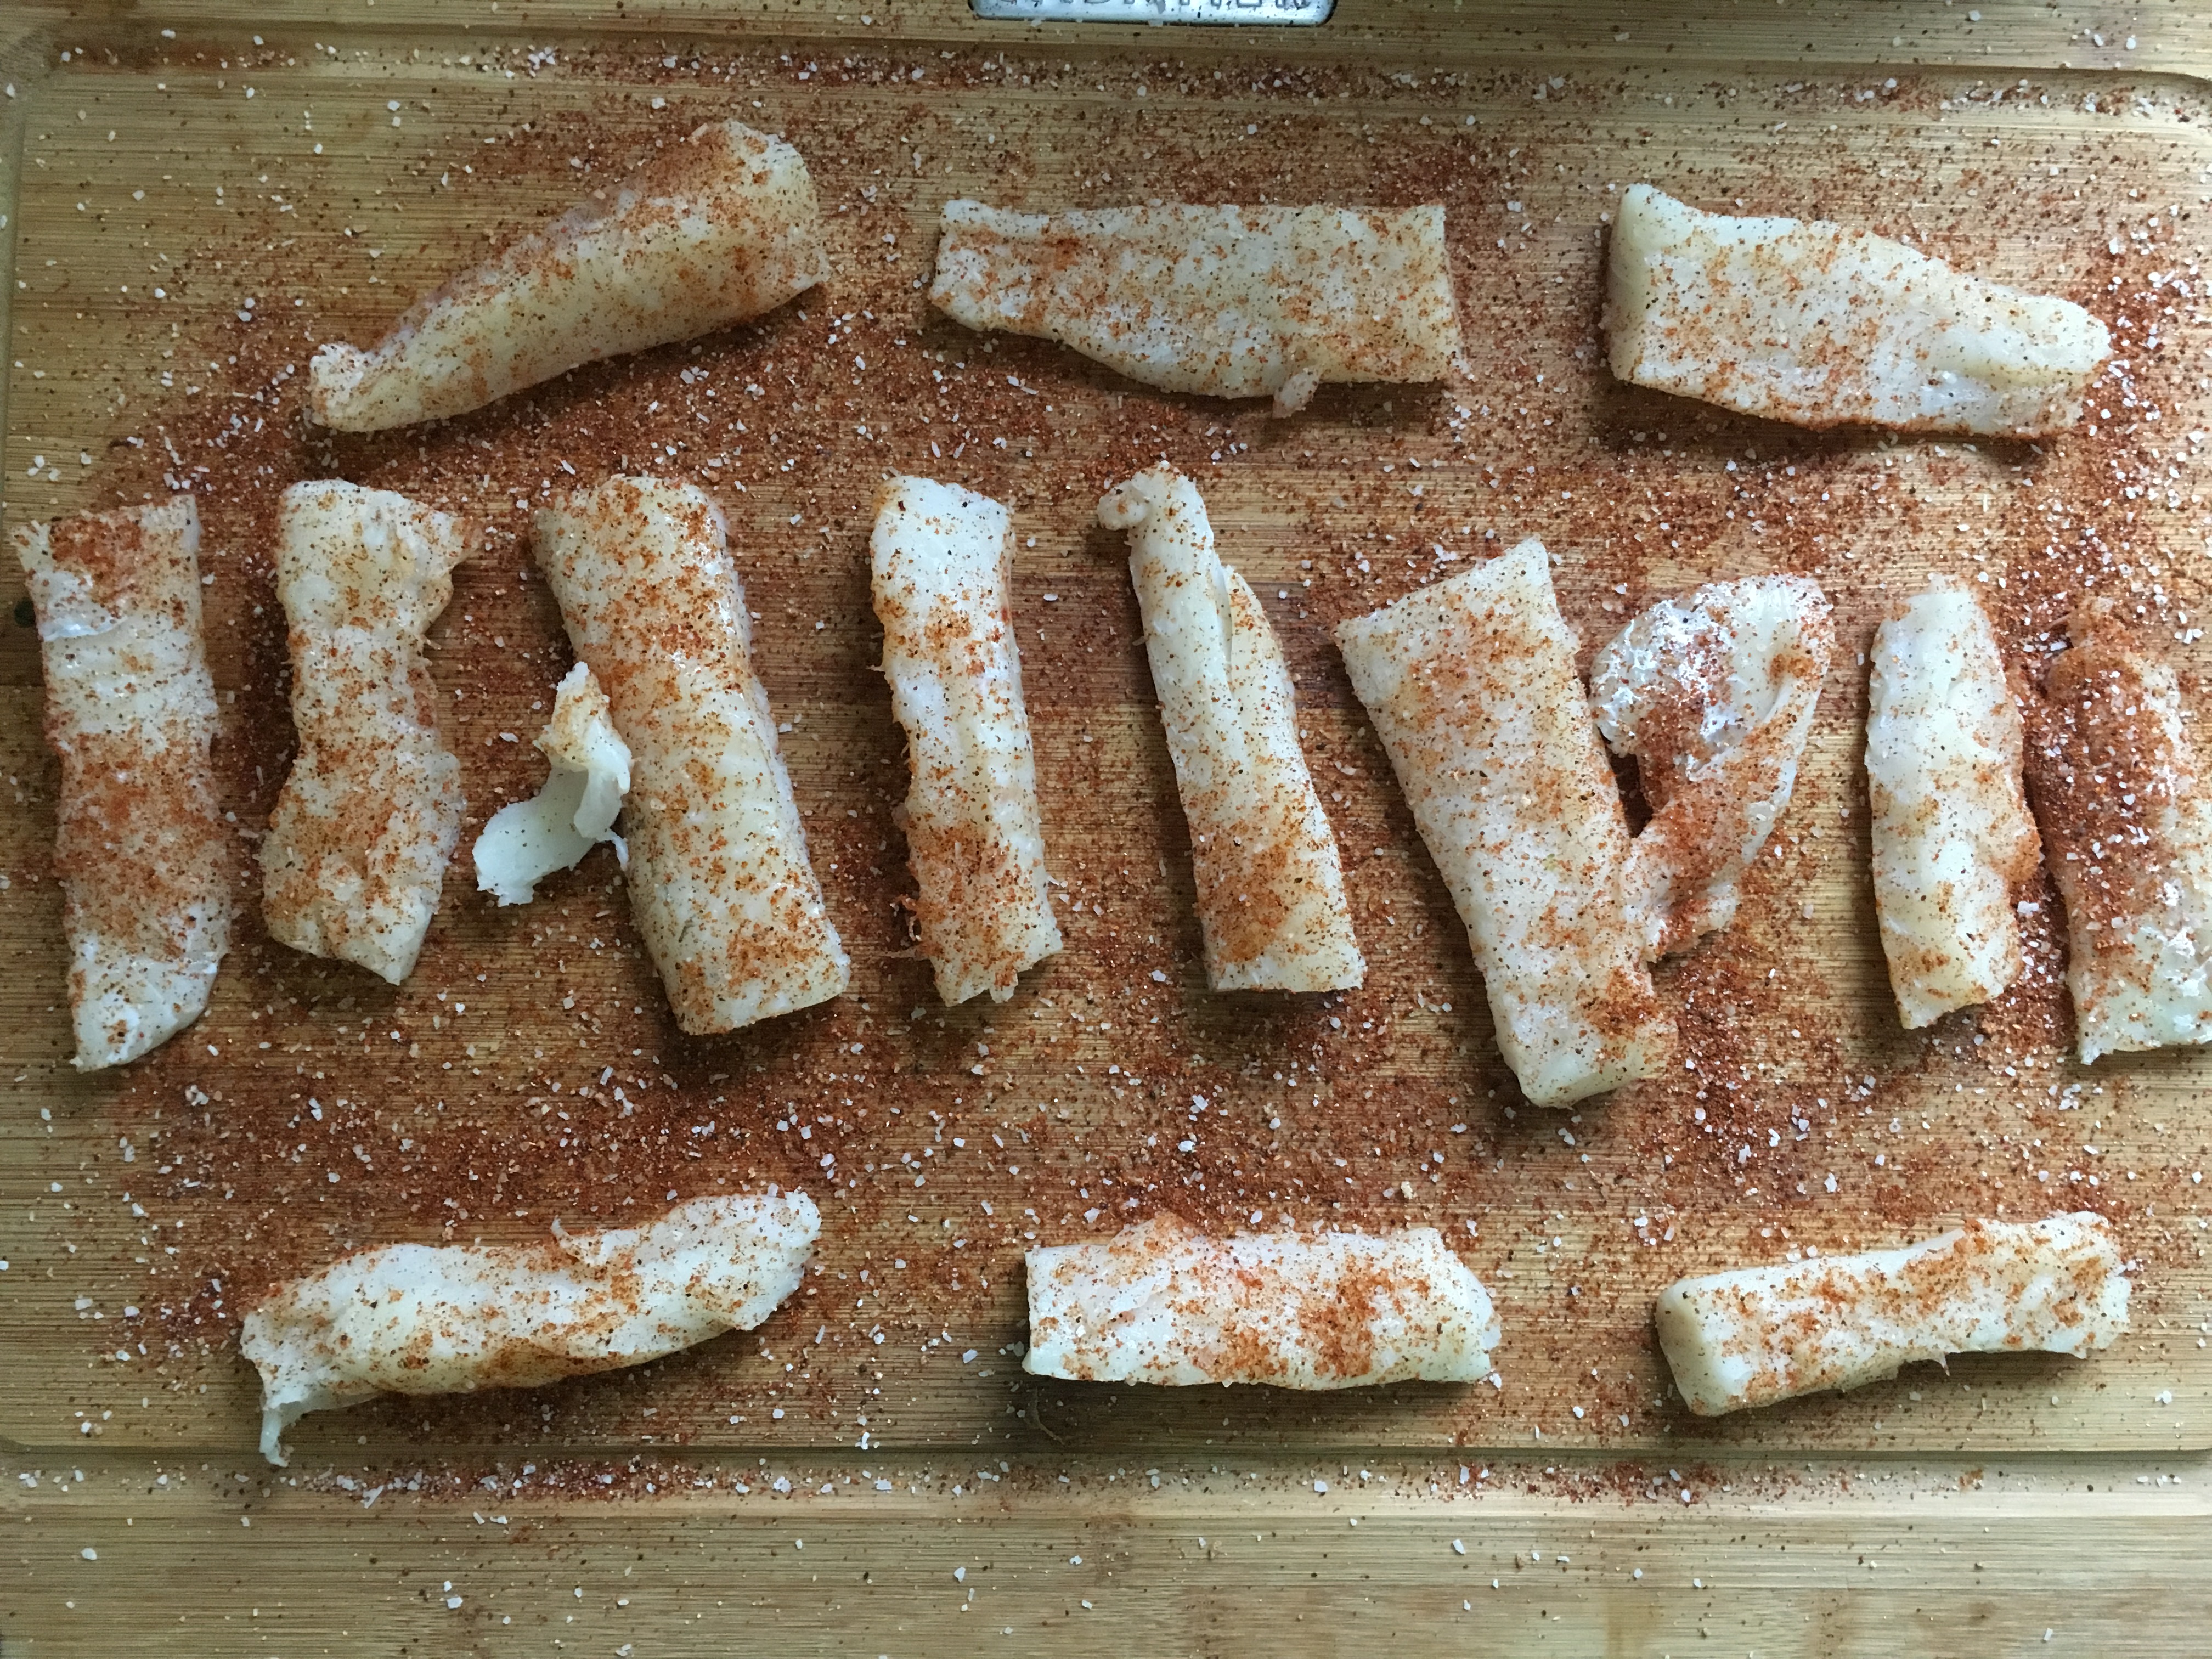
Cover Haddock strips with spice mixture on all sides evenly and liberally. Set aside until needed.
  1. In a small bowl mix together Bread Flour, Corn Starch and Baking Powder.
  2. Fill up a pot or frying pan about 1/4″ with canola or peanut oil. If your using a frying pan, make sure you choose one that has sides that are a least double the height of the oil. Put it on a burner at medium heat and let it heat up to 400 degrees Fahrenheit.
  3. Whisk flour mixture and slowly add rum until batter reaches a amber colour. It should be noted that I had just a little less than enough rum on hand when I took the photos. Ideally my batter would have been darker; however I did get to do my impression of Jack Sparrow saying ‘But why is all the Rum Gone?’
  4. Whisk in water until batter is the right consistency. You’re looking for a viscosity similar to whipping cream.
  5. Lay each piece of seasoned Haddock into the batter, making sure the Haddock is completely covered. Remove the Haddock from the batter and let the extra batter drip off, and place on a wire rack.
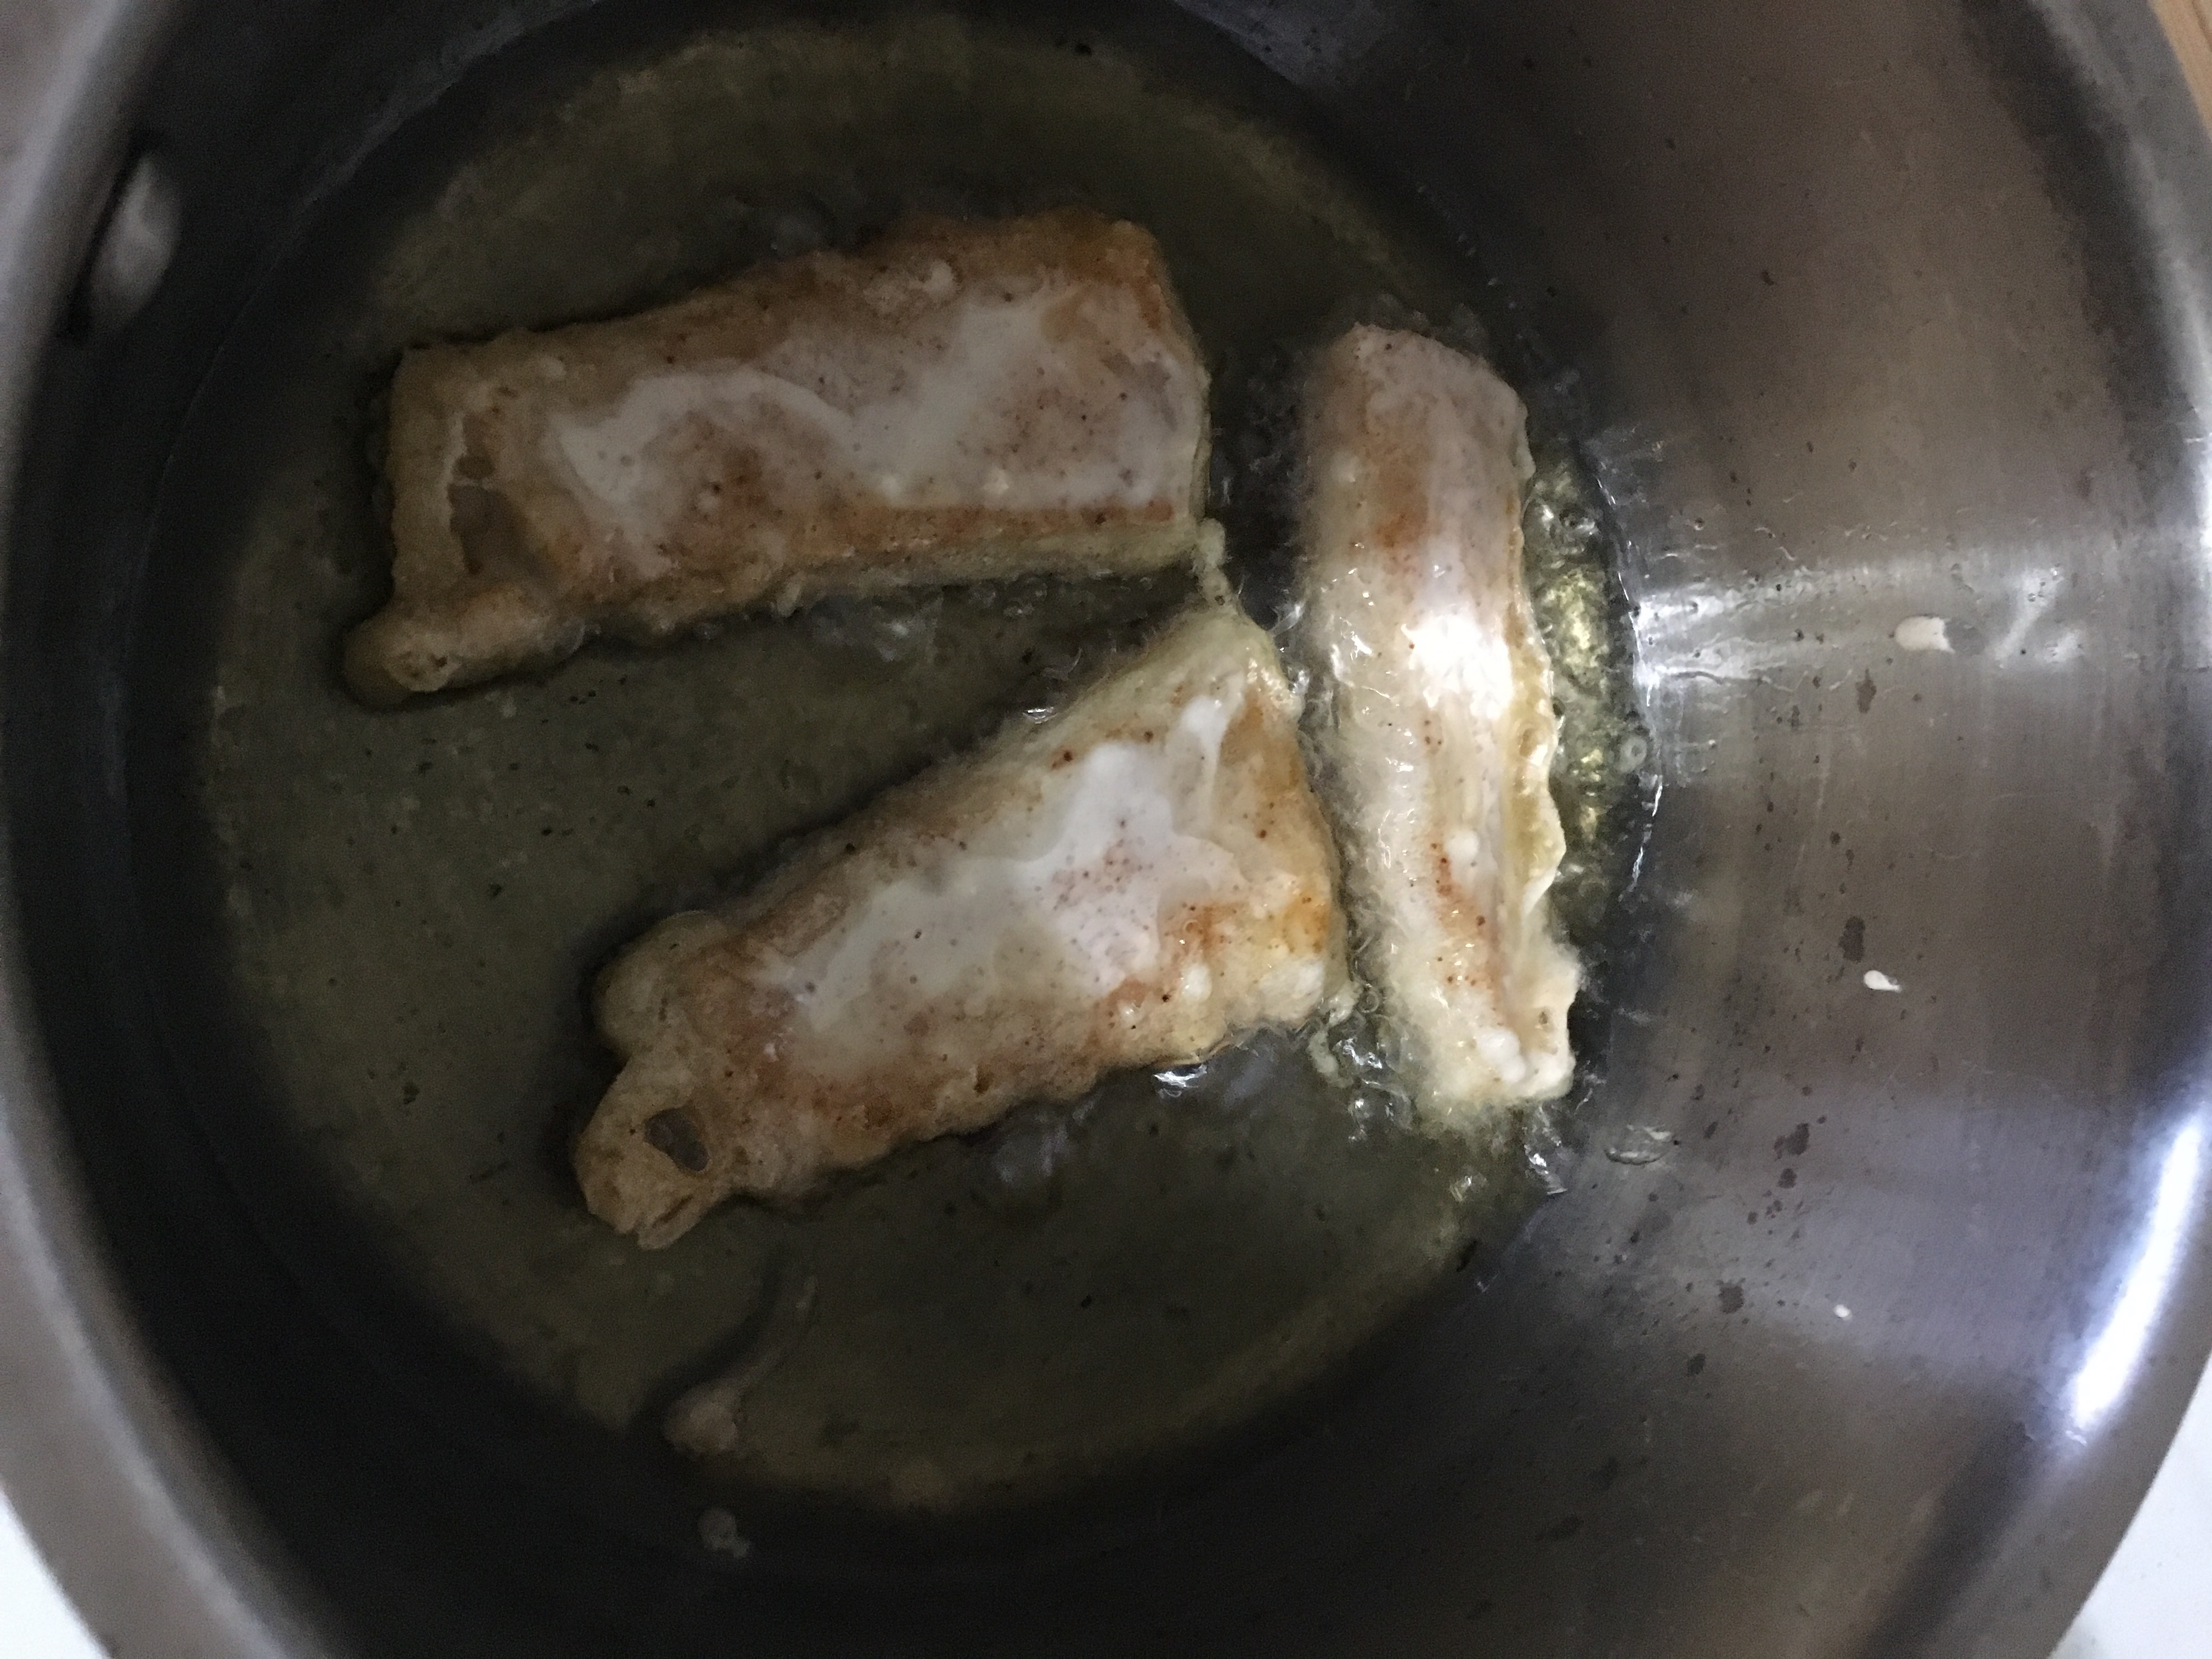
  6. Place two or three pieces of the batter covered Haddock into the hot oil and let it cook, make sure to turn over when the bottom is golden brown. Once the second side is cooked, remove the fish and place on paper towel covered plate and sprinkle lightly with Salt.
  7. Repeat step 6 until all the Haddock is cooked

And the final assembly!

  1. Generously place Apple Slaw in your taco shell
  2. Place two pieces of the Crispy Haddock on top of the Apple Slaw
  3. And a thin layer of Pico de Gallo on top of the Crispy Haddock
  4. Finally Top the whole thing with an Avocado wedge
  5. Take a fancy photo, and post it to Instagram with the hashtag #foryourfoulmouth
*sources http://www.sunset.com/food-wine/flavors-of-the-west/in-search-real-fish-taco, https://en.m.wikipedia.org/wiki/Taco (I generally don’t like wiki as a source, but it had citations)