A Hot Innovation

There is an old adage that claims, ‘necessity is the mother of all innovation,’ buffalo wings are a great example of that. Even though there are few stories about how bar owner Teressa Bellissimo created the dish, my favourite involves a group of hungry bar students coming into her bar and needing nourishment fast. So she threw some chicken wings into the deep fryer then covered them in a butter and hot sauce mixture. This may not sound like a huge innovation, but remember, at this point chicken wings were used for stocks and soups. Ordering ‘wings’ wasn’t a thing!

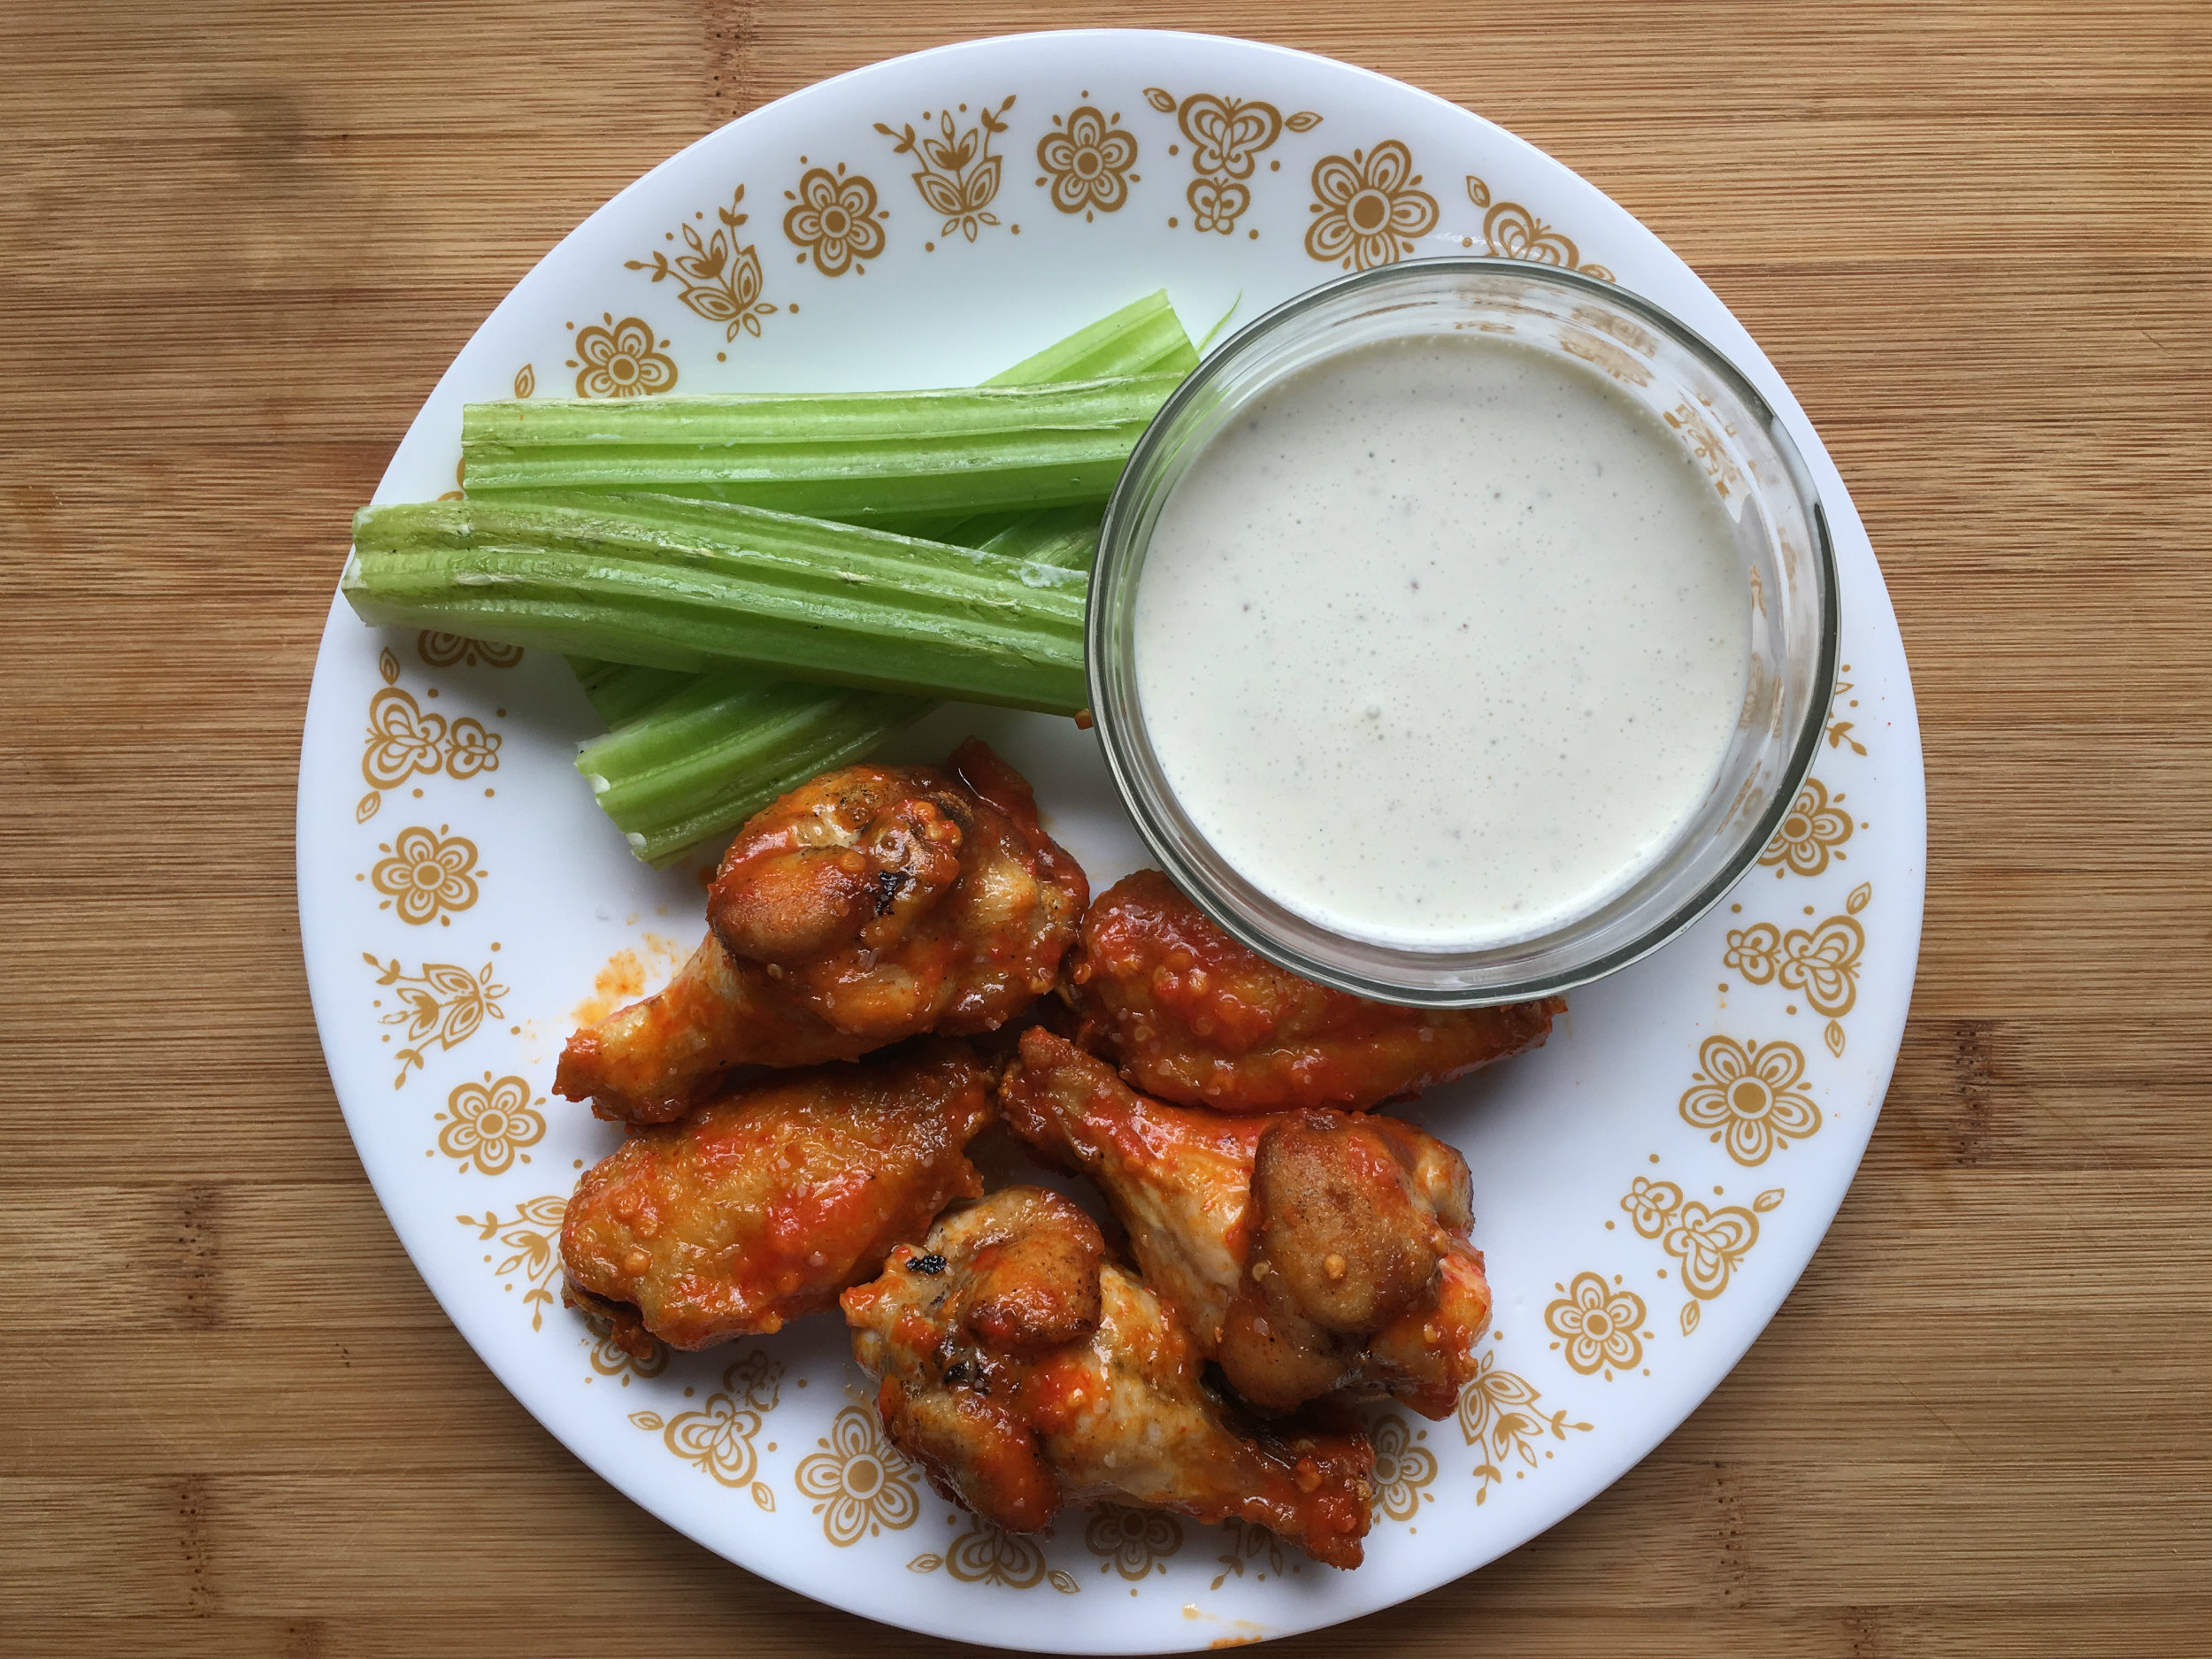
Legend has it she served it with a blue cheese dressing, and celery, which is how it is still served today.

Since July 29 is National Chicken Wing Day and July 23 was National Hot Enough For Ya day, this recipe kills two birds with one stone, or errr… ummm two days with one recipe…

Blue Cheese Dressing:
I used a recipe I that I found on one of my favourite food blogs, Food Wishes. I’ll link to it down below, Chef John is amazing, and his recipes are very solid!

I believe traditionally, you’d use a hot sauce made with vinegar and Cayenne peppers, like Frank’s Red Hot, or Louisiana Hot Sauce. However, fresh Cayenne isn’t easy to get a hold of this time of year in my area. So, I used a mixture of Scotch Bonnet, and Red Thai.

Buffalo Wings:

  • 50g Scotch Bonnet Peppers
  • 75g Red Thai Peppers
  • 3T Lime Juice
  • 1/3C Lemon Juice
  • 1C Vinegar
  • 3 Cloves Garlic Minced
  • 6T Butter
  • 1lbs Chicken Wings
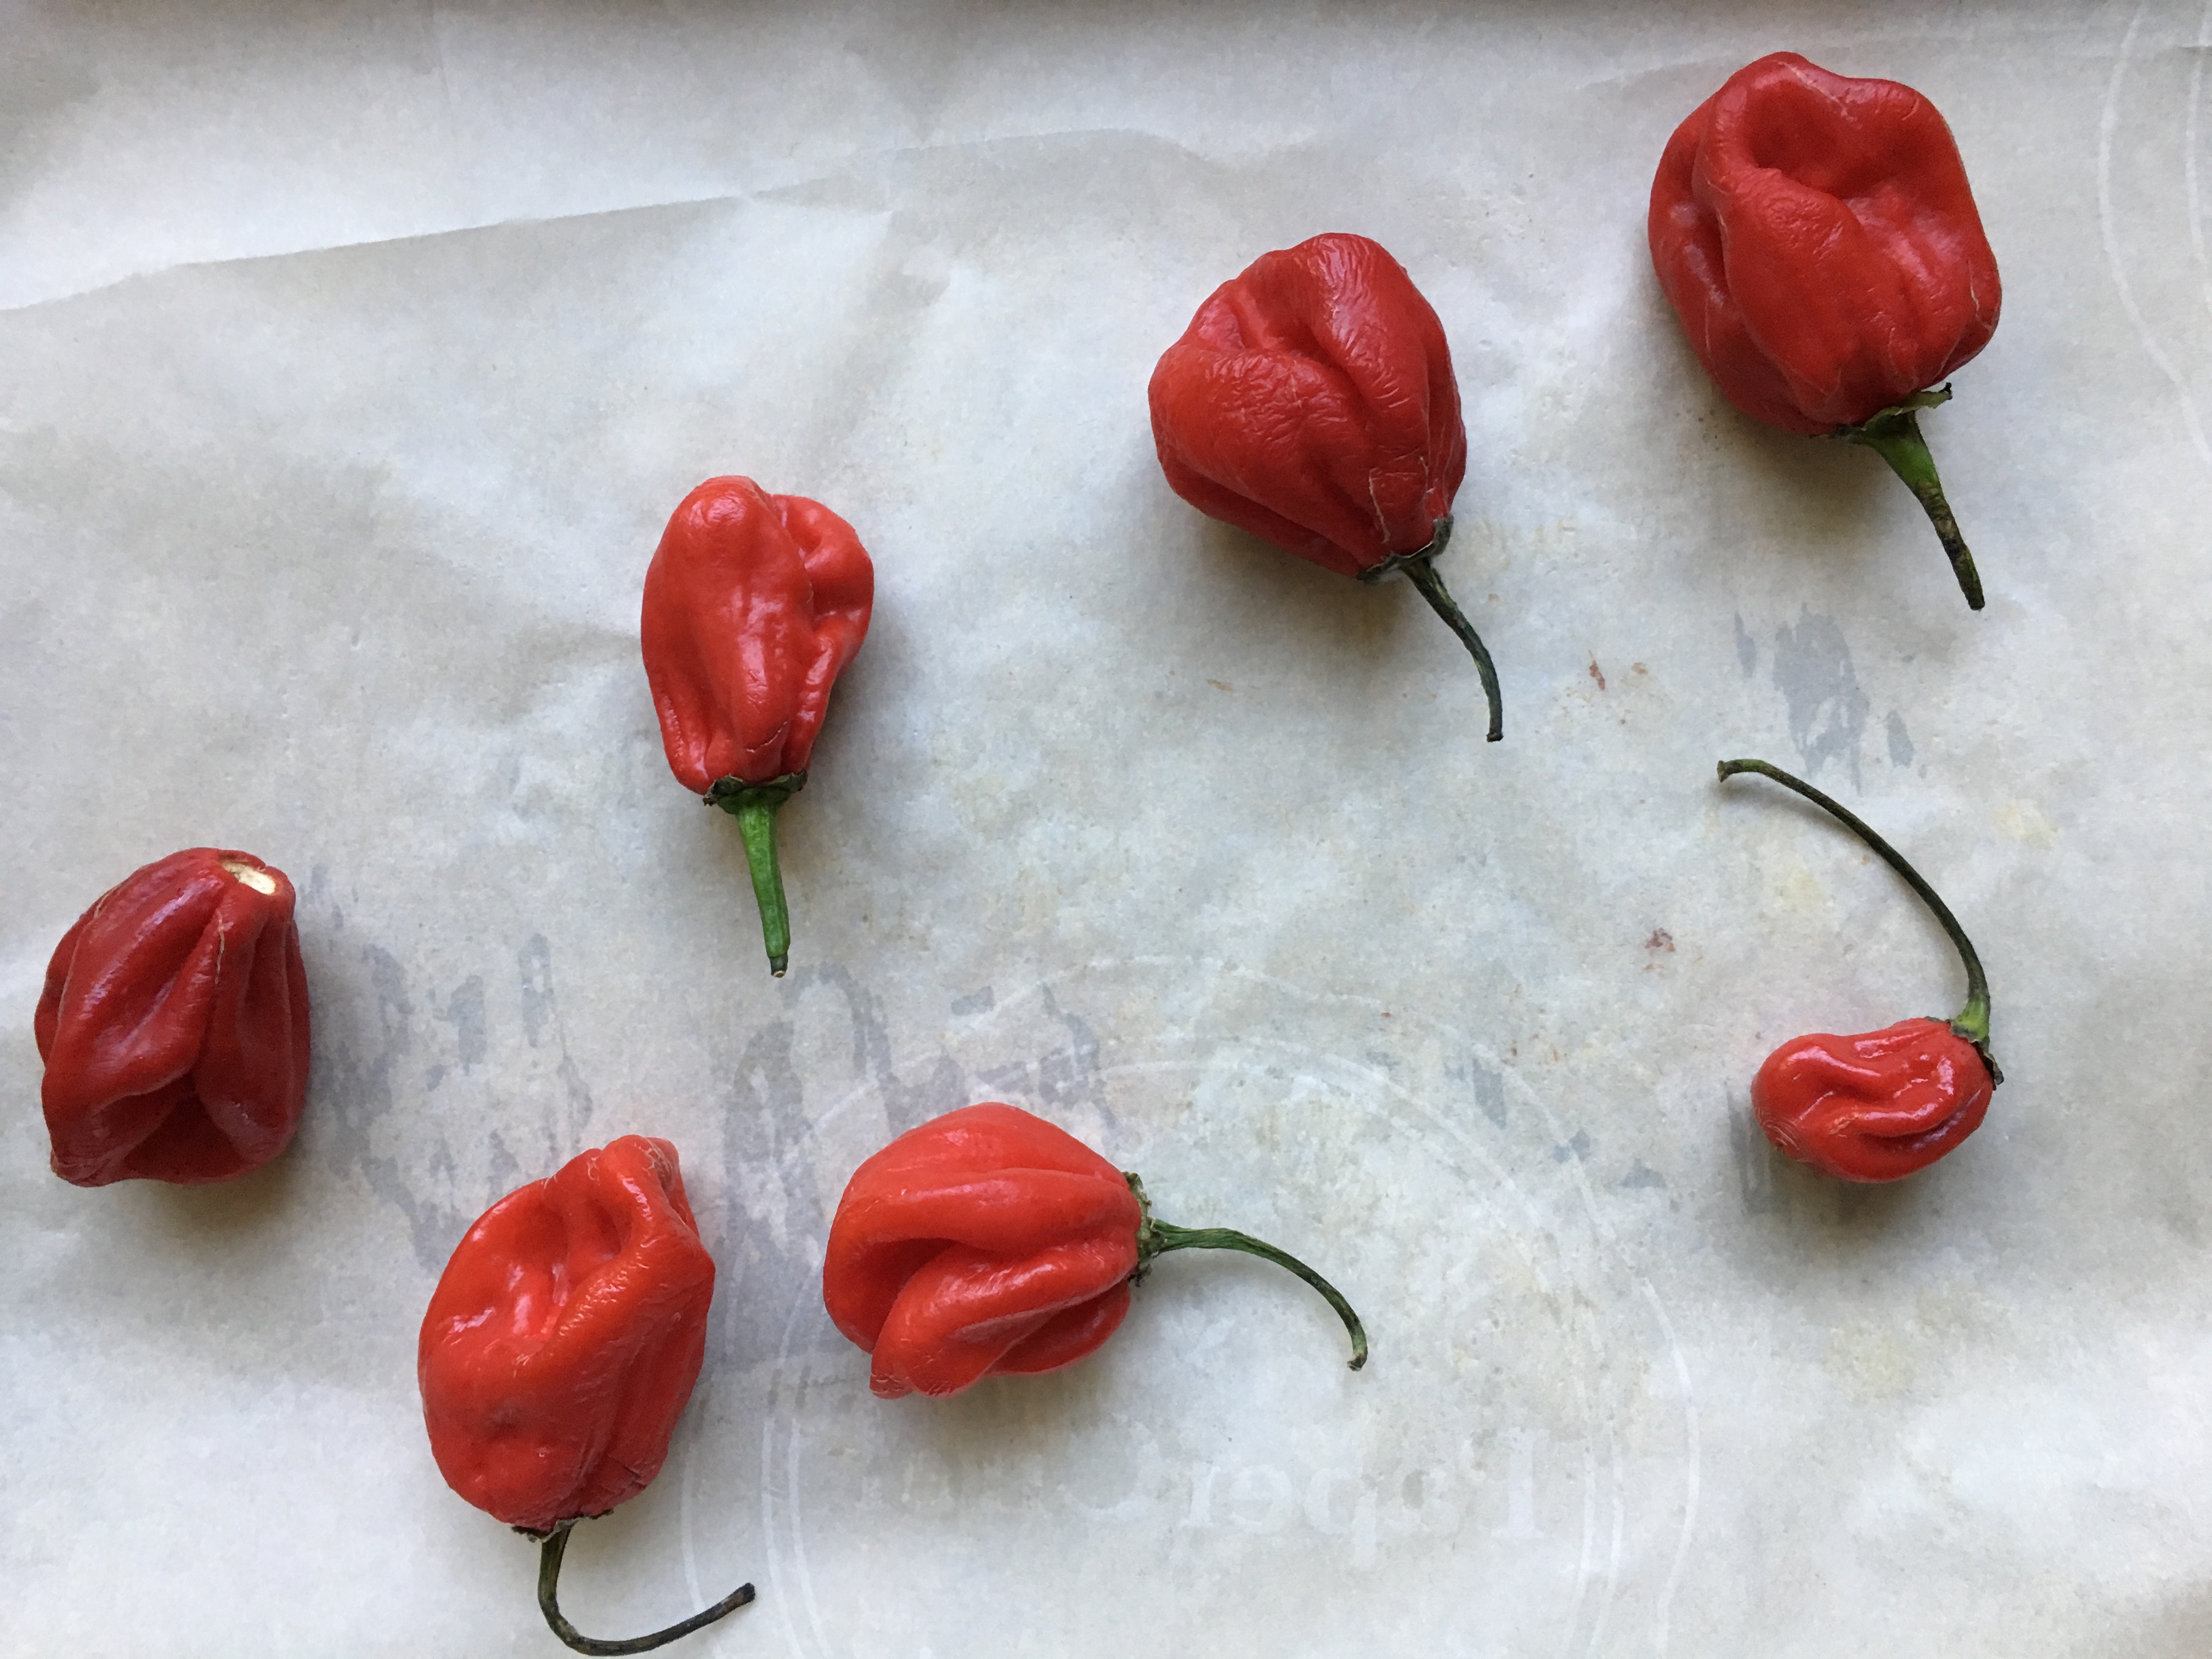
  1. Put Scotch Bonnet peppers in a 325 degree Fahrenheit Convection oven (350 degree non Convection) on a parchment lined baking sheet. Let roast until they turn wrinkled and dark in colour. This should take about 30 minutes
  2. Remove the stems from all the peppers, then place in a pot with the: Garlic, Lemon Juice, Lime Juice, Vinegar.
  3. Bring the pot up to a boil, then reduce heat to a gentle simmer, and let sit for 20 minutes.
  4. Remove from heat, and let cool.
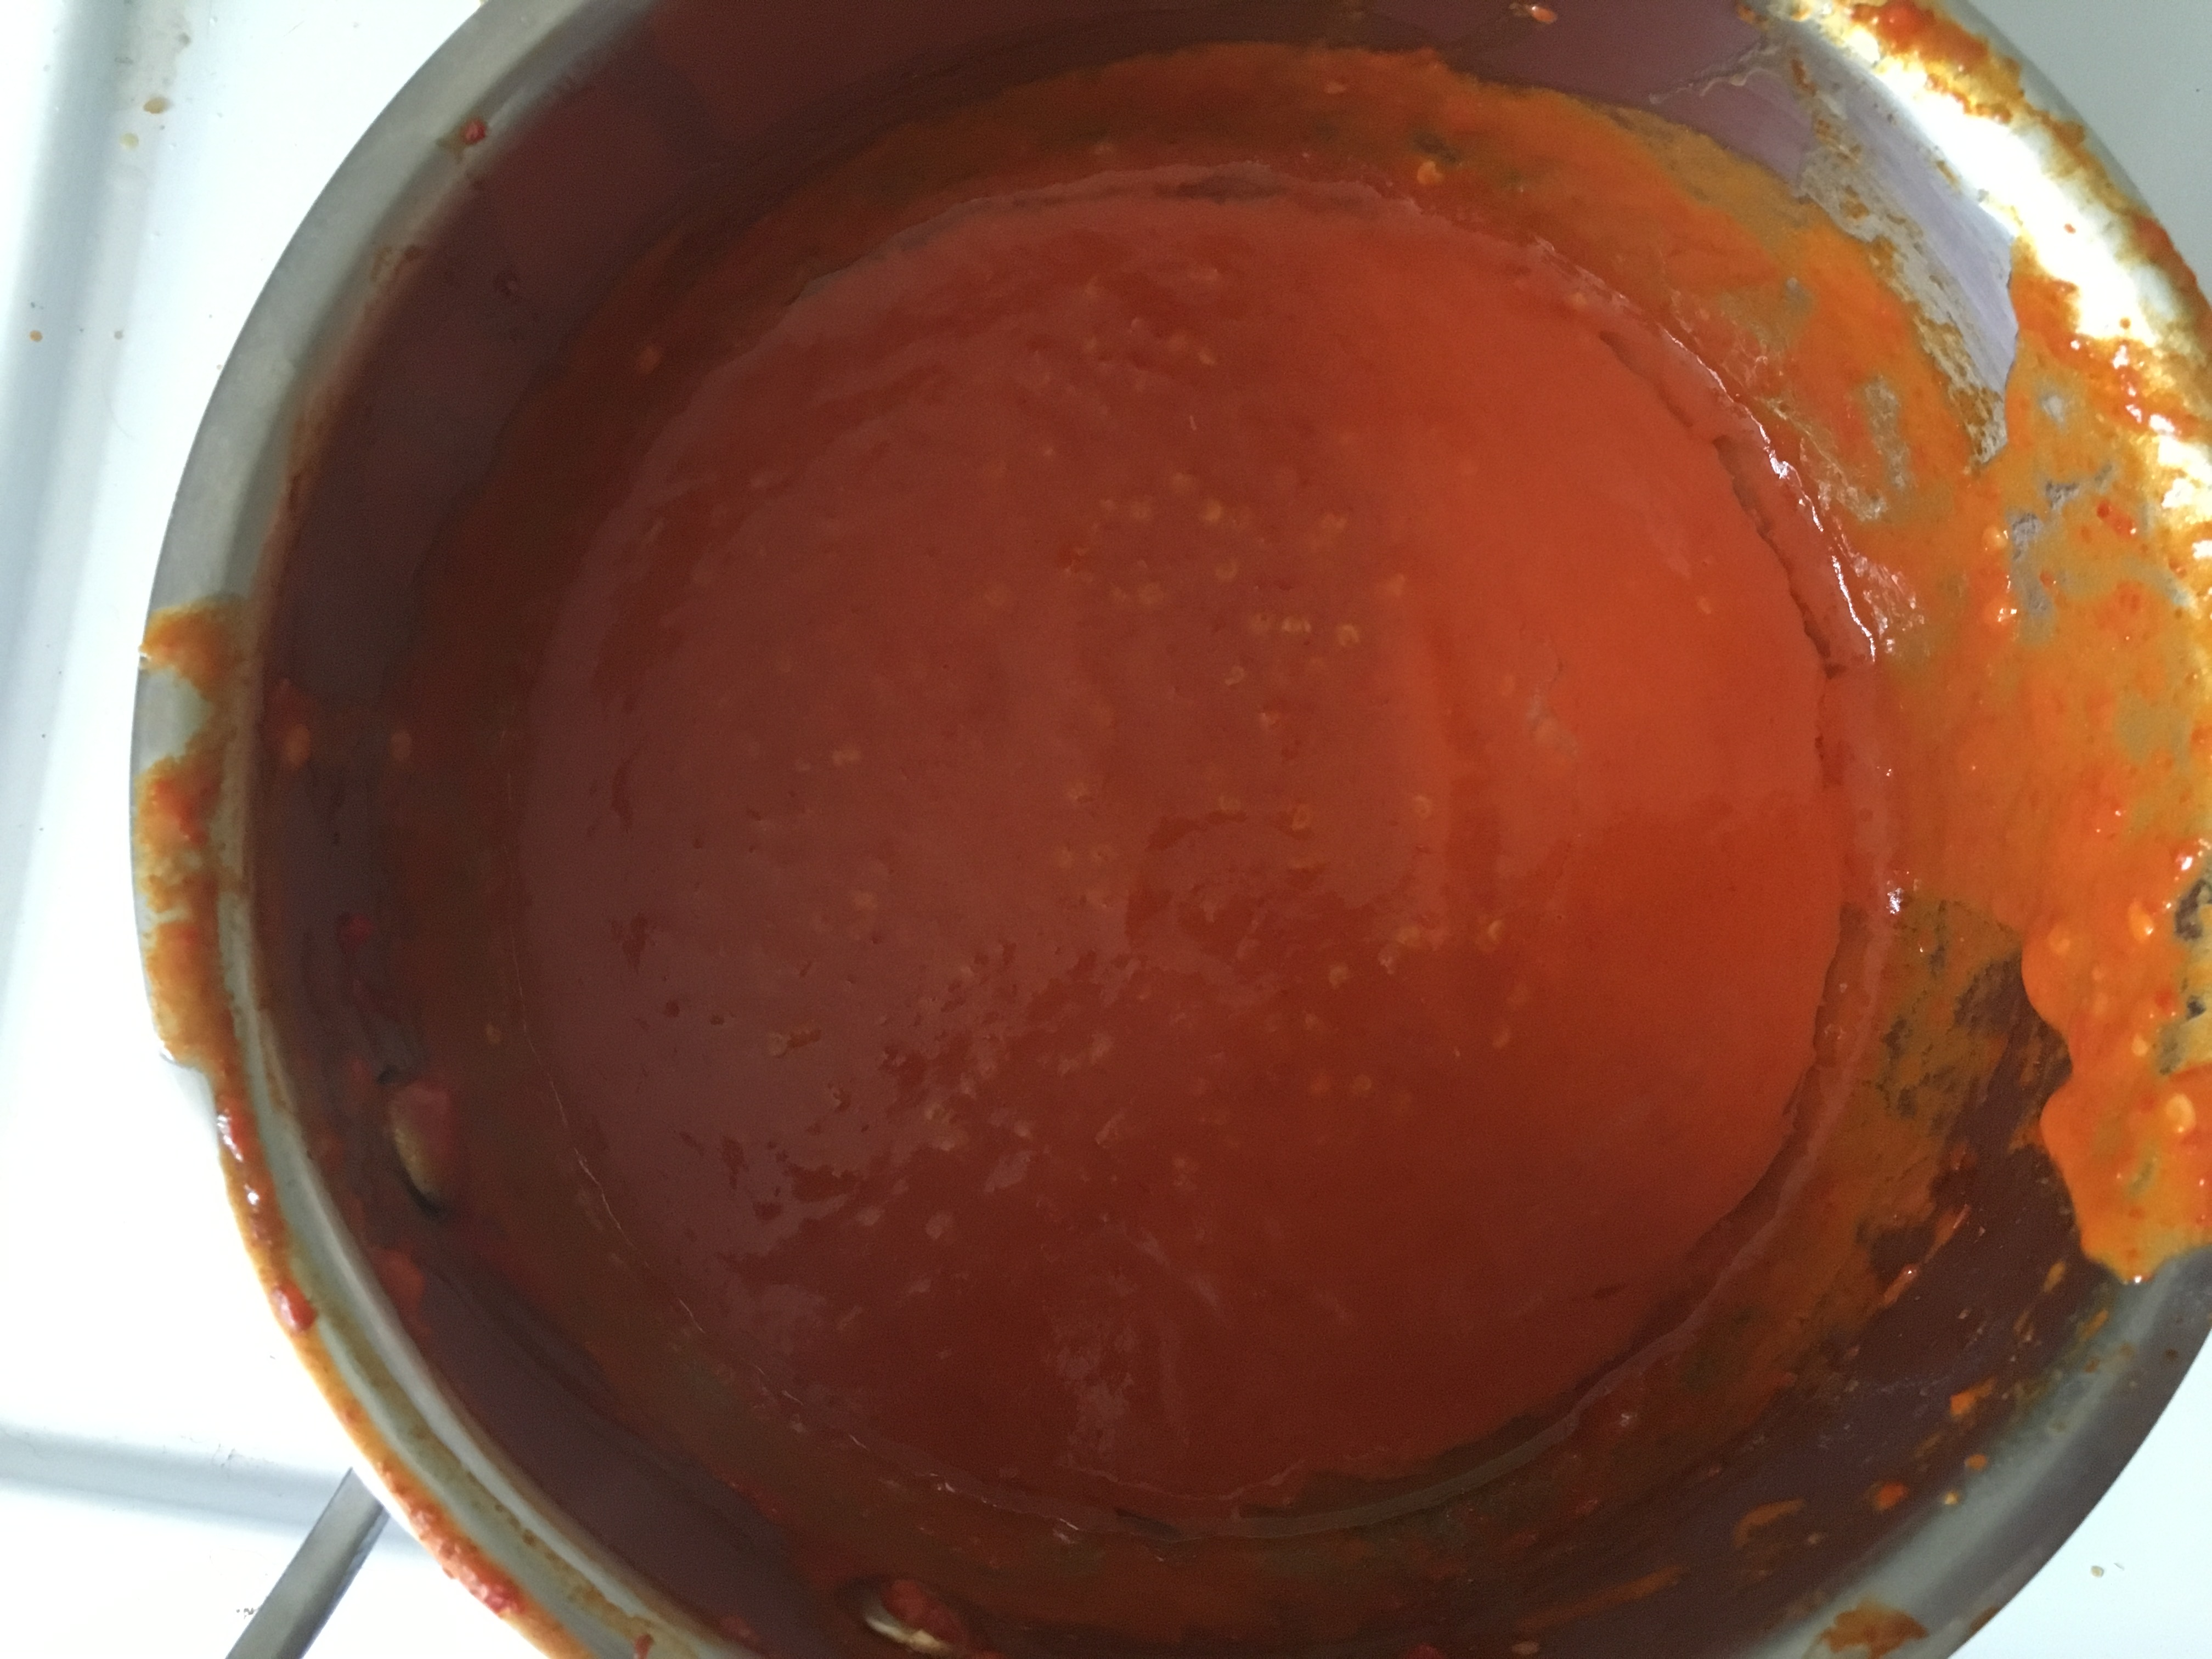
  5. Place mixture into a blender and blend until a smooth homogenous mixture forms.
  6. Place the back in to pot, and simmer for 20 minutes
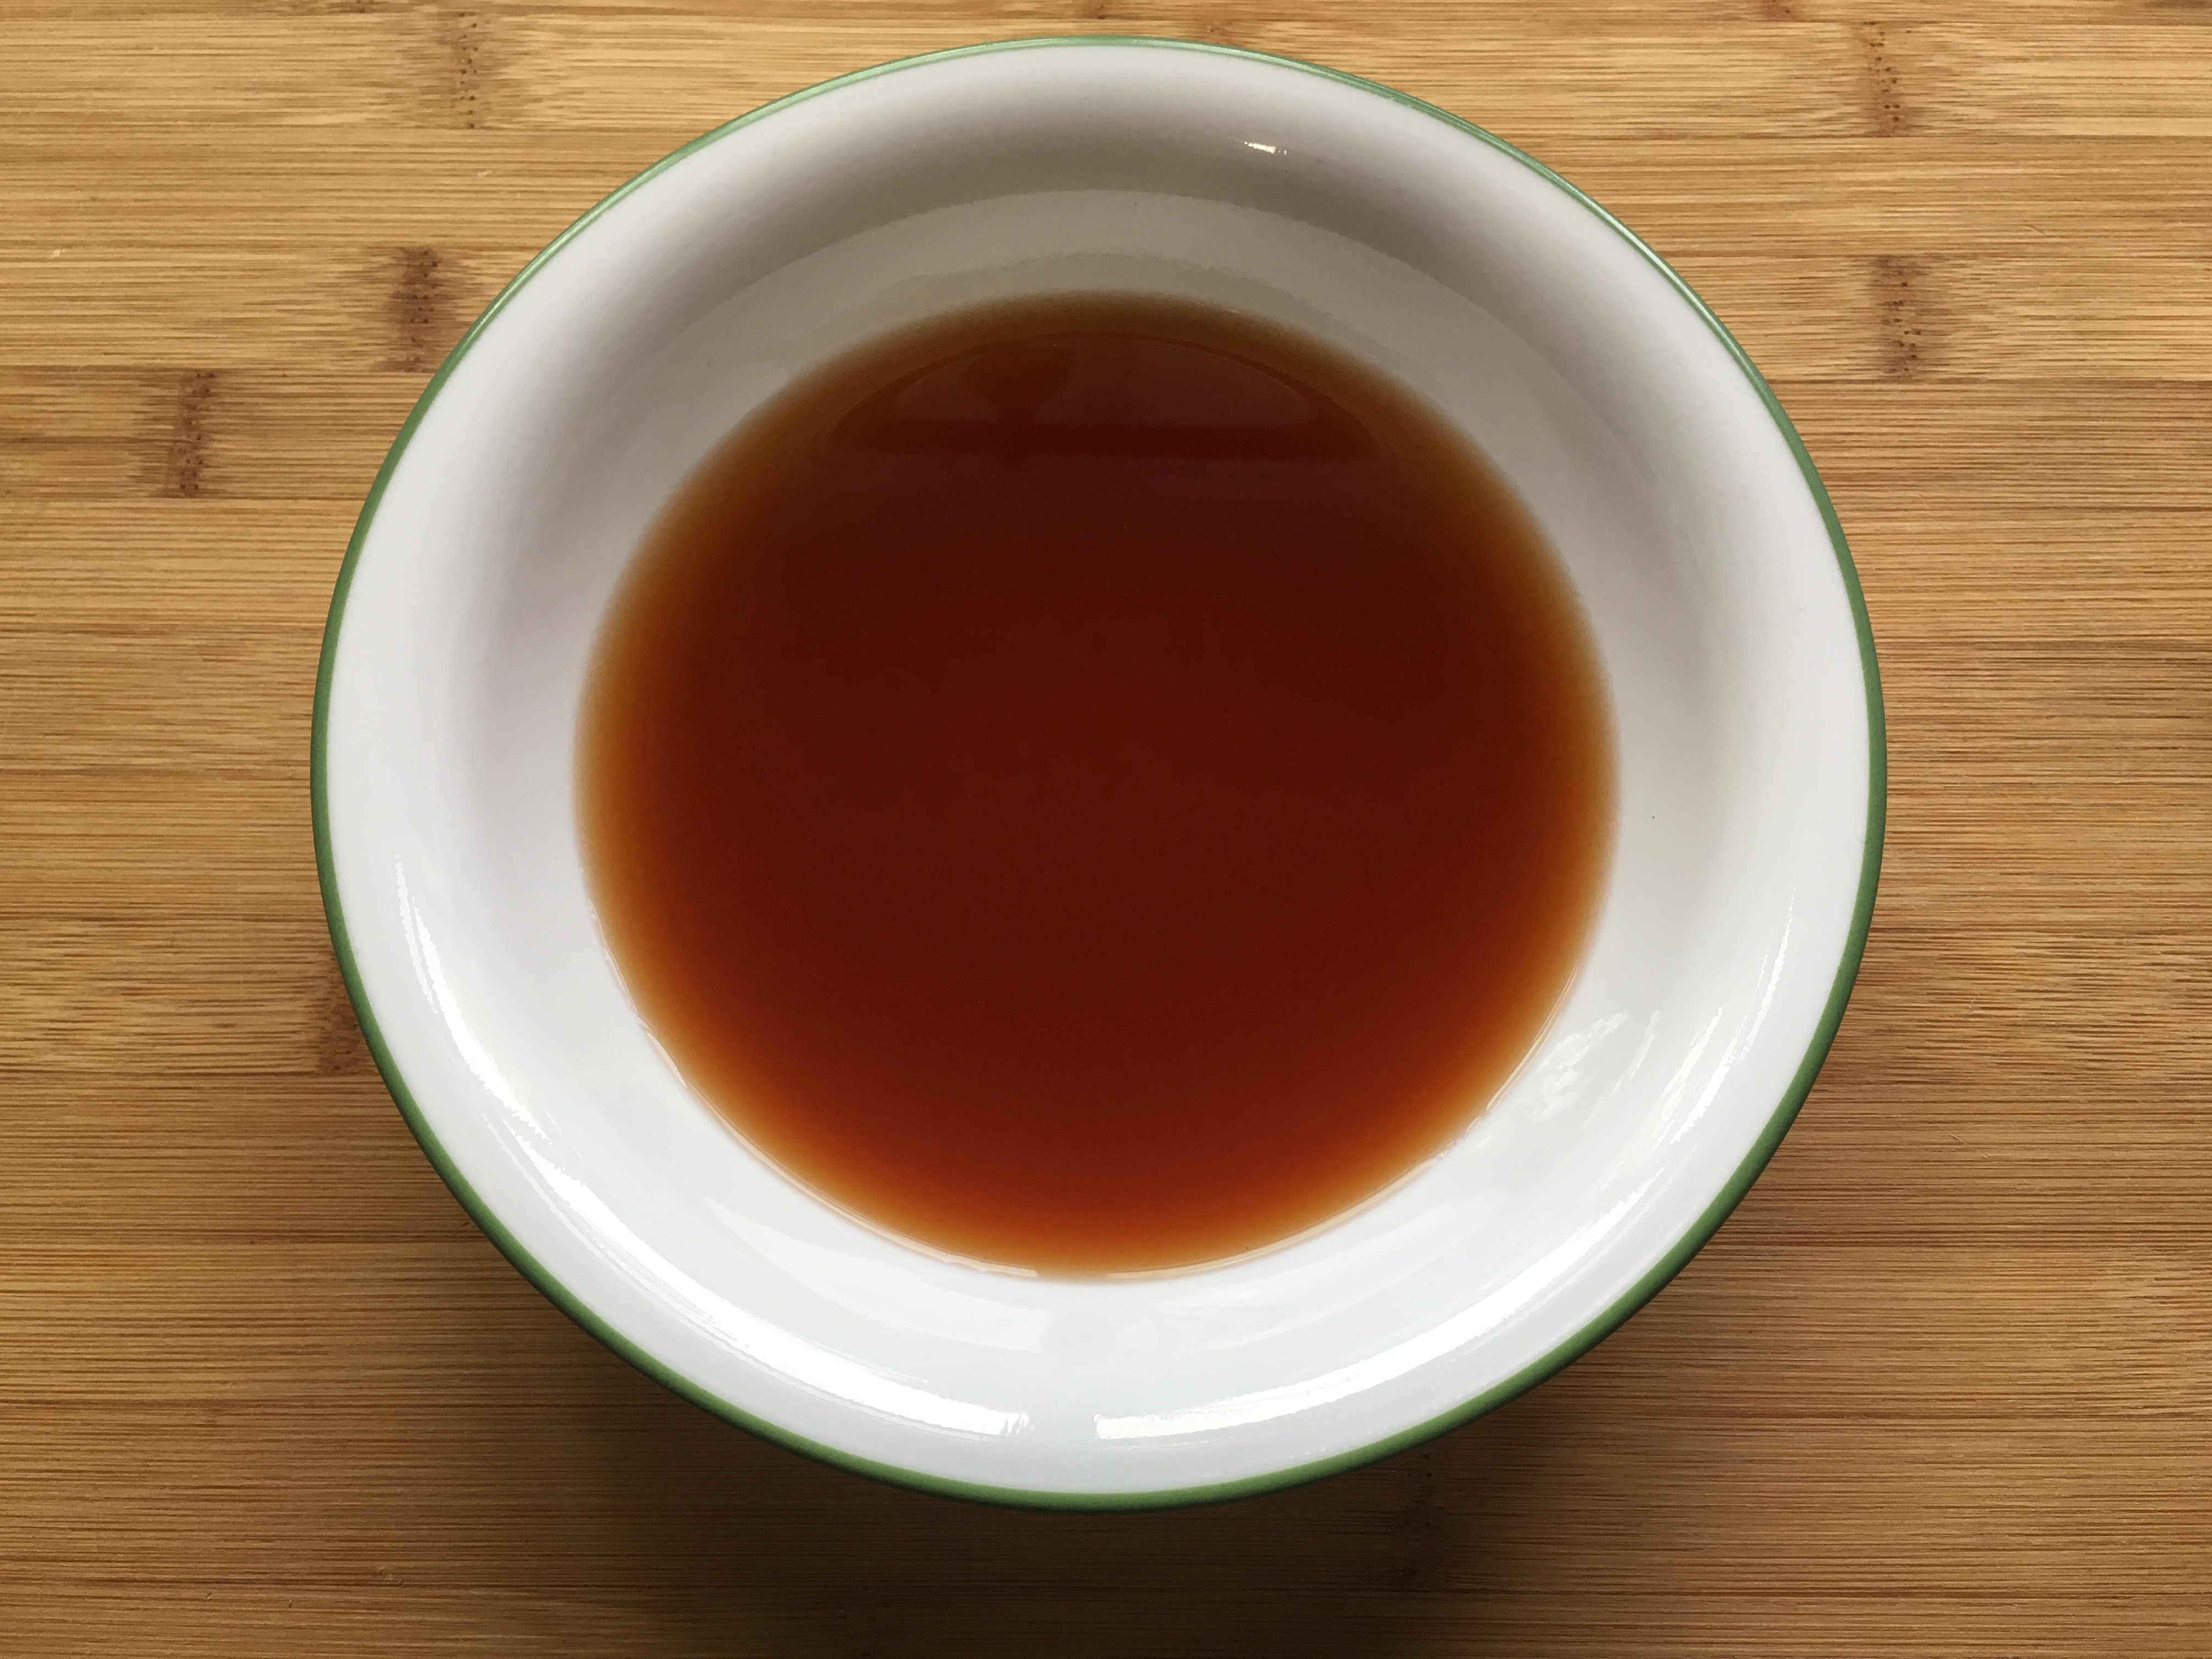
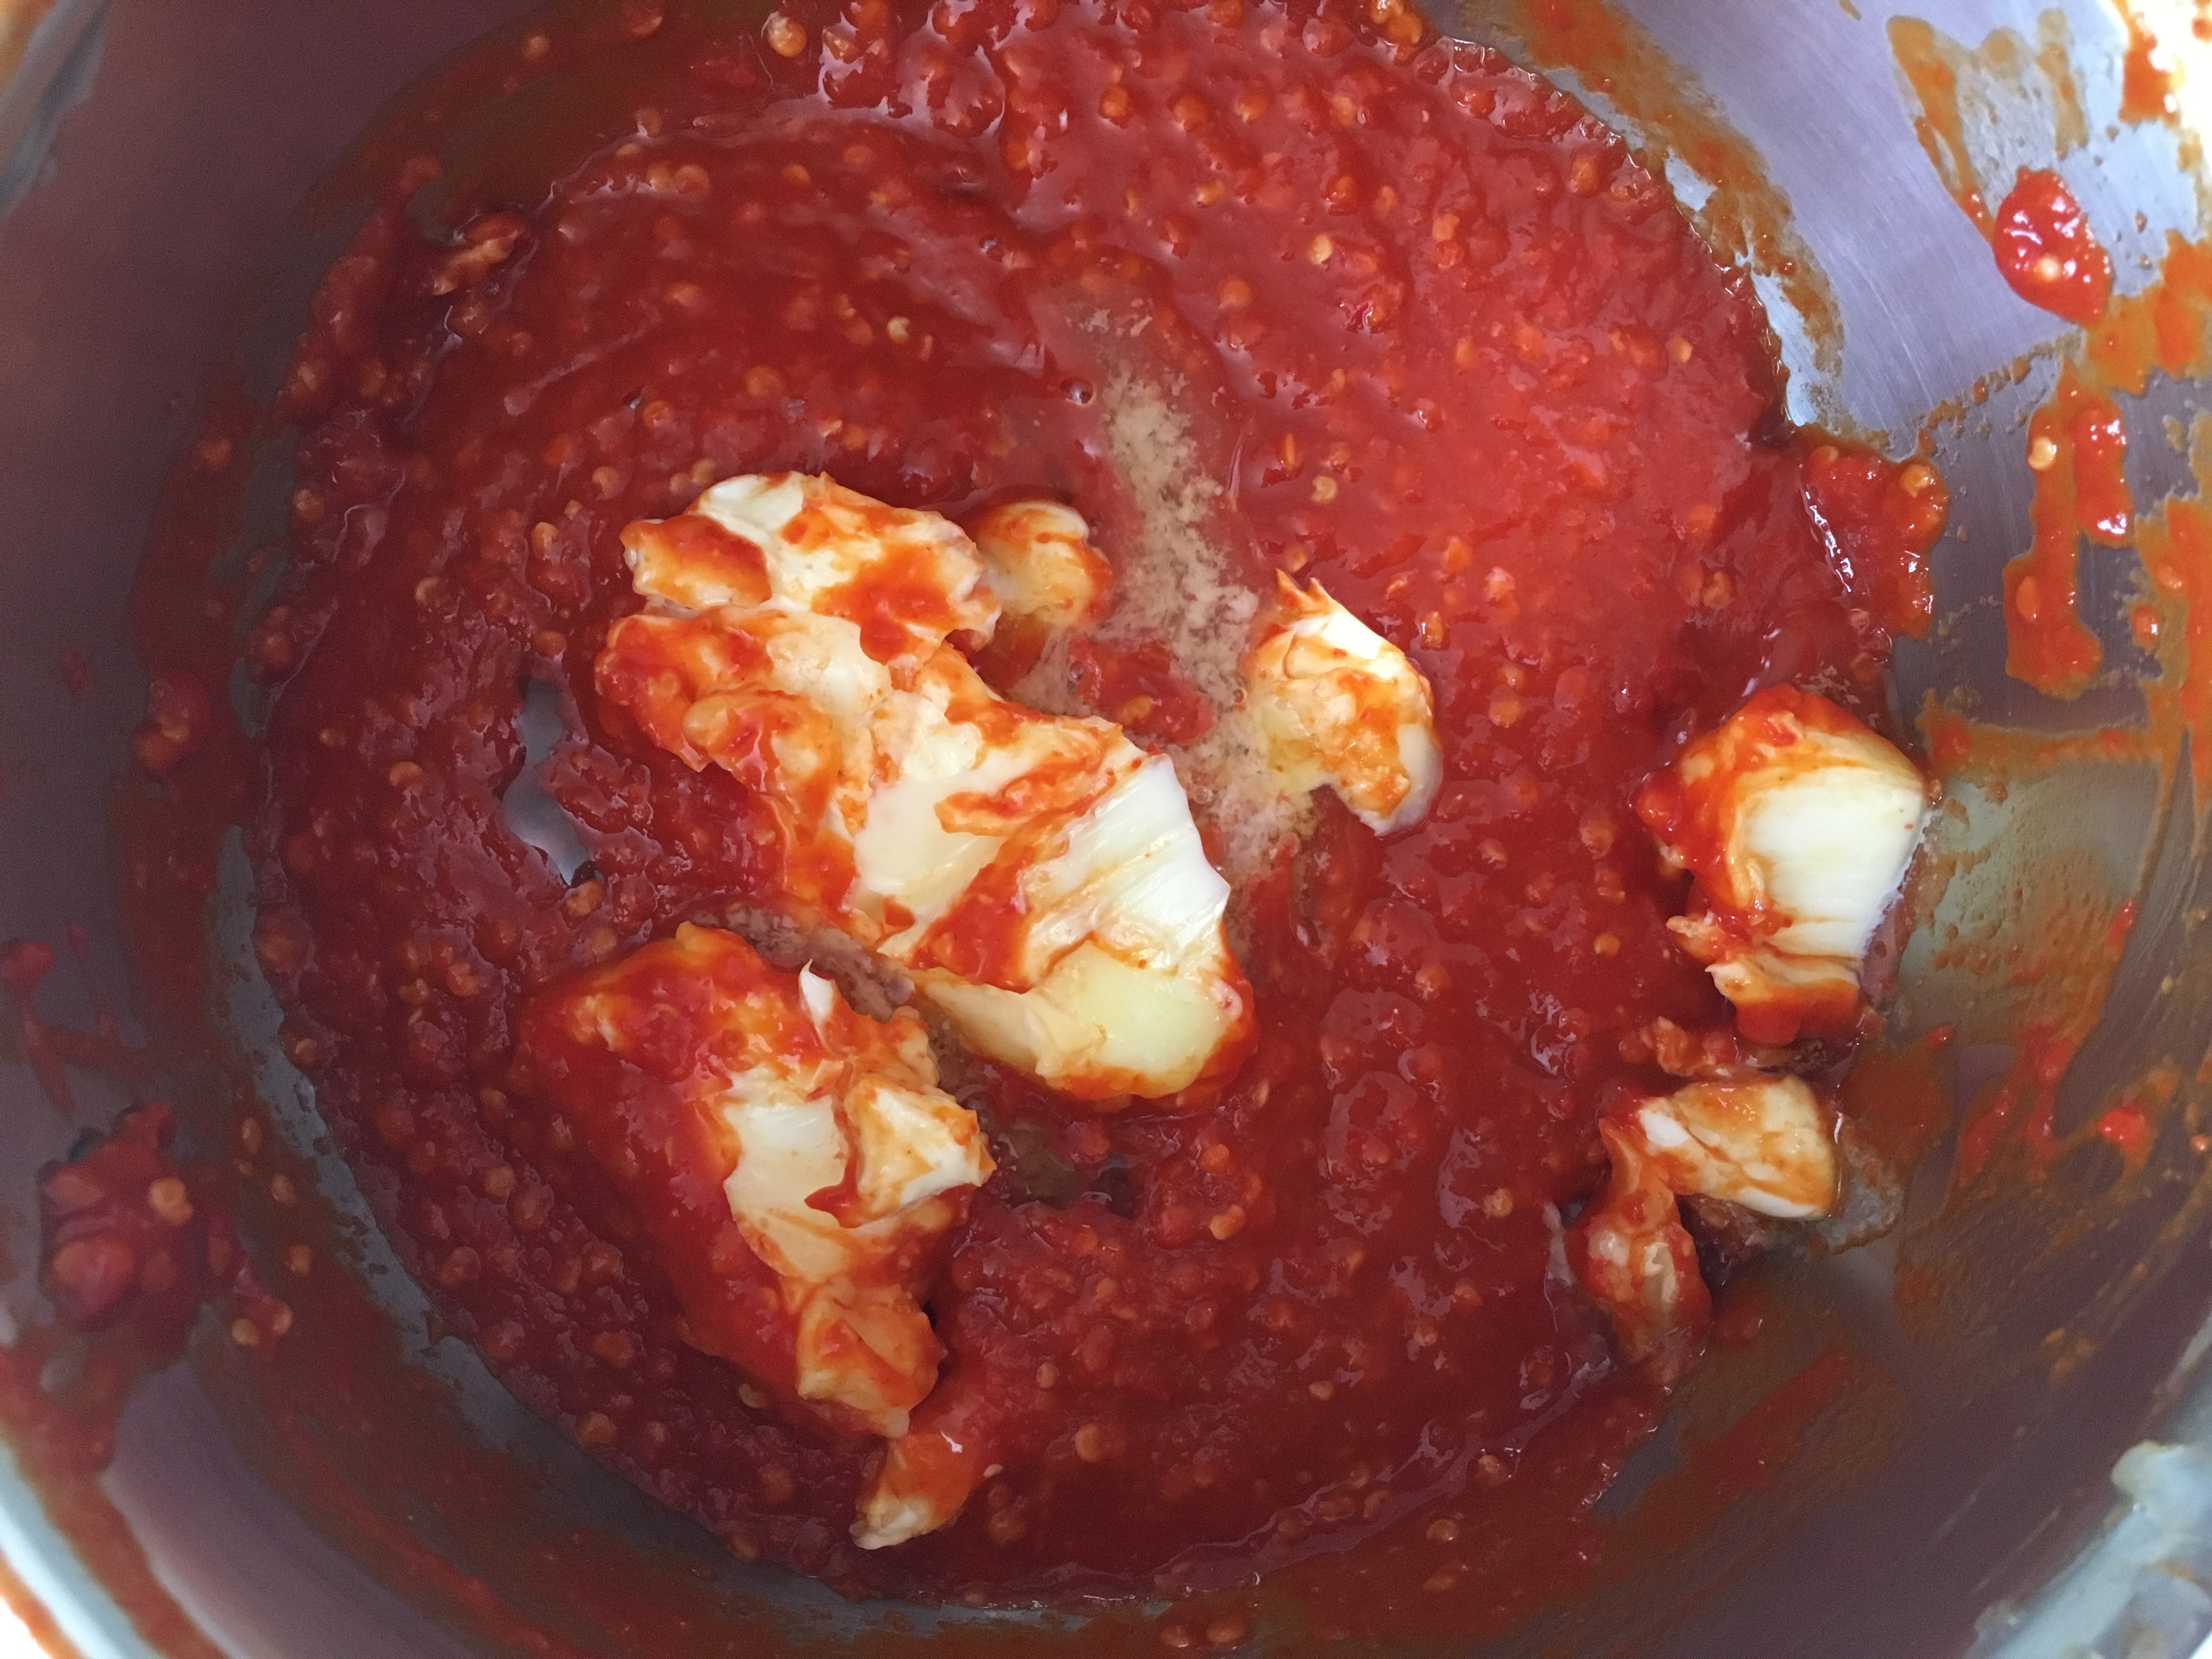
  7. Place Butter into mixture and mix until butter had melted and fully incorporated, keep the temperature low so the mixture doesn’t separate.
  8. Place Buffalo sauce into bowl, and place aside.
  9. Pan on medium heat, and fill with oil about half way. You want to make sure it’s a pan with high sides, and preferably cast iron. Bring oil to 350 degrees.
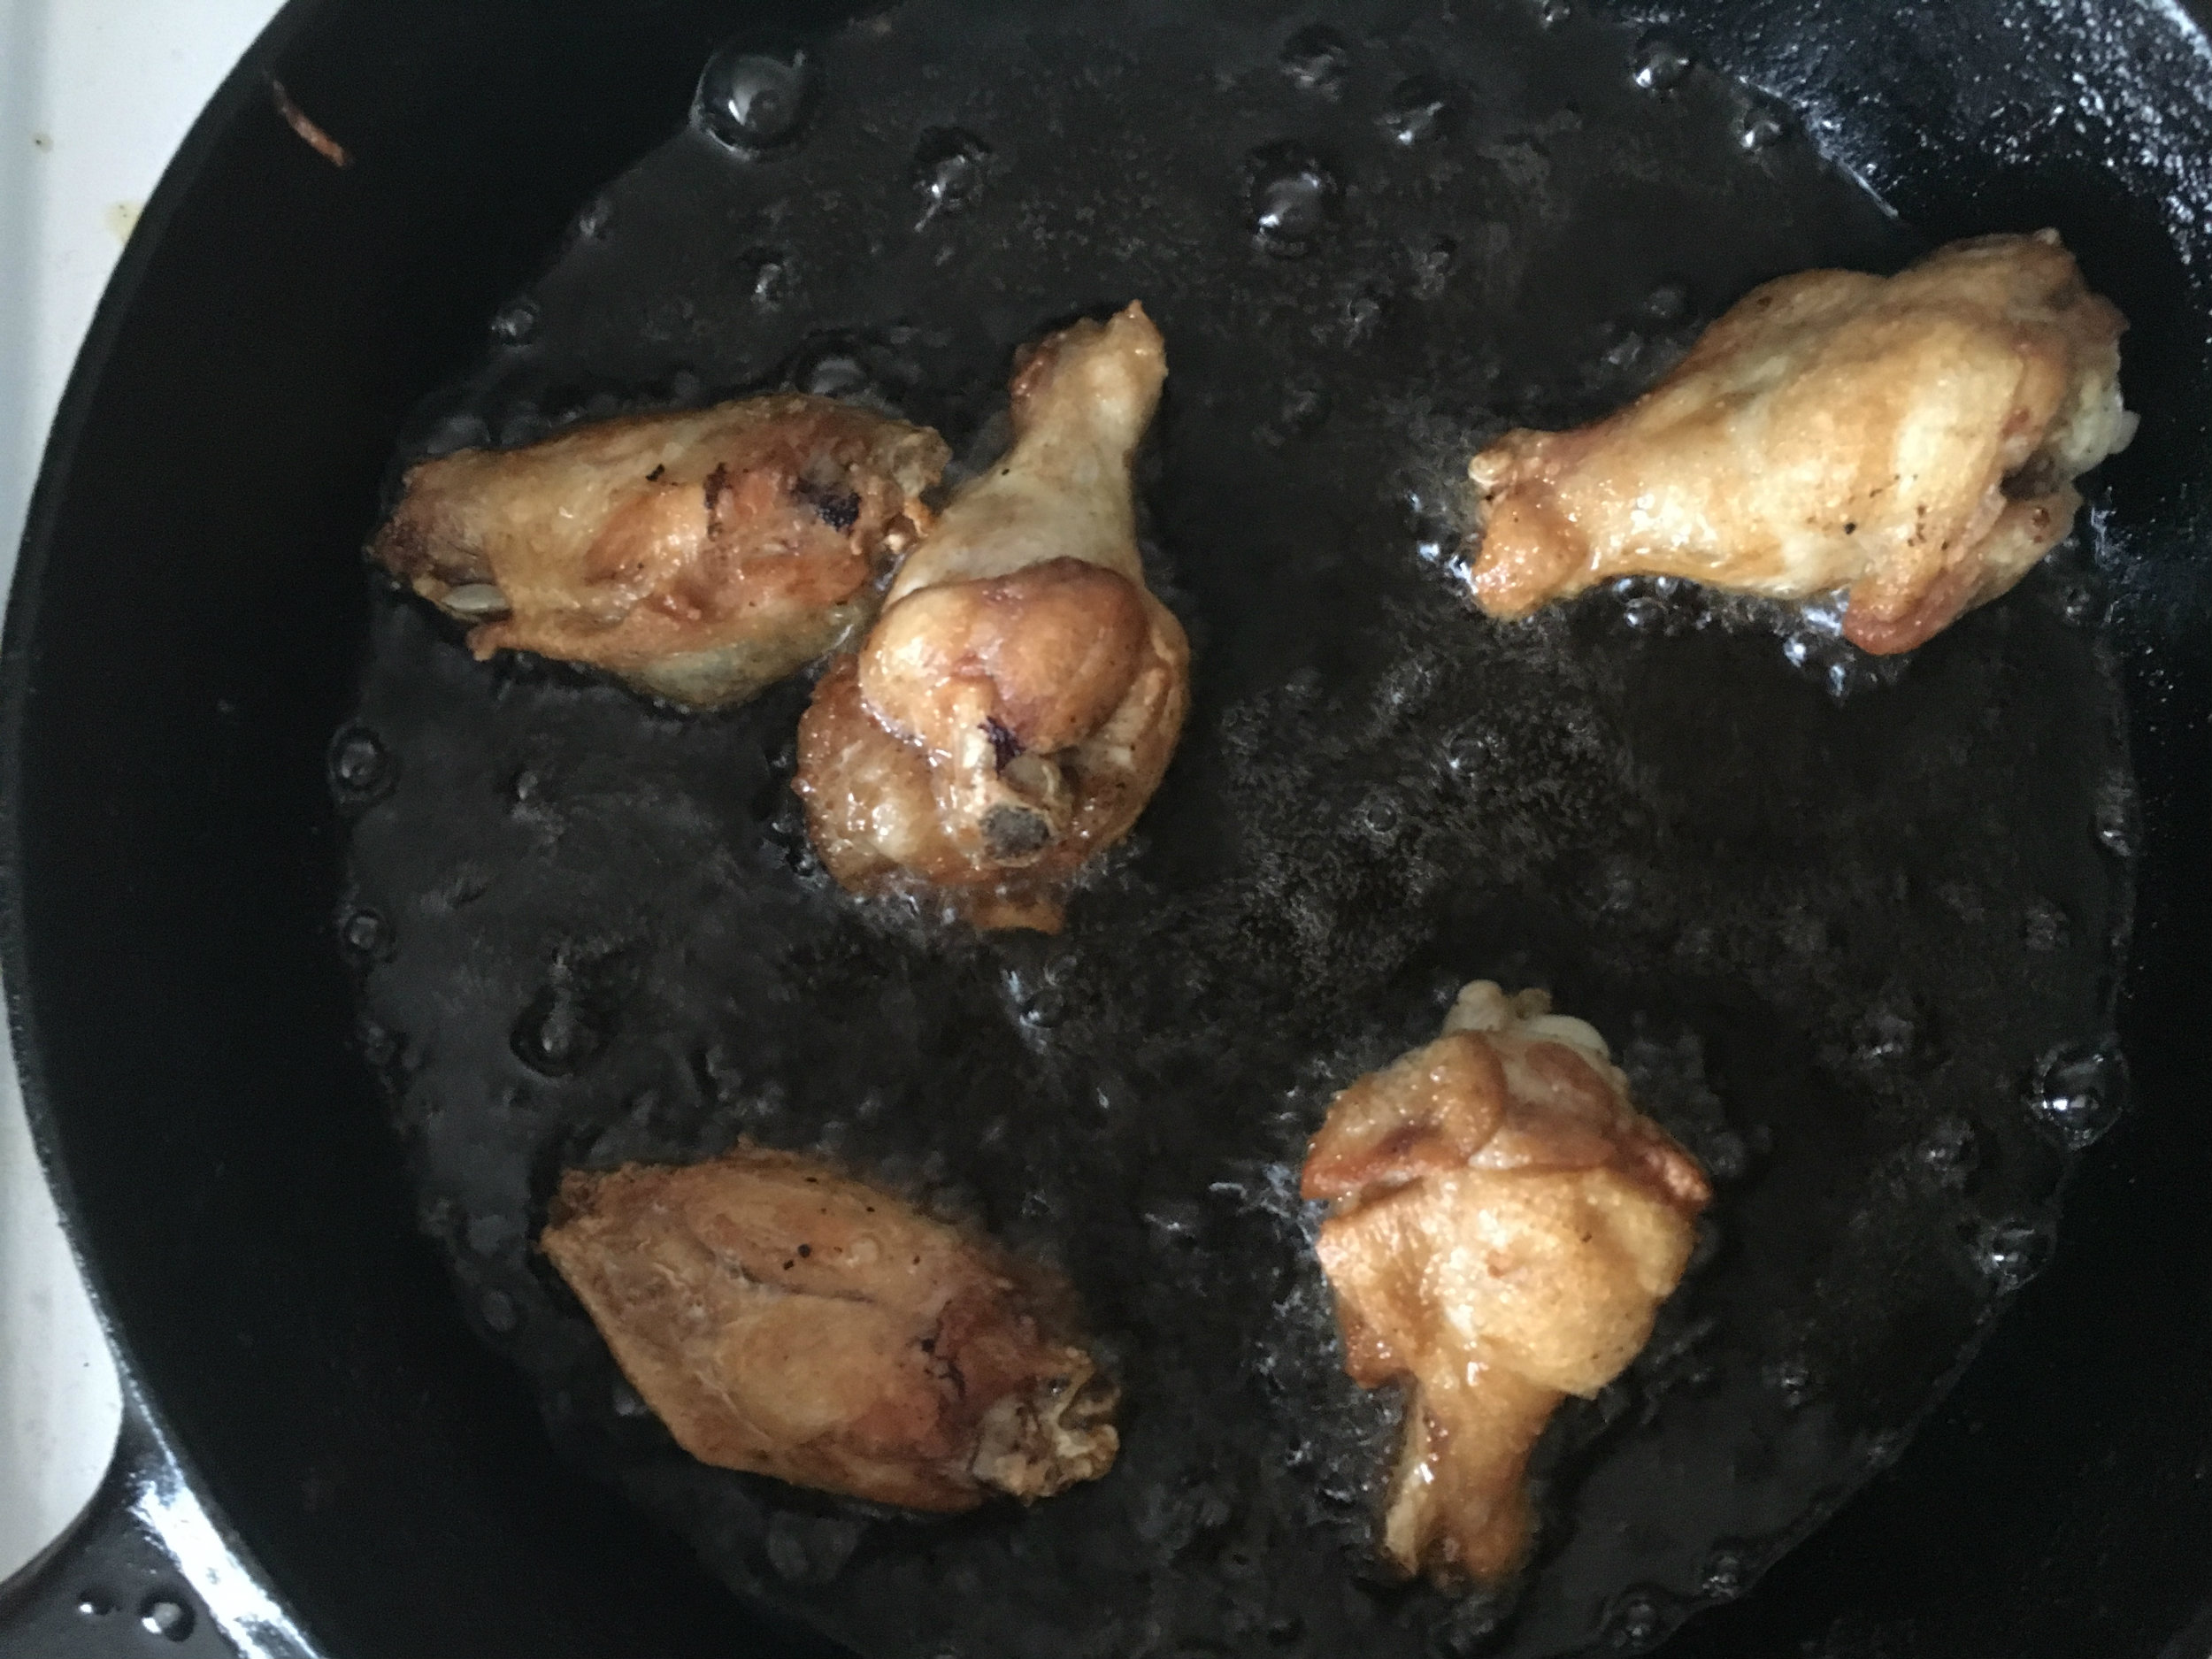
  10. Place chicken wings in the oil, and let fry. If the oil doesn’t completely cover the chicken, just turn the wings over every 2 minutes. Don’t over crowd the pan, you’re better off doing small batches, so the oil will stay hot.
  11. Once the wings are golden brown and delicious, temp the biggest wings and make sure they are at least 175 degrees Fahrenheit.
  12. Place cooked wings in a clean bowl, and toss with the buffalo sauce until evenly coated.
  13. Take a fancy Photo and post it to Instagram with the hashtag #foryourfoulmouth!
Sources:
Blue Cheese Dressing: http://foodwishes.blogspot.ca/2013/03/creamy-blue-cheese-dressing-chicken.html
National Chicken Wing Day: http://www.nationalchickenwingday.com/

Open Face

It is said that the Sandwich as we know it, was the result of John Montagu, 4th Earl of Sandwich. He was a card player and wanted food he could eat with one hand, so he wouldn’t have to put his cards down. It’s my understanding that even though there have been instances of food being prepared this way before that, this is what created the trend we know and love today. Knowing that, an open face sandwich almost seems counter productive… but here’s the thing, in my opinion, when food is good enough, you CAN’T eat it while doing something else! When food is done properly, it demands your attention. Which brings me to what to the recipe I’ve created. This open faced sandwich, you eat with a knife and fork. That mens no distractions like cards, phones, and if it’s an awkward breakfast with someone you don’t like, conversation.

It has a few layers: Buttermilk toast with Mayo, Roasted Mushrooms, lettuce, and a ‘cloudy egg’.  For the Buttermilk Bread, I really recommend my roommate, Cheryl’s recipe. She doesn’t have it posted anywhere, but you can always text her, I’m sure she’ll give it to you. If you don’t have her number, I suggest asking her for it the next time you see her. Failing that, store bought buttermilk bread, a thick piece of Challah bread, or sour dough will work very well here.

I made up a simple Mayo recipe; it’s creamy, and zesty, and awesome. I used an immersion blender, and had it made in the time it took to make the toast.

The lettuce mixture was Parsley and Boston Lettuce. If you’ve never had the latter before, it’s similar to arugula in taste. It is; however, much sweeter. It’s shaped more like a smooth loose cabbage.

A layer of crispy Mushrooms & finally, the cloudy egg. This is a food that has been trending for a while, but I have never seen in it as part of a sandwich. Which is insane because it makes so much sense. The beaten egg whites give it a nice soft texture, and a rich taste because of the folded in cheese. Since the yolks are cooked for less time then the whites, the are runny, and create a perfect sauce!! This is a great recipe for breakfast, but it is a little involved, prepping the lettuce and the mushrooms the night before is a good idea.

Roasted Mushrooms:

  • 3 Button Mushrooms
  • 34g Oyster Mushrooms
  • 1T Olive Oil
  • 3 Pinch Salt
  • 2 Oregano
  1. Place a baking sheet into a 450 degree Convection oven (475 degree non convection). Don’t put any parchment on down.
  2. While the oven and the baking sheet are preheating, slice the mushrooms, you want them about 1/8″ thick and place them into a bowl.
  3. Mix oil, salt and oregano and mushrooms until they evenly coated.
  4. Place the Mushroom mixture onto the hot baking sheet. return the sheet into the oven for 18 minutes, make sure to mix the mushroom once half way through
  5. Put mushroom aside until needed.

Lettuce Mixture:

  • 1T Red Wine Vinegar
  • 1T Extra Virgin Olive Oil
  • 1/4t Sugar
  • 18g Parsley
  • 46g Boston Lettuce
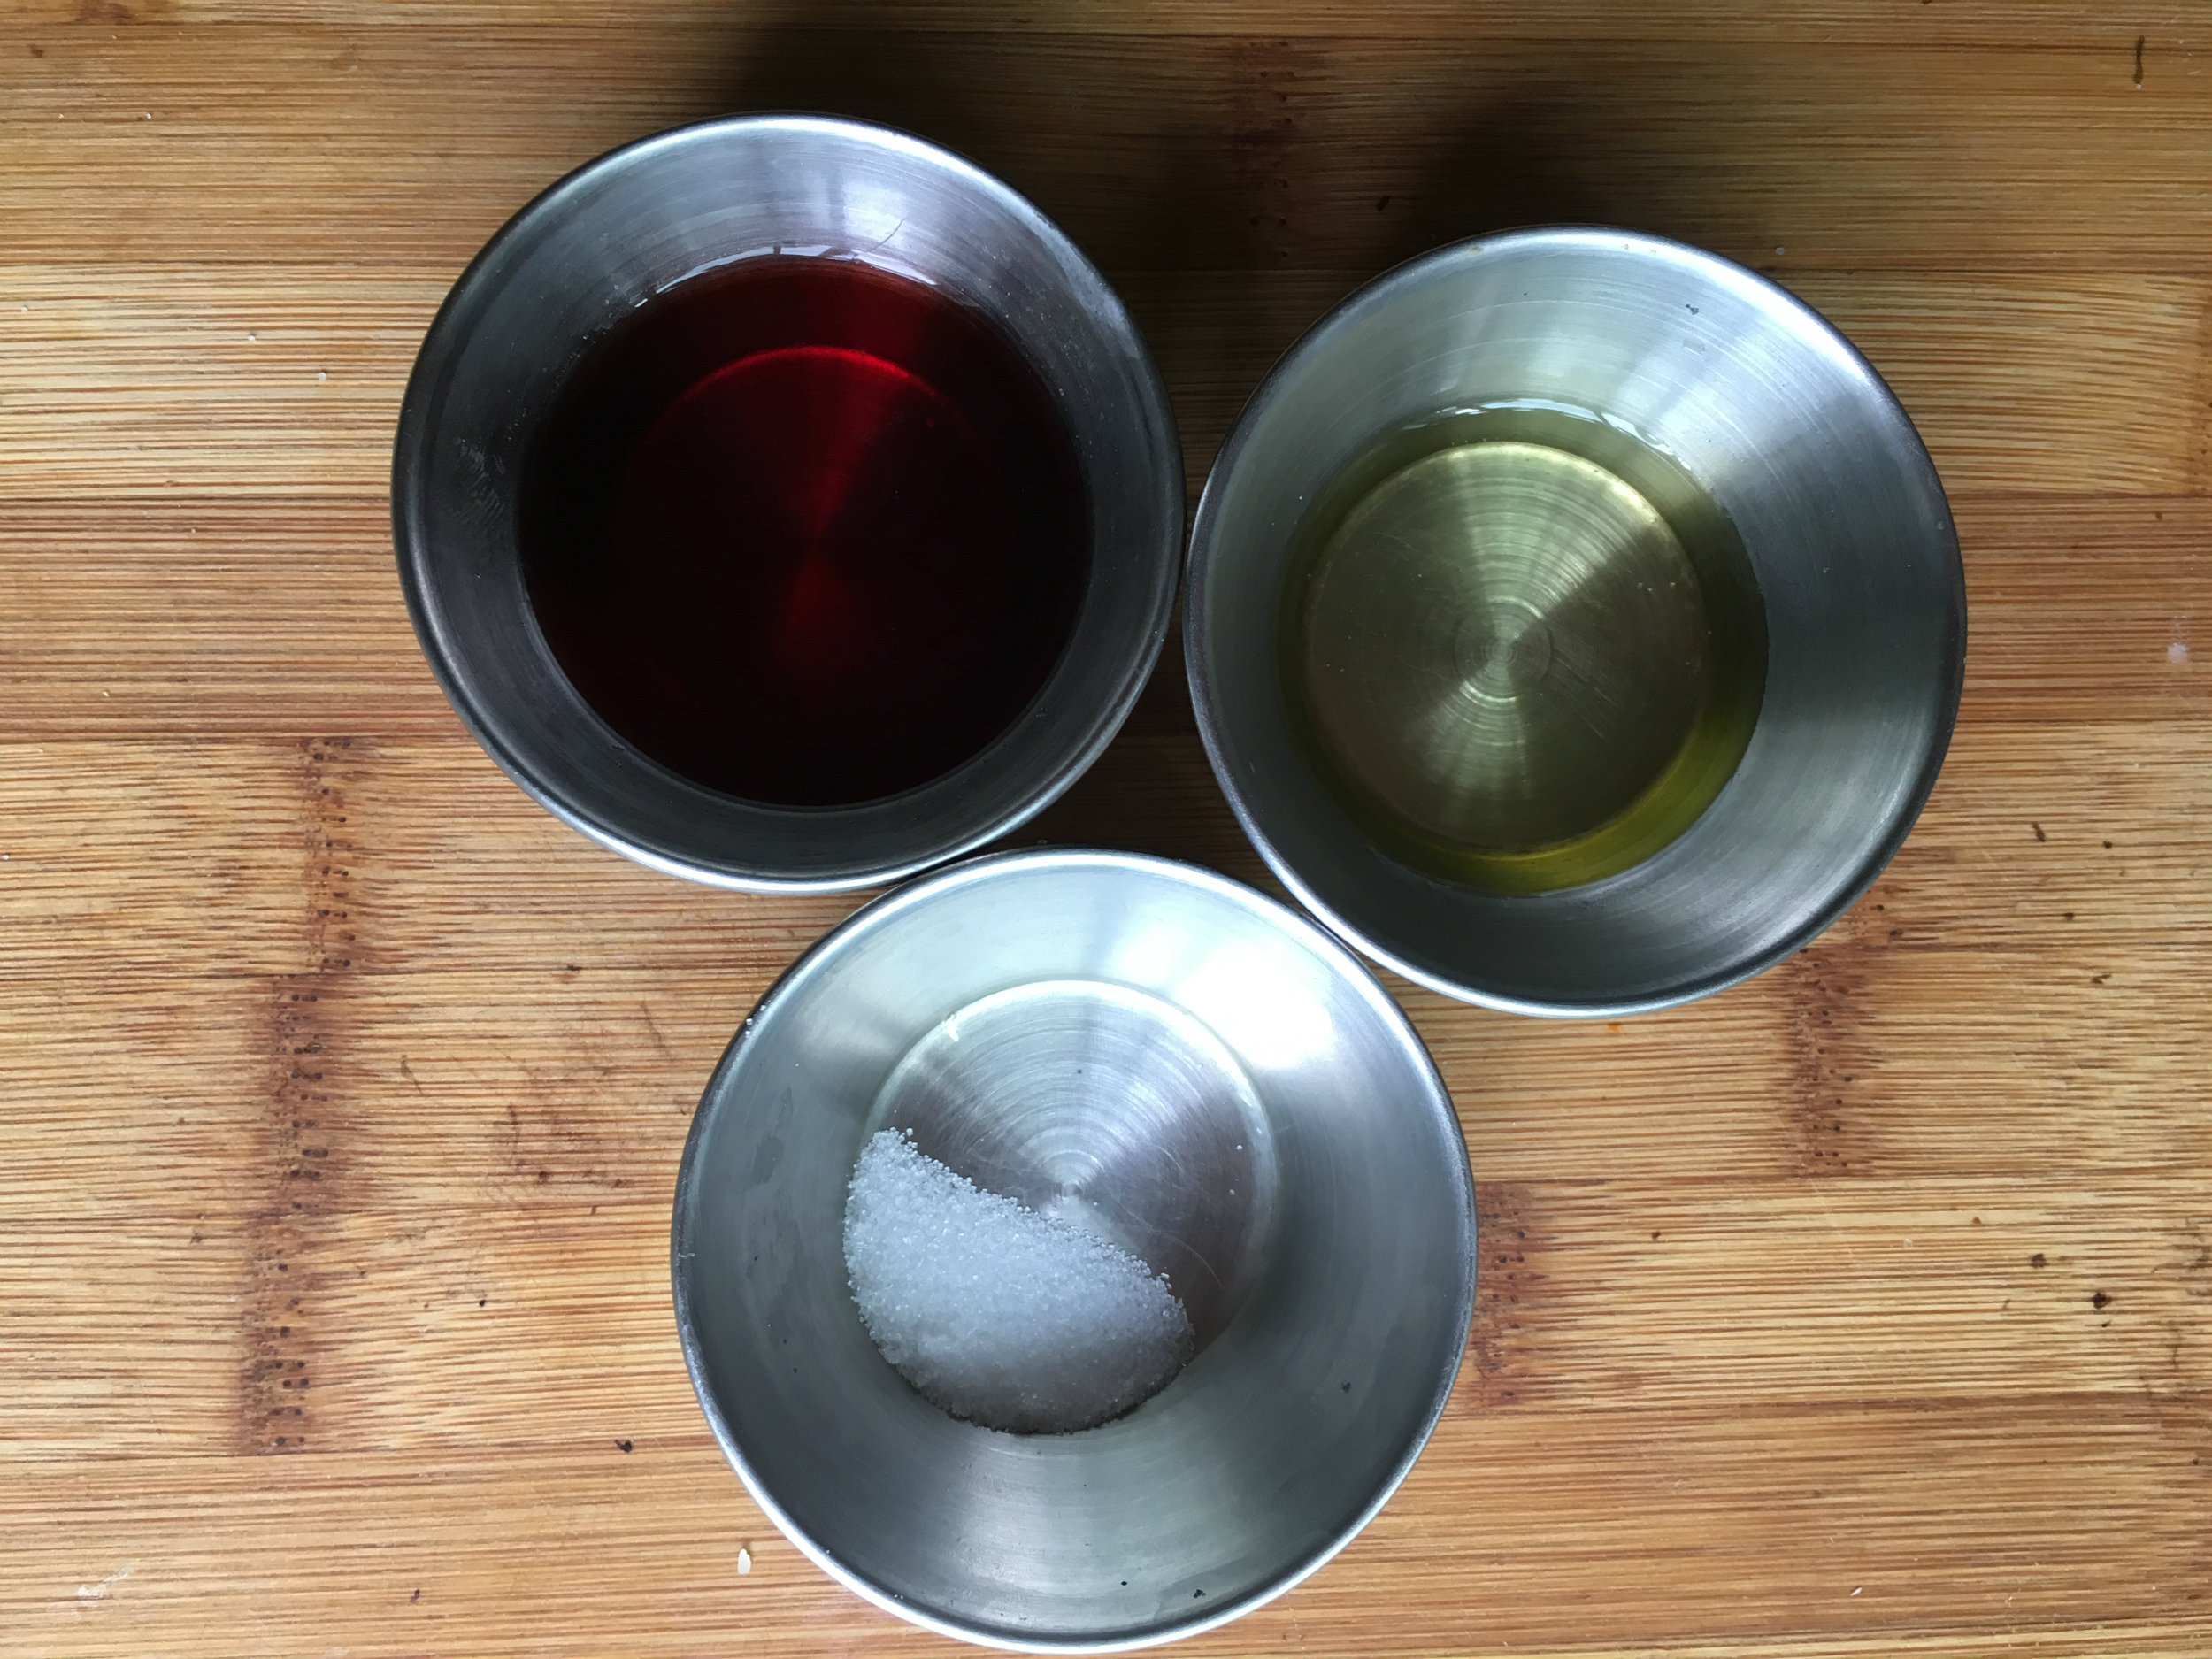
  1. Mix the Sugar into the Red Wine Vinegar until it’s
    completely dissolved.
  2. Cut the leafs of the Parsley off using a sharp knife. If you hold a bundle of parsley stem side closer to you, and use the knife to sheer off the leafs.
  3. Cut the Boston Lettuce using the chiffonade cut. You can see the process HERE. It’s how the Basil is cut.
  4. Mix all the ingredients together in a bowl, and place aside until needed.

Cloudy Eggs:

  • 20g Mozzarella
  • 9g Parmesan (you want the bricked stuff, not the pre shredded canned stuff.)
  • 3 Eggs Whites.
  1. Preheat convection oven to 325 degrees (350 non convections).
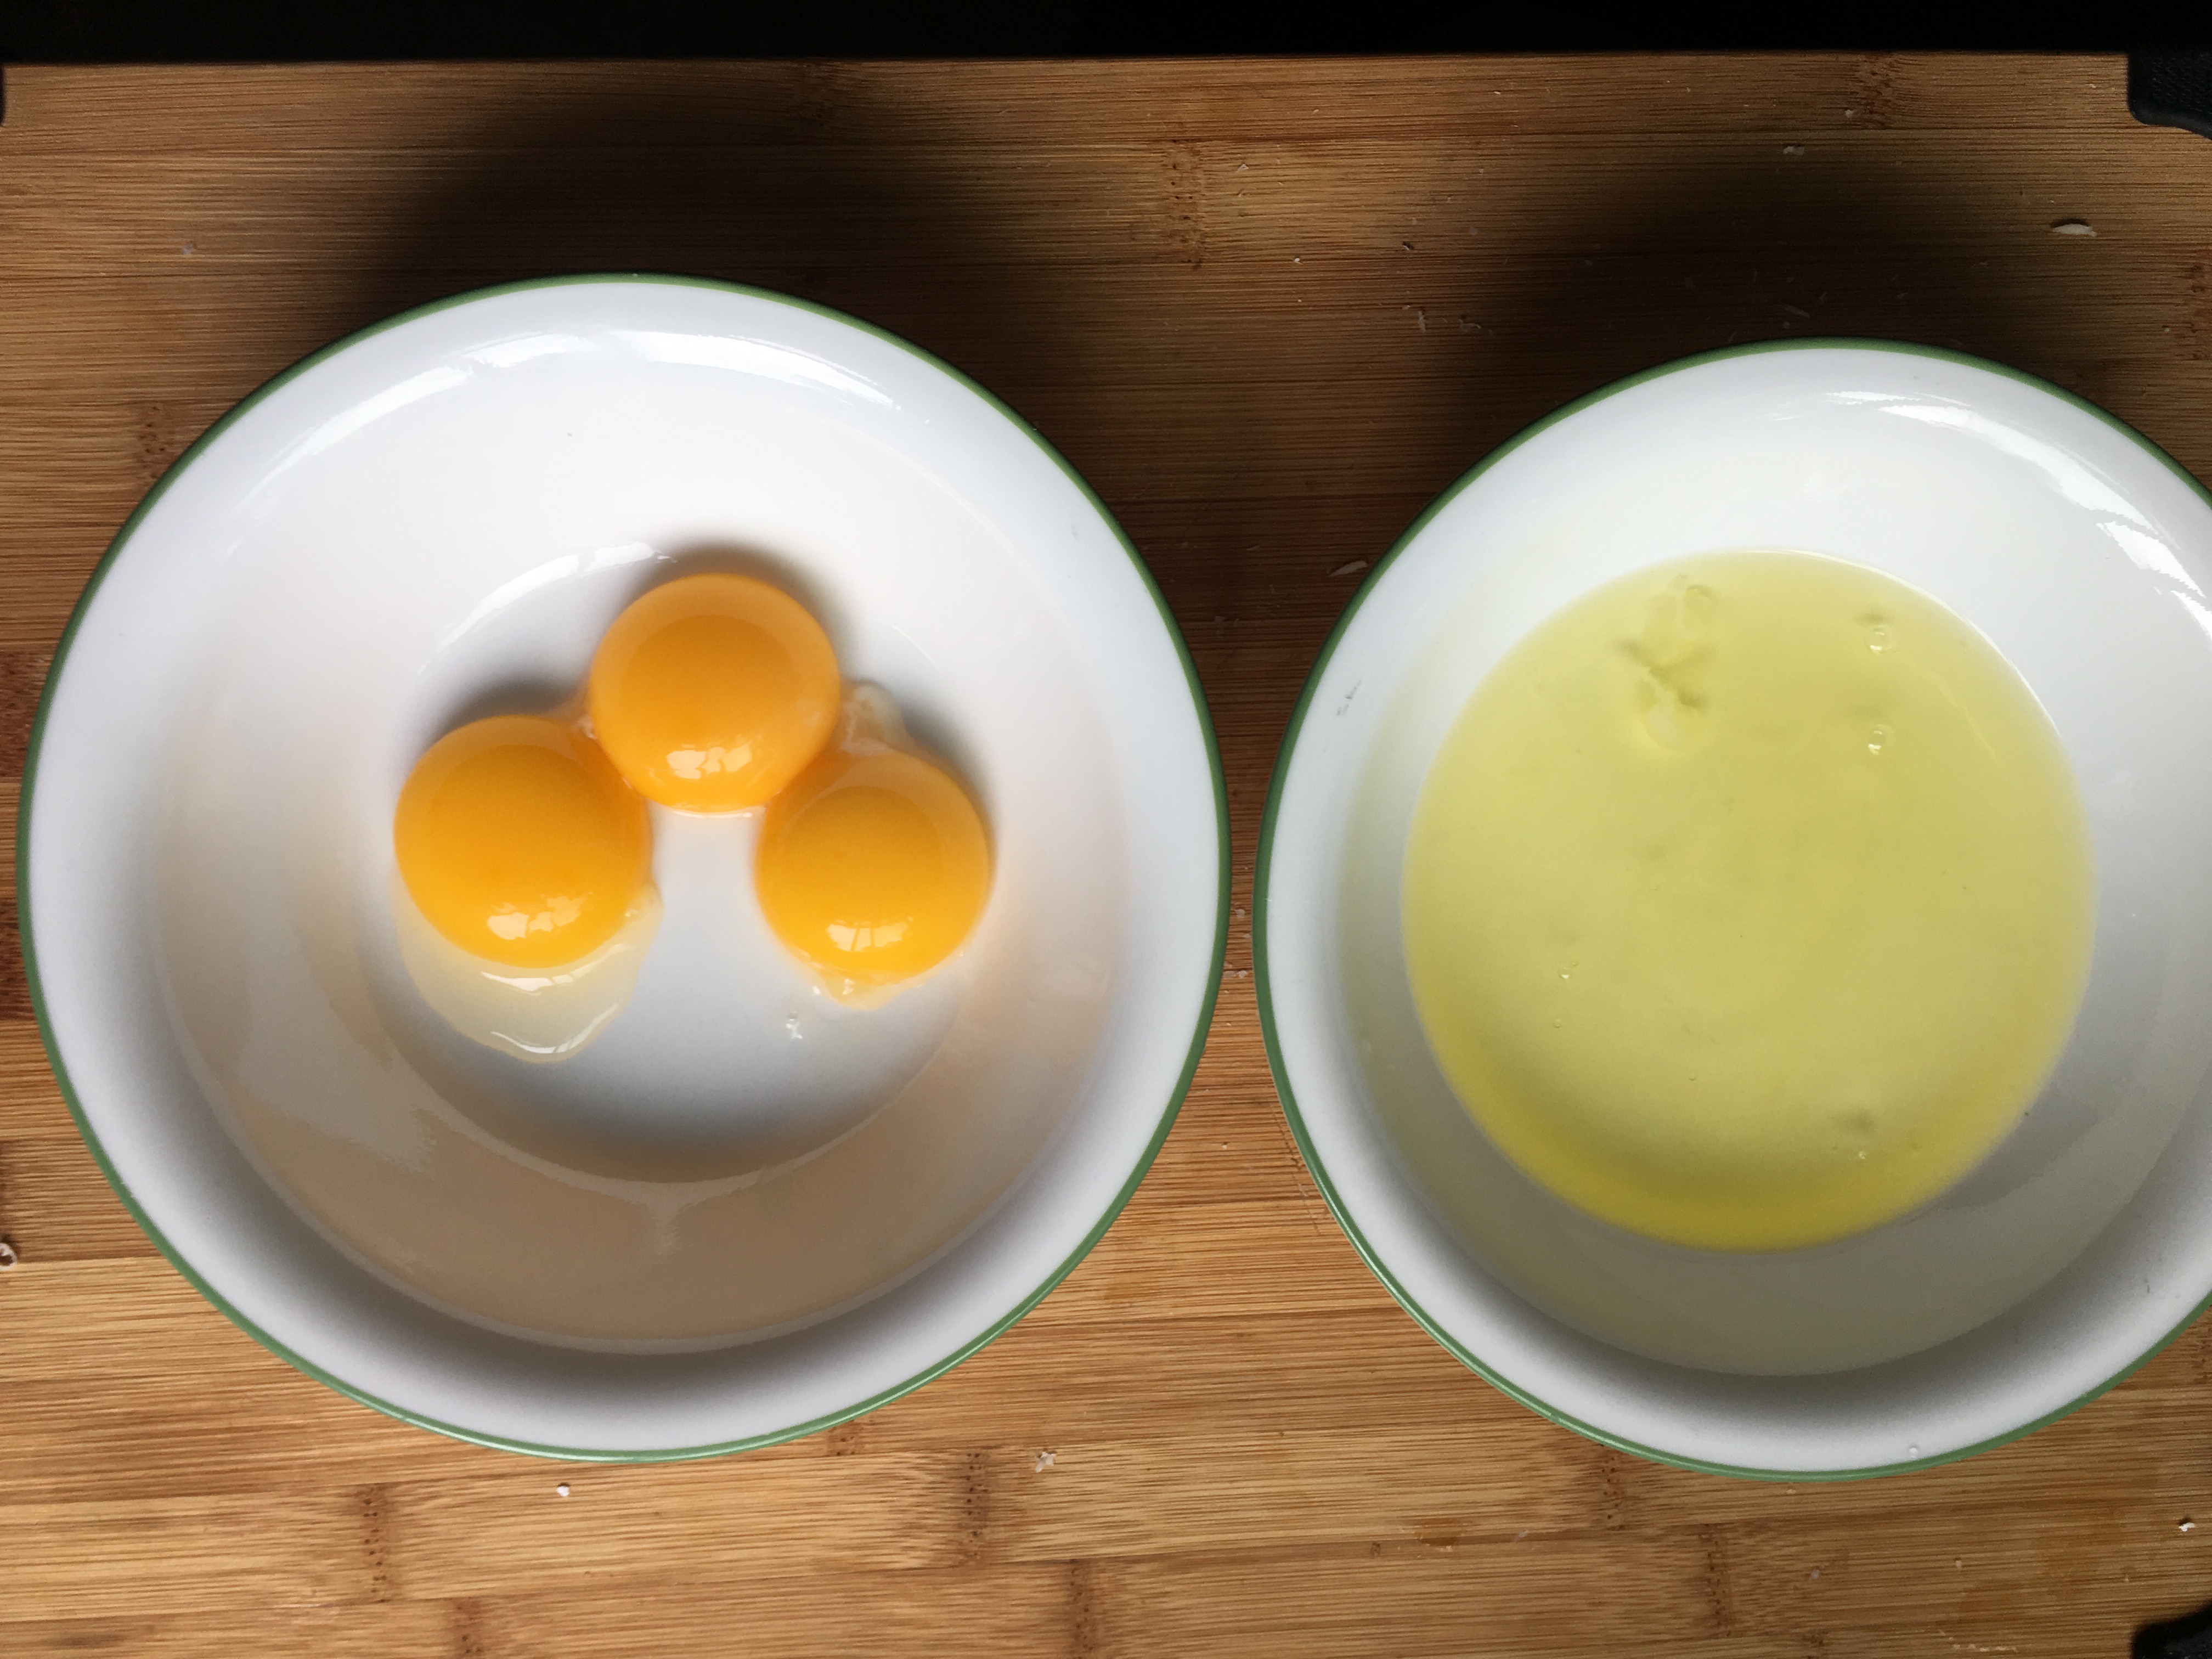
  2. Separate the eggs, and keep the same the whites and yolks.
  3. Beat the whites until the form a stiff peak foam. I used a stand mixer with the whisk attachment. You can use a hand mixer, or a regular whisk. If you do it the old fashioned way, make sure you use a whisk with a lot of tines, or else it will take a while.
  4. Fold in both cheeses to the meringue gently.
  5. Divide the meringue into two piles on a parchment lined baking sheet. Use a spoon to put a dip in the middle of each one.
  6. Place into the oven for 3 minutes
  7. Remove the meringue and place an egg yolk into the dip of each pile, place back into the oven for 2 minutes. Place one egg yolk aside for mayo
  8. Remove from the oven, and turn on the broiler, place the baking sheet under the broiler for about a minute. Don’t leave this unattended. Keep your eye on it, and remove it once you see the gold brown form on the white. You don’t want to burn the whites, or over cook the yolks.
  9. The Egg on the left is perfect, The egg on the right had the yolk burst because I wasn't gentle enough when I placed it on the meringue 
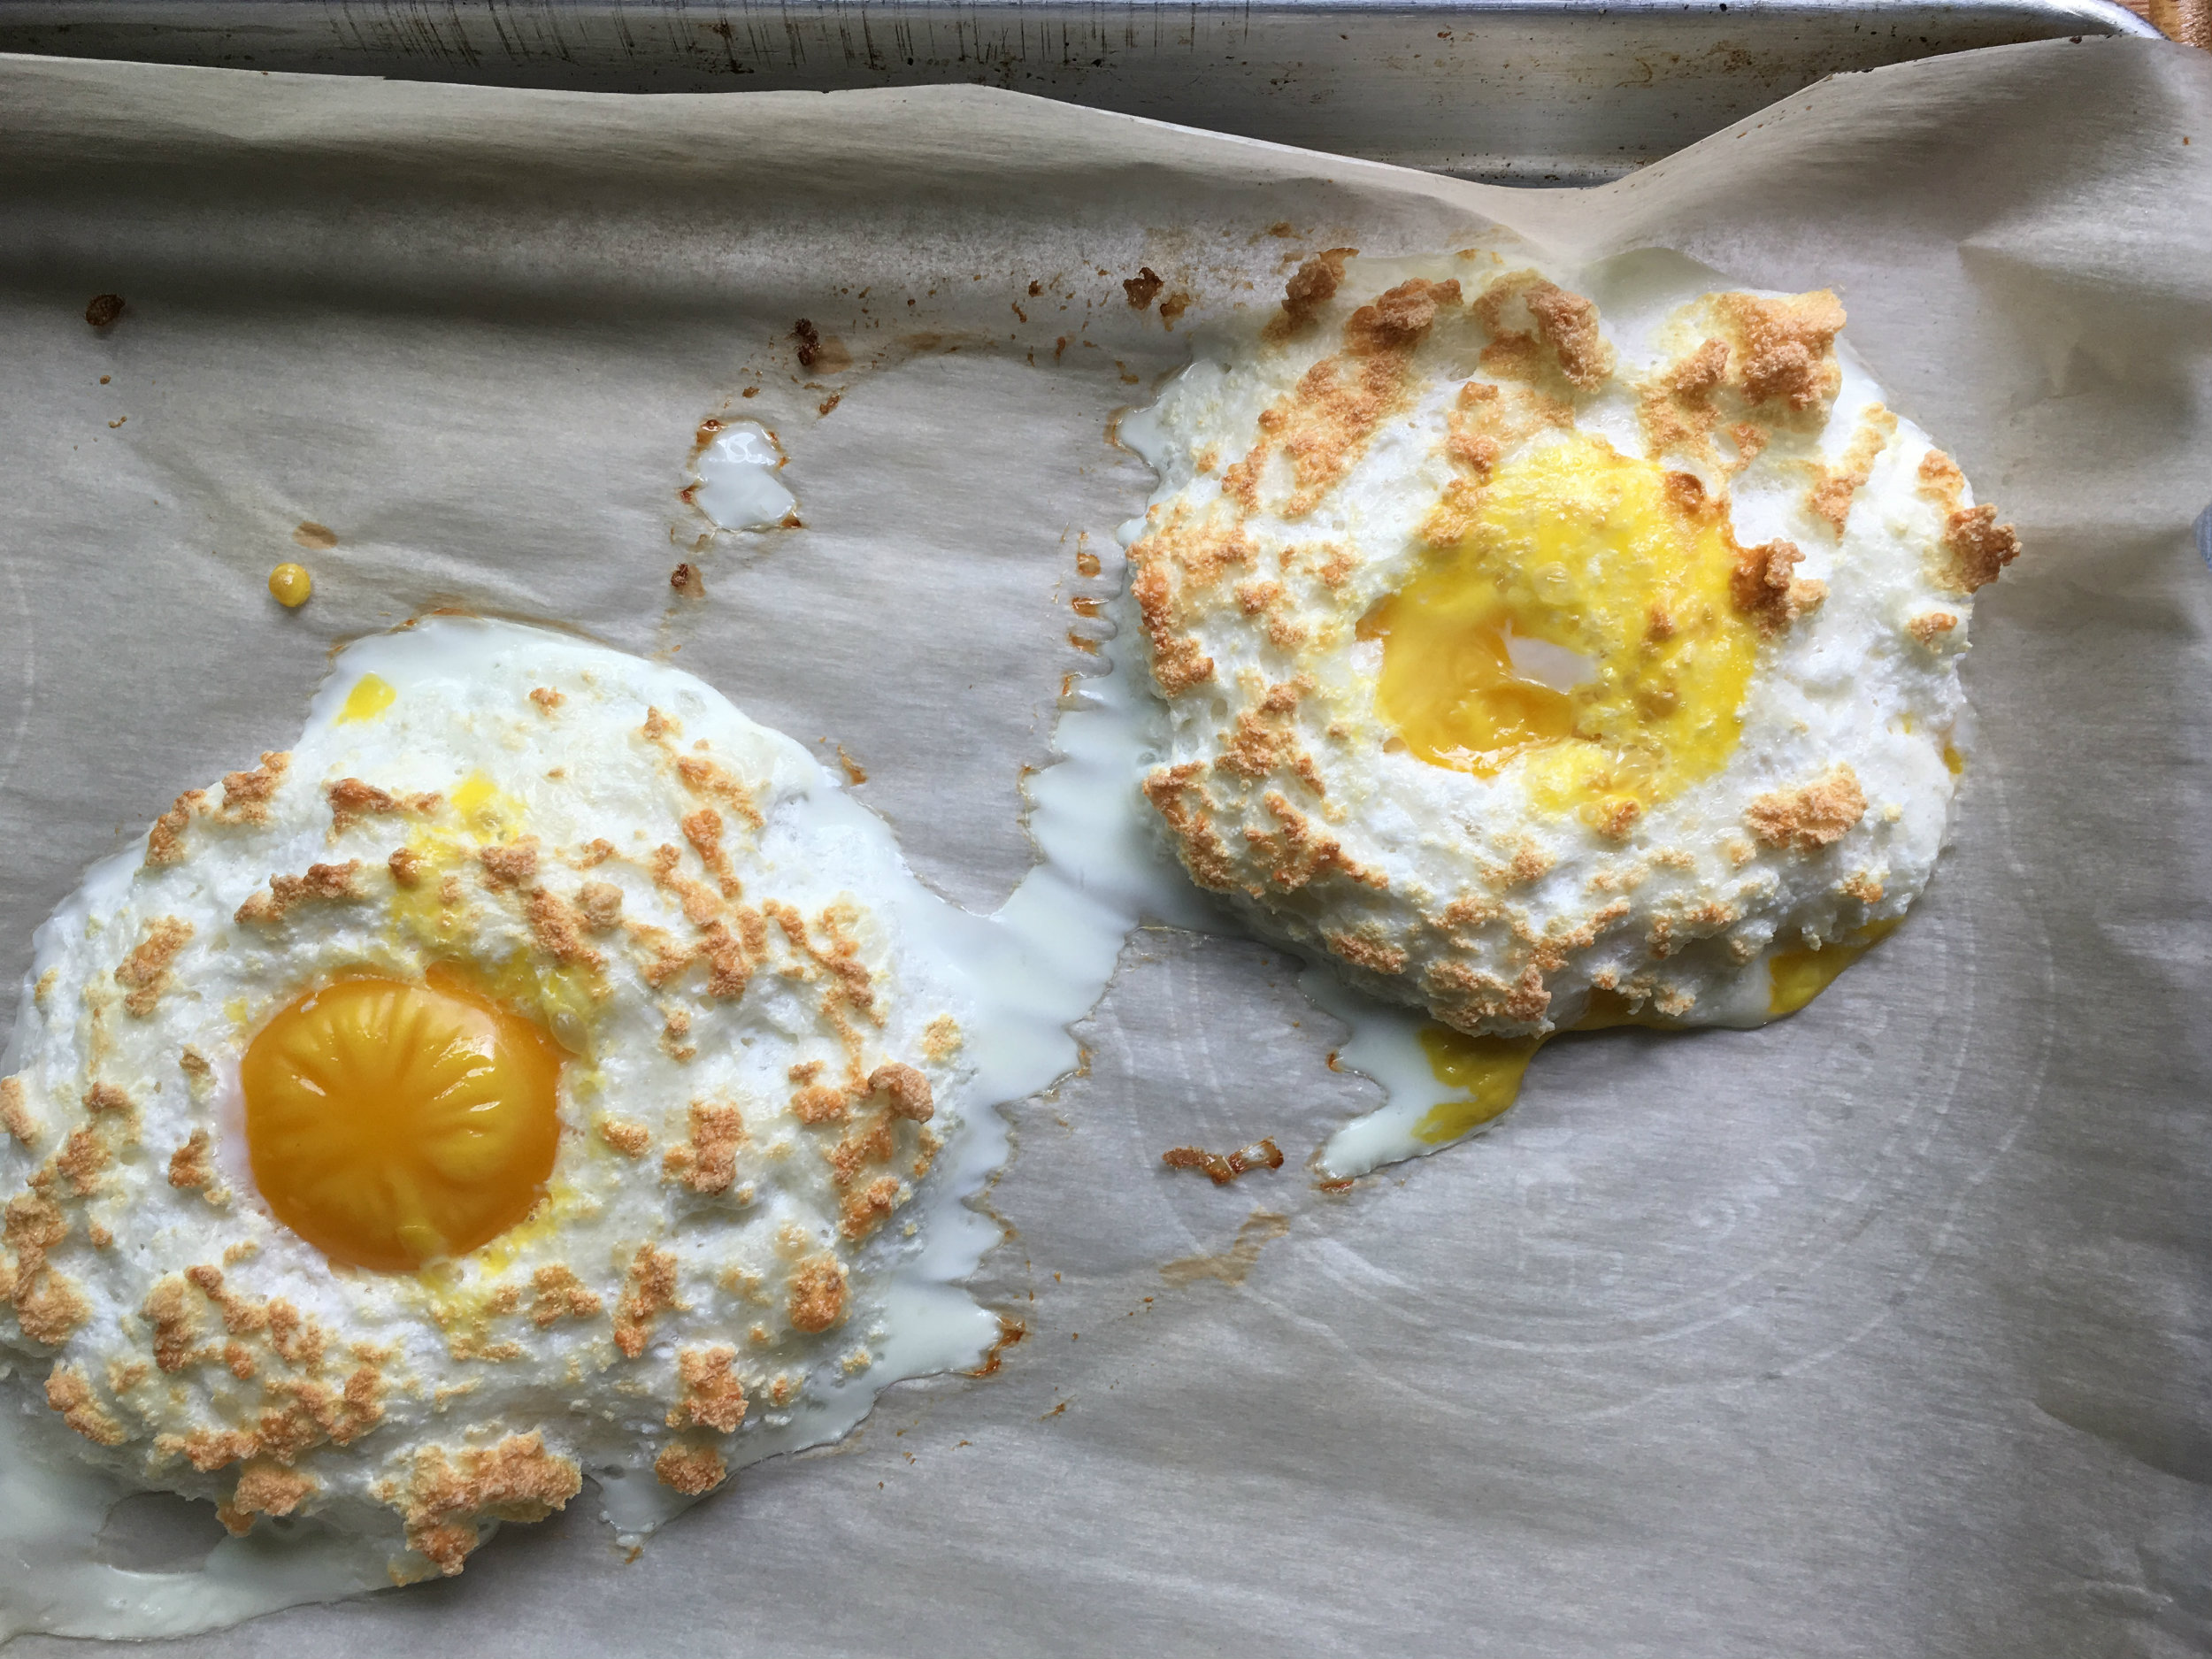
Place eggs on the side, put 2 pieces of bread in the toaster and make toast.

MAYO:

  • 1 Egg Yolk
  • 2 Garlic Cloves
  • 1.5 White Wine Vinegar
  • 3/8C Extra Virgin Olive Oil
  • 3/8C Canola Oil
  • 1/2t Salt
  • 1T Dijon
  1. Place all the ingredients in a high thinner cup. I used a measuring cup.
  2. Wait about 1 minute for the oil to float to the top.
  3. Insert the immersion blender into the mixture slowly, make sure not mix anything around too much.
  4. Pulse the blender until you start seeing mayo form.
  5. Once you see the majority of the mixture has emulsified, keep the blender on, and slowly lift the blender up and down until it’s a unified mixture.

The Final Construction

  1. Put mayo on one side of both pieces of toast.
  2. Place Lettuce mixture on the mayo side of the toast (incase you couldn’t figure that out)
  3. Then place the Roasted Mushroom mixture on top of the lettuce.
  4. Then finally place the cloudy egg to top it off.
  5. Take a fancy photo, and post it to Instagram with the hashtag #foryourfoulmouth.

This is Baller

There was a time when I worked for a company that ran the cafeteria for the residents students at local university. Amongst poor hygiene, subpar food, and dangerously apathetic management; follow through was a big problem. I don’t want to get sued, so I won’t say anything specific, but if you take a look down at the sources in footer, I linked to reviews, and a news report about the company. It speaks for itself.

Anyway, I bring this up for a specific reason. One day our nutritionist came up to me, put her hands out and asked me to smell. Me being up for an adventure, complied. They smelled sweet, complex, and wonderful. ‘Basil’ she said. ‘I just pruned some Basil from our herb garden, so now we have a lot of it, and we need to find a recipe, do you have any ideas?’

I remember that being the first time I had been asked for my advice for something to put on the menu. I was so excited! I said the first thing that came to my head ‘fruit salad, with melons.’ She thought about it, and said ‘yes!’ she then continued to pull all the management and chefs aside to let them know about my idea, and how it had to get made, and to make sure I got to do it. It felt really awesome, but it never happened.

I have wondered about how I would have made that fruit salad a few times since then, so I figured instead of just thinking about it, I’d actually do it!

We are approaching July, and with BBQ season roaring, I figured this might the perfect side dish. The kind people don’t see often, but instantly love.

So here is what we are going to need:

Infused Vinegar

  • 2T of Dried sweet Basil
  • 7G of Fresh Basil
  • 3 points from a Star Anis
  • 1C white Vinegar
  • 1C Apple Cider Vinegar

Dressing for Salad:

  • 1/3C Infused Vinegar
  • 4T Maple Syrup
  • 2T Extra Virgin Olive Oil
  • 1t Sesame Seeds
  • 4 Basil Leafs

Melon Ball Salad:

  • 1/2 Watermelon
  • 1/2  Honeydew Melon, Seeded

For this recipe we are making an infused vinegar. You can use this recipe with any dried or fresh herb mixture. The recipe shows you how to make two cups, though you won’t need that much. This vinegar will keep indefinitely, and has a lot of great future applications. The other great think about this, is it’s a great way to use up herbs that are starting to wilt. You will need more of the wilted herbs to get the same effect, but at least you’re not throwing them away. The final product was a little too strong for me, so next time make this, I will cut the quantity of dried basil in half.

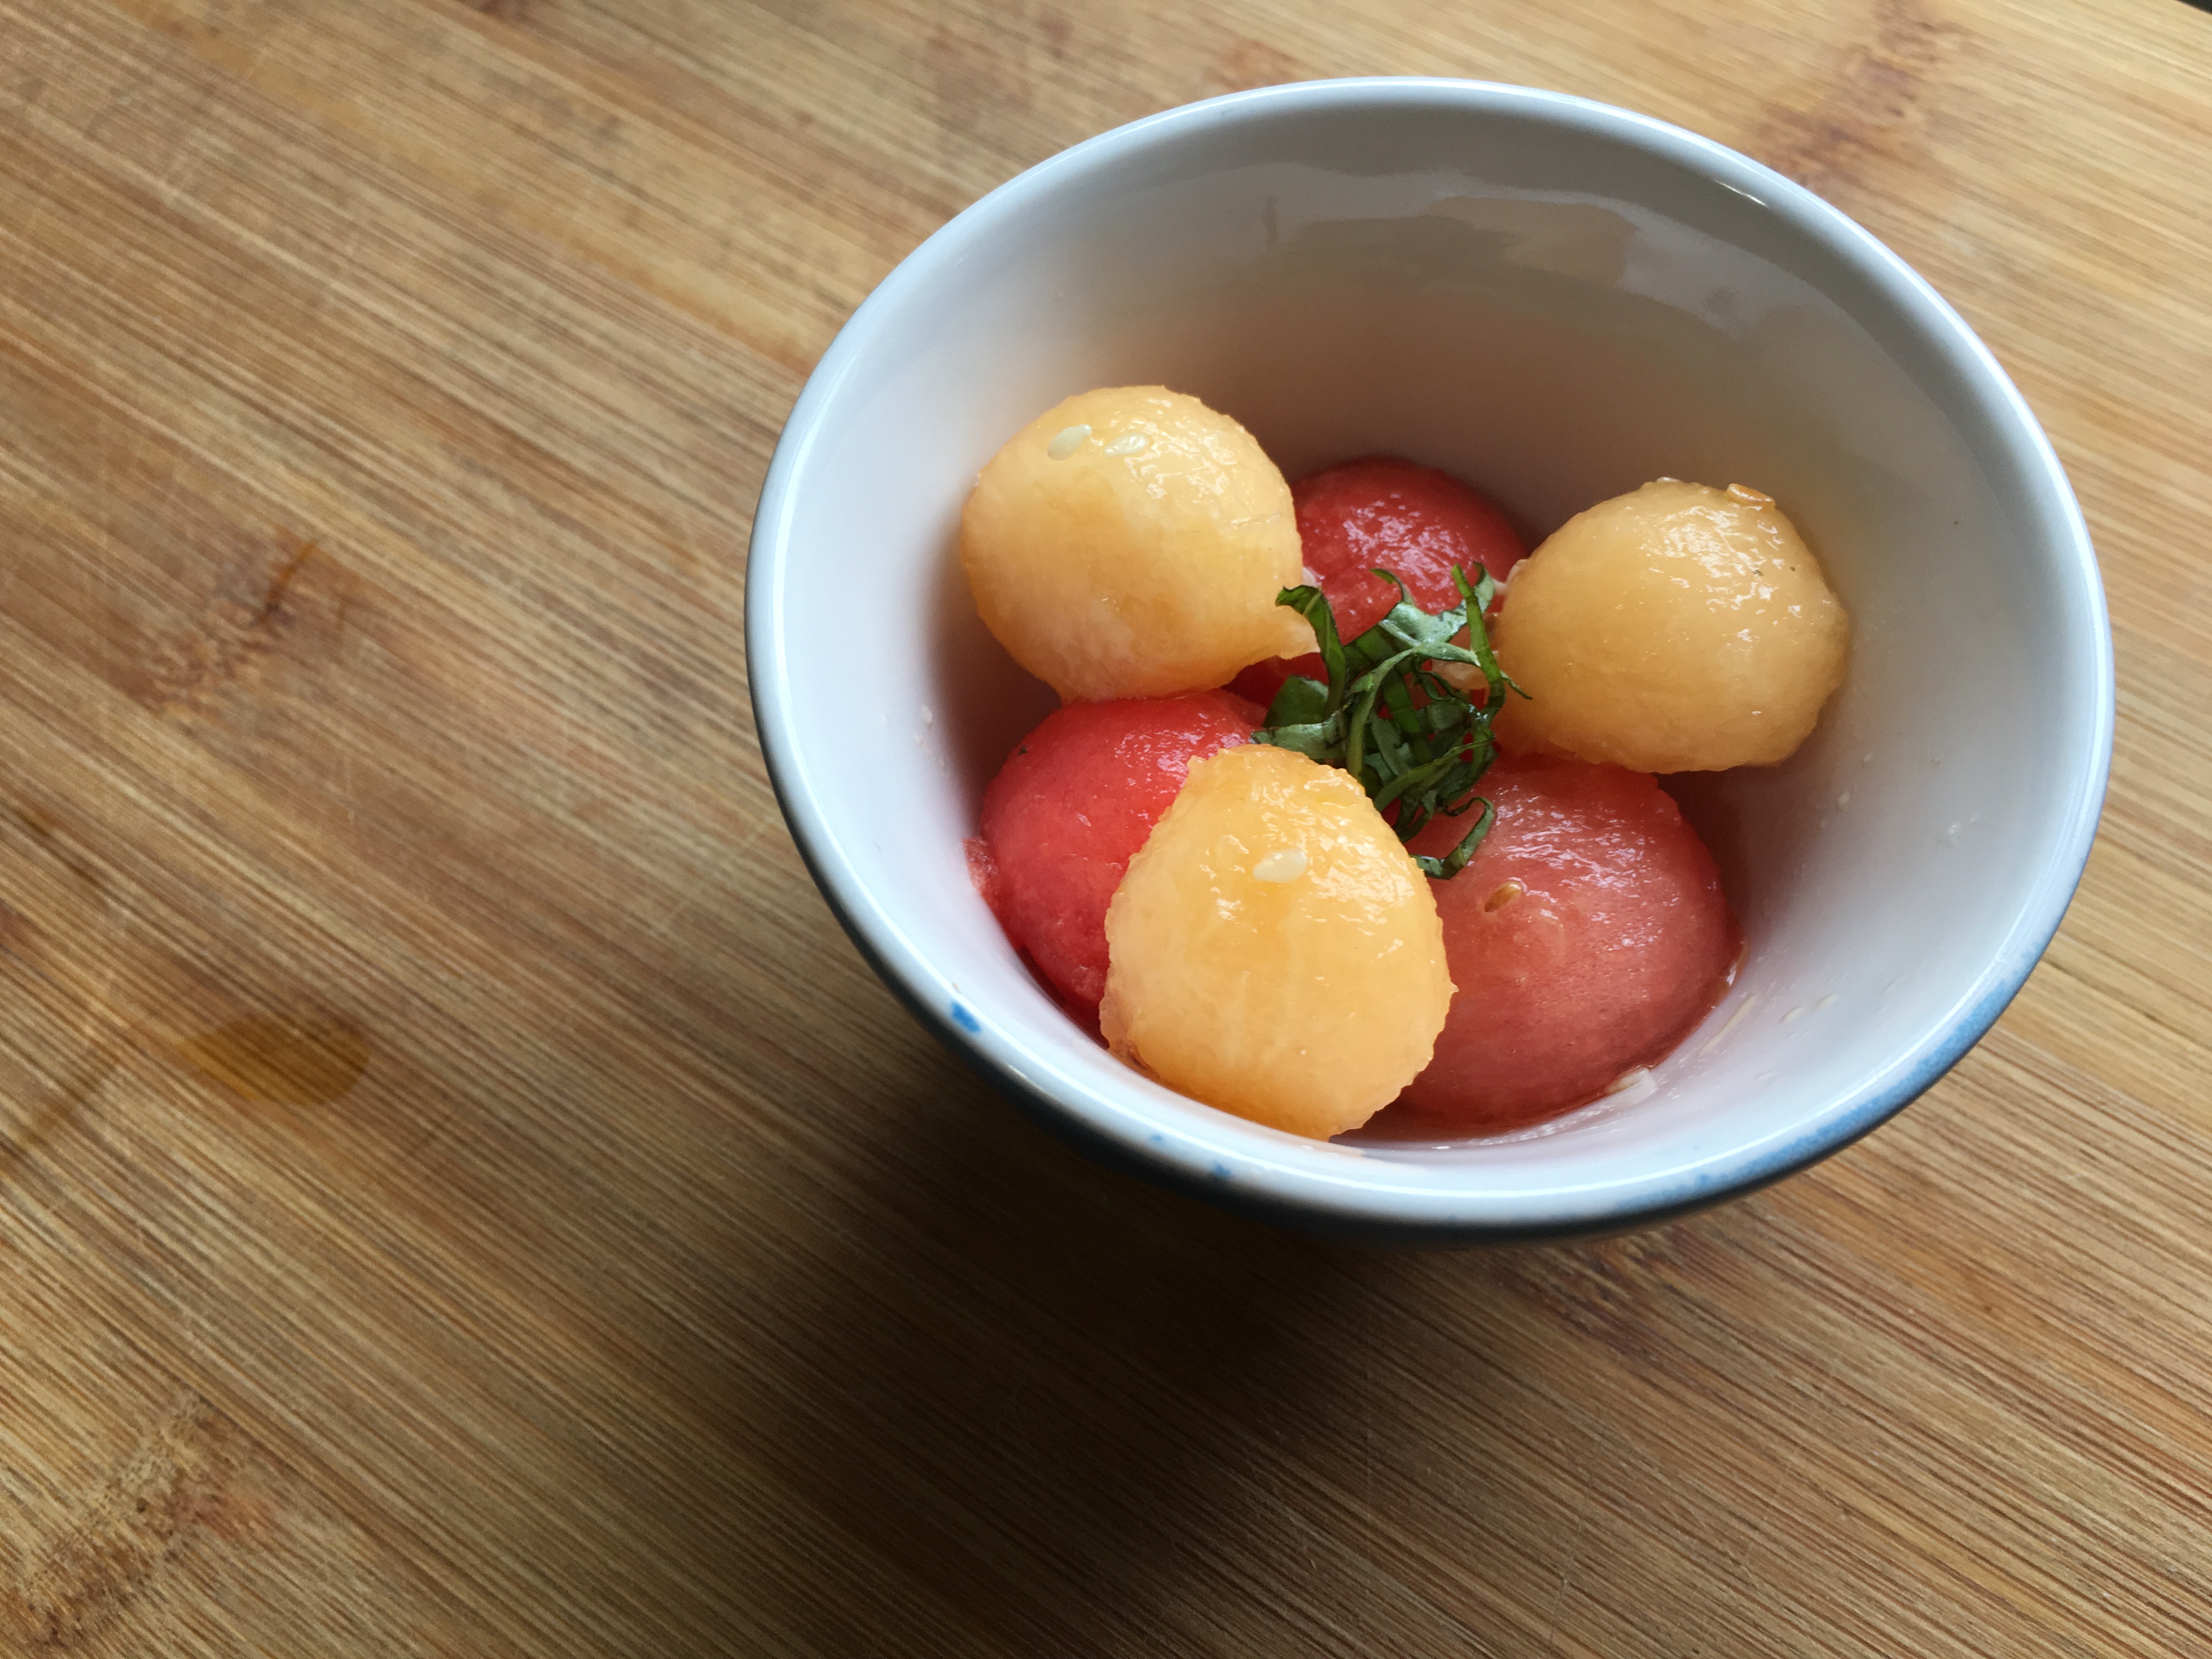
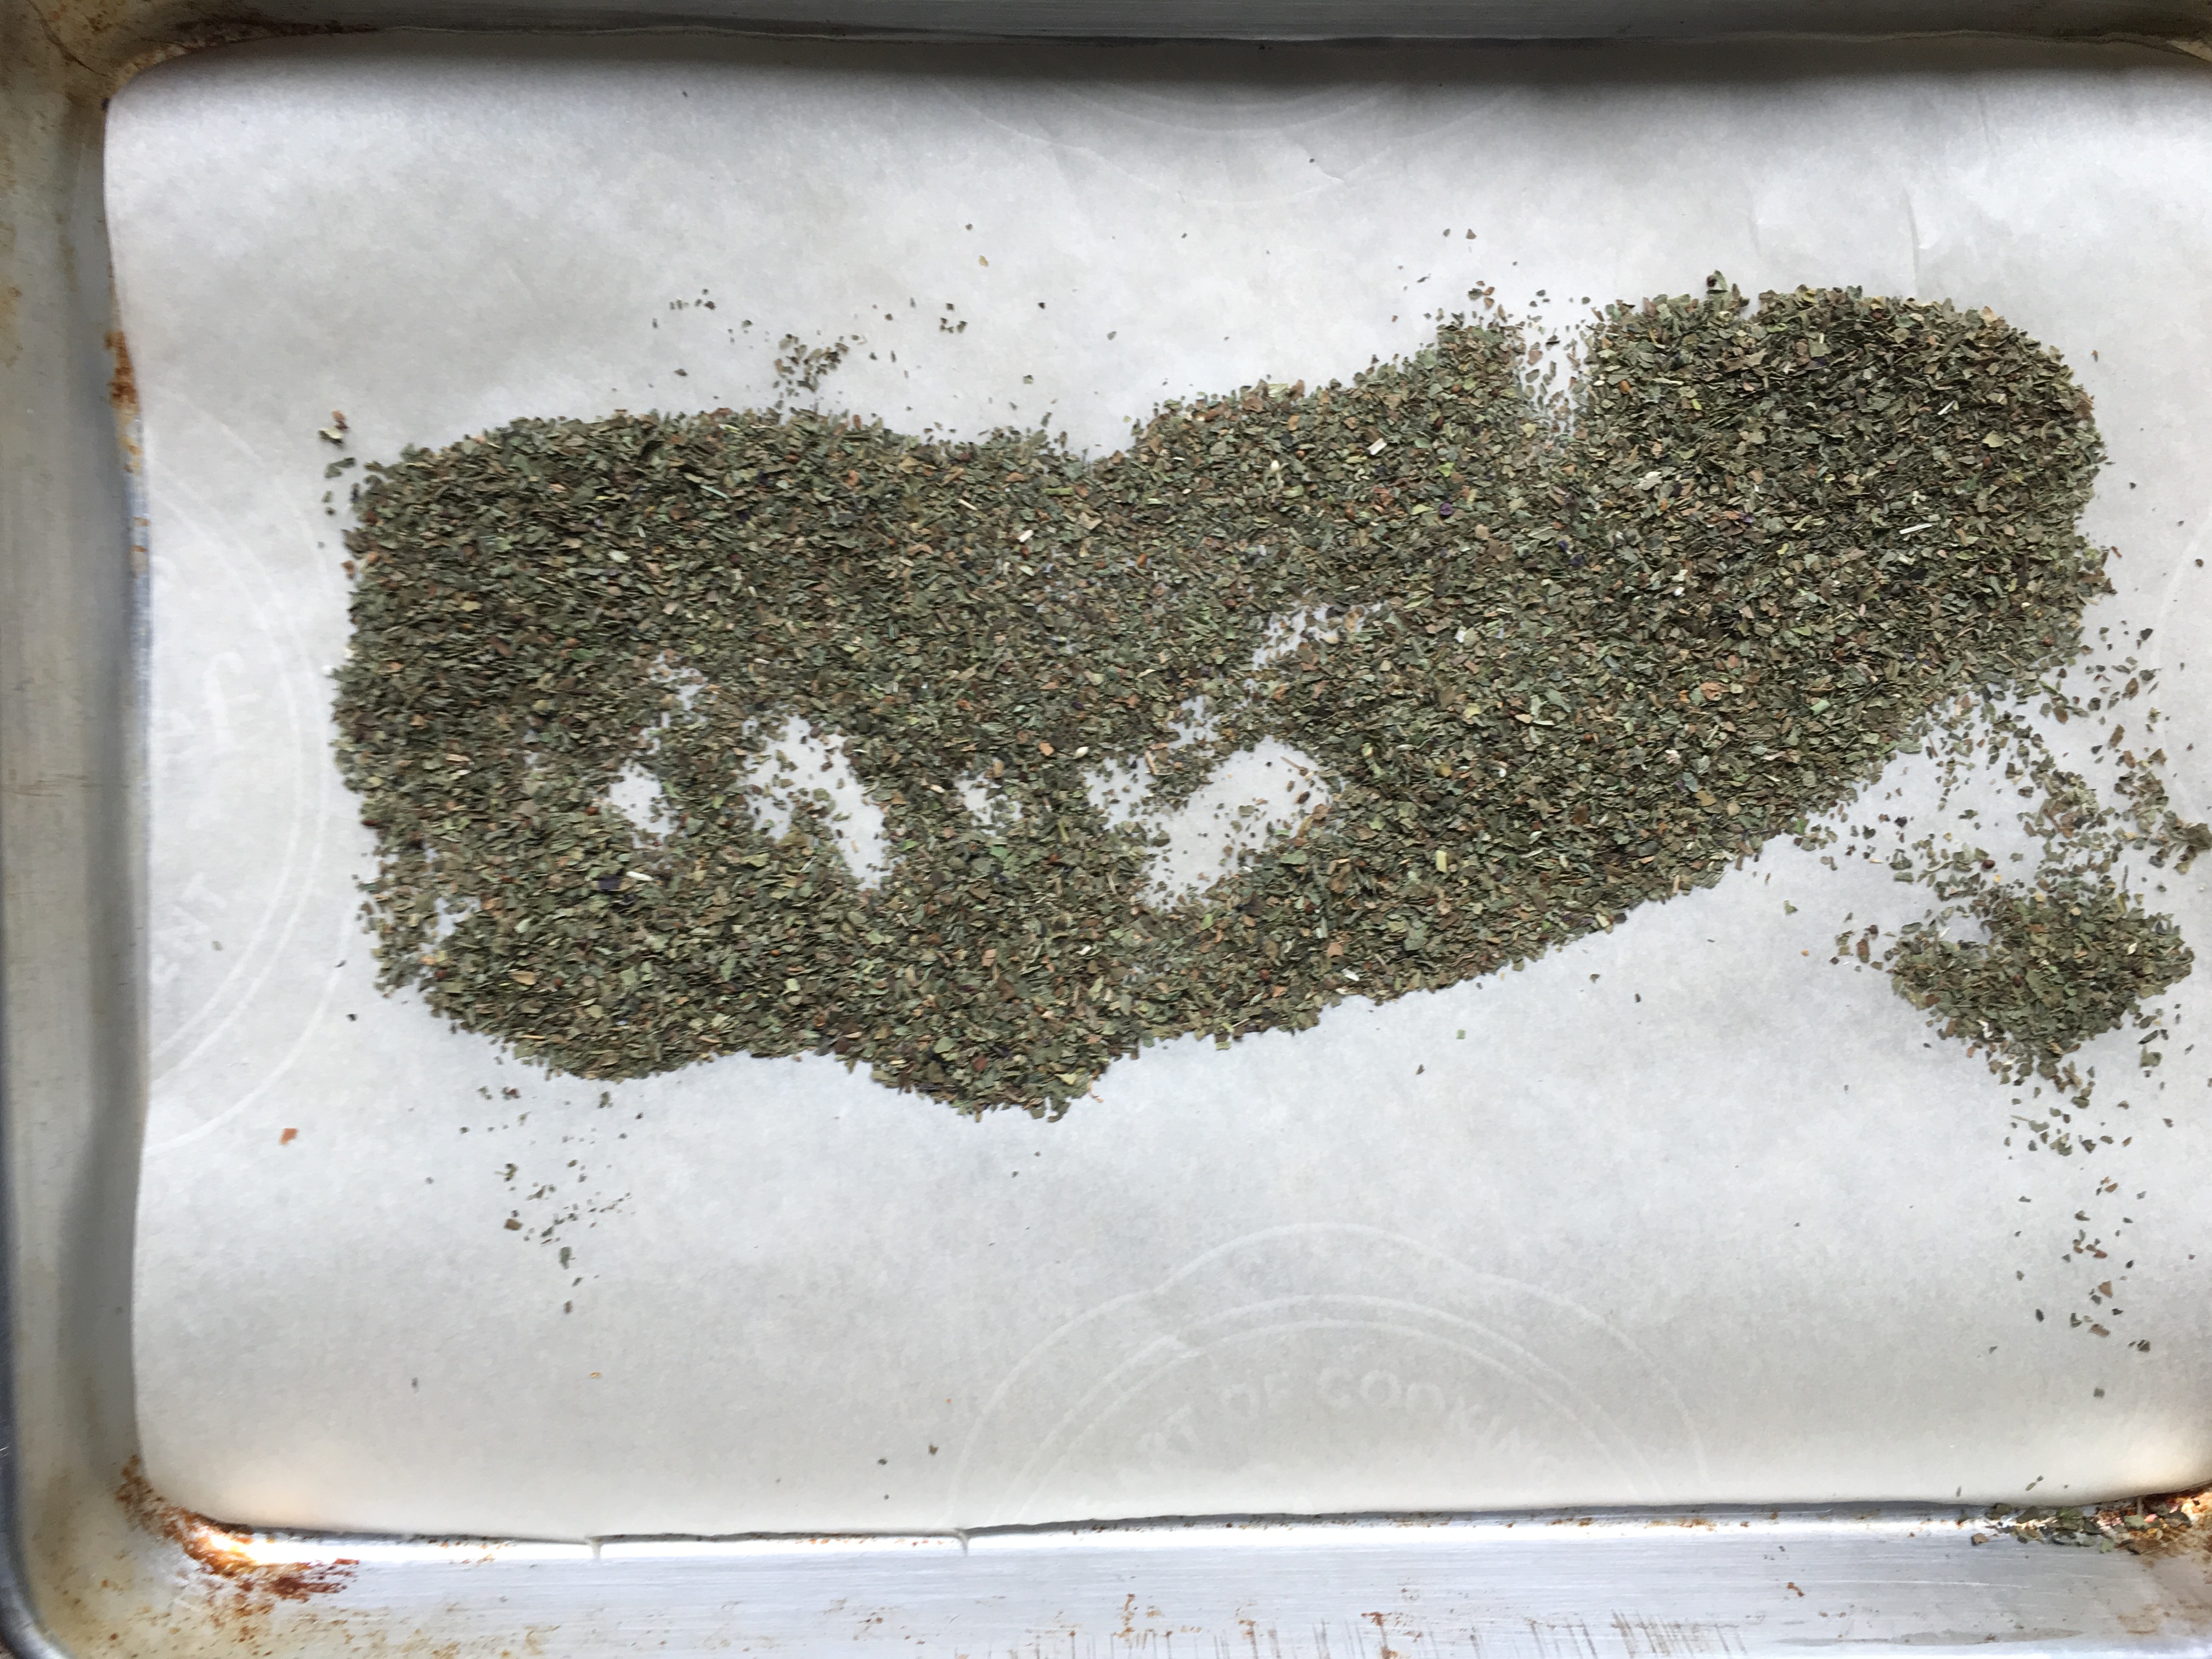
  1. Put your dried basil in a 325 degree convection oven (or 350 non convection)  on a parchment lined baking sheet for 30 minutes, or until Basil becomes fragrant.
  2. Once basil is out of the oven, place the dried basil, and Star Anis tips into a pot with both of your vinegars.
  3. Put your pot on medium low heat, and using a thermometer, bring the vinegar up to 130 degrees.
  4. Put the fresh basil in a bowl or Tupperware, then poor the vinegar mixture on top. Once the vinegar has cooled, put a lid on the bowl/Tupperware and place into the fridge for at least 18 hours, or up to 36 hours.
  5. Strain mixture into clean storage container, and discard all herbs.
  6. Store in the fridge until needed.

Next we have to make the dressing. The final product is a bit tart, which is perfect because its going on top of very sweet melons, so it balances out nicely.

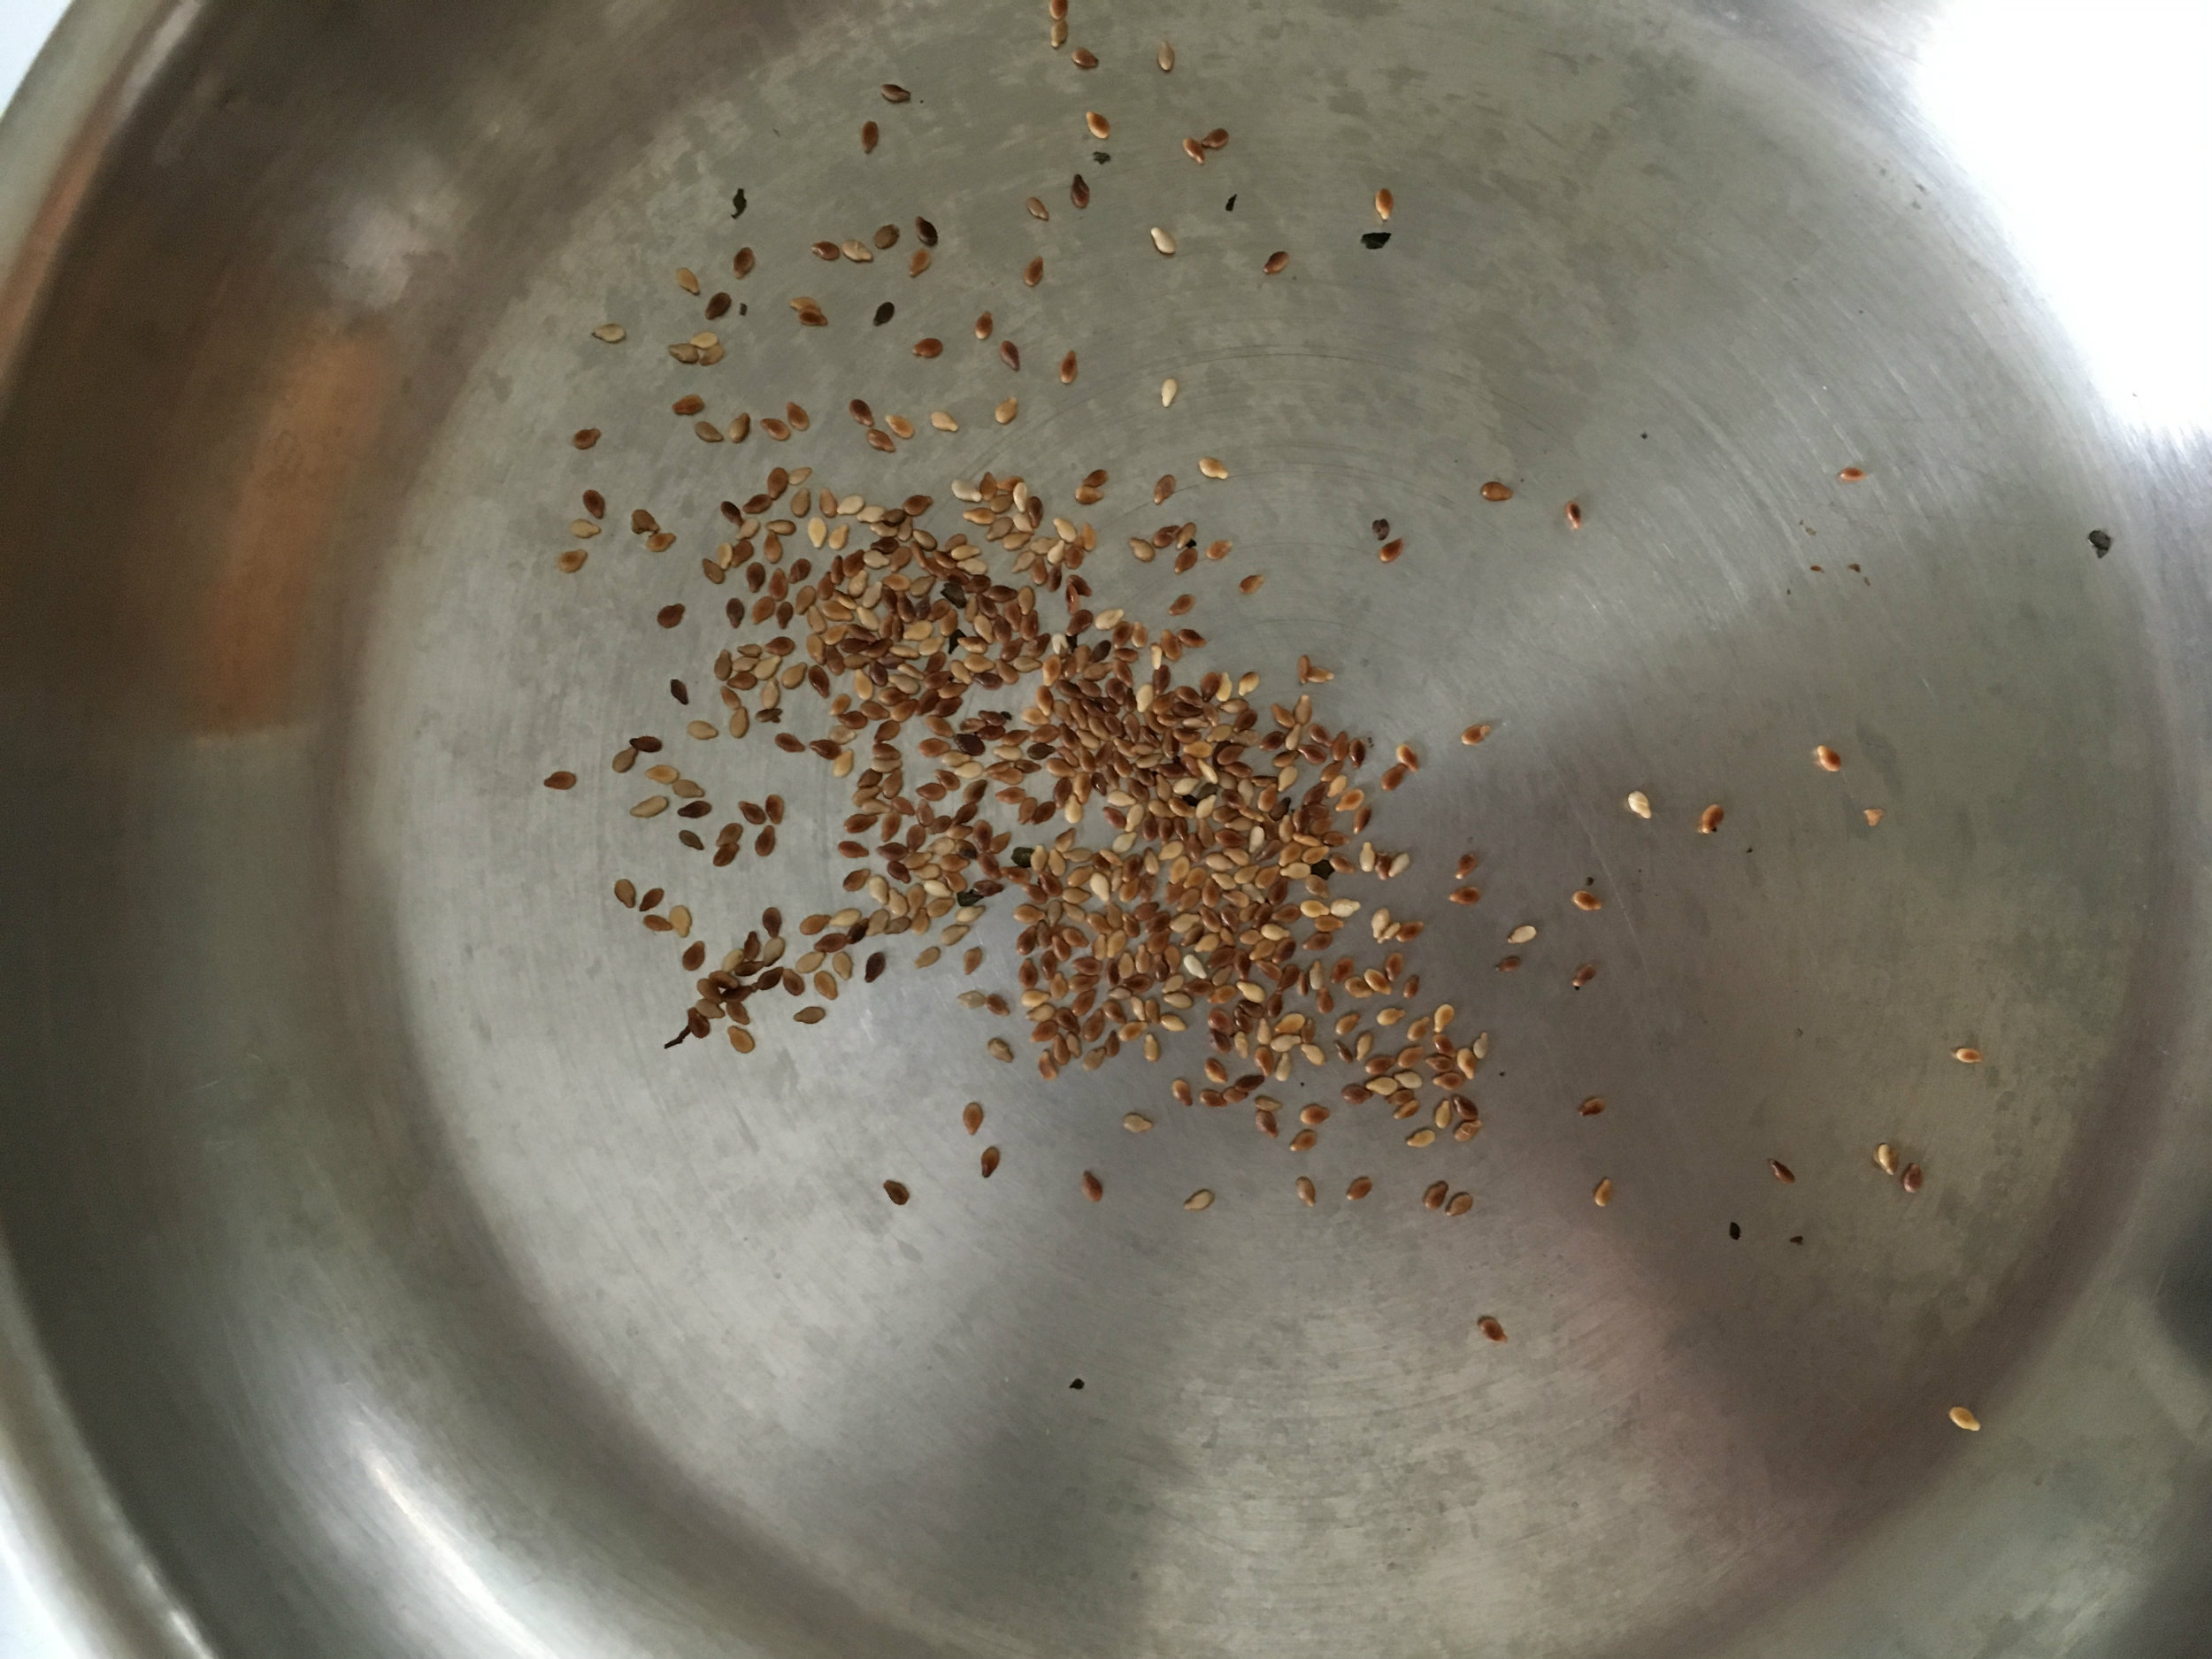
  1. Put half of the Sesame seeds in a dry frying pan set to medium high heat.
  2. Occasionally move them around until they turn a nice dark brown, then remove from the heat and set aside.
  3. Whisk together the Vinegar and Maple Syrup, then slowly add the Olive Oil.
  4. Mix in the both the toasted and non toasted Sesame seeds.

Finally the final product:

  1. Roll the Basil into a roll, and thinly slice them into a chiffonade.
  2. Using a mellon baller, ball the the Watermelon and Honeydew and put the balled mellon chunks into a bowl.
  3. Drizzle the dressing on top of Melon Balls, and then portion into serving bowels, garnish with Basil and Kosher Salt.
  4. Take a fancy photo, and post it to Instagram with the hashtag #foryourfoulmouth
Sources:
Company That ran the Dinning servines https://www.youtube.com/watch?v=eE85sJLSeSQ
Google Reviews: https://goo.gl/MLWLeU

Start Giving A Scrap!

We’ve all been there; we get the bill for our groceries and ask ourselves, where does it all go? The food looks so good and bountiful when we put it in the cart, but somehow it never seems like enough.

The fact is, we don’t use as much of it as we could.

Here are some stats that may baffle you

In the U.S.:

  • 40% of food is wasted
  • 90% of food is thrown away too soon
  • 20% of the food we buy never gets eaten

And this isn’t just a problem in the U.S., in my home country of Canada:

  • $31 billion of food annually wasted
  • 47% of that is from consumers

So, while I’m hardly ready to pull out my guitar and starting singing kumbaya, preach extremes like backyard composting, or the 100 mile diet. I am going to start posting more recipes made from parts of the food you wouldn’t think to keep. Also, I’m going to start indicating ‘scraps’ that should be kept for future recipes.

The first of these recipes is an important one, vegetable stock. There have been a few recipes that called for it that I wanted to post, but decided not to. The reason for this is I knew I was going to write this post eventually, and it would be redundant if I already had another recipe up with the steps for veg stock in it.

So the way I make my veg stock, it cost me next to nothing. The reason for this is whenever I cut green onions, onions, celery, carrots, garlic, or chives, I always put the cut away into a plastic bag in my freezer. Likewise, when the stock is done, I pour it into ice cube  trays, freeze it, then store the cubes in zip lock bags.

That being said, I use these cubes all the time. Just about any savoury recipe that calls for water, can often be replaced with stock for a much better result.

Ingredients:

  • Onions (Scraps or whole with skin and roots)
  • Carrots (Scraps or whole with whole with leaves)
  • Celery (Scraps or whole with leaves)
  • Water
  1. As mentioned above, I keep a bag in my freezer, and whenever I cut Onions, Celery or Carrots I put the scraps in the bag. I’ll also put in Garlic, Green Onions and Chive scraps but it isn’t necessary. As a general rule, you want the veg mixture to be a Onion, Celery and Carrot mixture of 2:1:1. So if you don’t have enough scraps for one of the veg, simply roughly chop up a fresh veg to make up the difference.
  2. Put vegetables in a big stock pot, and fill pot with water until it covers the veg.
  3. Bring stock pot up to a boil, then reduce heat to a simmer.
  4. Let the water simmer until vegetables are fork tender.
  5. Strain out liquid into a bowl, and let cool. Discard Vegetable remains.
  6. Pour veg stock into ice cube trays and freeze.
  7. Transfer each cube of Vegetable stock into a plastic bag and store in the freezer.
  8. Make something awesome with the Vegetable stock. Each cube is approximately 1 Fl oz (or two table spoons).
  9. Take a fancy photo, and post it to Instagram with the hashtag #foryourfoulmouth
Sources:
http://www.secondharvest.ca/hunger-facts
https://www.savethefood.com/

American Pie

Supposedly American soldiers overseas were once asked about why they were fighting, “Mom and apple pie,” they answered.
Apple pie is a universal symbol for americana. In fact, when you want to say something has reached the pinnacle of its American-ness, you say “it’s as American as apple pie.” With Independence Day coming up, I was really excited to learn about the classic traditions and folklore around this American icon. What I learned, is Apple pie pre-dates the U.S.!
The first recorded recipe was in a British cookbook written in 1381. The U.S. was only founded in 1776, which means apple pie is at least 395 years older. Most of the articles I have looked up really like to hammer this point and call out the beloved dish for not really being American. I say, if anything, the history of this flakey crust shelled fruit filled pasty makes it possibly the most American food in history!

Let’s look at some facts:

One, the original recipe called for apples, figs, raisins, saffron, and pears. Hardly what you think of when you think apple pie. I could only imagine with all those strong flavours, apples probably take a back seat.

Two, this apple Pie most likely had a ‘coffin’ opposed to a crust. Which wasn’t generally editable. They were usually used to preserve the filling.

Three, there was no added sugar! Sugar was an expensive spice at the time. Hardly what I call an apple pie. The irony of a recipe calling for saffron, but leaving out sugar because it’s too expensive is not lost on me…

Apple pie was something settlers had to leave behind when they came to the new world. They didn’t just come to America, and start baking pies! Apples didn’t grow here, it wasn’t until apple trees, and bees to pollinate them were imported before Apples were a viable product.

Even then, apples weren’t abundant enough for the average person to make pie, most of them were used as a hard cider. All that changed when a young entrepreneur named John Chapman (a.k.a., Johnny Appleseed) started planting apple trees on his properties. His business model was to maintain the tree so he could later sell the land for a profit. This actually made apples a supplyable item. Between all that and prohibition eliminating the market for hard cider, the American people were finally able to make apple pies. The pies American made were likely influenced the pie they knew from England, and Dutch and Italian recipes that had similar crust to what we know today.

So how, you might ask, does all this make it the ‘the most American food in history’? Well, it came to America from England where it had a less than ideal situation, but through hard work and entrepreneurship, and the influence of other great traditions it was able to survive and make itself something better than it was. Now tell me, isn’t that the American dream? I’d say it’s as American as… well you know!

Source:
  • http://www.todayifoundout.com/index.php/2013/07/apple-pie-isnt-really-american/
  • https://en.m.wikipedia.org/wiki/Apple_pie
  • https://travelmamas.com/where-was-apple-pie-invented/
  • http://toriavey.com/history-kitchen/2011/07/the-history-of-pie-in-america-2/
  • https://en.m.wikipedia.org/wiki/Apple_pie
  • Photo Source: https://static1.squarespace.com/static/52d95db6e4b01b5207edf127/t/5593076ce4b0a81b267d6396/1435699077889/