Gourmet used to mean something was made with care, and with the highest standards. Something weird has happened; it’s changed over the last little while. It now means mediocre food with boat loads of lifeless processed toppings and ingredients. So while having a paragraph of 20 items listed under a menu item might feel like you’re getting a bang for your buck, I ask an important question: Since when did more start meaning better?
No one would say “more aids, that’s better!” or even something that is generally considered good in a culinary sense, like salt. We never associate ‘an abundance of salt’ with being positive!
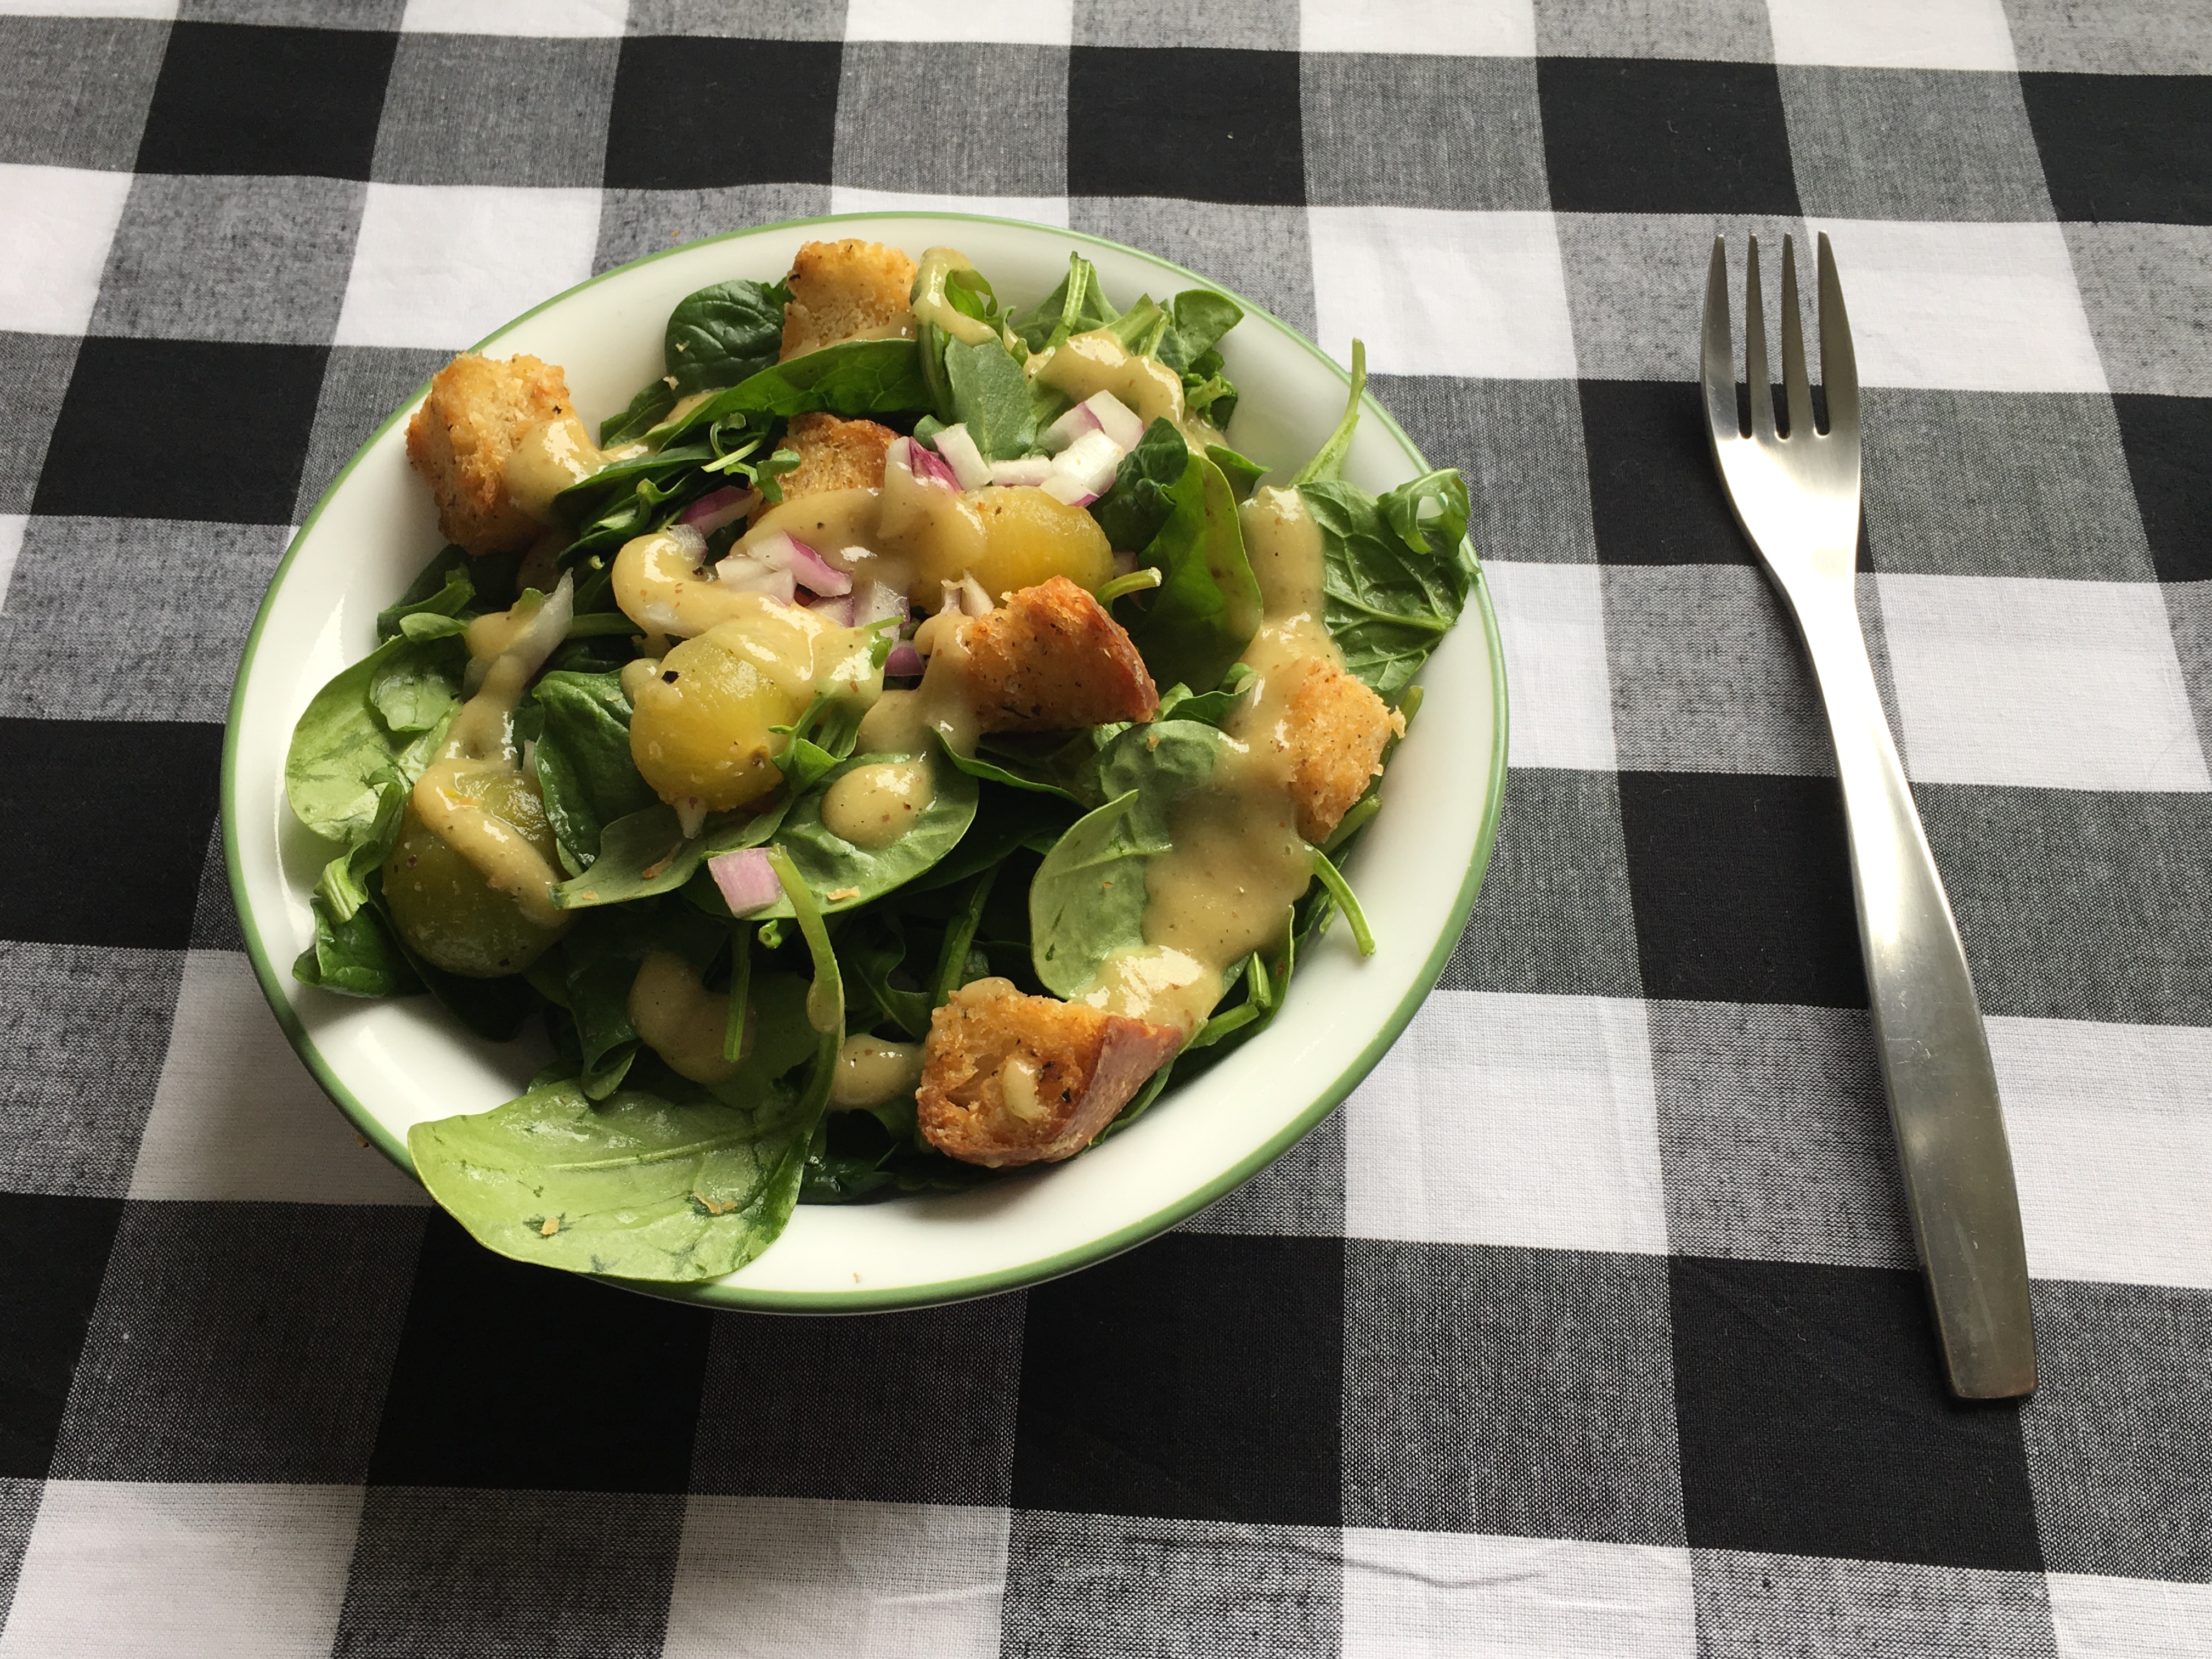
So while I couldn’t care less if food is “gourmet,” I do care that it’s flavourful and delicious. I believe something as simple as a salad can become amazing with only a handful of ingredients, properly prepared and picked for the flavour, texture and general contribution to the overall dish. It’s more “haute-cuisine” than anything you’d see in a “gourmet” eatery.
While the mise en place for this may look a little long for a salad, there are only 5 components.
Greens, garlic parm sourdough croutons, marinated Heirloom tomatoes, red onions and white balsamic vinaigrette.
Imagine seeing that on a menu. Doesn’t it just give you the imagery of crunchy croutons and spinach that just compliments the softness of other ingredients? The sweetness, bitterness, and tanginess from the onions, mixed greens, and vinaigrette mixing with the explosion of flavour that skinless marinated tomatoes will give you?
Give it a try! Mother’s Day is soon, and I’m sure your mom will love this. I know mine will! Let me know what both of you think!
Peeled Marinated Heirloom Tomatoes
- 1 Pint Cherry Heirloom Tomatos
- 7 Grams Fresh Basil
- 1 Lemon
- 1 teaspoon Salt
- 1/2 teaspoon Pepper
- 5 teaspoon of diced sweet onions
- 1 Cup Extra Virgin Olive Oil
White Balsamic Vinaigrette:
- Grainy Dijon mustard
- 1 Large Sweet Onion
- 3 cloves garlic whole, skin removed.
- 1 Tablespoon Grainy Mustard
- 3/4 Cup Strained Marinade from Tomatoes
- 3/4 Cup Canola
- 2 Basil Leafs
- 1/2 Cup White Balsamic Vinegar
Sour Dough Croutons:
- Slice of Sough dough Bread (Mine was 116g)
- 2 Tablespoons Canola Oil
- 11g Parmesan (freshly grated, the stuff in the bottle will not work)
- Salt and Pepper to taste
Final Ingrdients:
- Spinach to taste
- Arugula to taste
- Red onion 3/8″ x 1/2″ to taste
The Marinated Tomatoes are the star of the show here, and being the diva ingredient they are, they need the most alone time, so let’s start with these:
- Wash the heirloom Tomatoes. These things spend most of their life on a truck, in open containers. Would you want to lick someone who spent that much time in the back of a truck? Exactly, wash them!
 Cut little crosses on the bottom of each Tomato. Do your best to cut the skin, and not into the flesh of your tomato. A Pearing knife, or small serrated knife will work well.
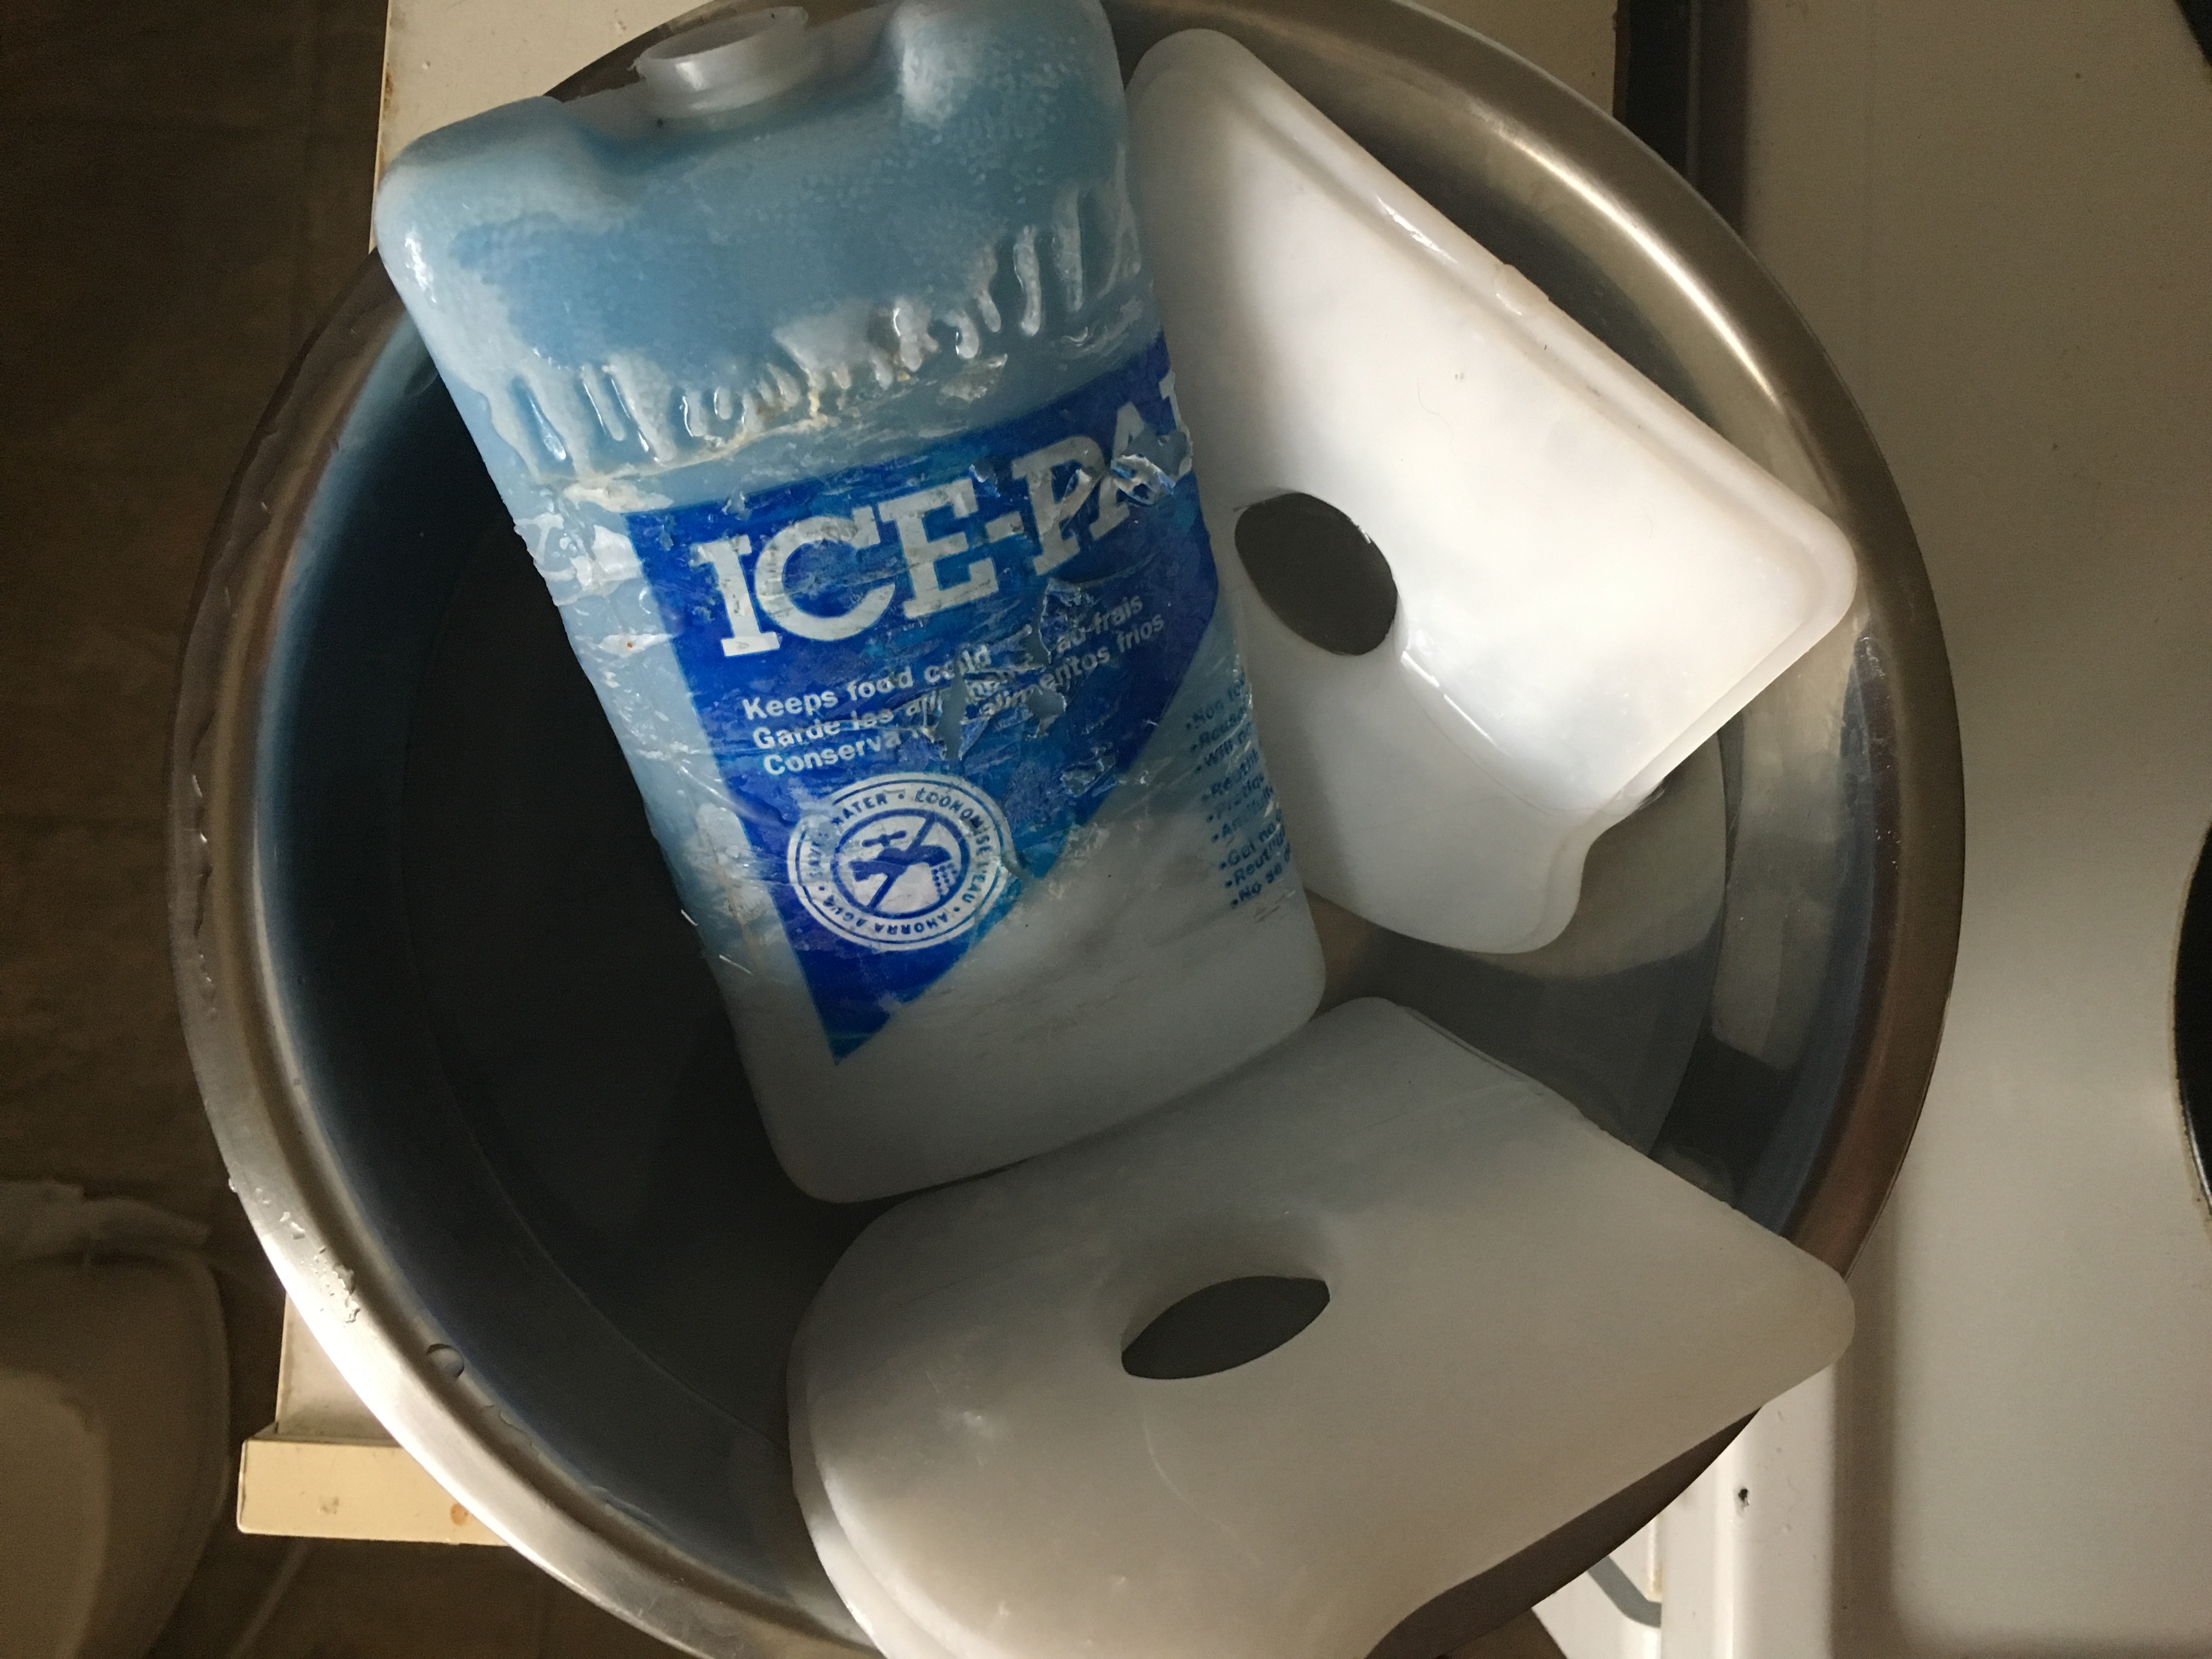 Fill up a big bowl with ice water. I didn’t have ice, so I used ice packs, which worked well.
- Bring a big pot o’water to a boil, then put your Tomatoes in the pot.
- Using a slotted spoon, move the Tomatoes around until you see the skin near the ‘cross cuts’ starting to peel away. Quickly take the Tomatoes out of the boiling water, and place them into the ice water. The whole process should take about 30 seconds from when you put them in, to when you remove them. We don’t want these Tomatoes to cook, we just want the skin to loosen. The ice water stops the cooking, and shocks the skin.
- After a few minutes of the Tomatoes cooling down, gently peel the skins from each Tomatoe. Discard the skin, and place the ‘naked’ Tomatoes aside.
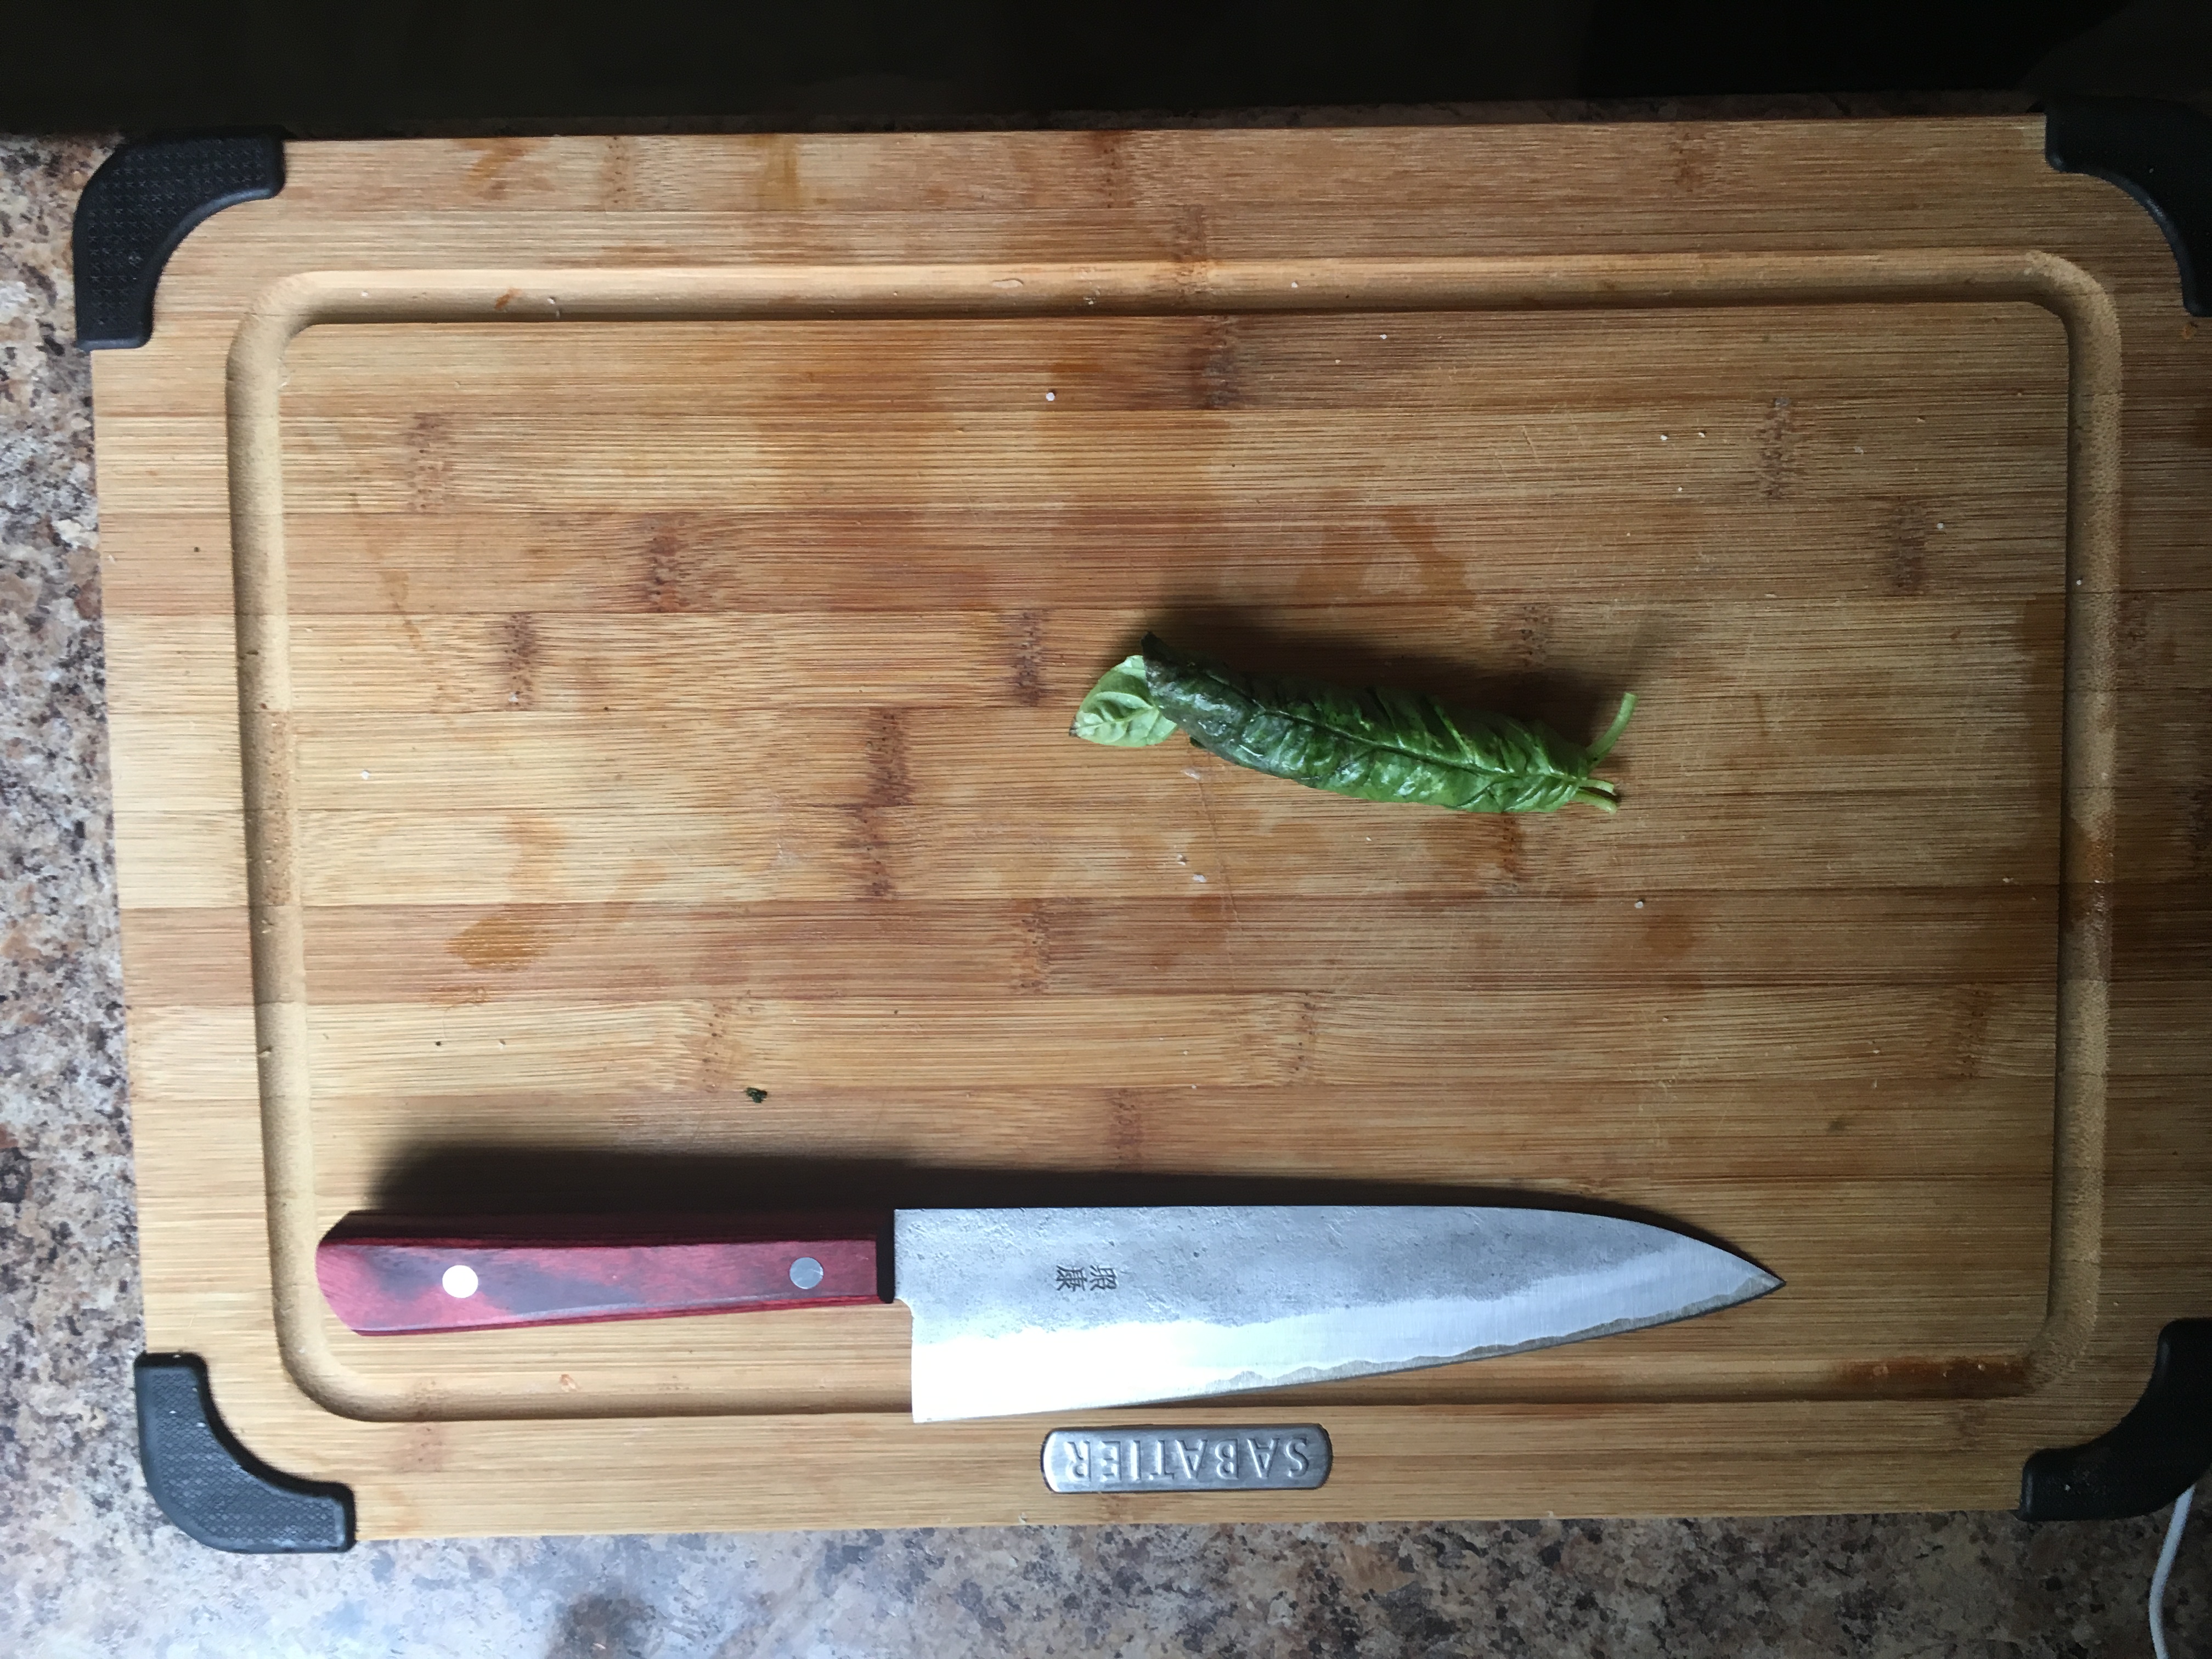 Roll all the Basil together, then cut them as thinly as possible. You should end up with little strips of basil. Place basil into a mixing bowl big enough to hold the Tomatoes.
- Juice the lemon, and Zest half of it. Place both of these items into the same bowl as the Basil.
 Into the same bowl as the Lemon and the Basil, whisk together the Olive Oil, Salt, pepper, and diced Onions.
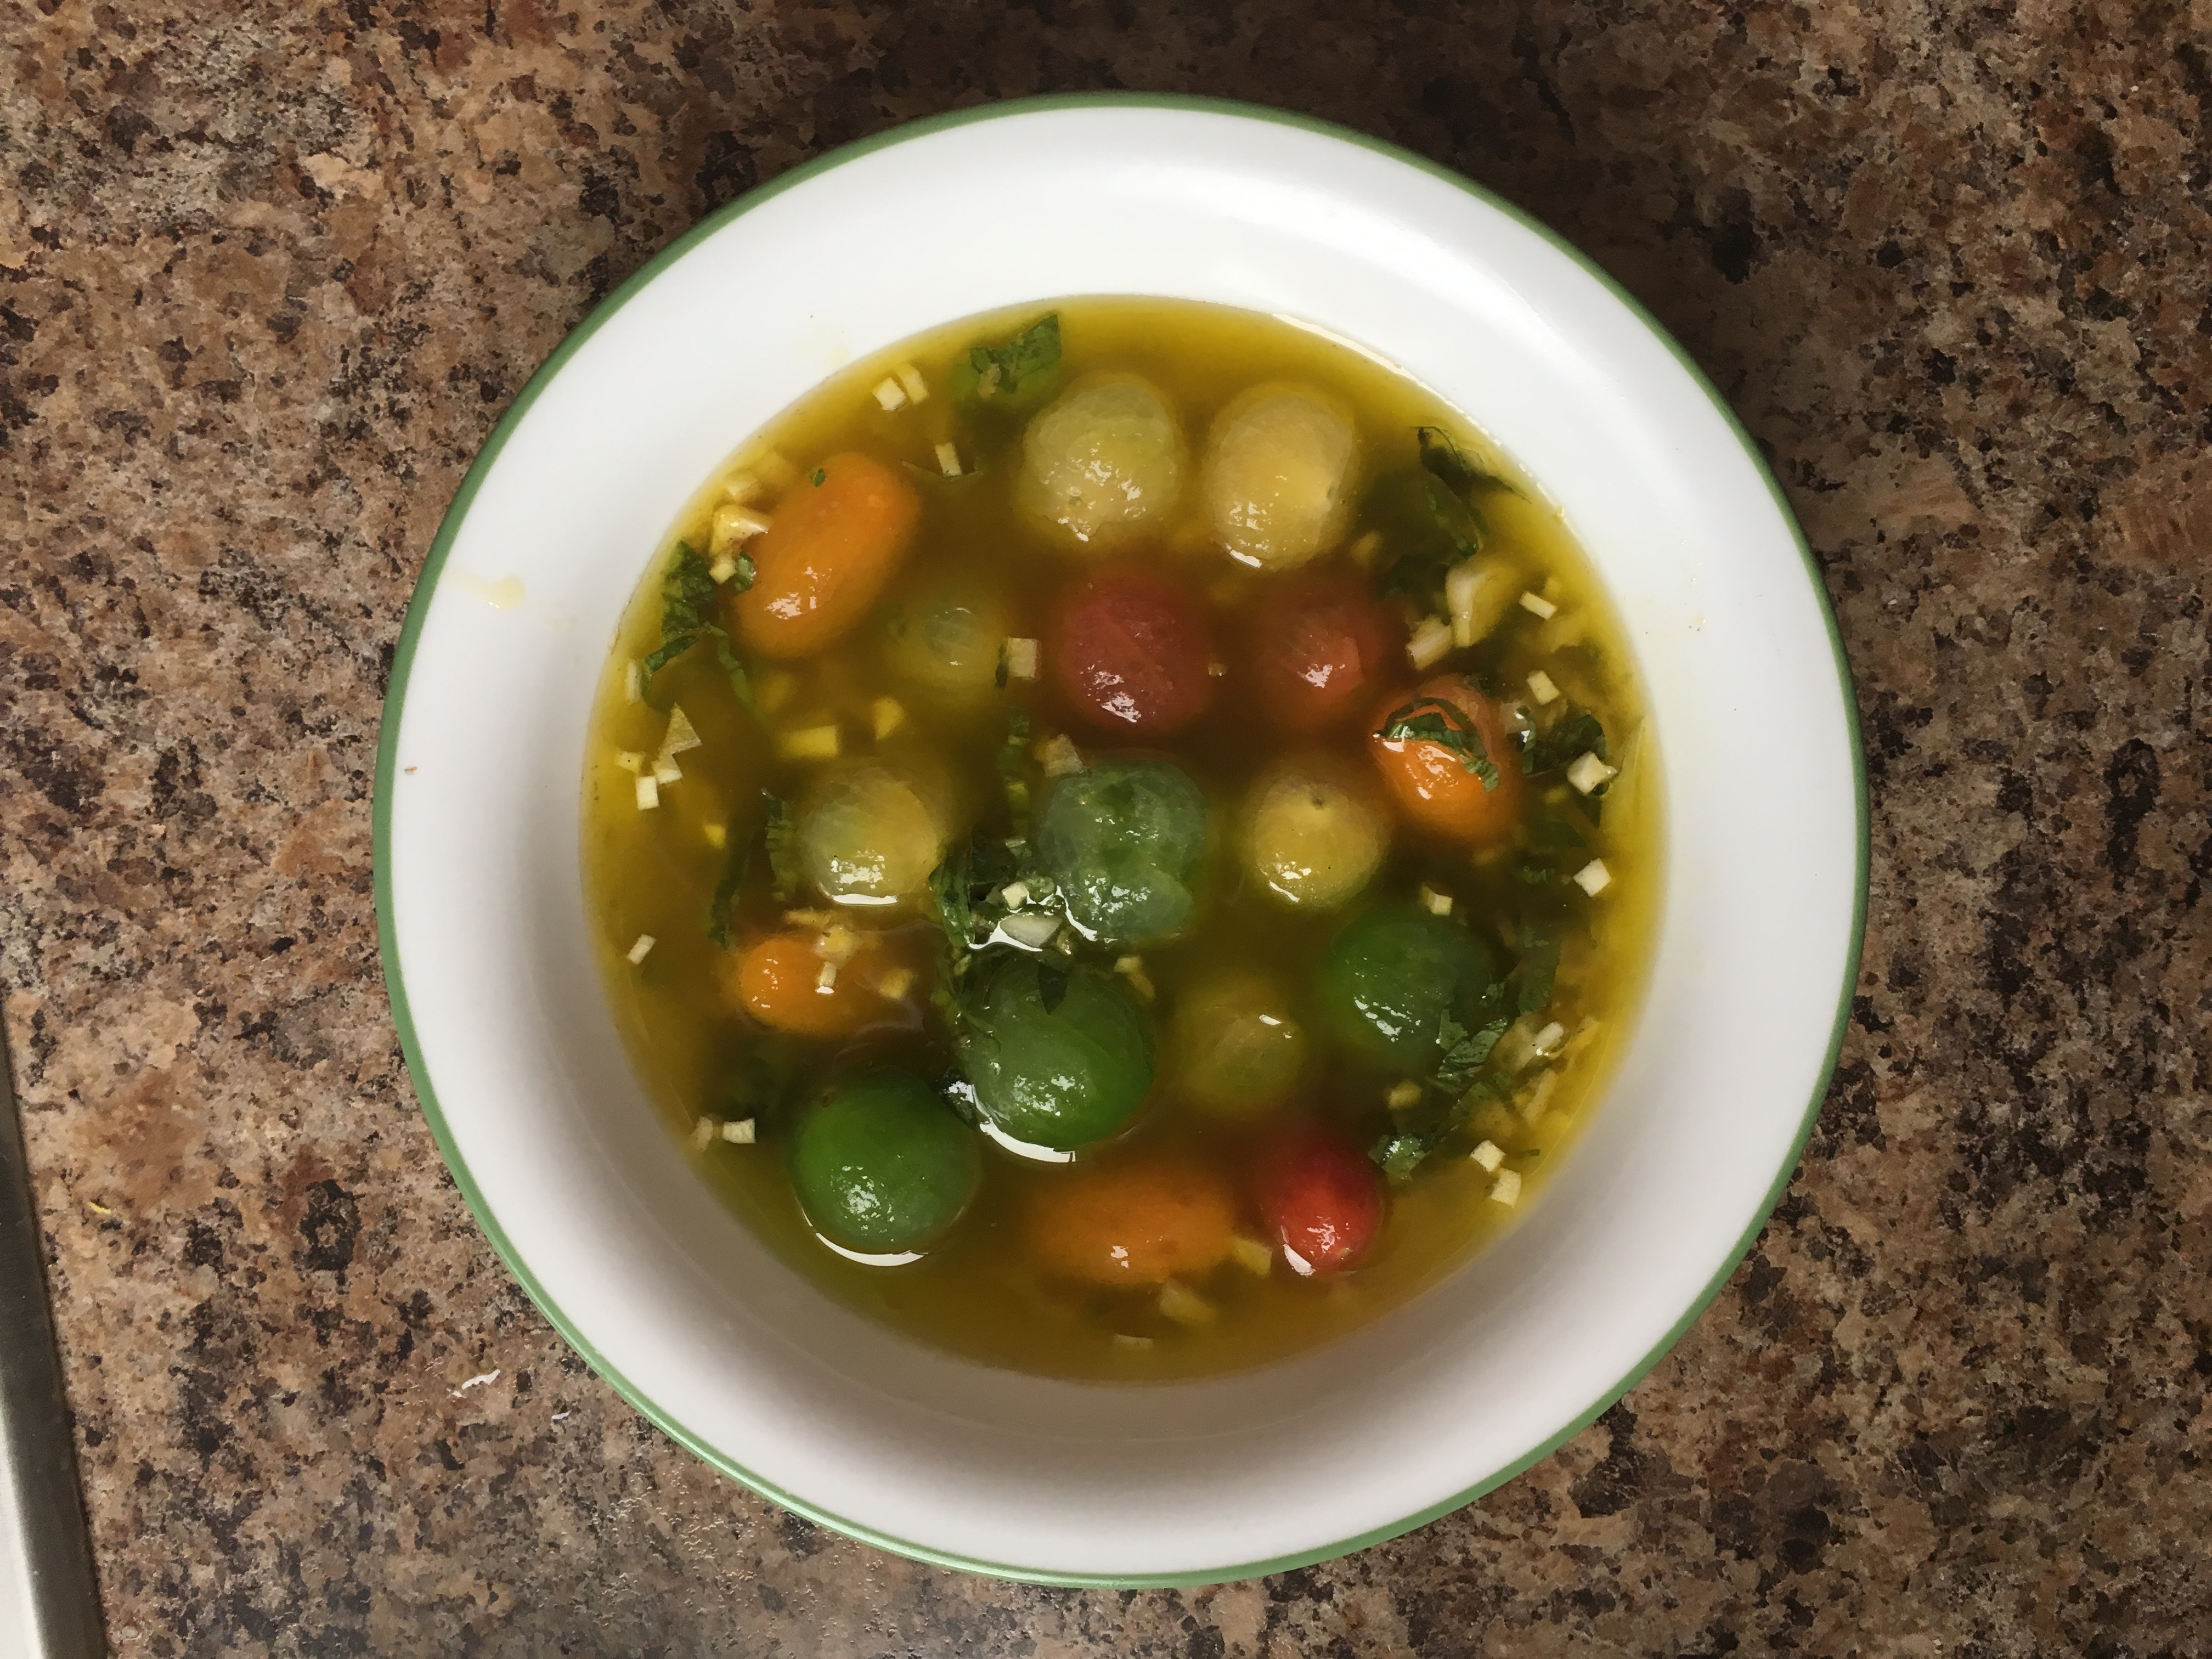
- Place the Naked Tomatoes into the mixing bowl, and gently mix until they are covered. Place in fridge for a minimum of 2 hours, but no longer than 12 hours.
- Remove the Naked Tomatoes from the marinade, and place covered in a clean bowl or Tupperware. Let them sit in the fridge over night. The excess oil will drop off, so you’re left with an end product that isn’t too greasy, and is just perfect. Meanwhile, save the marinade for your White Balsamic Vinaigrette.
Next, let’s work on the Sour Dough Croutons:
- Pre-heat your convection oven to 400 degrees Fahrenheit, or your non-convection oven to 425 degrees Fahrenheit.
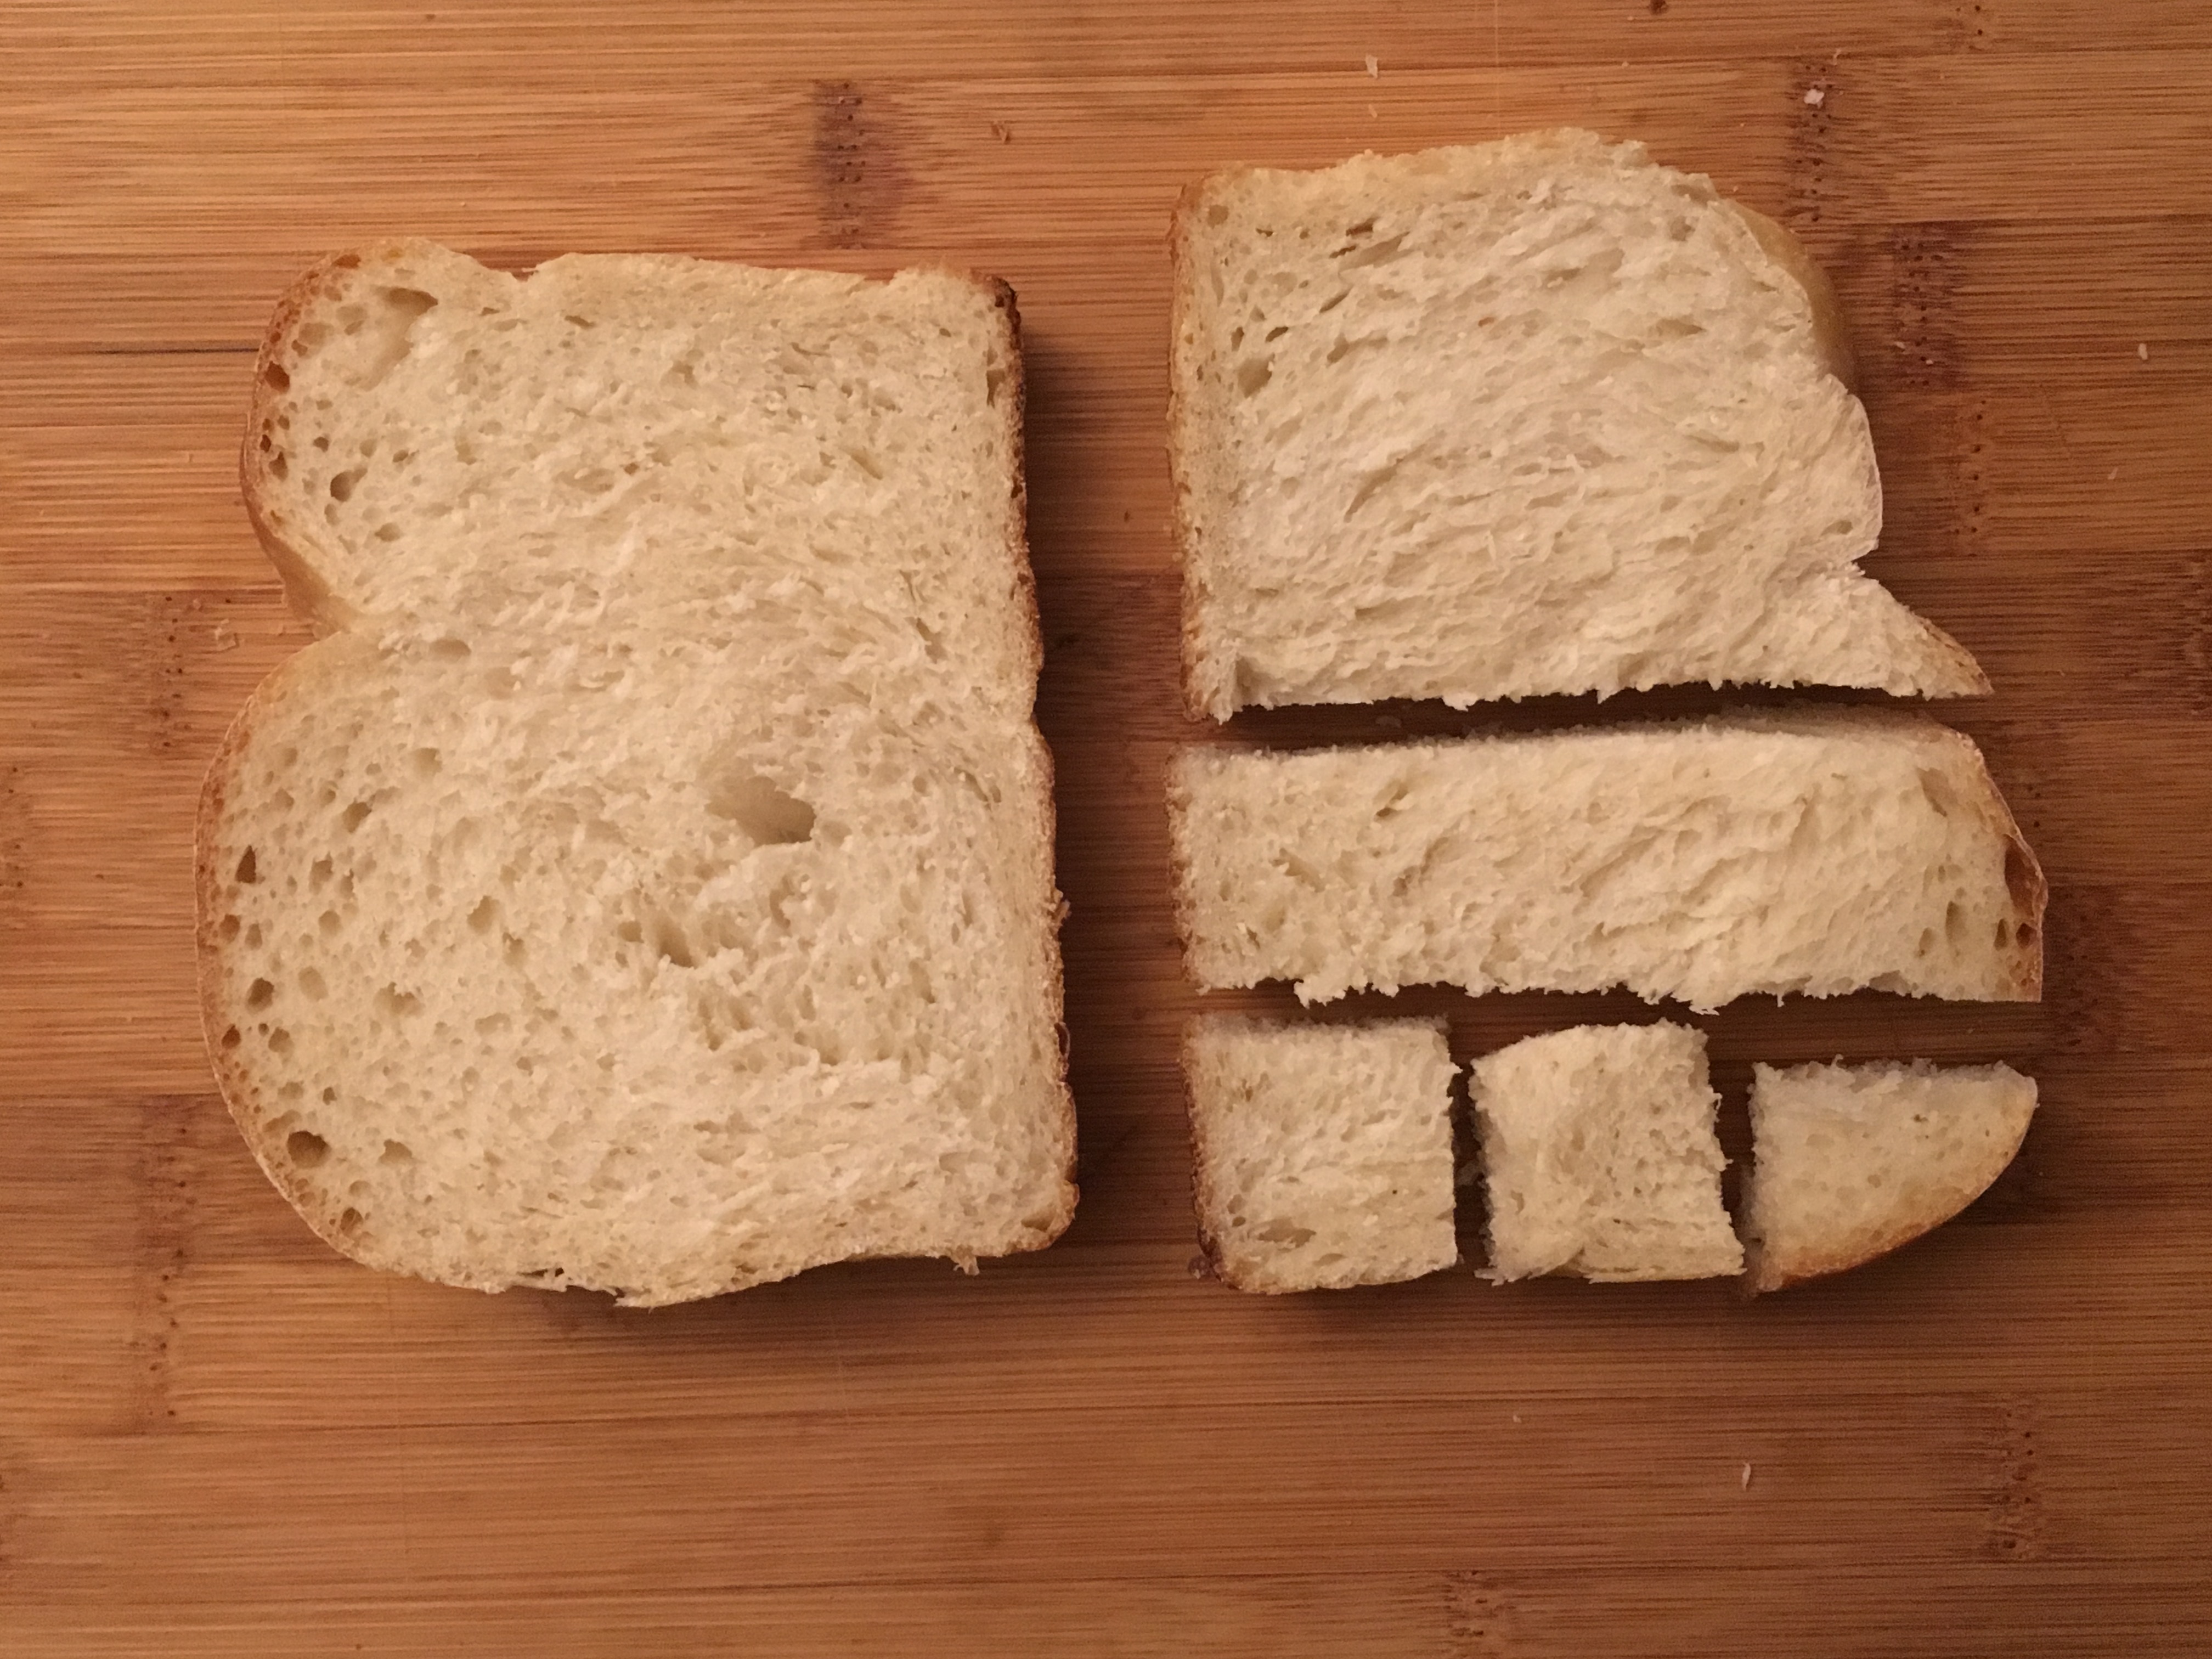 Take some 1/2″ slices of Sough Dough Bread. I used two, and cut them into 1/2″ cubes, then put them into a large mixing bowl.
- Next mix in canola oil, and mix until every price of bread is evenly coated. Next cover with Pepper and mix again, you want beautiful black specks covering the bread evenly.
- Mix in your grated Parmesan. Only do a little at a time, it absorbs oil very fast, so doing it this way will prevent it from clumping together.
- Taste a piece of your seasoned bread. Parmesan is very salty, so don’t add the salt until you’ve tasted it at this stage. Remember, cooking these will remove the moisture making it saltier. So you’re better off adding less than you think you’ll need. Once you’ve accounted for all that, add salt to taste.
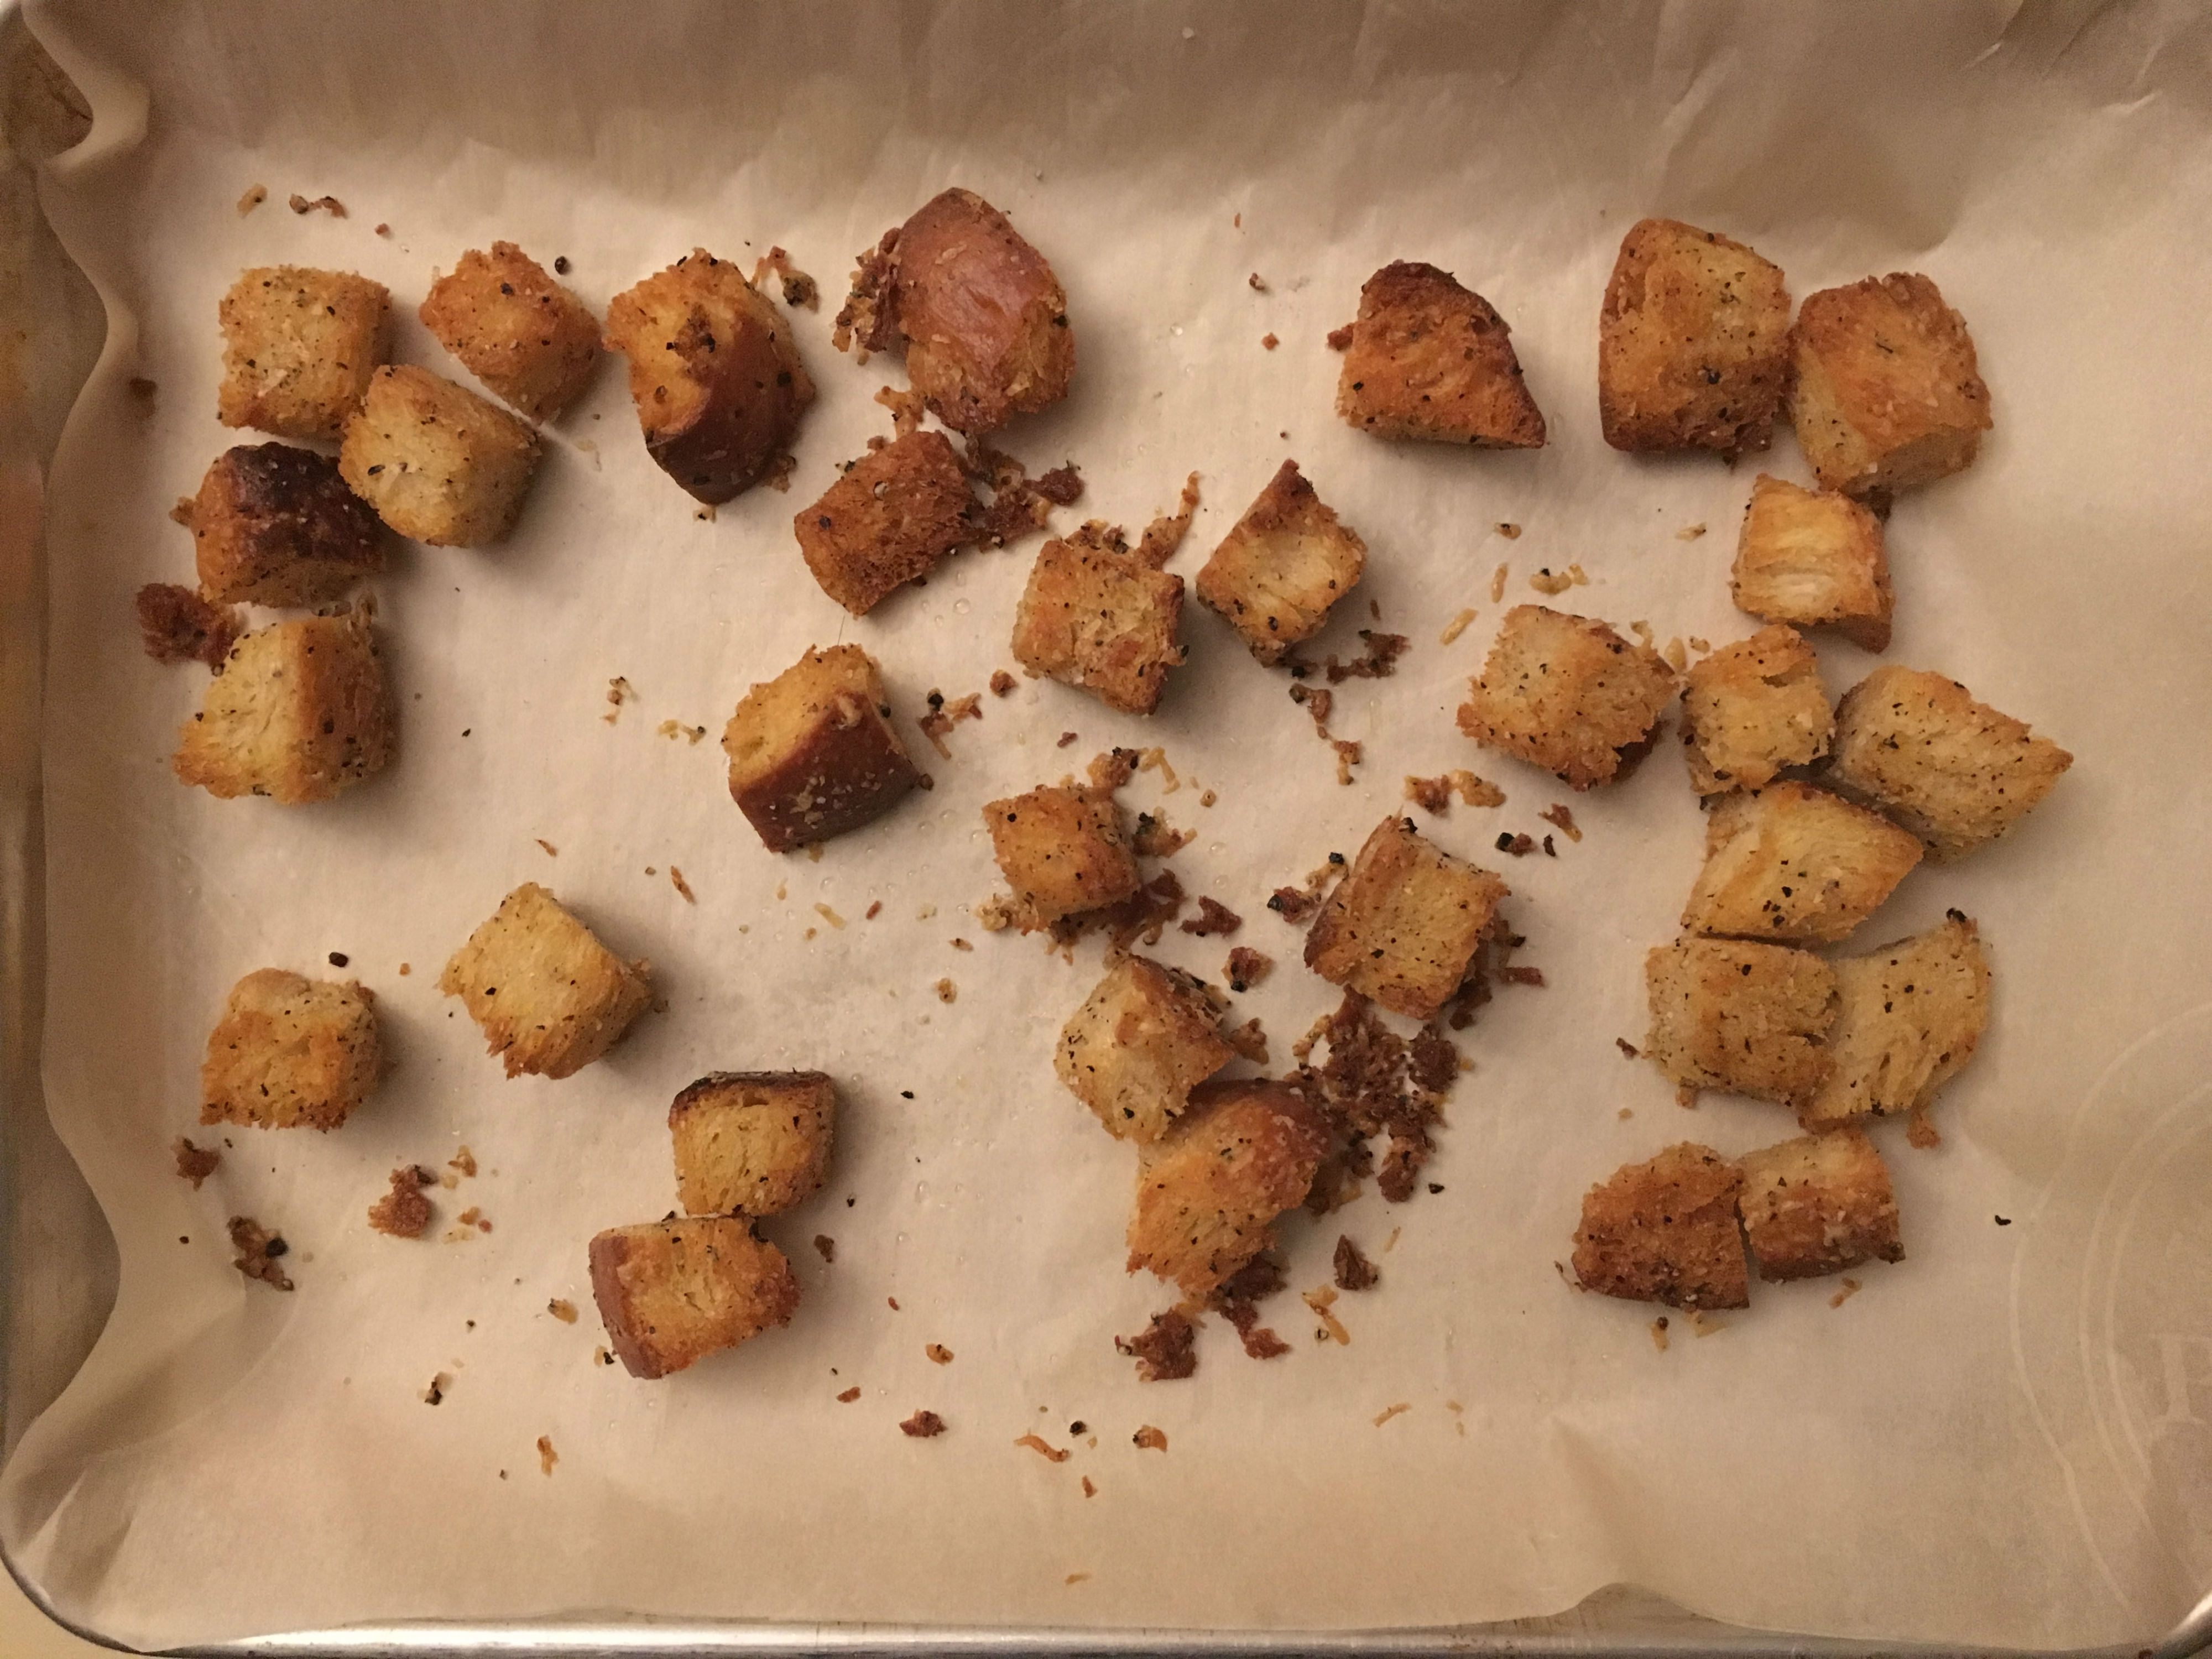
 Put the seasoned bread on a parchment lined baking sheet. And place in the oven for 5 to 10 minutes. You’re looking for a nice colour to form, and that will vary depending on different factors. So don’t walk away.
- Lower your oven temp to 200 degrees Fahrenheit in a convection oven, or 175 degrees Fahrenheit in a non convection oven. If you’re using the latter, I’d suggest leaving your oven door open a for about 5 minutes. Do this for about 10 minutes, or until the croutons are nice and crunchy.
 Remove from baking sheet, and let cool on the side until needed.
Finally, the White Balsamic Vinaigrette! This stuff is amazingly good. If you don’t have White Balsamic, you can use any decent tasting Vinegar, as long as it’s not syrupy. So Regular Balsamic isn’t a good idea.
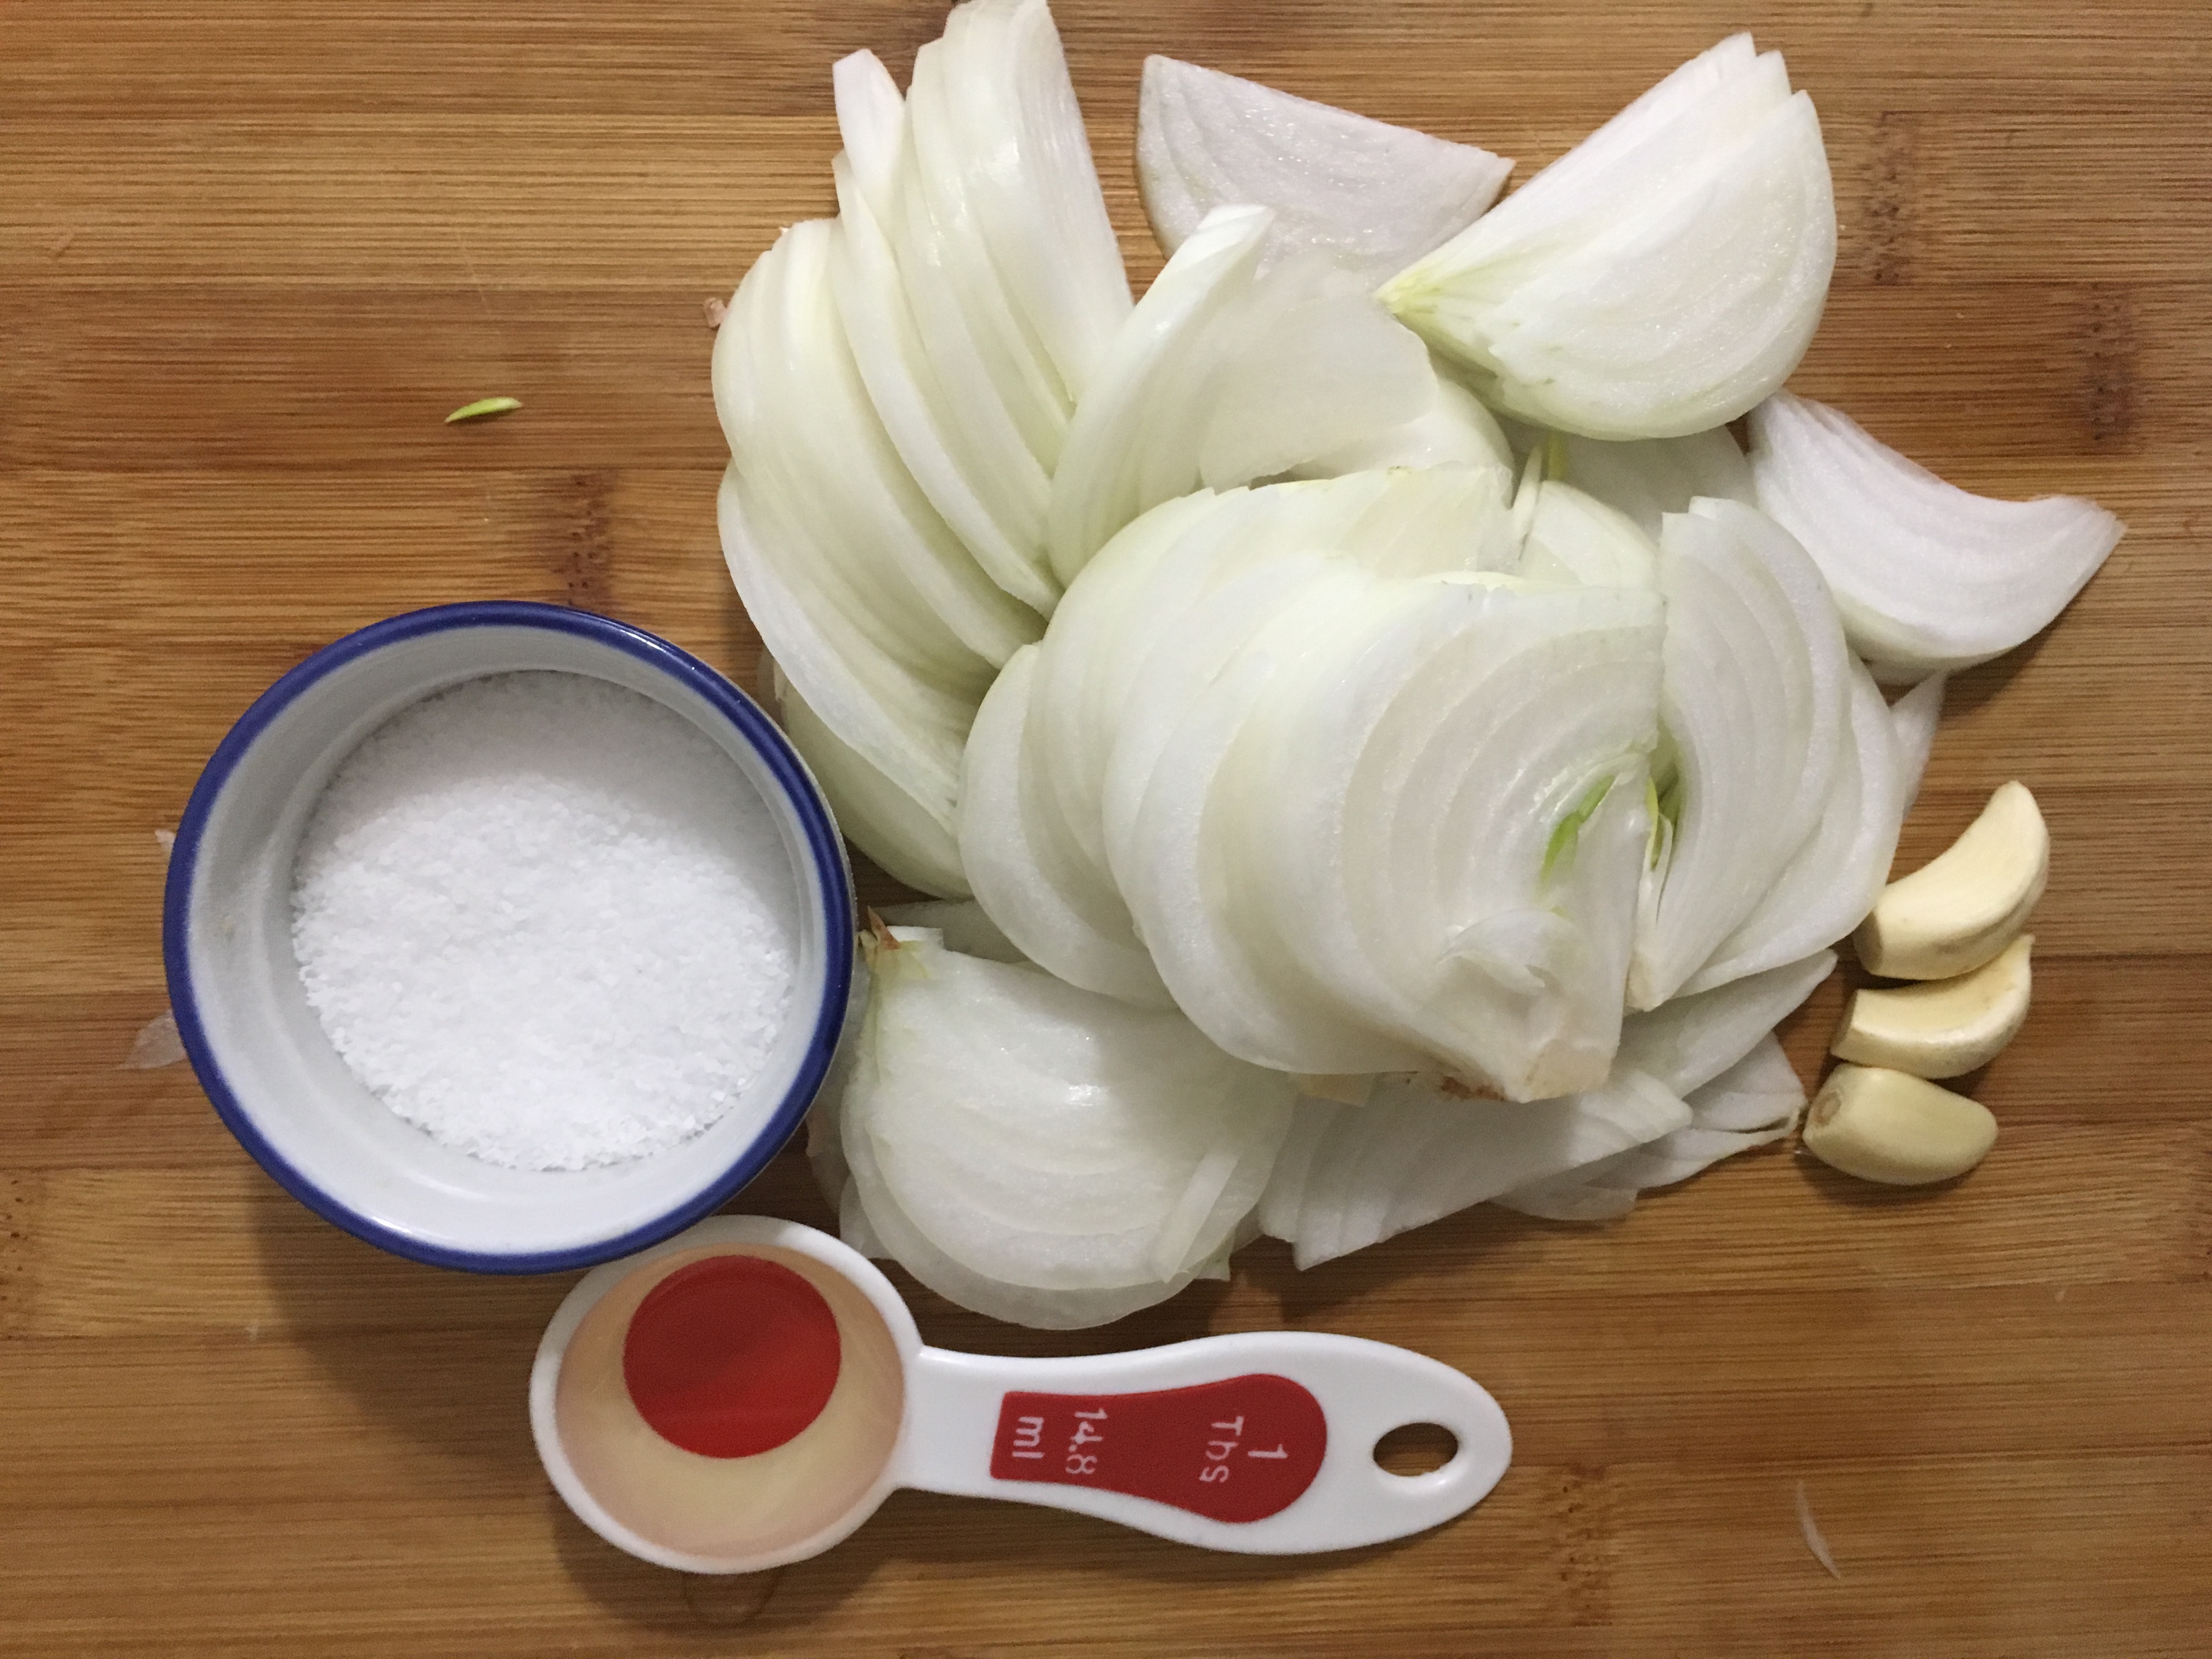 Remove skin from the onion and garlic, and slice Onion into 1/4″ rounds.
 Put a cast iron pan on high, with enough oil to cover the bottom of the pan. Once it’s nice and hot, place the in the onions and garlic and sauté for 1 minute.
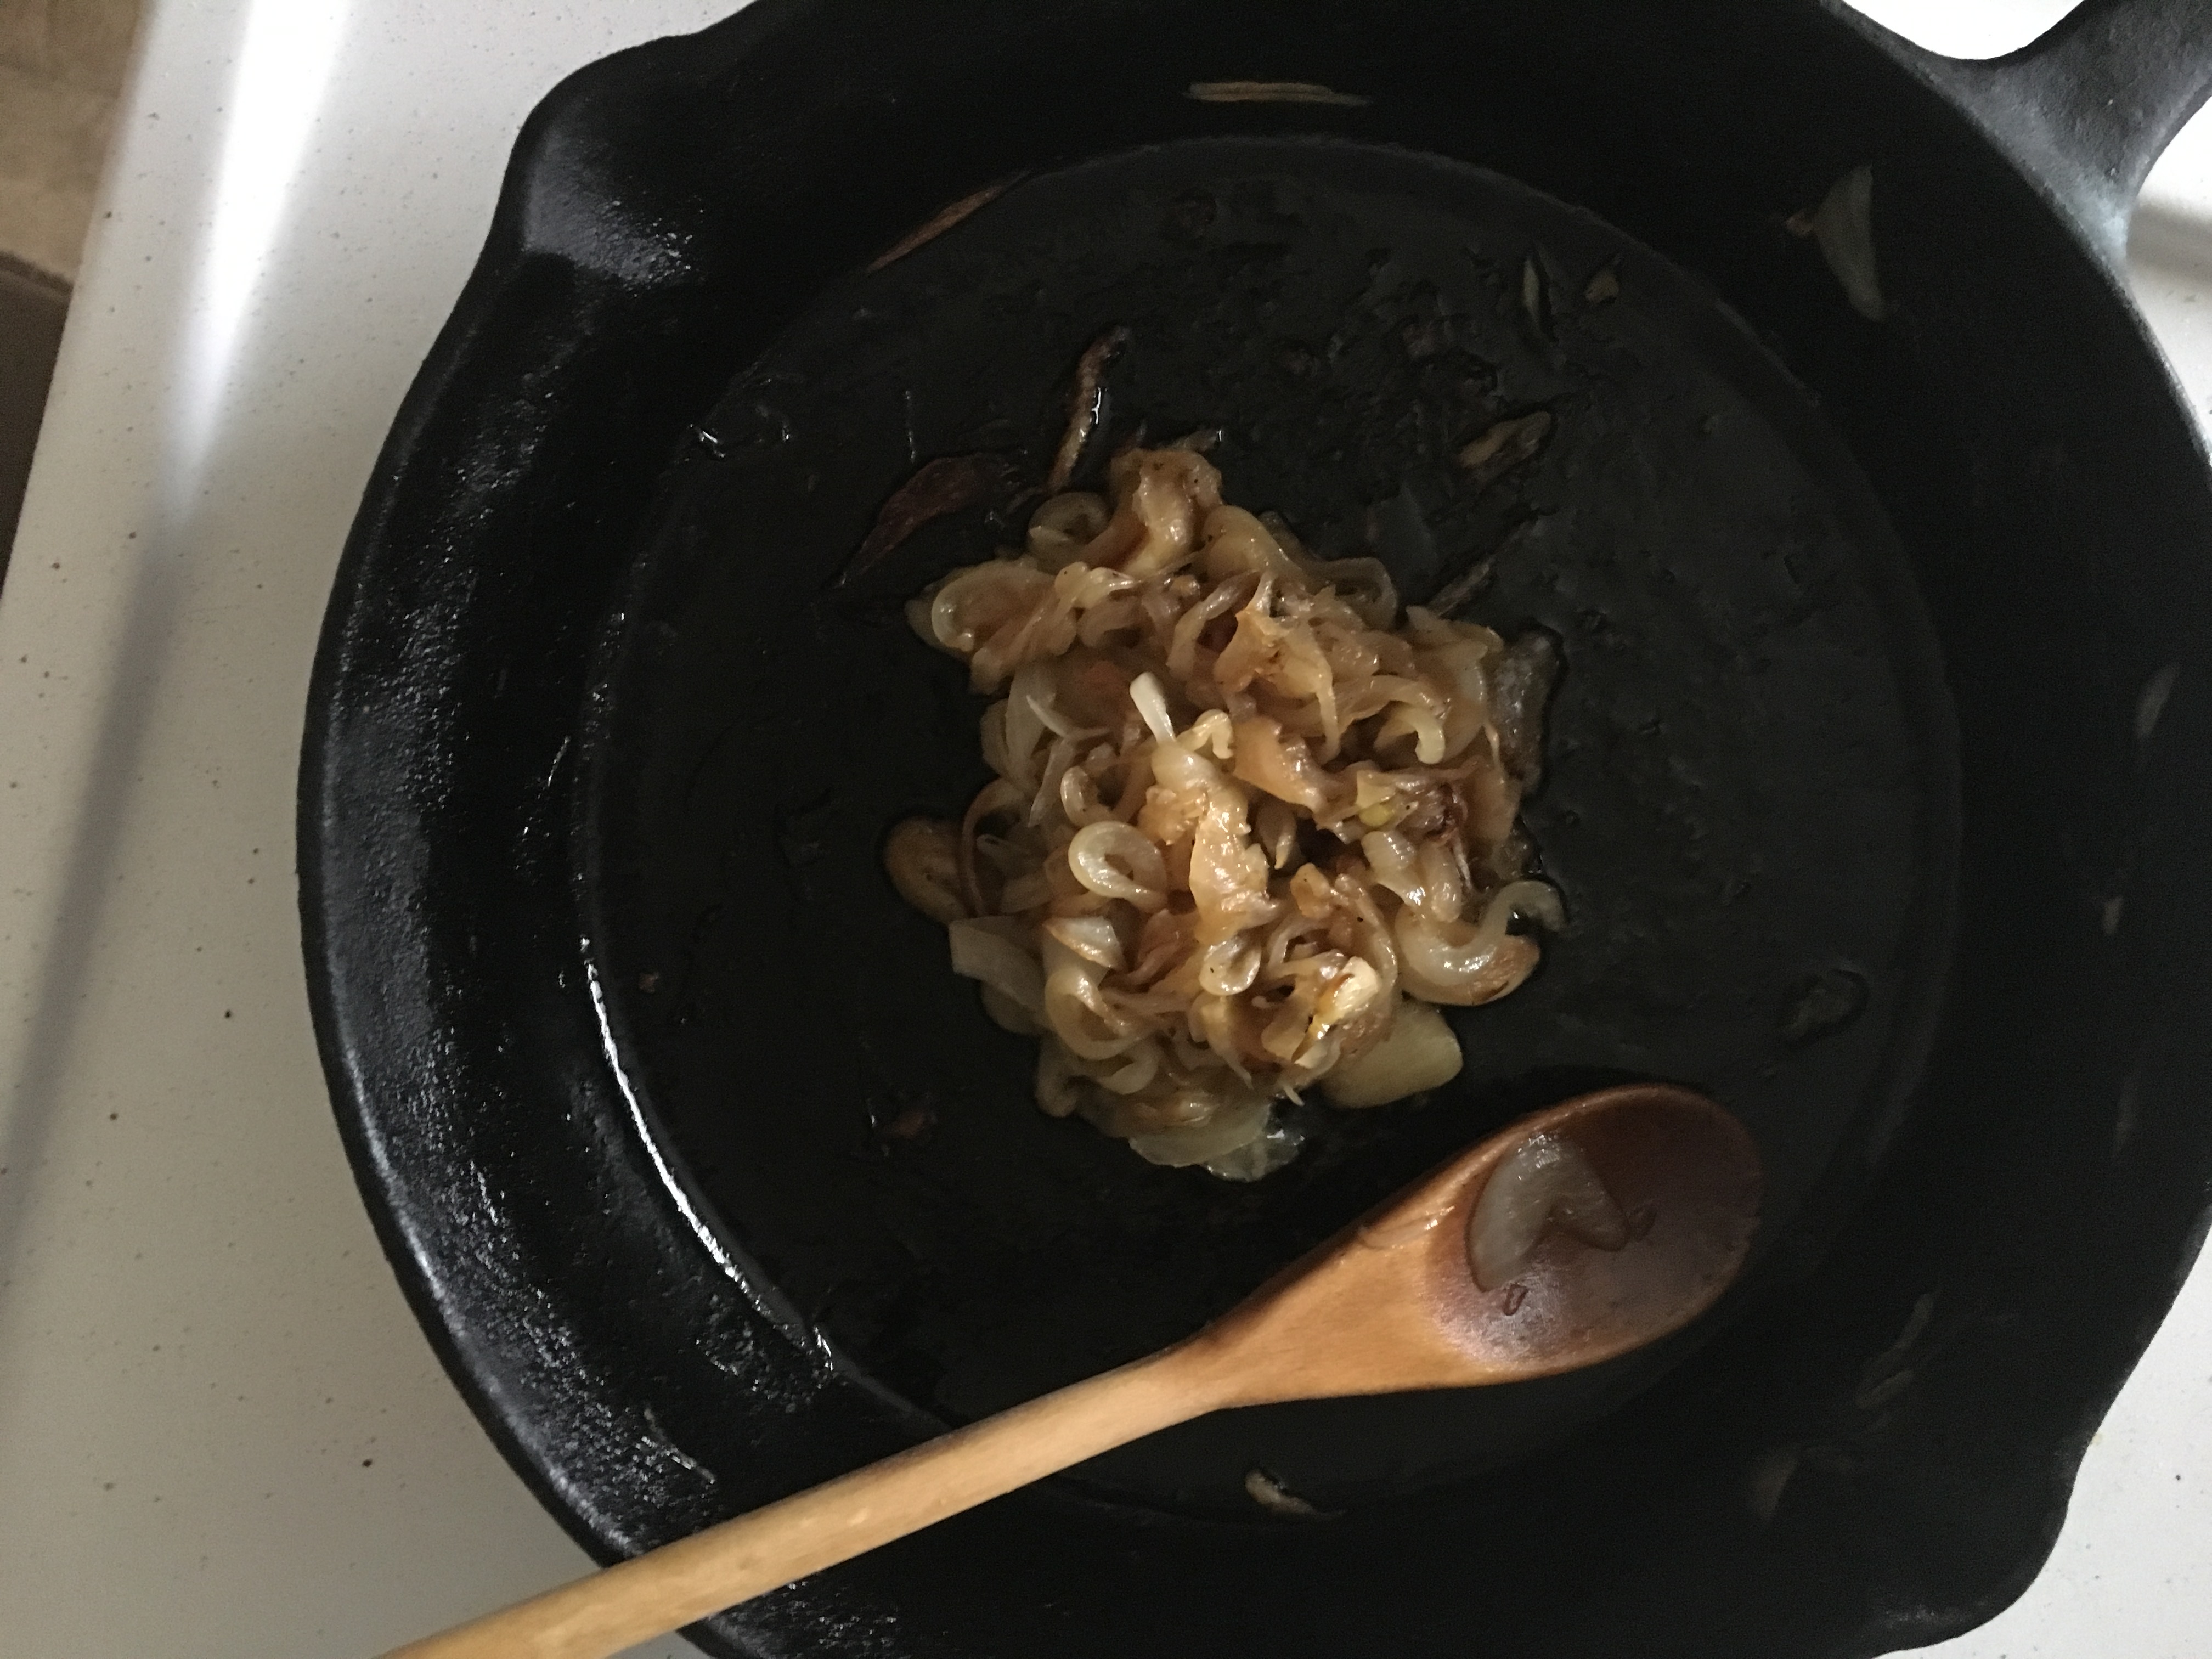 Lower the temperature down to medium low. Stir occasionally, until the onions and garlic become golden and caramelized. This is going into a dressing, so I bring them down into a paste.
- Place a moist tea cloth down on the counter, and make a doughnut shape. Place a big mixing bowl in the hole of the ‘doughnut’.
- Using a Whisk or an immersion blender, mix all the White Balsamic Vinaigrette ingredients together, except the Canola oil, salt and the marinade from the Tomatoes. Continue until throughly incorporated.
- Slowly add in the Canola Oil. A few drops at a time at first, then as the mixture starts to emulsify, a little faster. Once all the oil is mixed in, repeat process with Marinade mixture.
- Add salt to taste. Remember, only Salt it a little at this stage. You’re going to serve it cold, so do the final seasoning after it’s been chilled. Which remind me….
- Place into clean container, and chill in fridge for a minimum of 2-3 hours.
Taste and adjust for seasoning
Finally, let’s make the final product. I didn’t give measurement for the mixed greens. It’s a salad; use your best judgment. I personally love Arugula, so I put more of it then most people do, but here is how you should construct it.
- Wash your spinach and mixed greens. I don’t care if the bag says ‘pre-washed’. This week alone, I found a moth in a bag labeled pre-washed and last week I found a lady bug. Seriously, it’s for your mom, and you know she’d wash it for you.
- Mix the greens together in a large salad bowl along with the onion and croutons.
- The Tomatoes are fragile, so mix them in last, along with the dressing.
- Take a fancy photo, and post it to Instagram with the hashtag #foryourfoulmouth
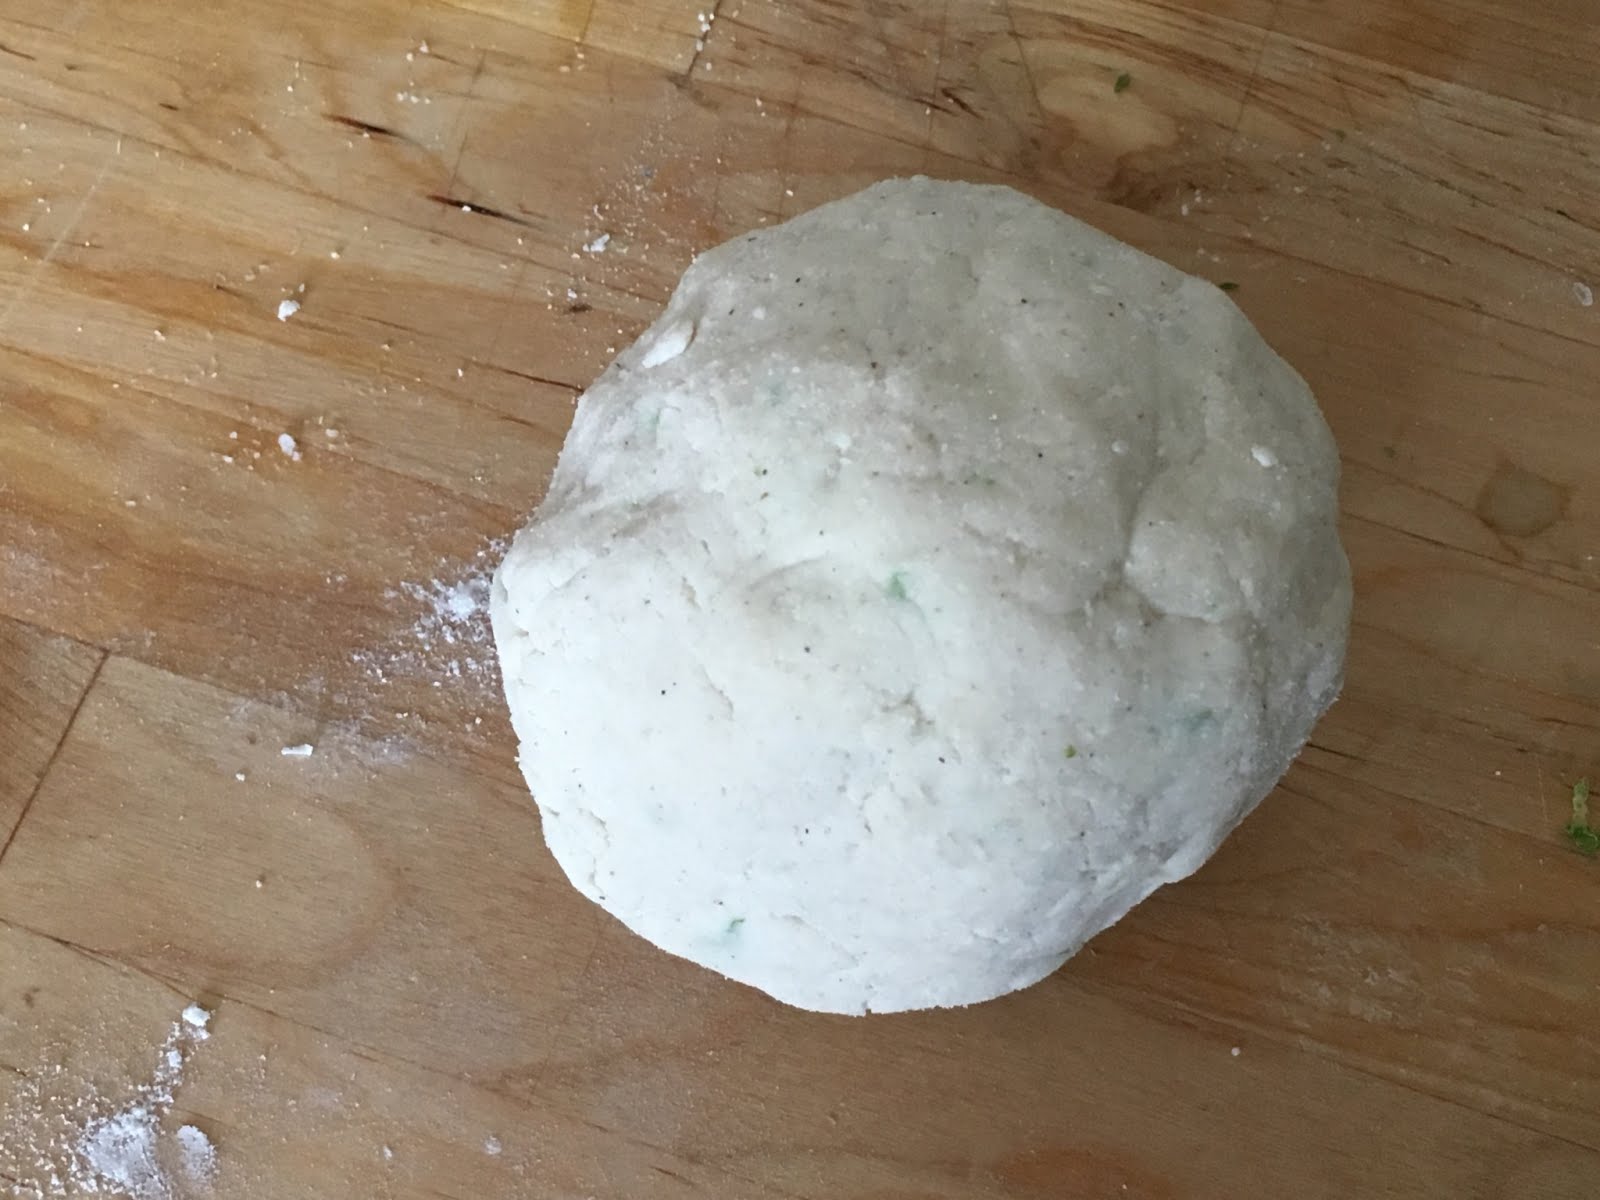 Divide the ball into 4, and roll each section into its own ball. Cover all of them with plastic wrap.
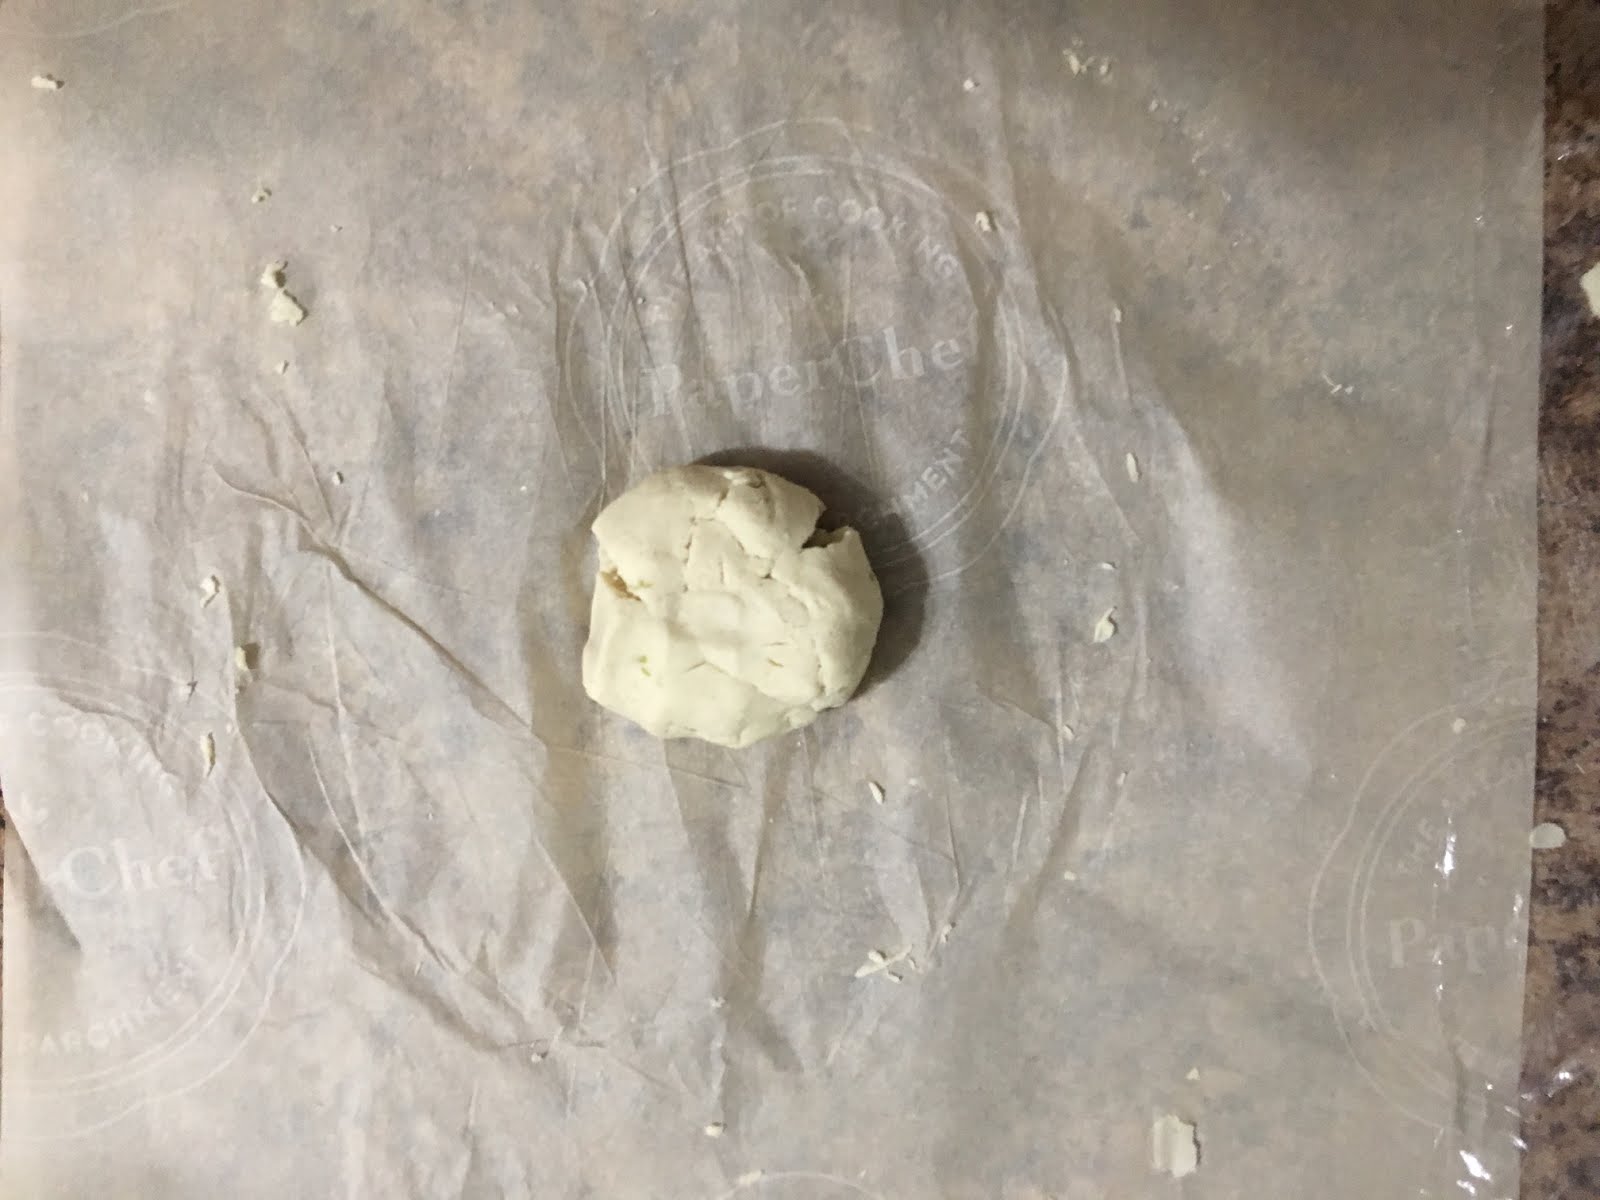 I personally don’t believe in buying things I will use twice a year, unless its a matter of safety or necessity. So I don’t own a tortilla press, however I have come up with a way to make perfect tortillas. Lay out a 1.5′ sheet of Parchment, and put your 1 dough ball in the centre.
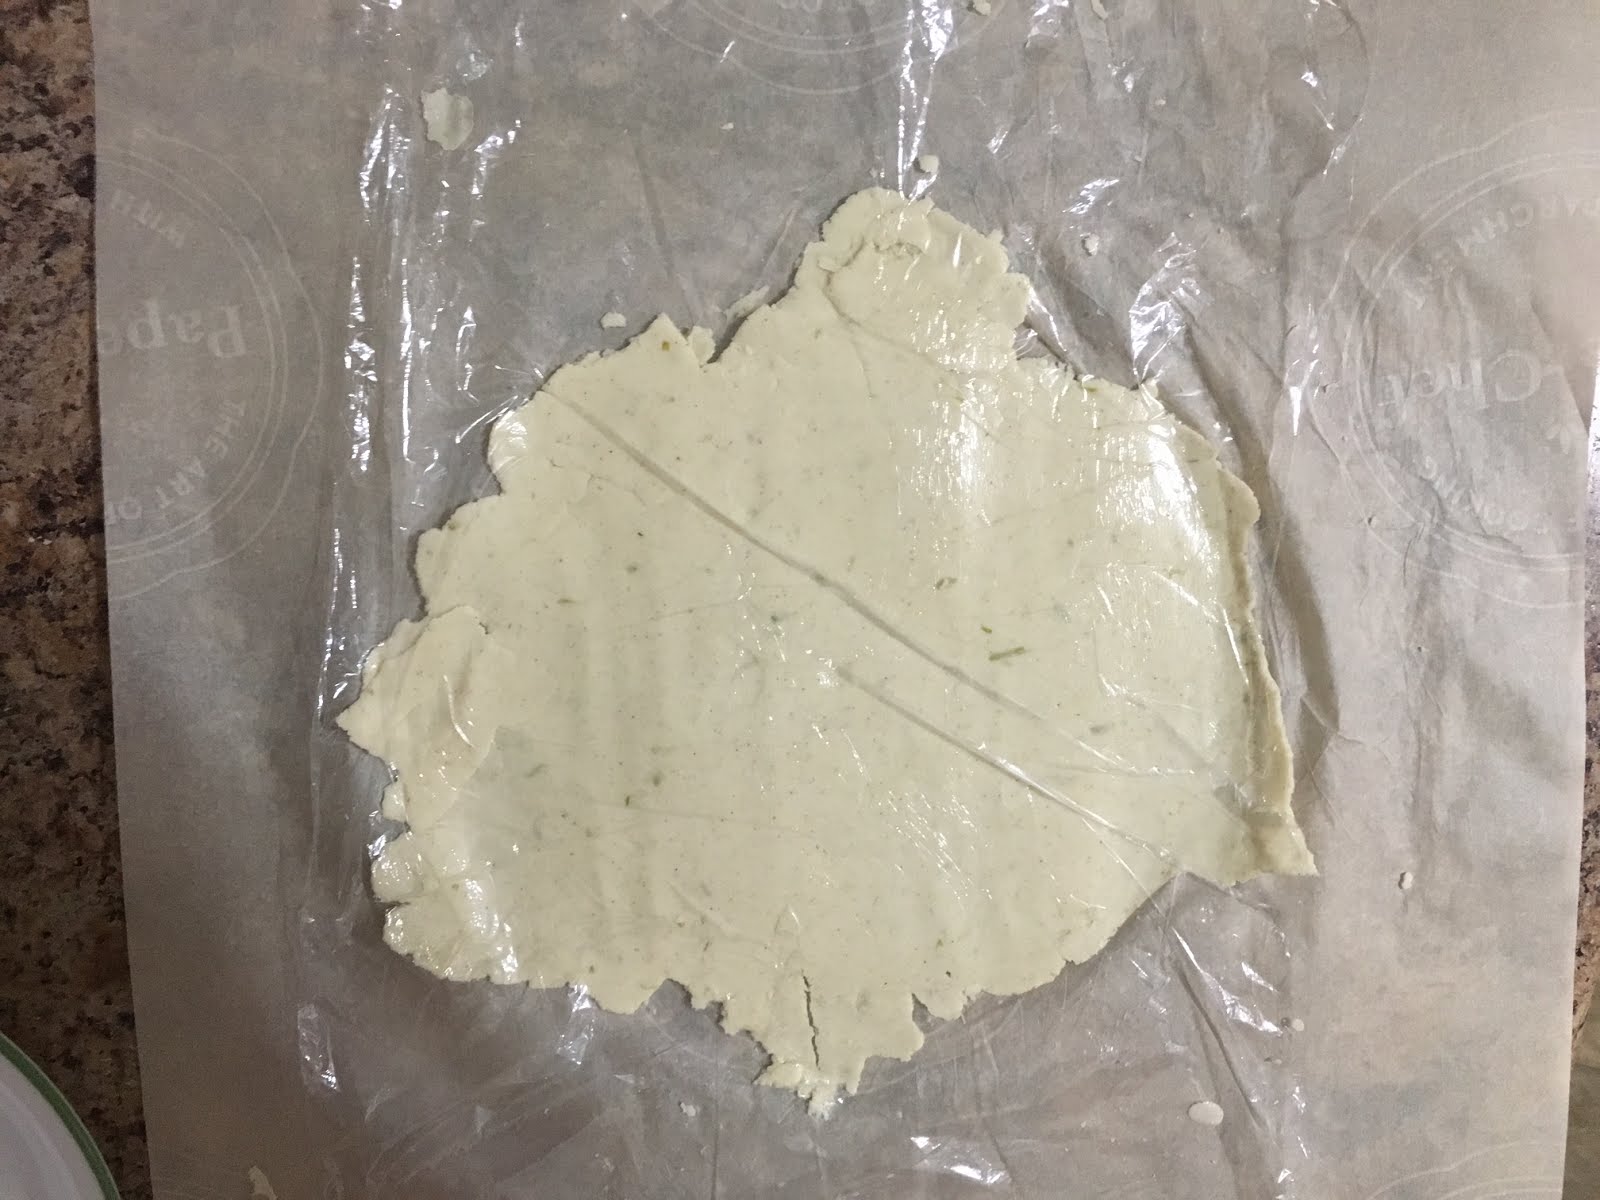 Use a rolling pin to roll the dough ball just until it’s wider than a soup bowl. Make sure to roll back and forth and side to side. FYI: At first your plastic wrap may cling to the dough causing it to curl upward. Simply lift the plastic wrap off the dough, gently place the dough down and put the plastic back. If the parchment becomes wrinkled, simply pull its corners.
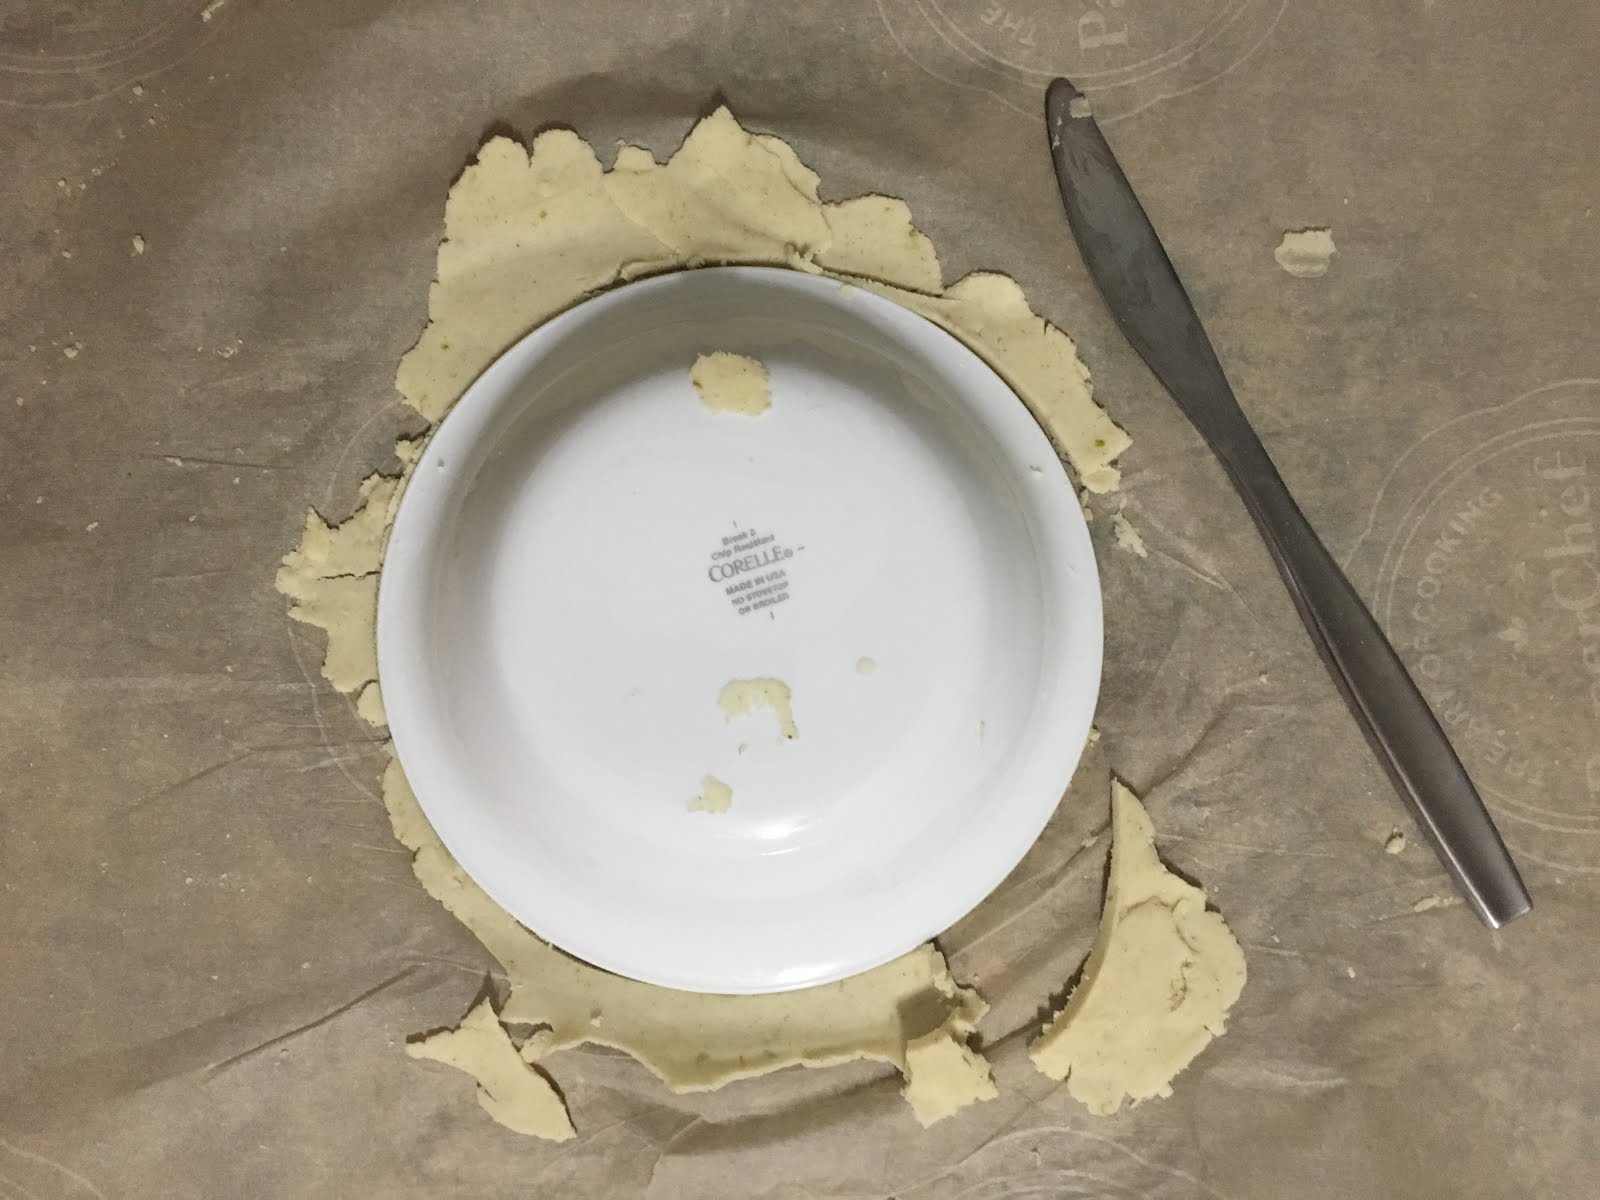 Gently remove your plastic wrap and place a bowl upside down on your dough, using a butter knife cut around the rim of your bowl, this will give you perfectly shaped tortillas. Use the scrap pieces to fill any cuts, are place the rest to the side. There is no gluten in Masa, so you don’t have to worry about over working it.
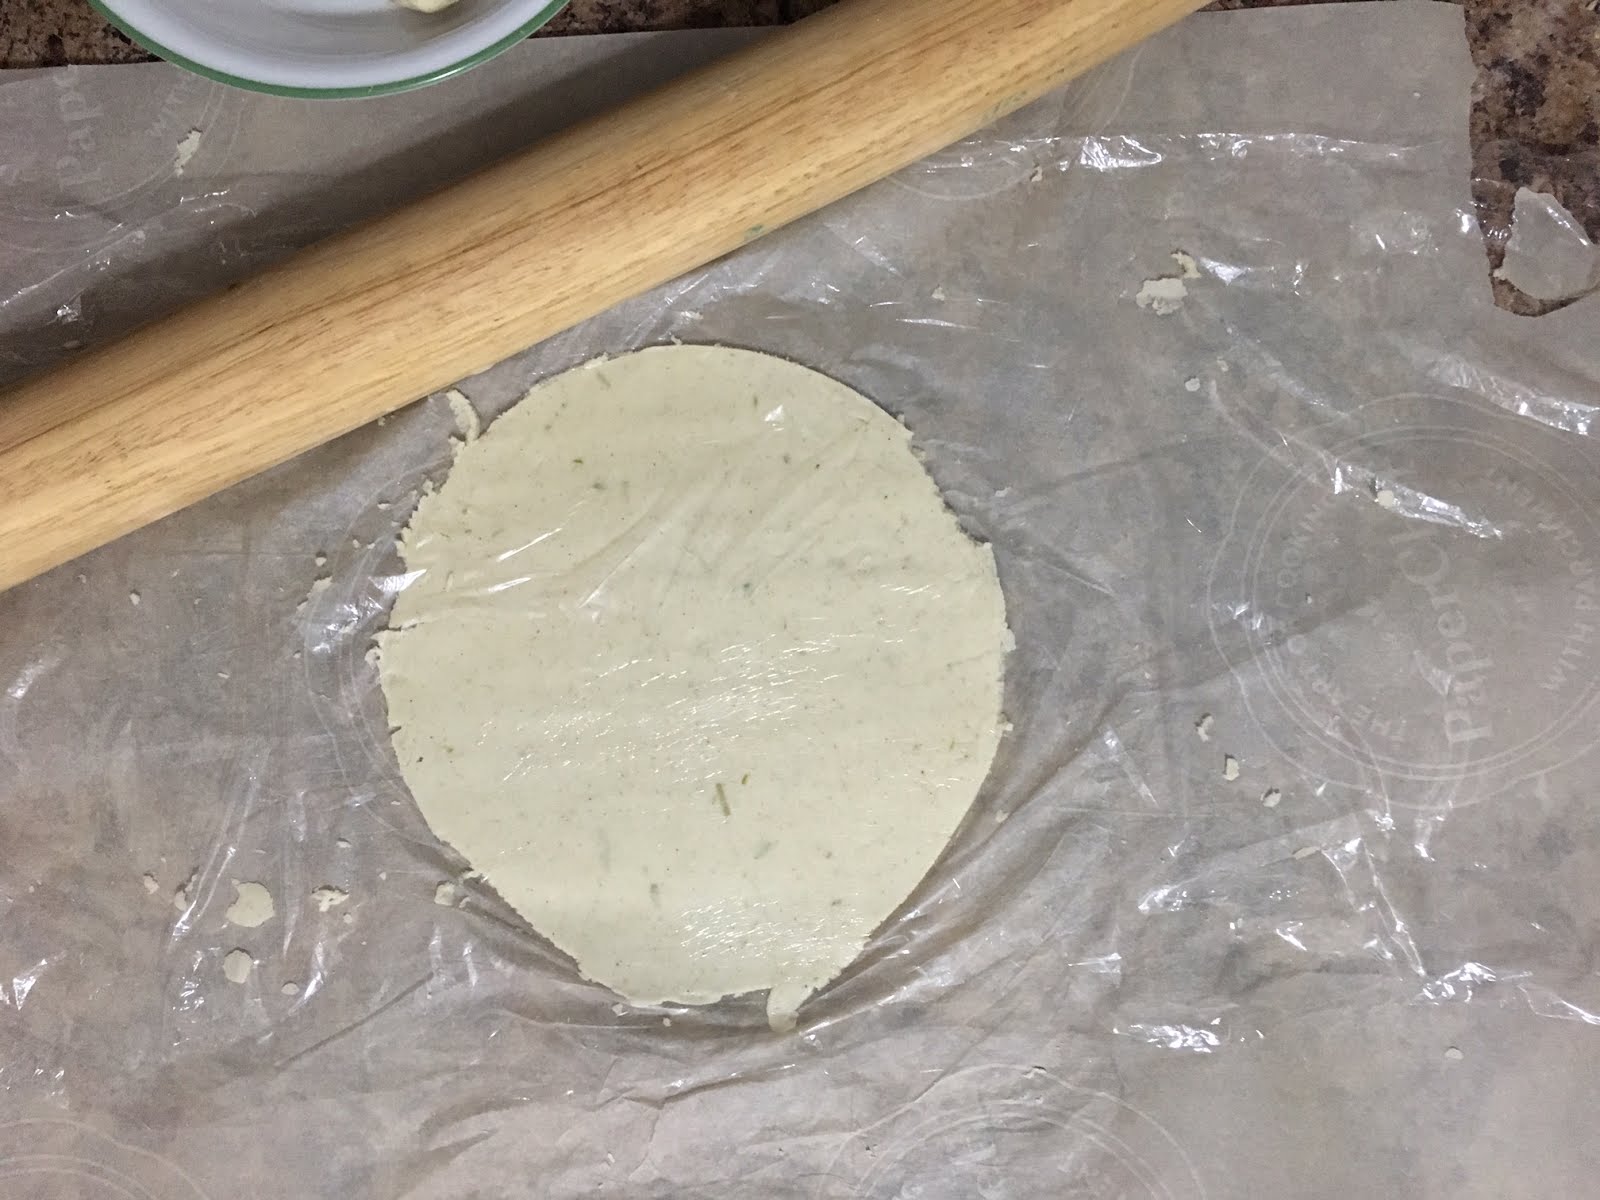 Place the plastic wrap back on top of the dough and use rolling pin thing out the tortilla to about 1/6″
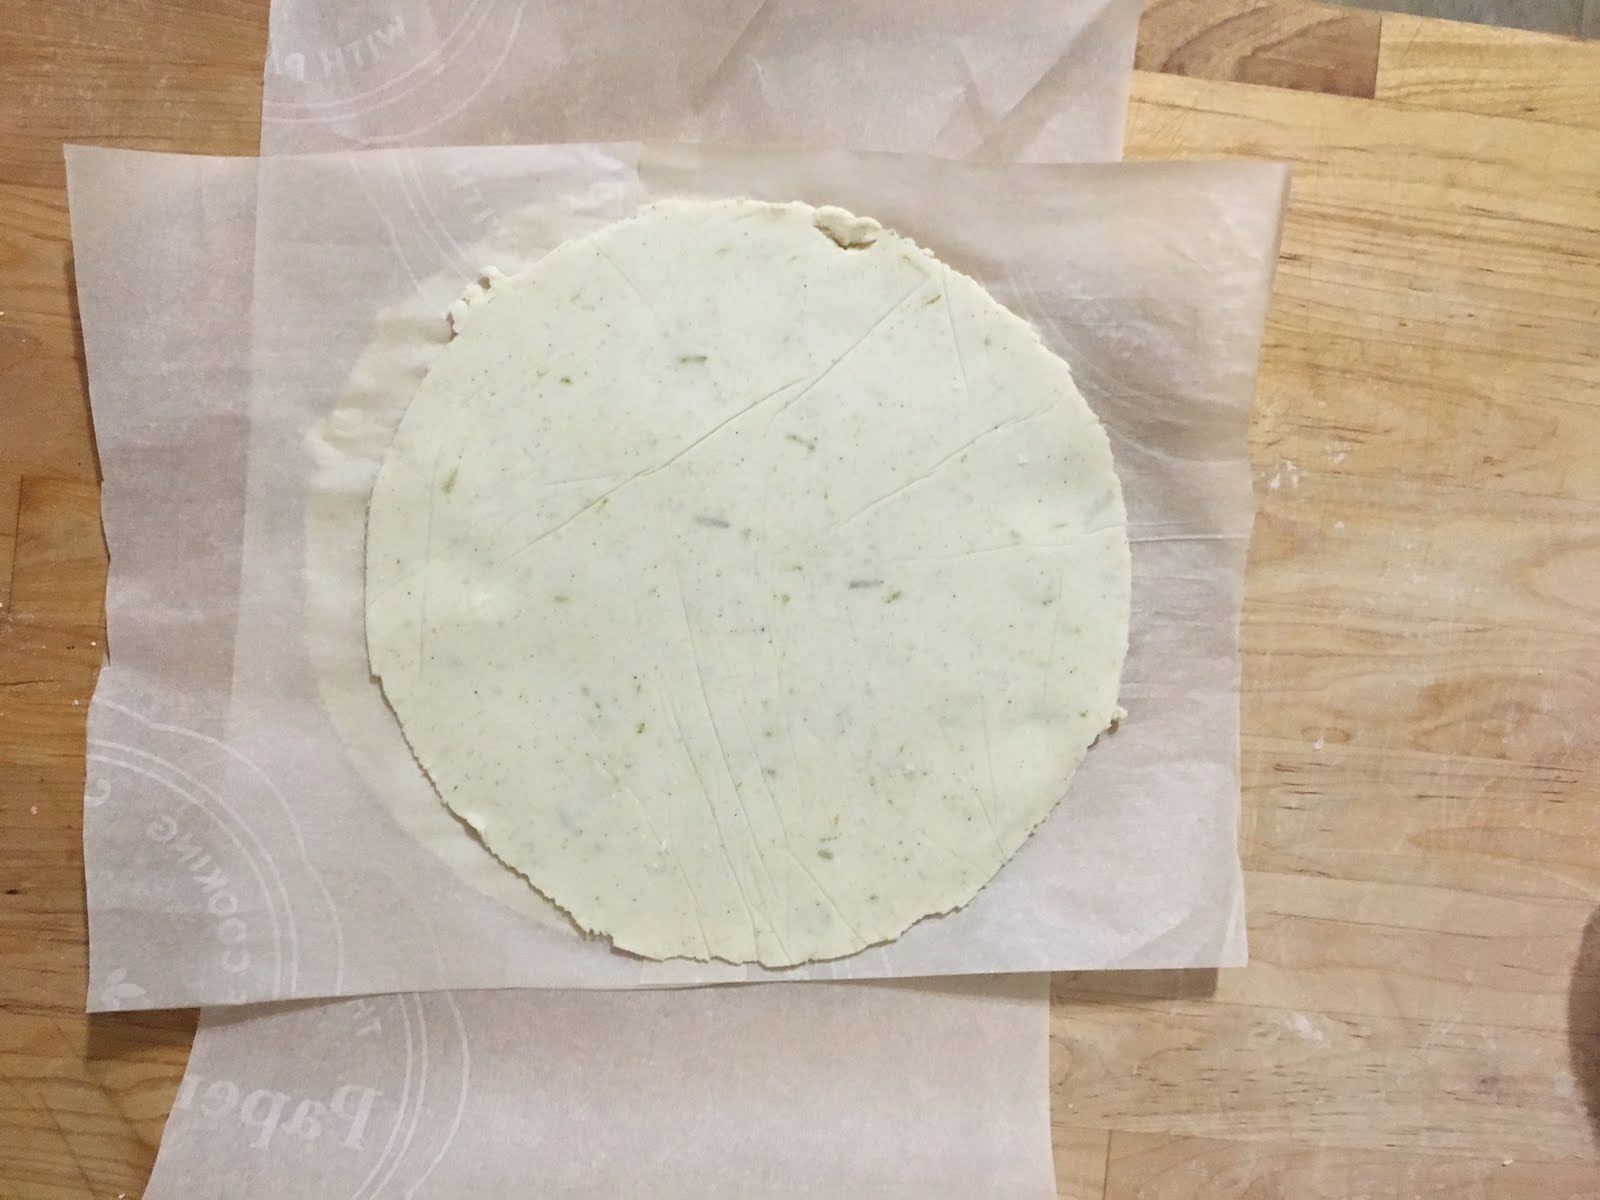 Slowly peel the tortilla off the parchment, and place on the side till you’re ready to cook them. I place all the tortillas on top of each other with a piece of parchment paper to separate them. Cover with plastic wrap, or damp cloth.
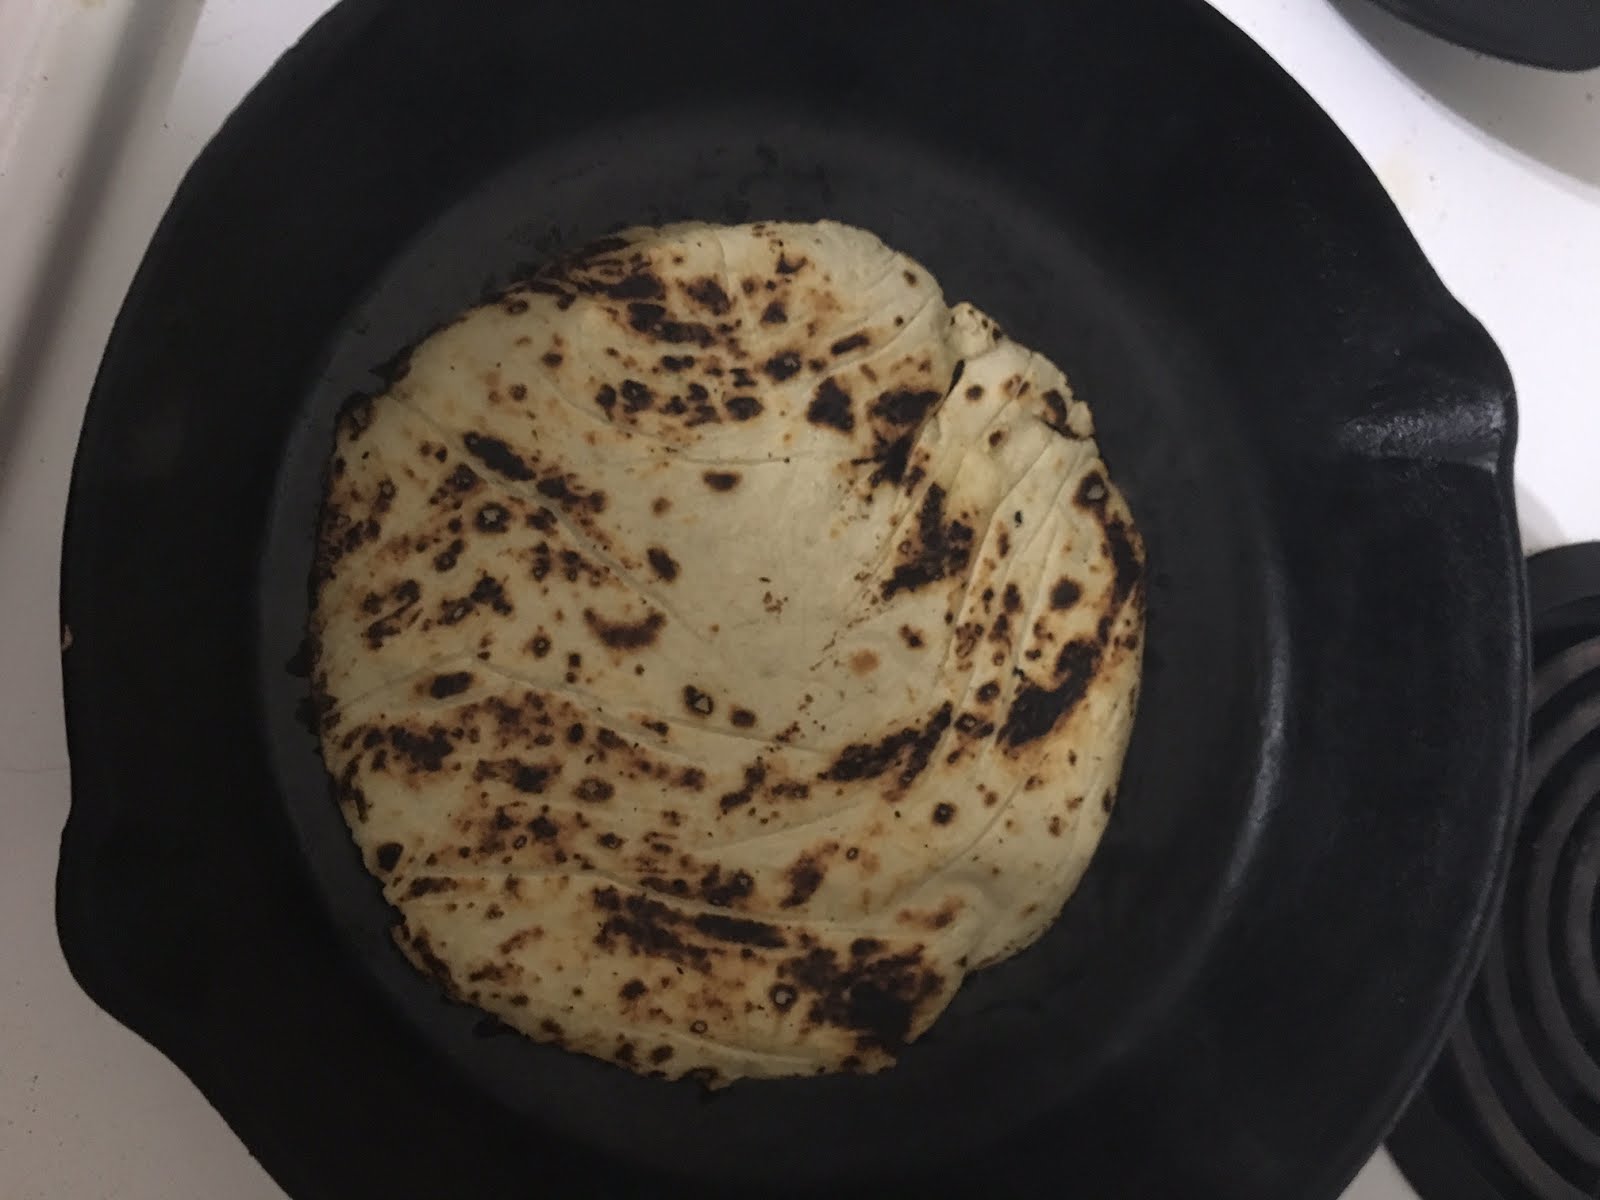 Cook each tortilla one at a time on a non greased cast iron pan set to high heat. If you don’t have cast iron, you can use a stainless steel pan, but you will have to wait longer in between cooking each tortilla for the stainless to regain its heat. It should take about 30-40 seconds on the first side, and about 20 seconds on the other side. They may puff up, thats a good thing, it means they are well rolled.
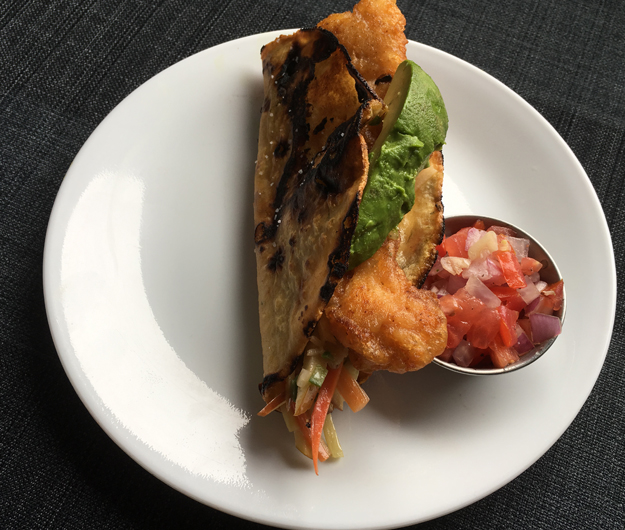
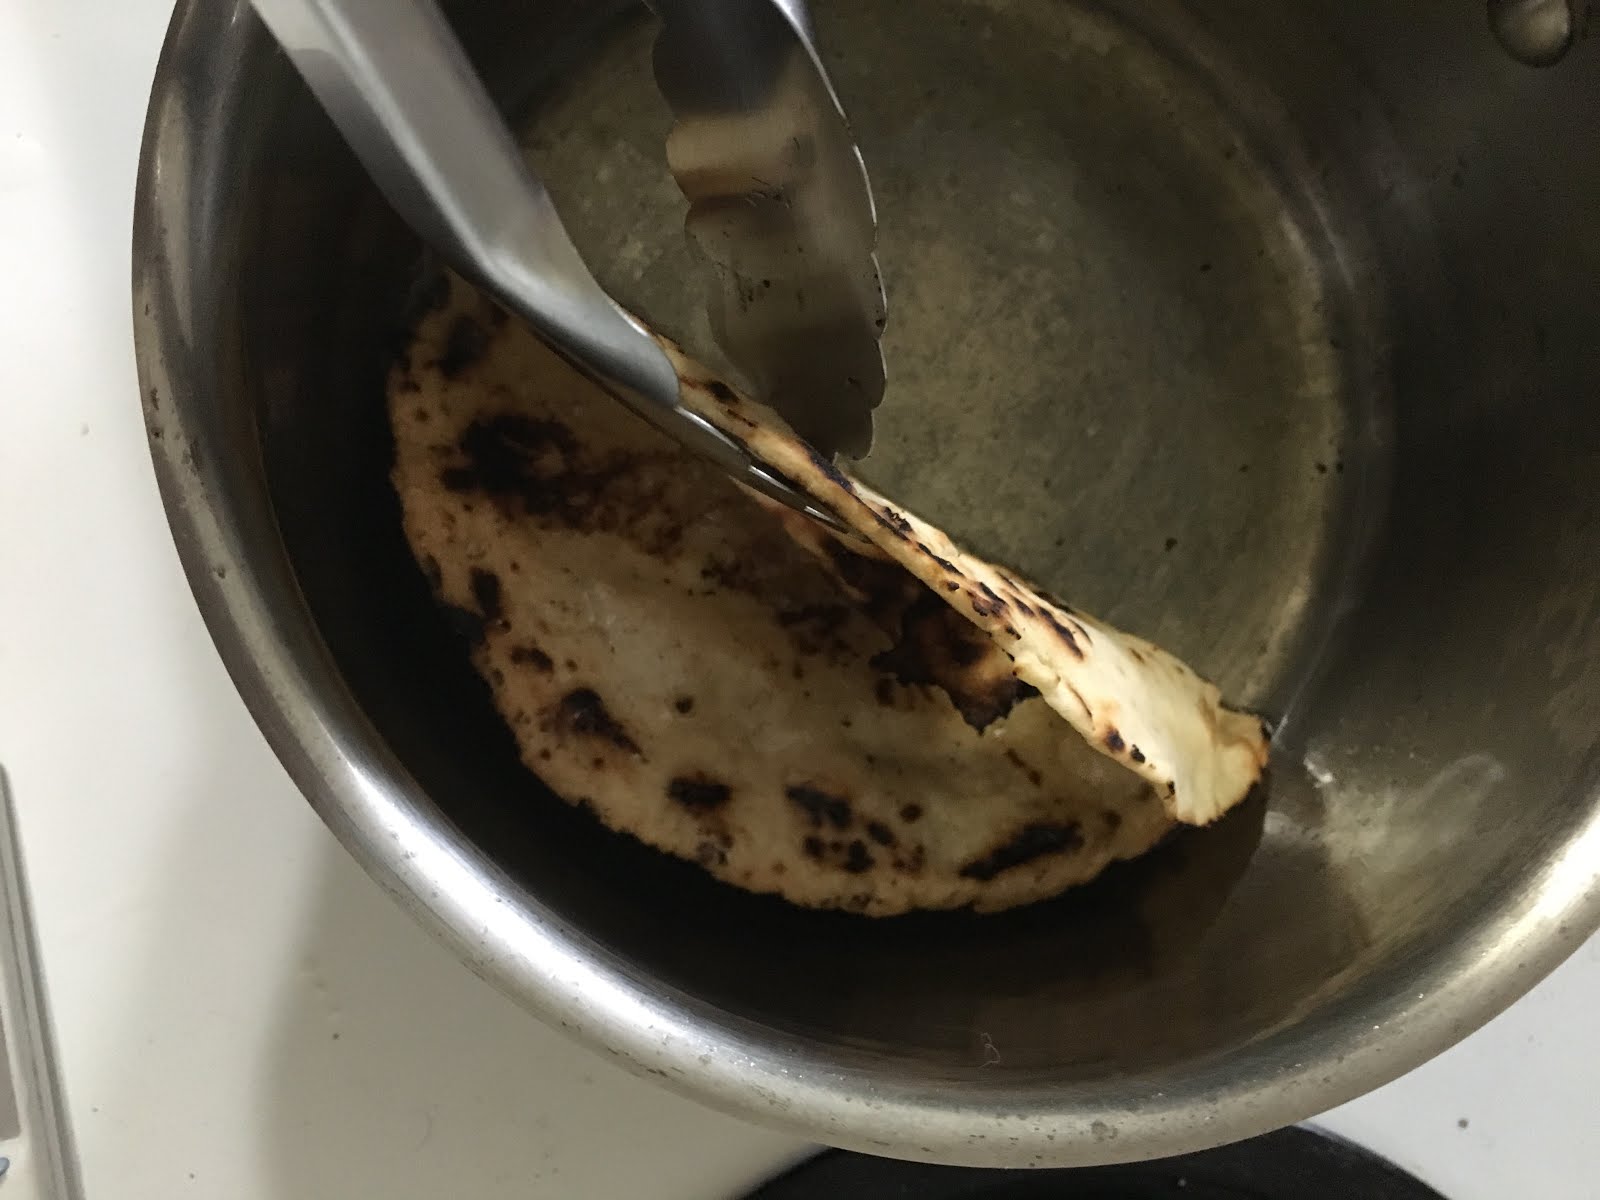 Using tongs, pick up a cooked tortilla, and lower it into the oil so that only half of it is frying. Using the a wooden spoon push down any big bubbles that form.
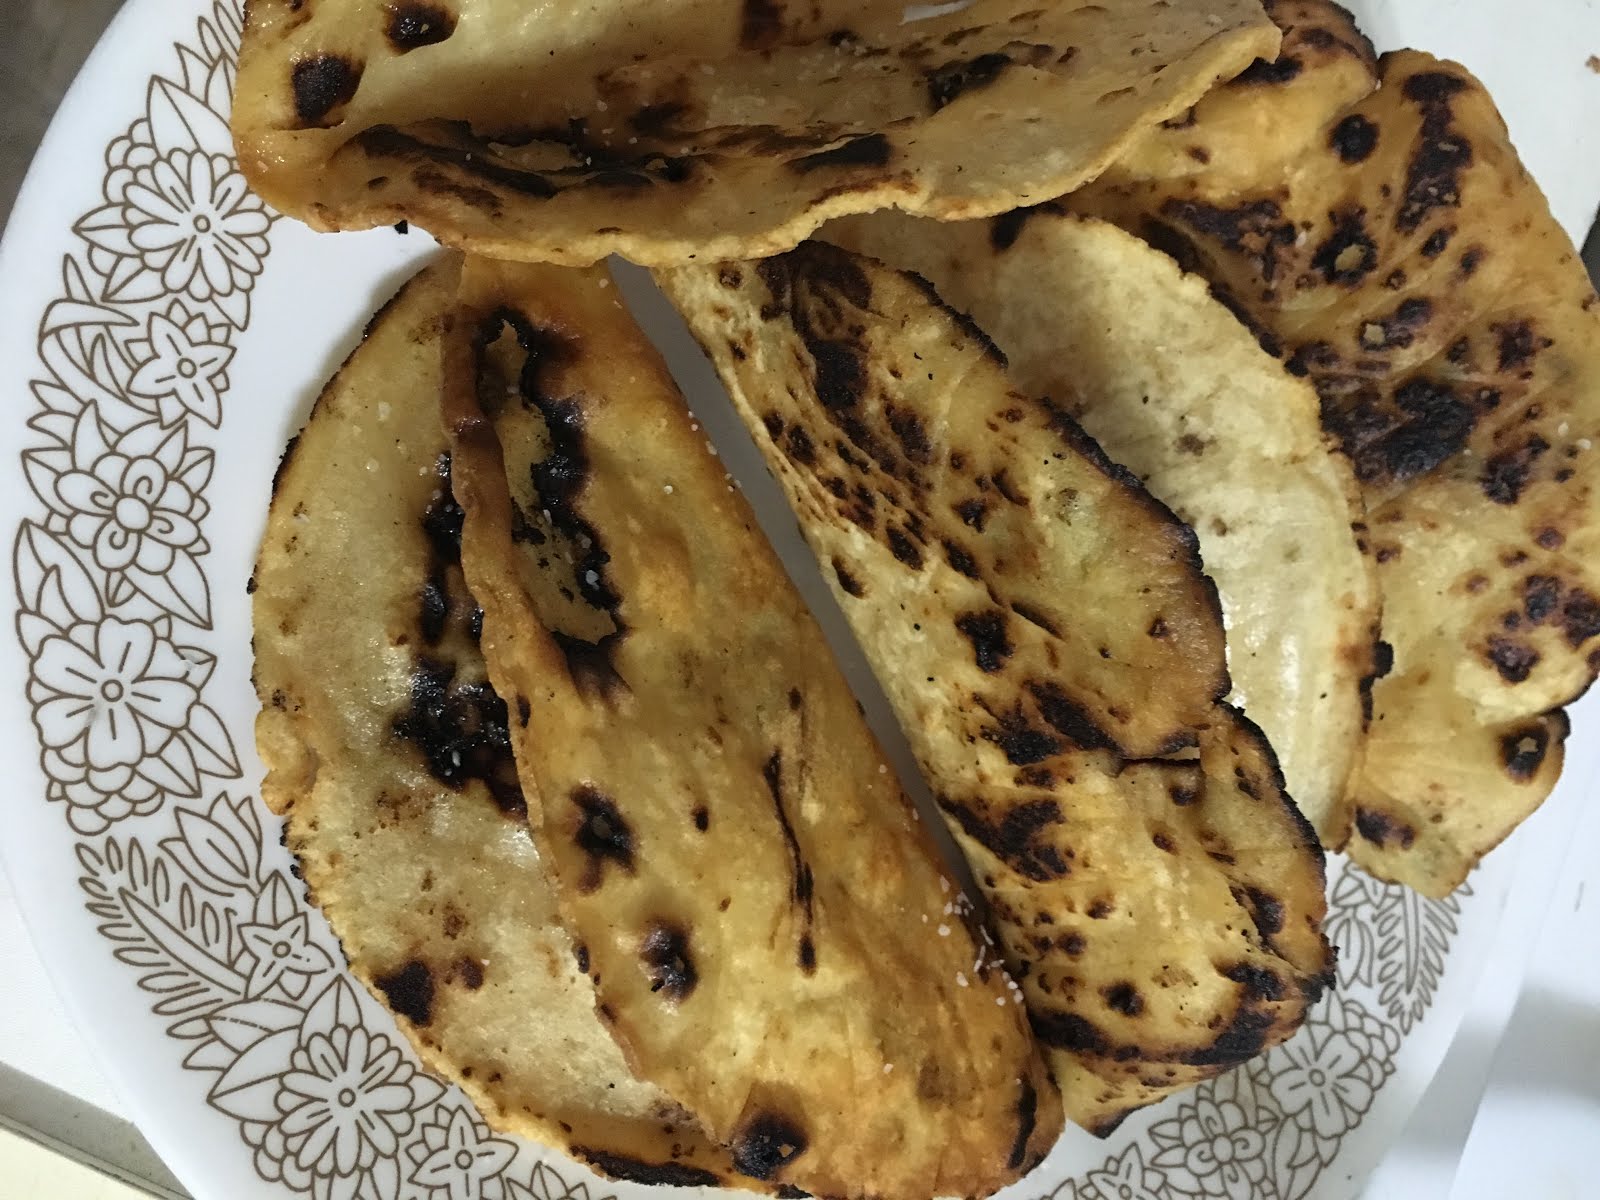 Once the shell holds its shape, move to the side and sprinkle with salt.
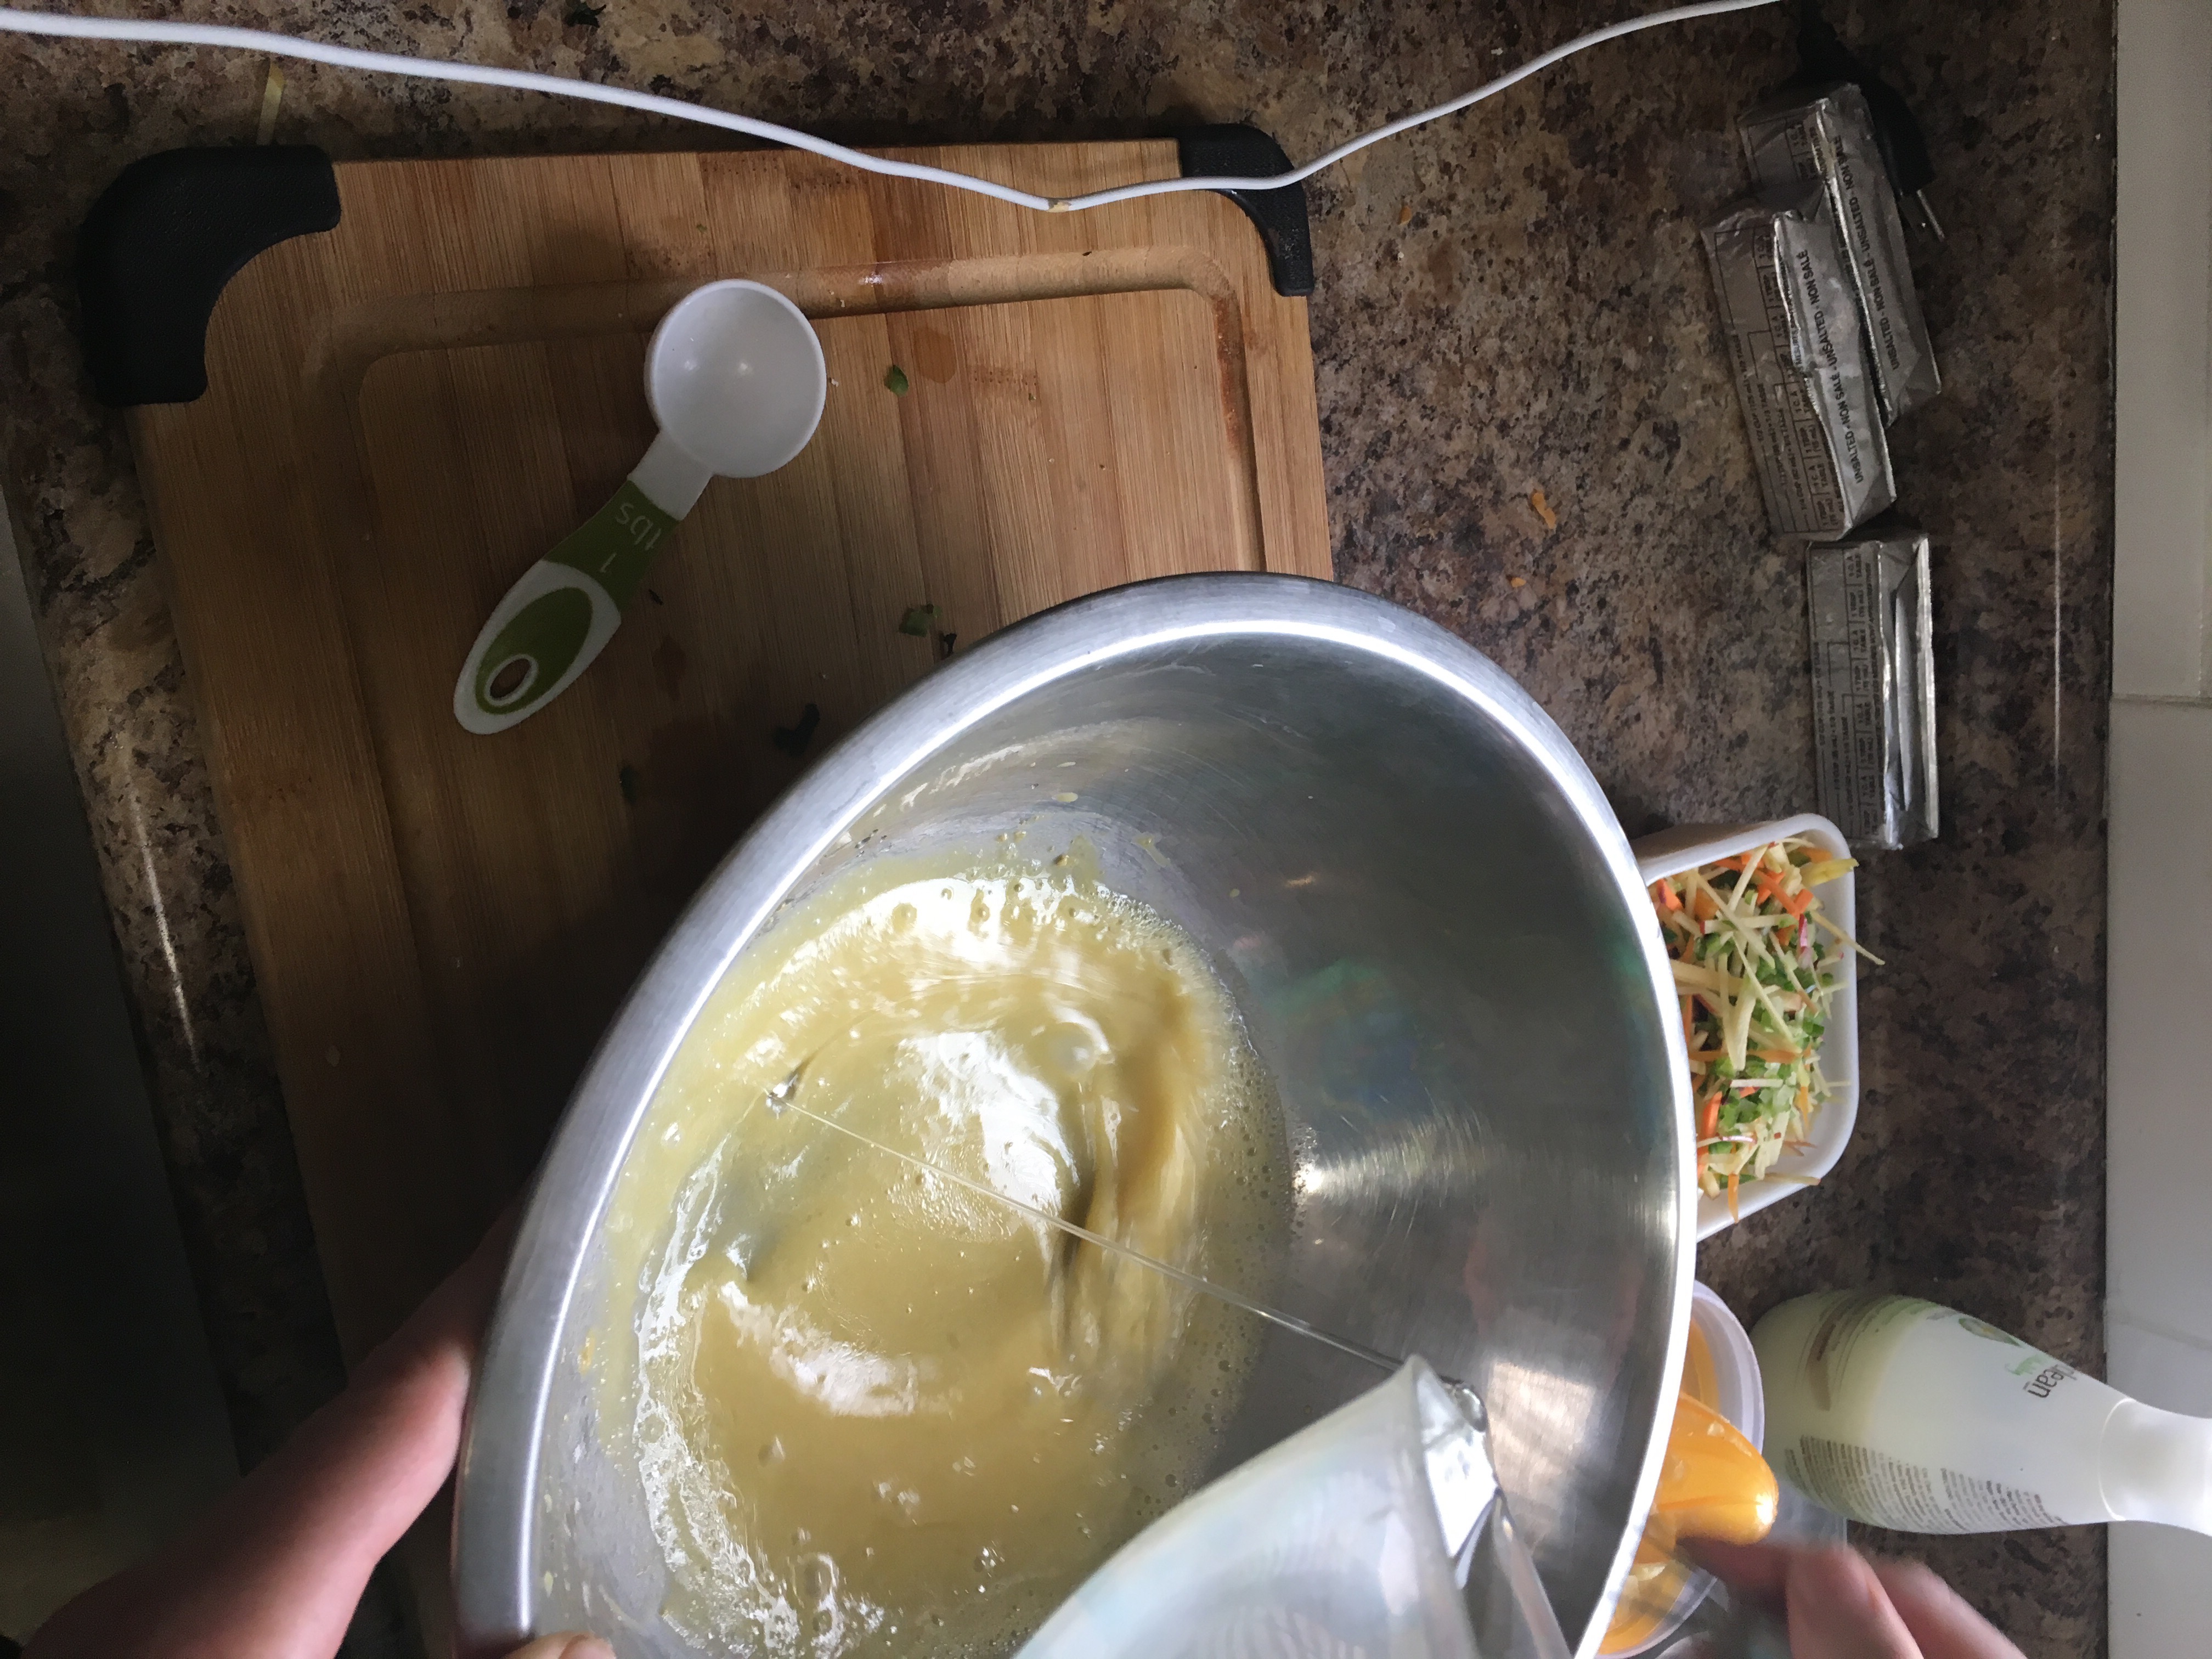 Slowly add Canola Oil into mixture while whisking. The oil should emulsify into the mixture so you have a solid consistent dressing. You don’t want the mixture to break, so you’re better off adding it too slowly, than too fast.
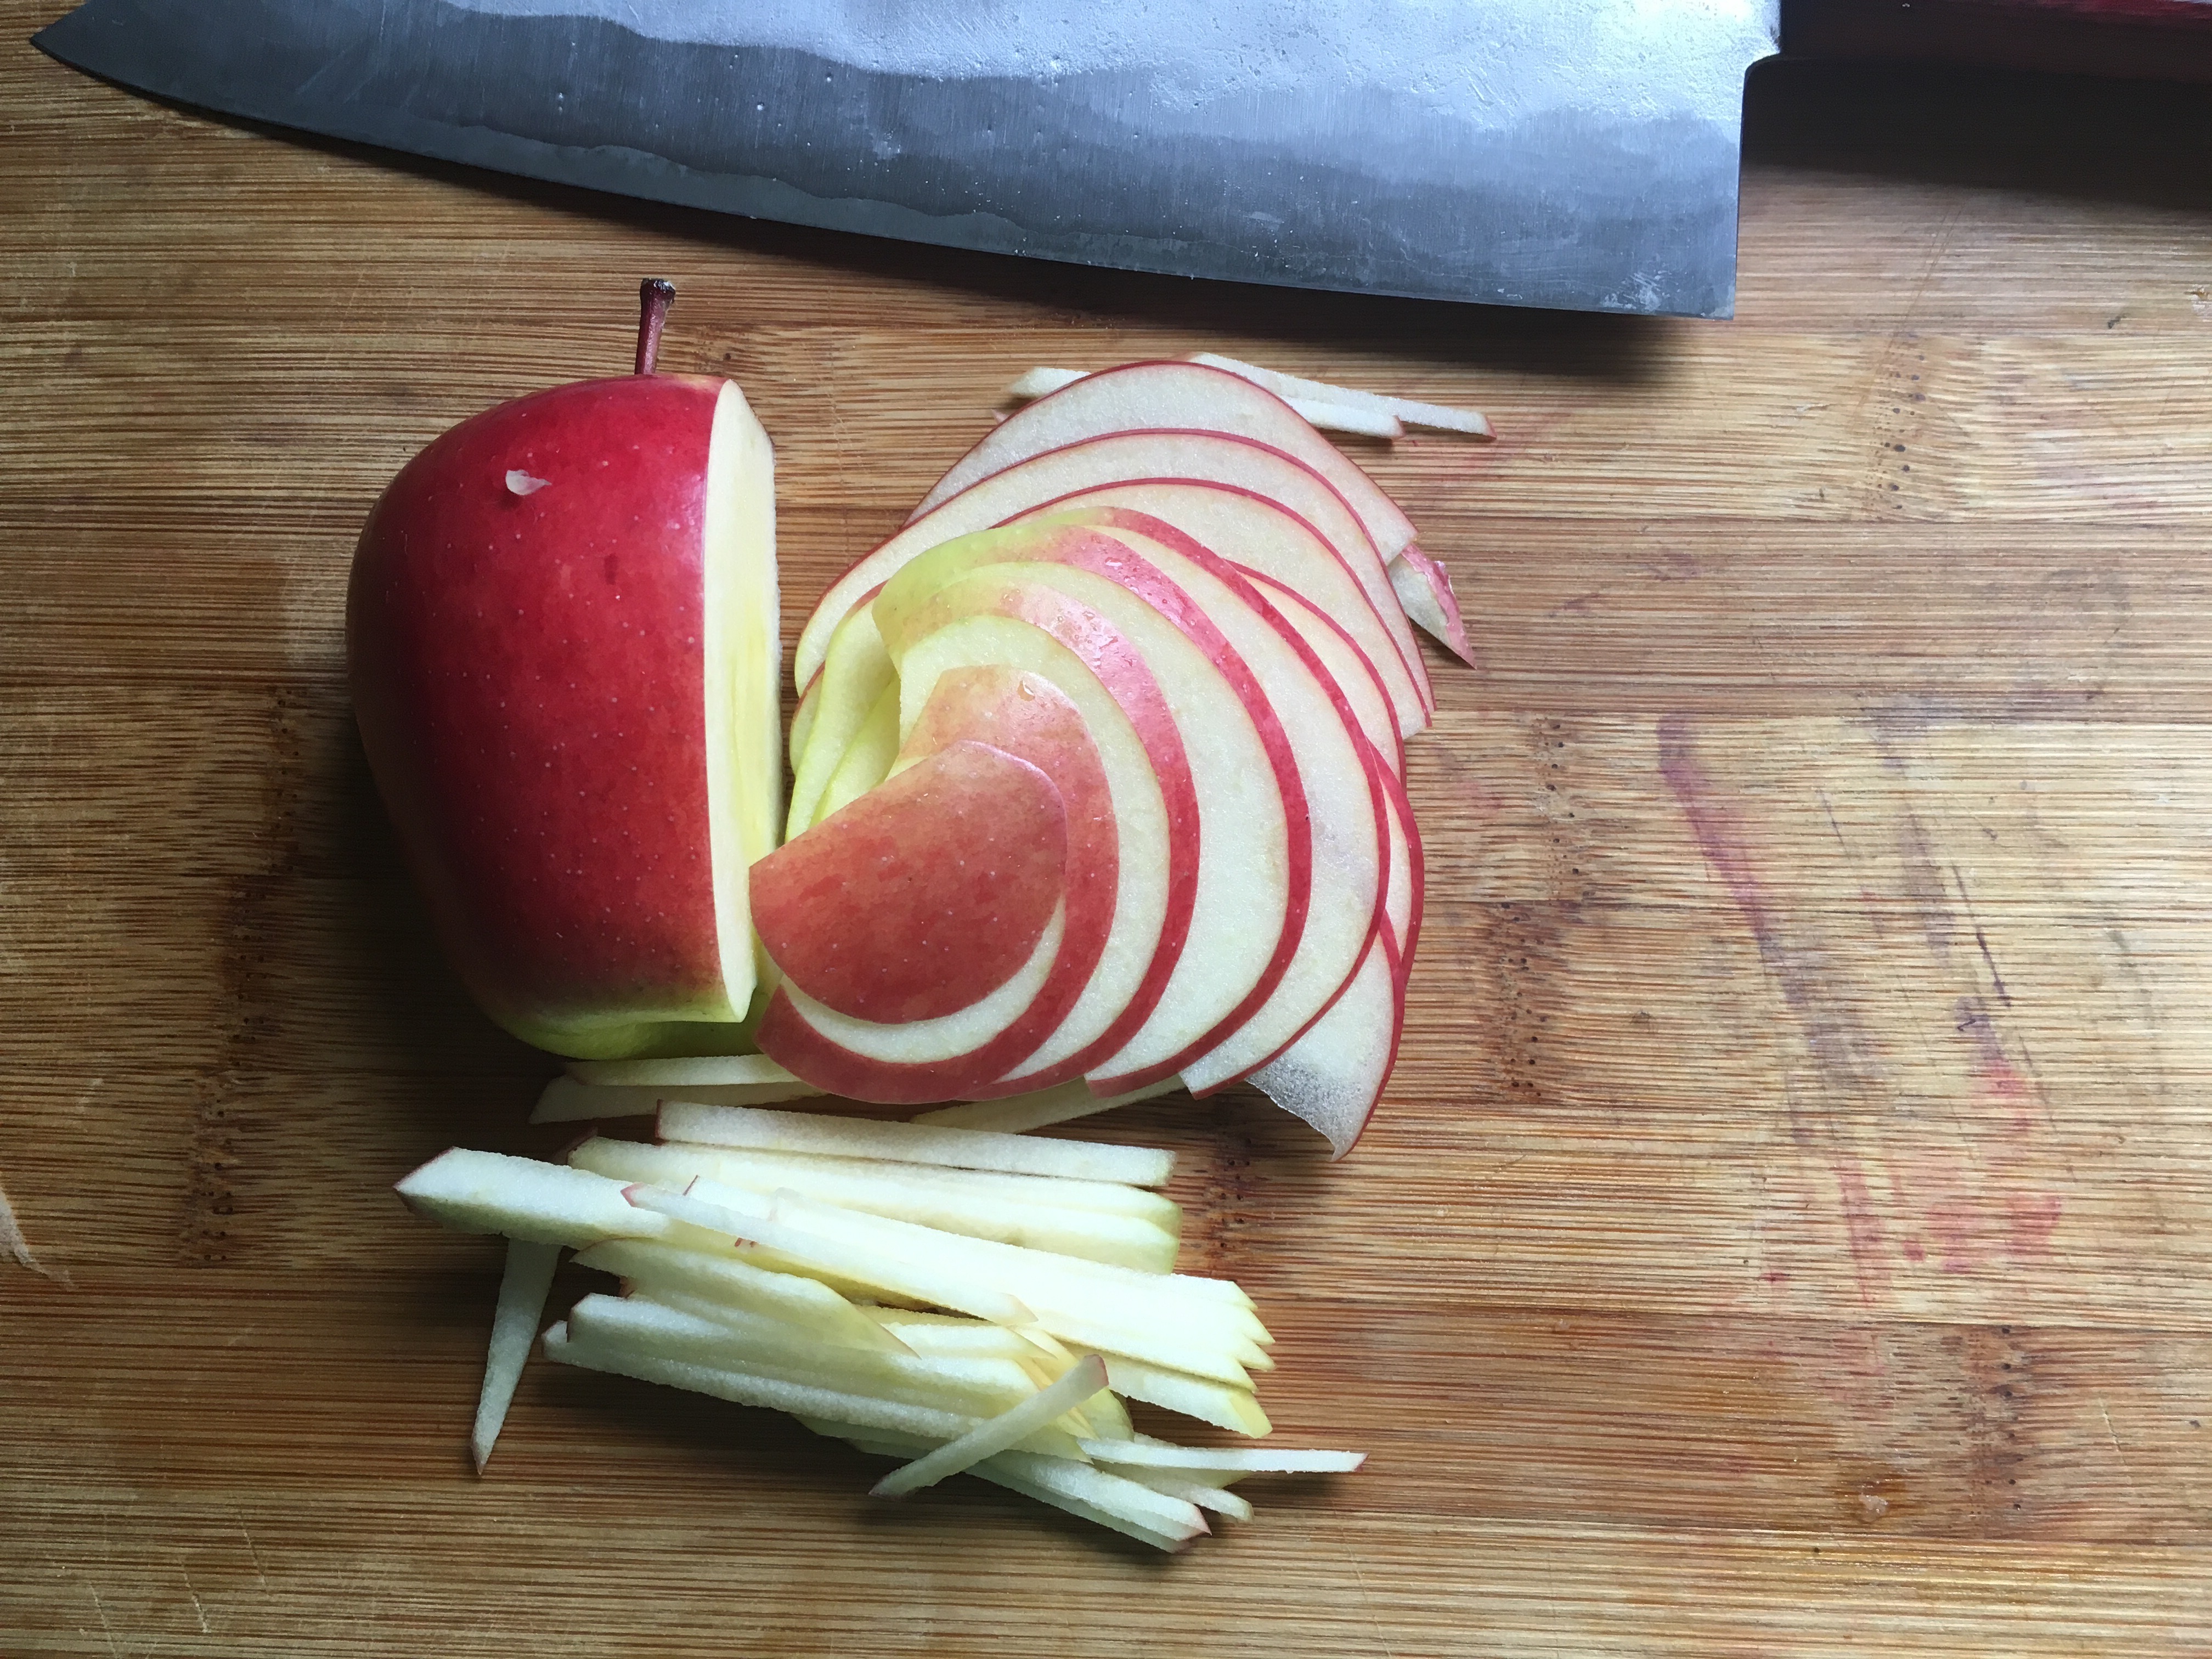 Apple Sliced the same way as the Tomato for the Pico de Gallo, into 1/8″ rounds, then cut into sticks. The apple should have a little bit of peel on both ends.
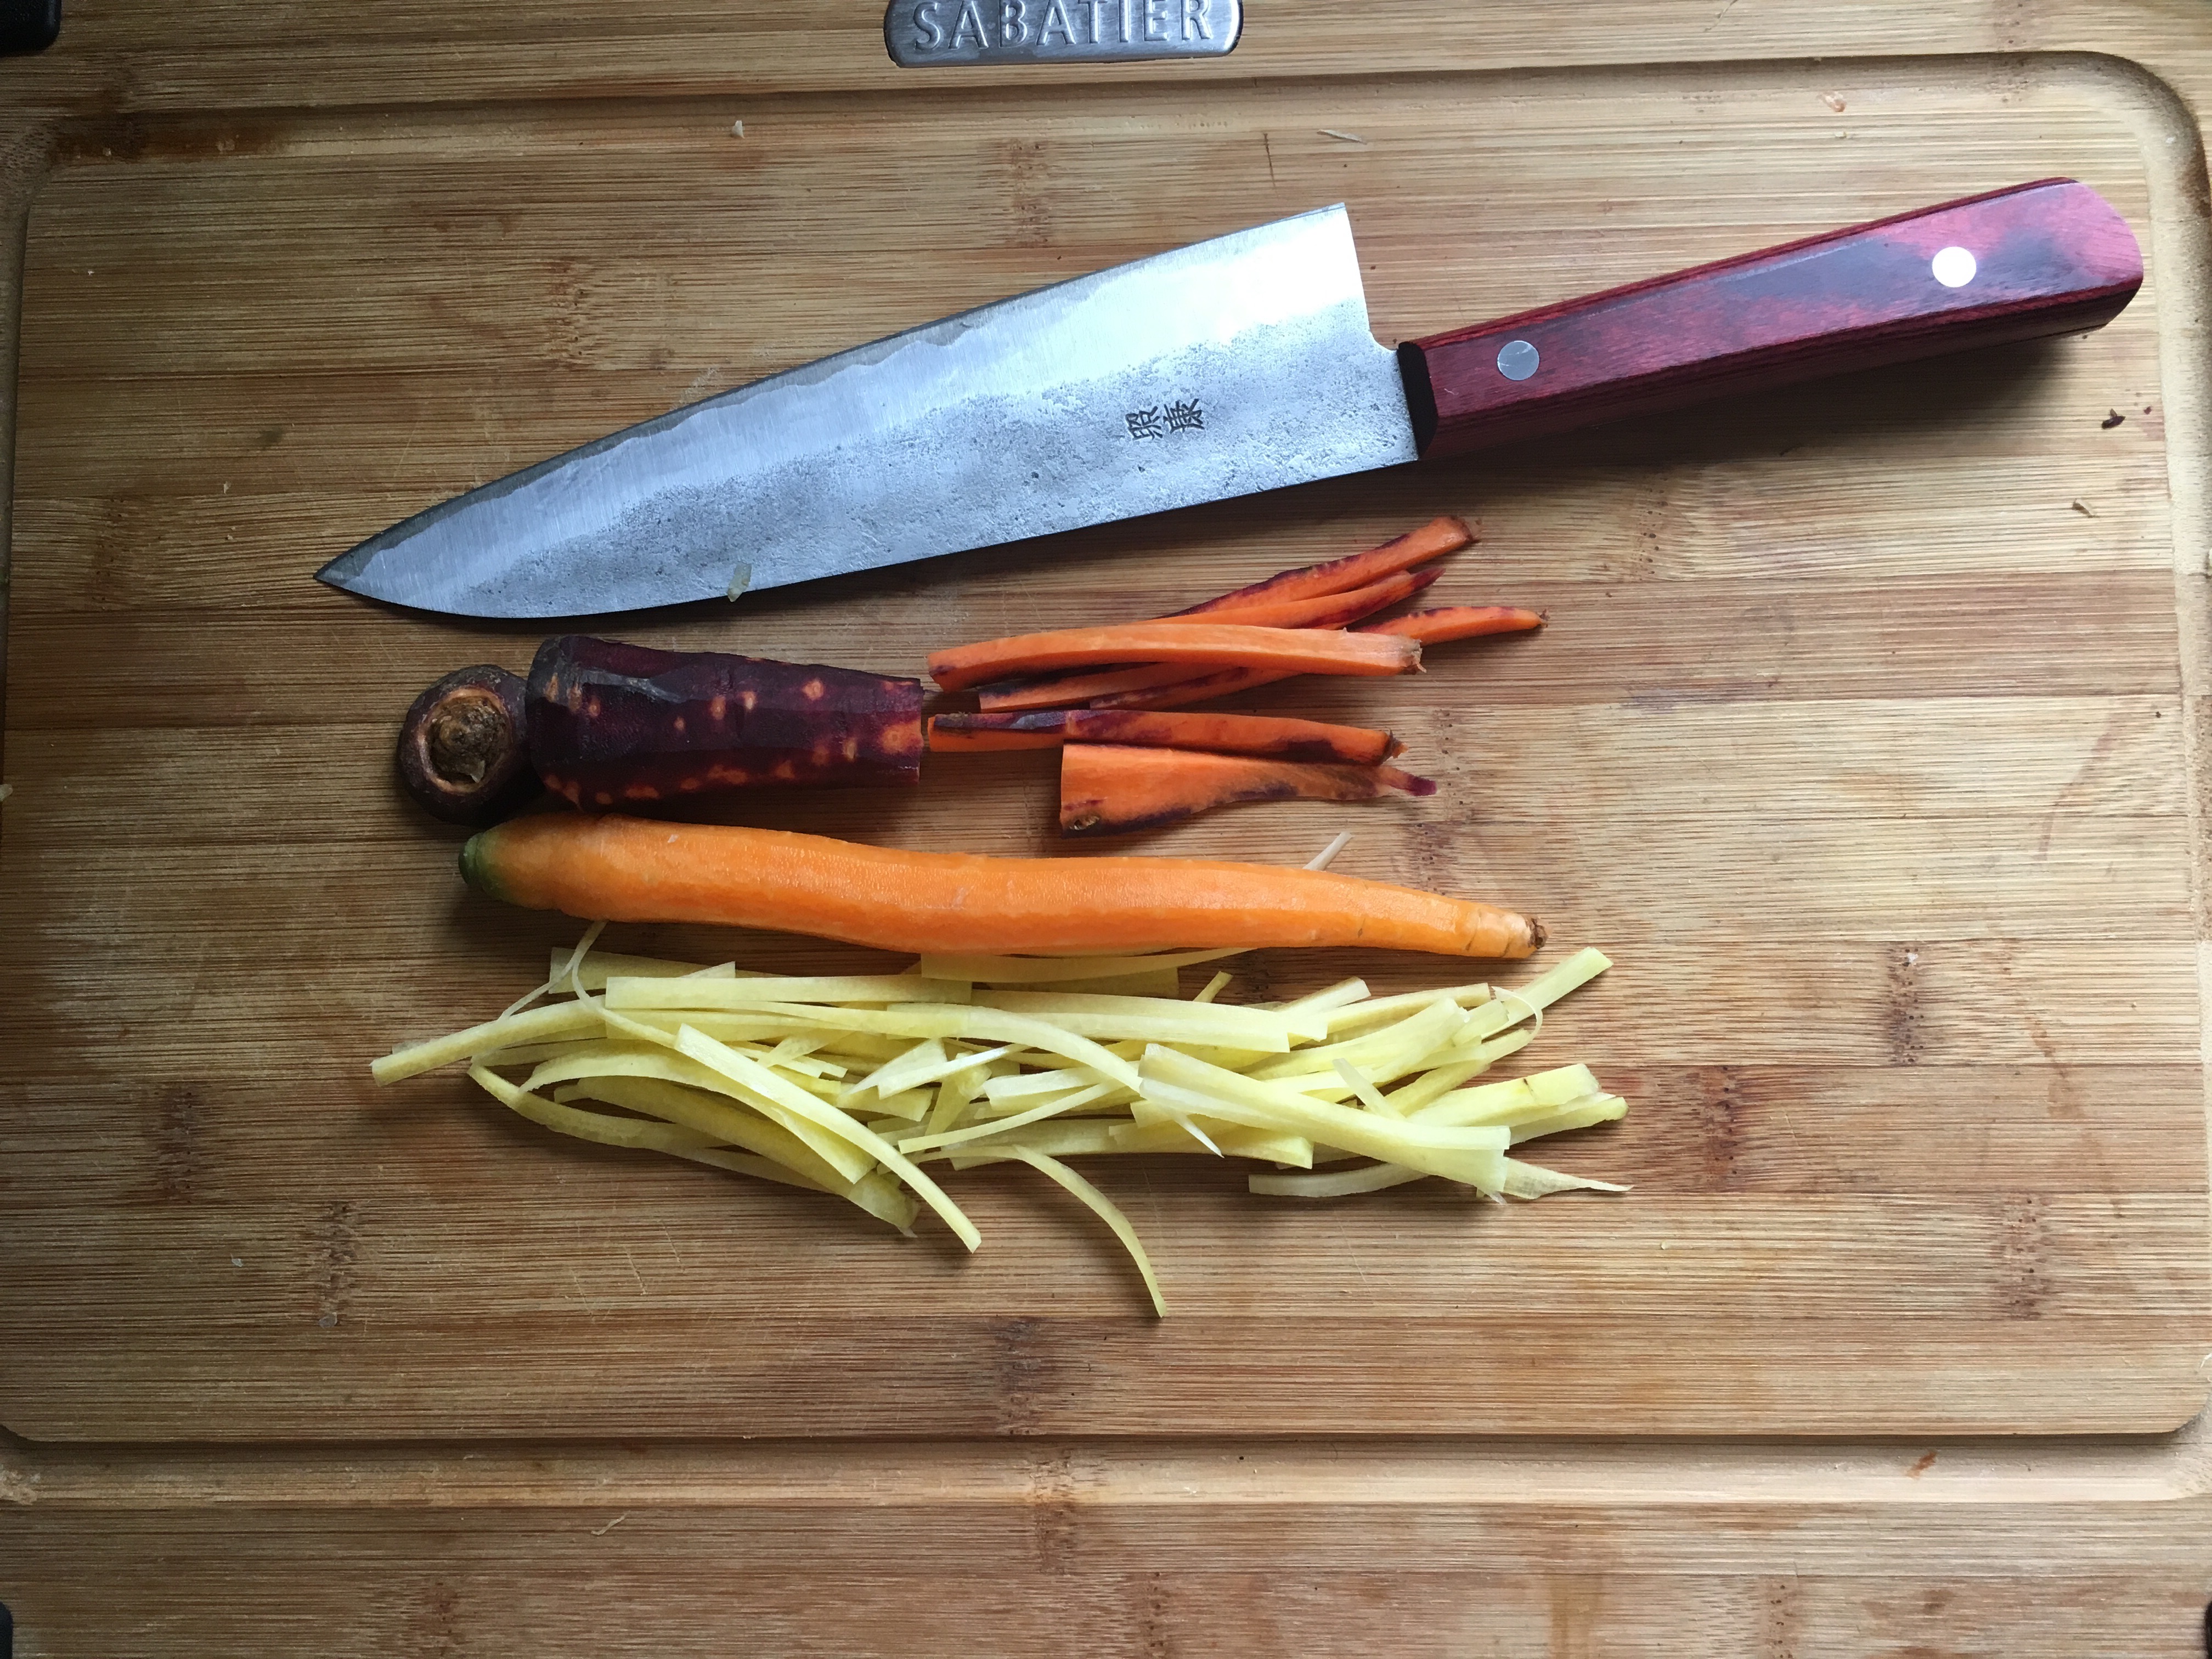 Cut Carrots into 1/8″ by 3″ sticks by cutting them into half, then each half cut into strips, then each strip into sticks
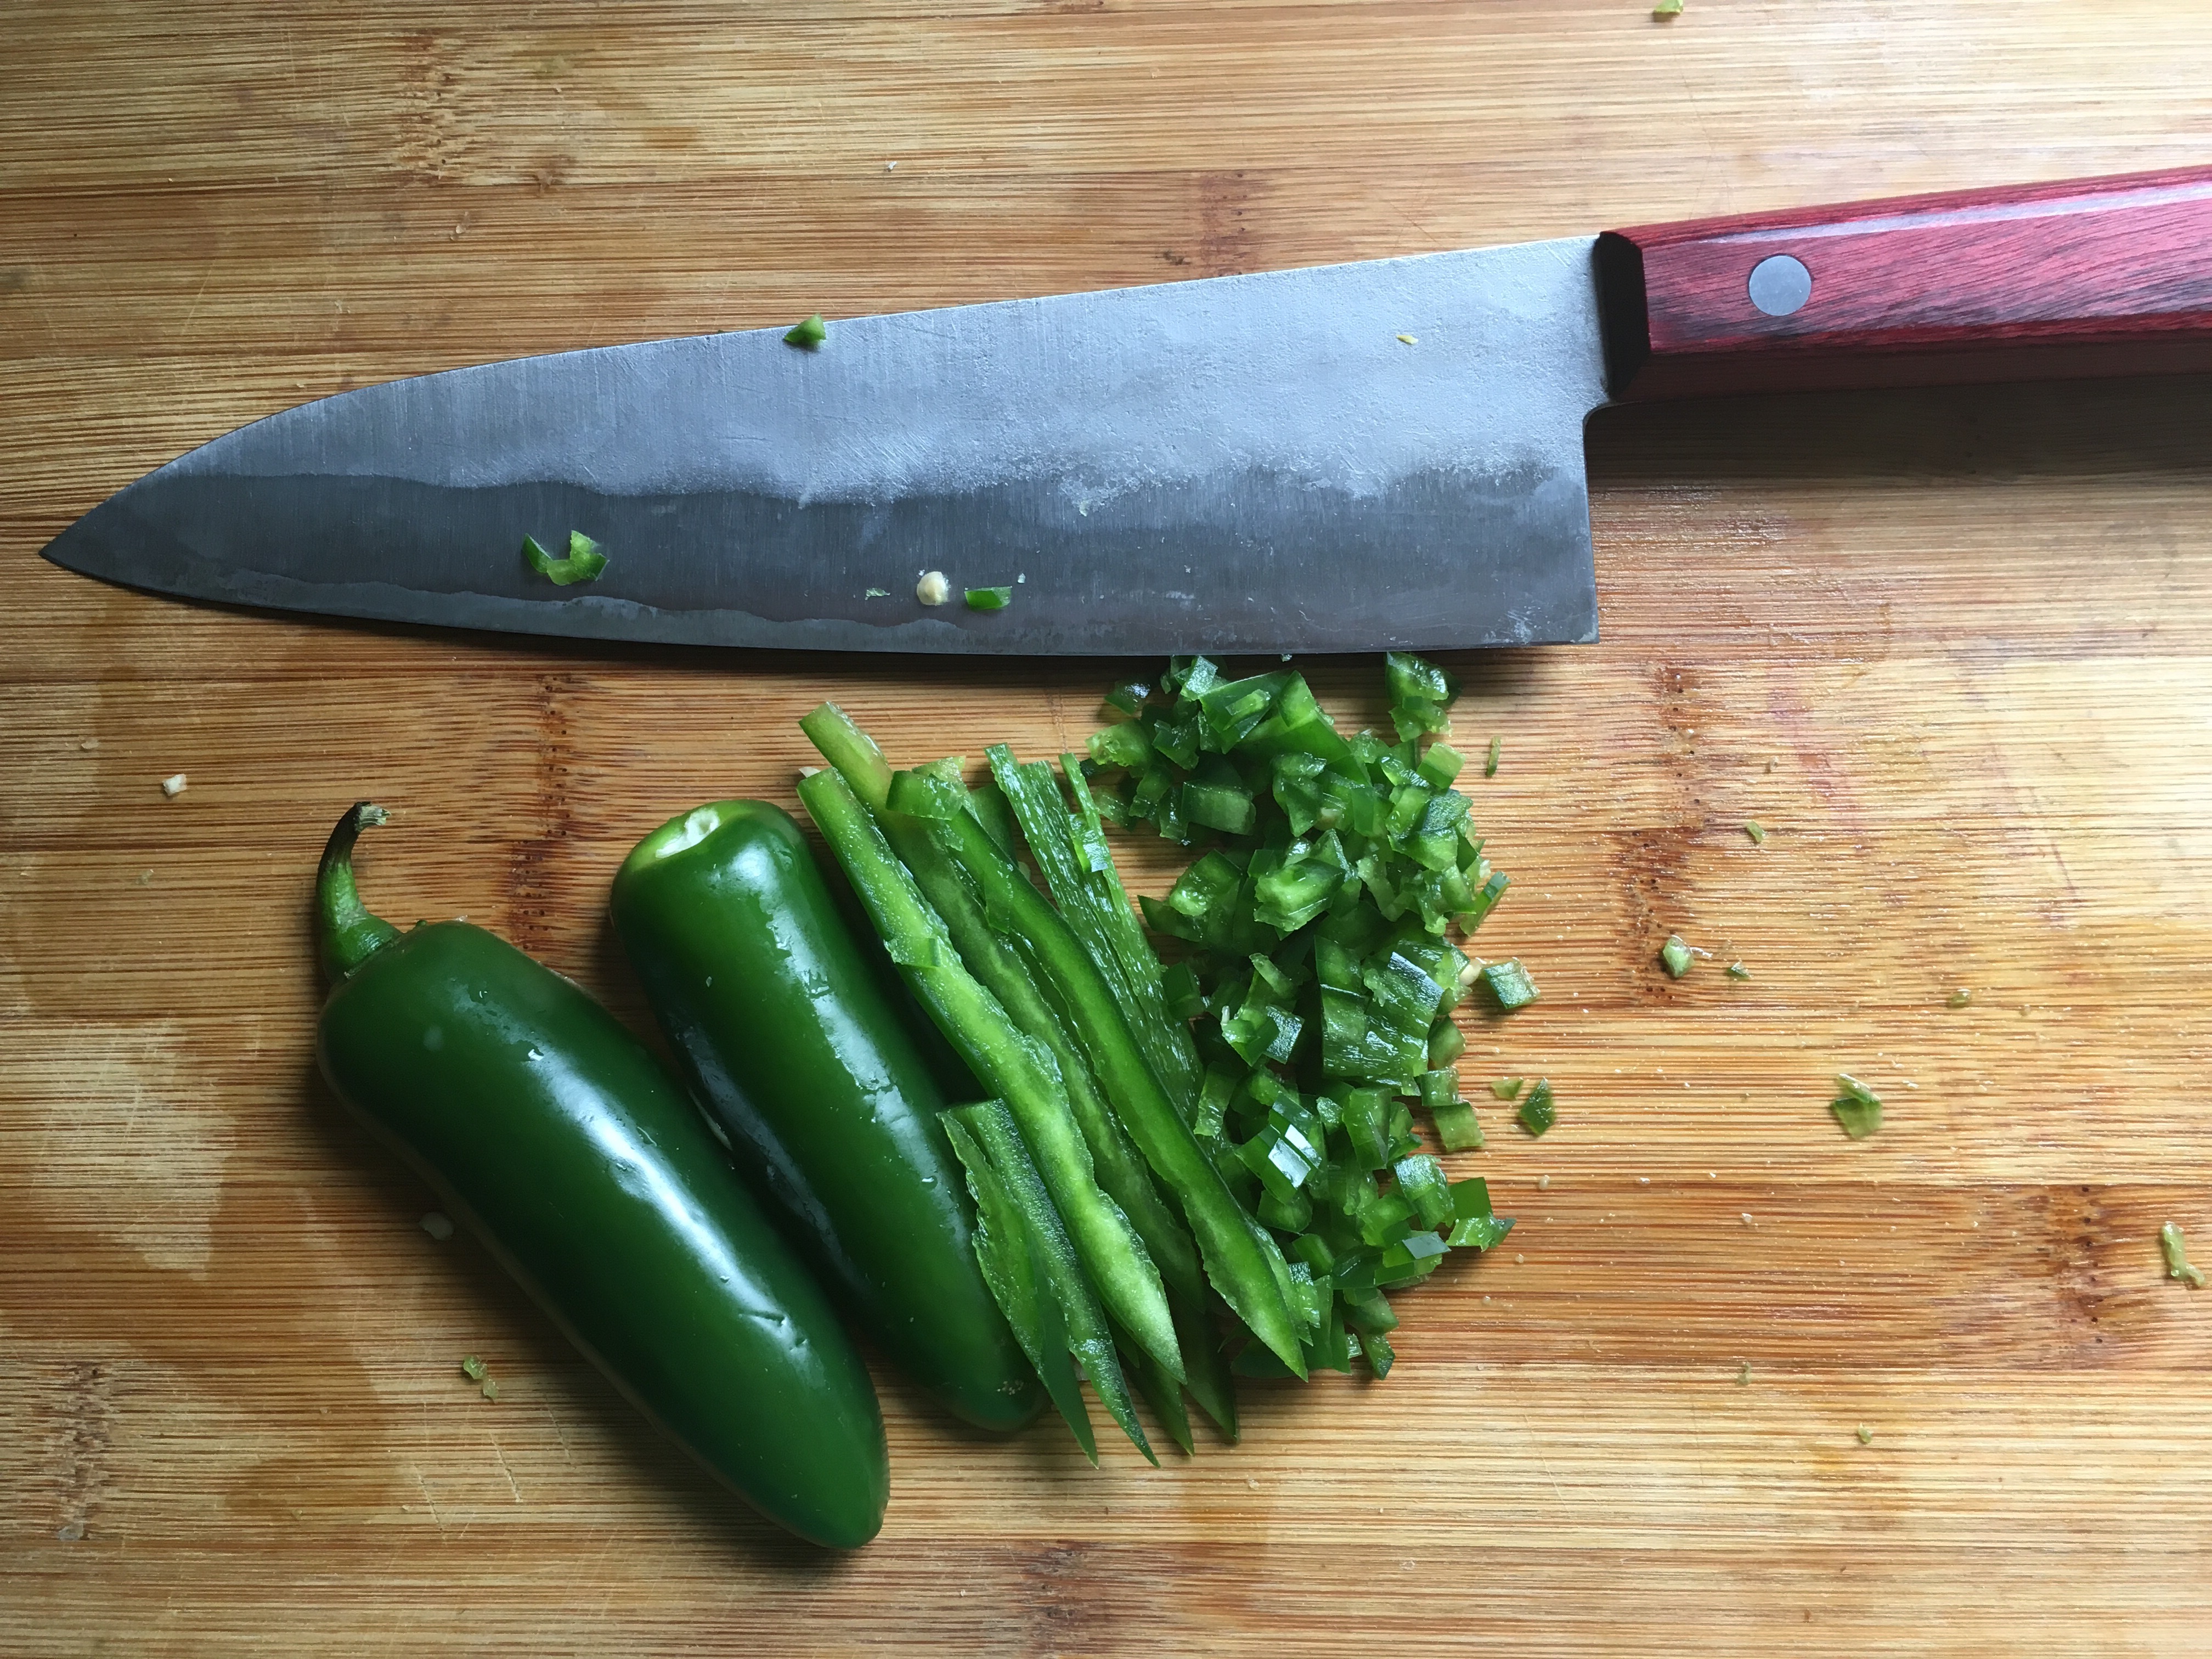 Dice the Yellow Onion and Jalapeño into 1/4″. Make sure to discard the seeds from the Jalapeño.
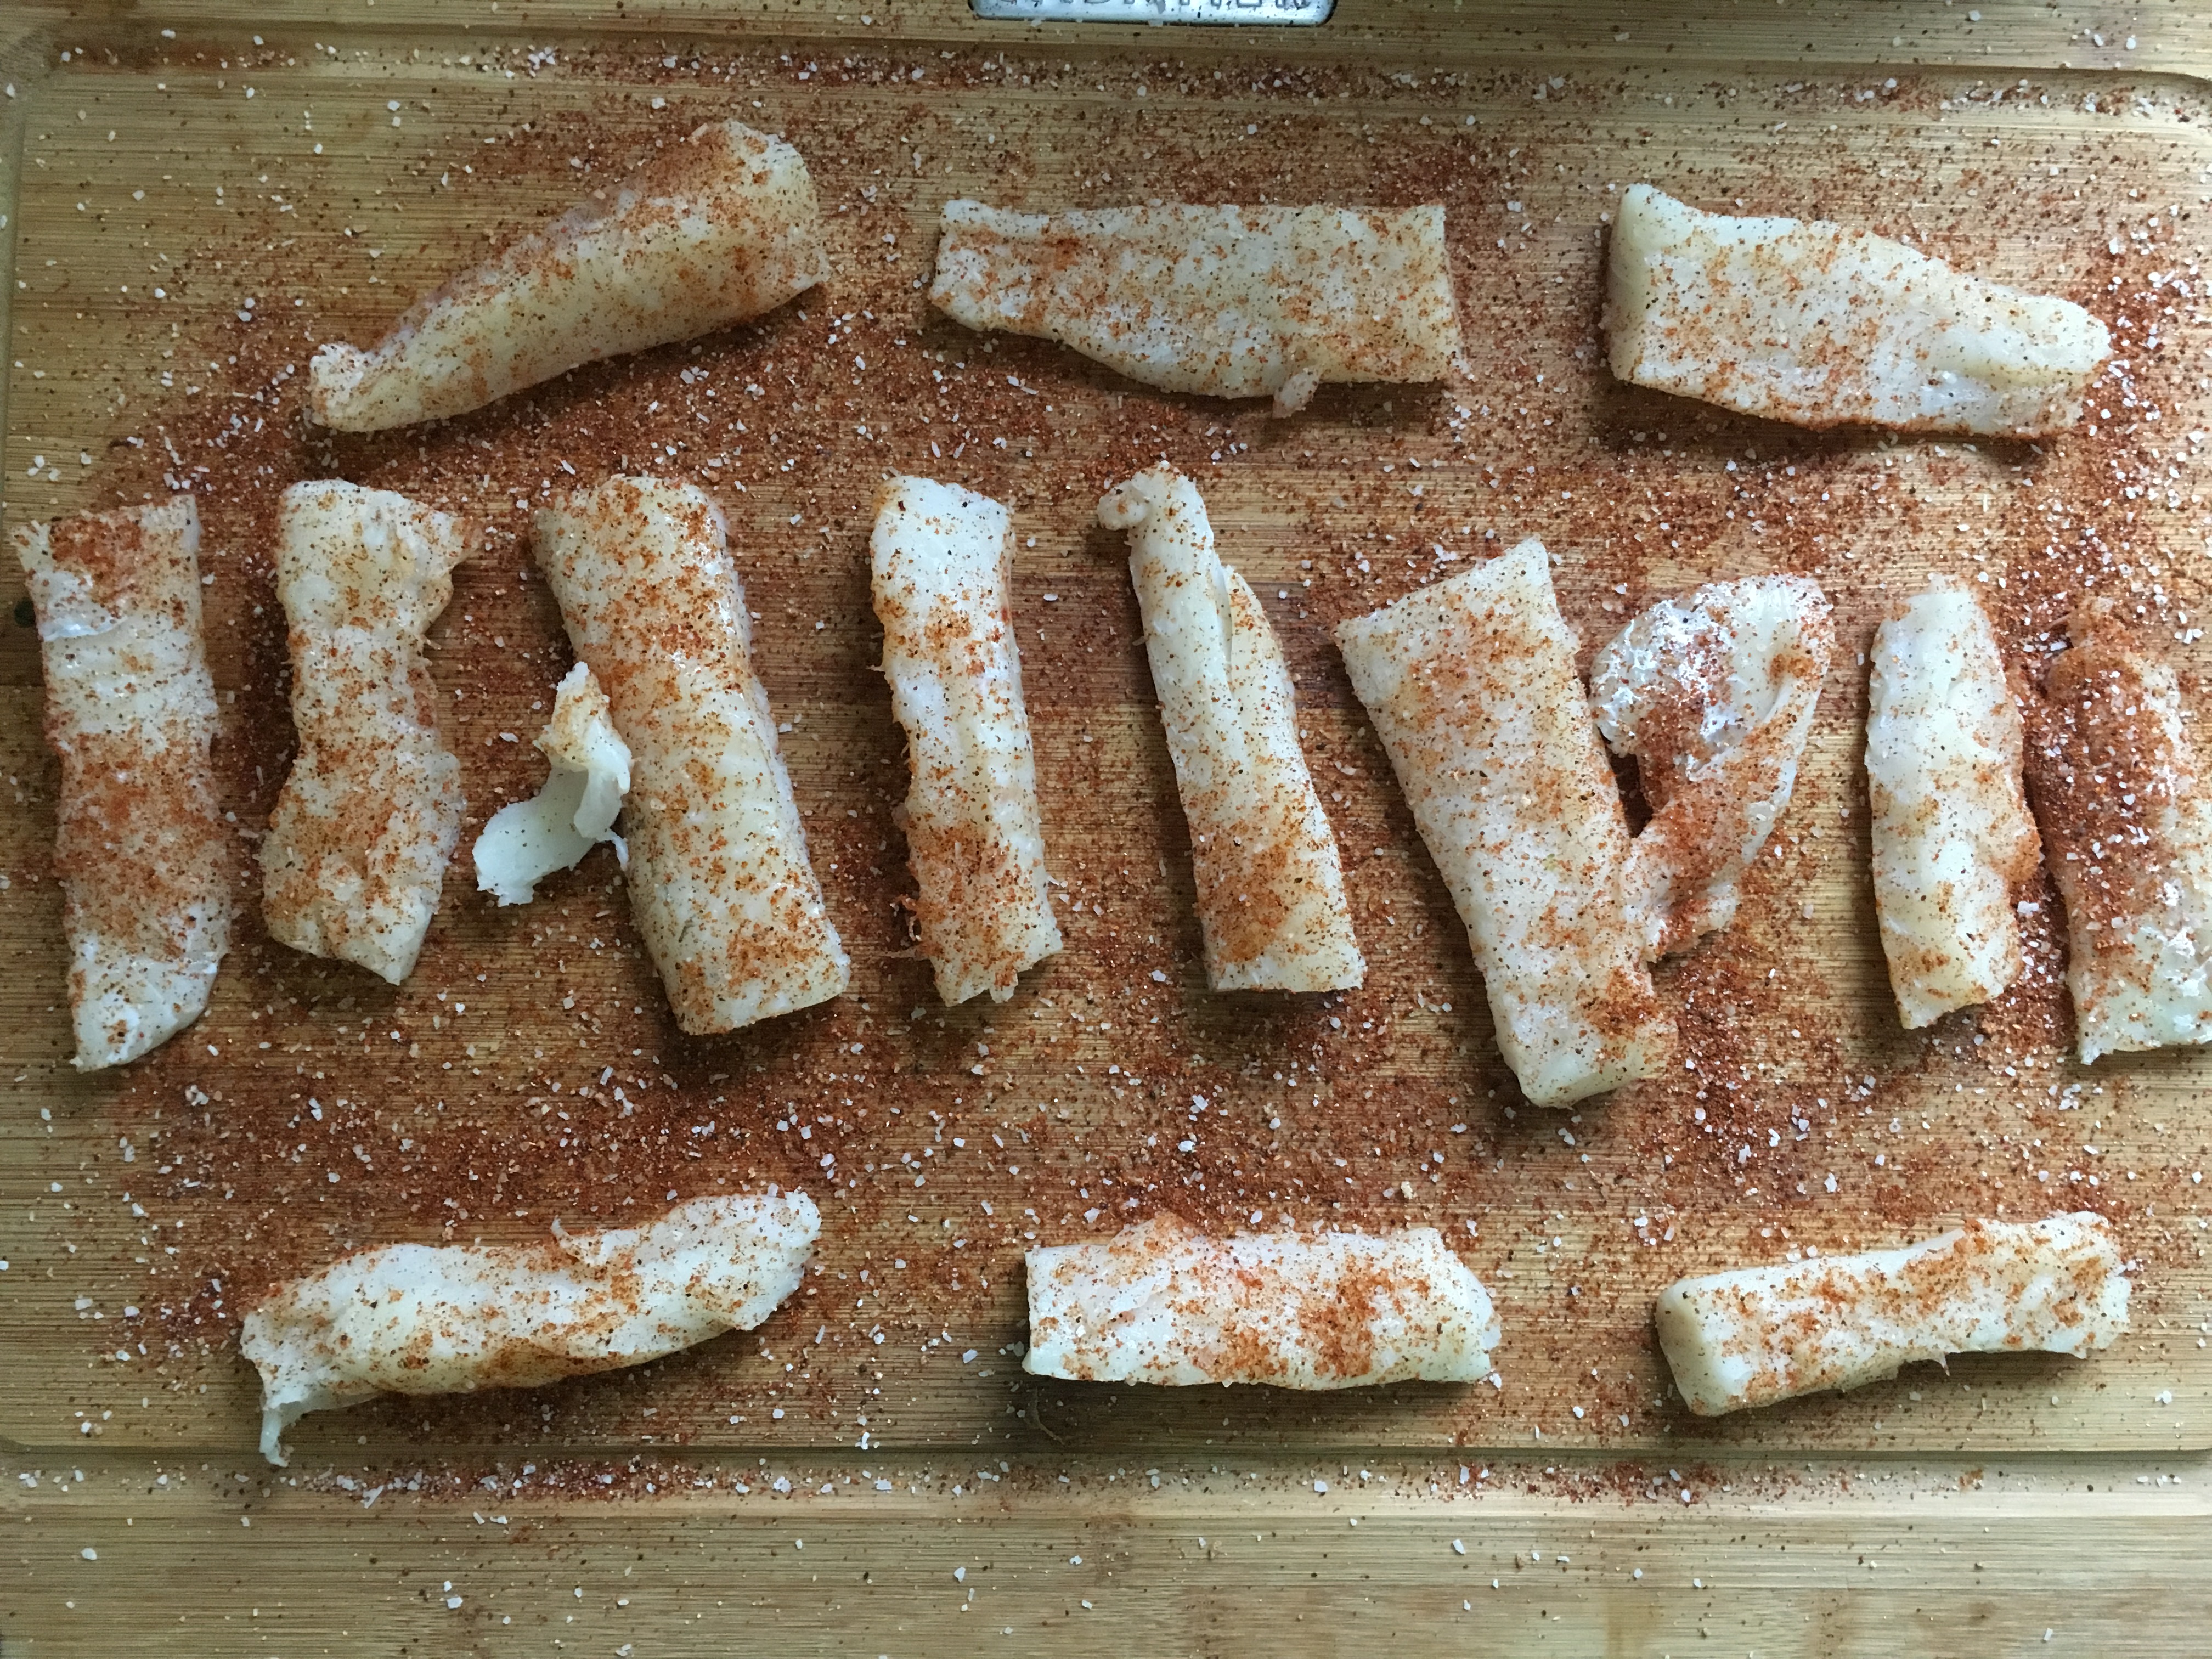 Cover Haddock strips with spice mixture on all sides evenly and liberally. Set aside until needed.
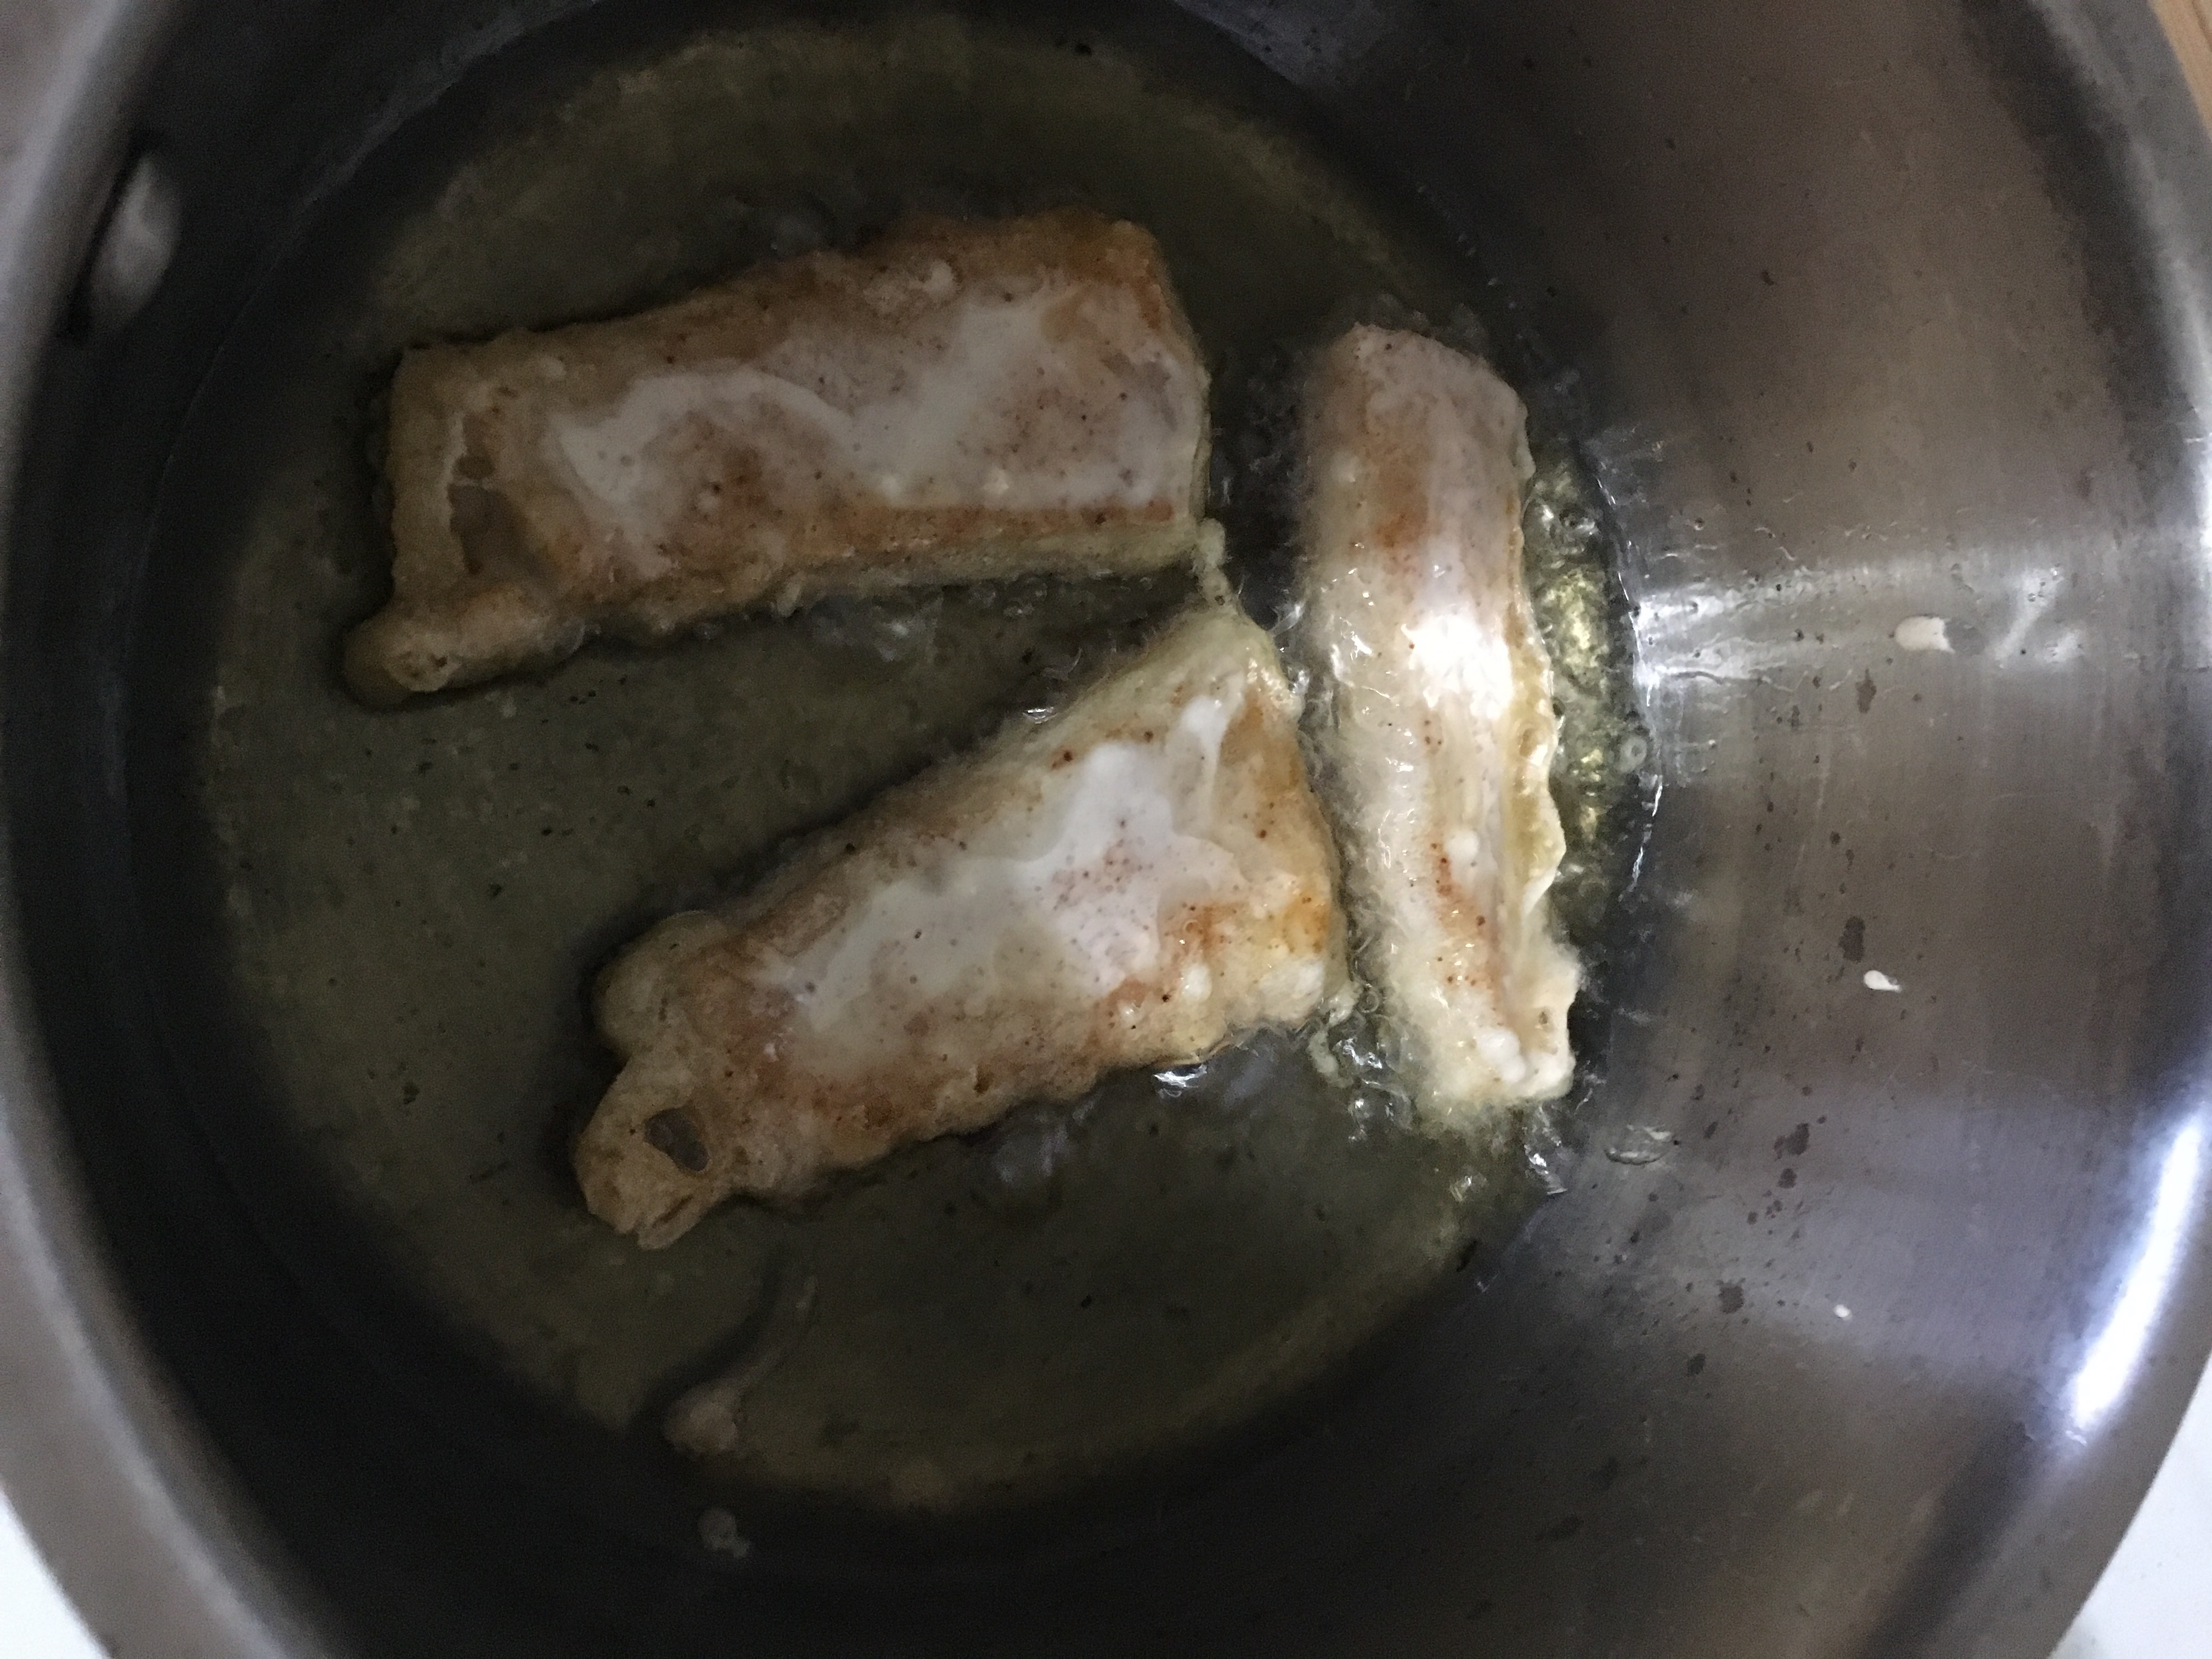 Place two or three pieces of the batter covered Haddock into the hot oil and let it cook, make sure to turn over when the bottom is golden brown. Once the second side is cooked, remove the fish and place on paper towel covered plate and sprinkle lightly with Salt.